By David Yadock
Dry Gulch & Western, A Photo Series Part 5
I’ll explain a little more information about my layout. As mentioned in the last installment I used a lot of plaster for the mountains. I also used a lot of paint. The mountains were painted almost all at once over a two-day period using cheap “rattle can” spray paint (about 40 cans). I draped plastic over most areas of the layout that would not receive paint. Track was taped over to protect the rails. I made a plastic tunnel that vented out to the garage. Air was driven out of the train room by two large fans and the garage was kept open till there was no longer any paint smell. Yes, I have a very good chemical respirator mask! This method of painting was effective to quickly eliminate the great white plaster mountain range. Doing this also allowed me the ability to look at shading and the actual shapes of the mountains. When they were white everything just blended in, once painted the mountains gained some contour that was hidden. I used 4-6 different colors of paint. This quick paint was just the start of scenery and was my initiation into learning how to “do” scenery. Yes, I am still learning how to do scenery and I find it fun to use new techniques. Now let’s see more of the layout.
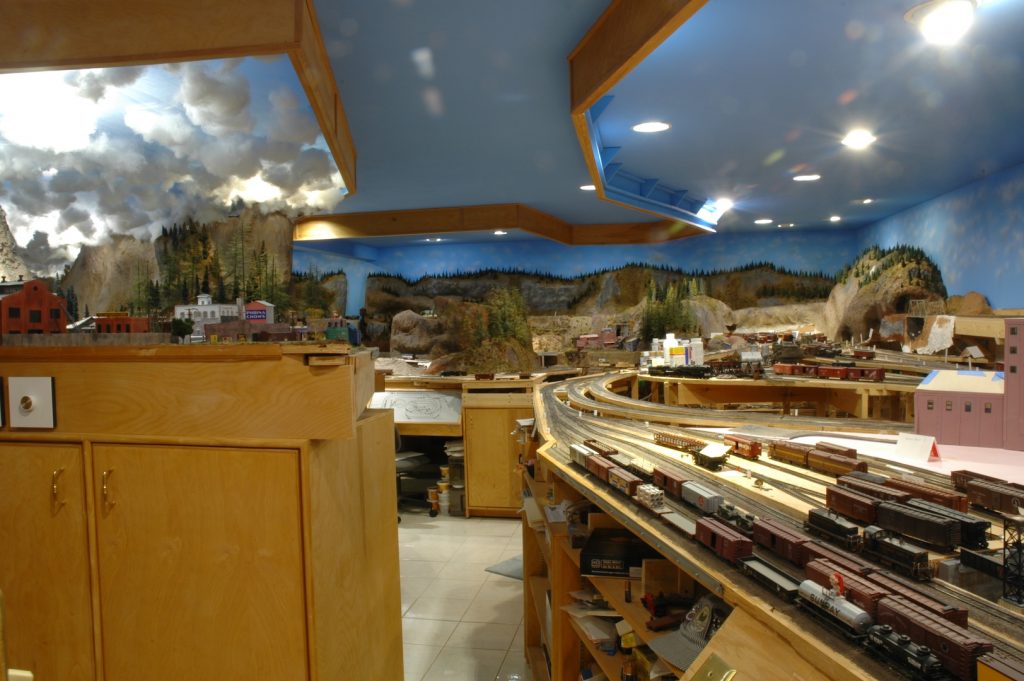
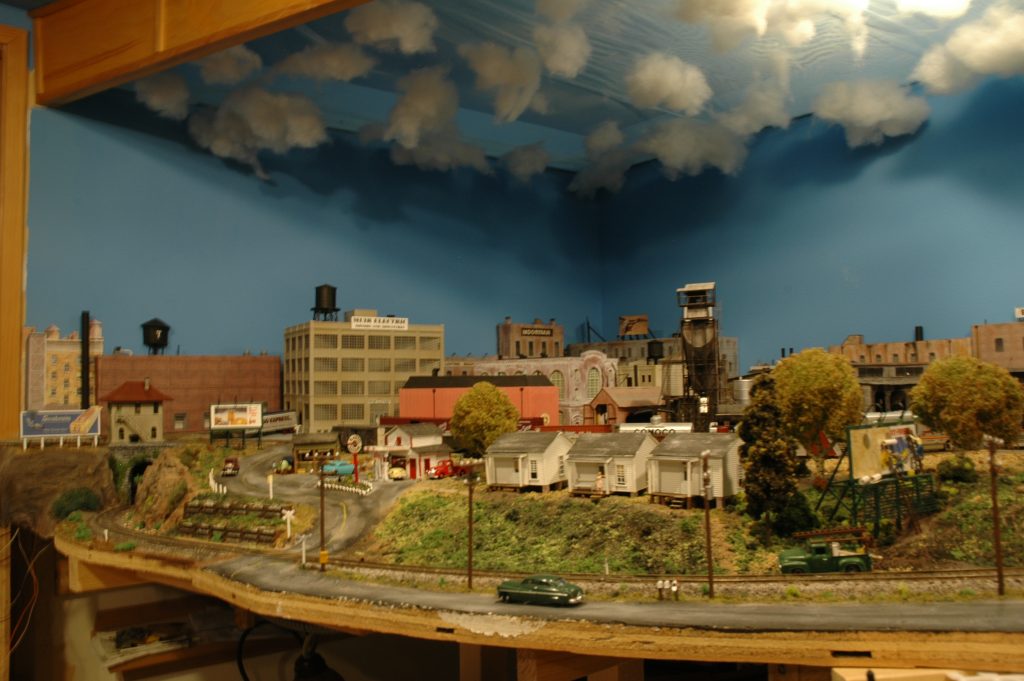
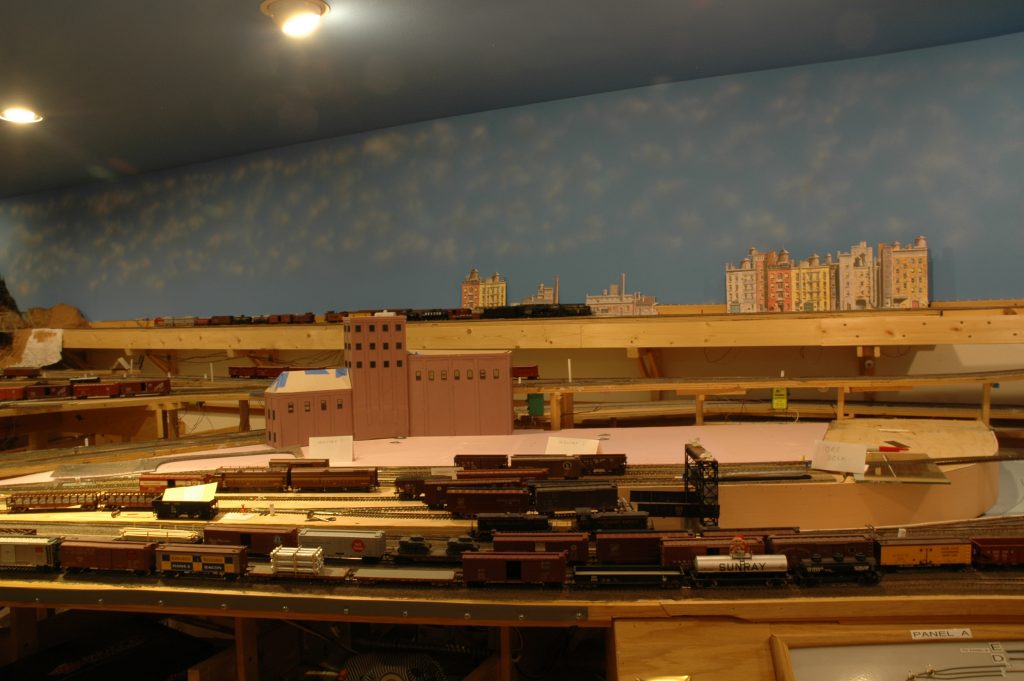
Photo 21 shows a view of Dry Gulch. The station is above the control panel, another Campbell kit. At Dry Gulch there will be a scratch-built two stall engine house. A small Diamond Scale Models turntable is already in place. Dry Gulch is the interchange area for the narrow gauge and standard gauge. It is also the beginning of the layouts mining district. There will be several mines located on the layout. One mine, just barely visible in the photo is on the gray mountainside to the left. The town of Alpine is to the right of the stone arch bridge that is against the wall. Close to the stone arch is one of my other large bridges.
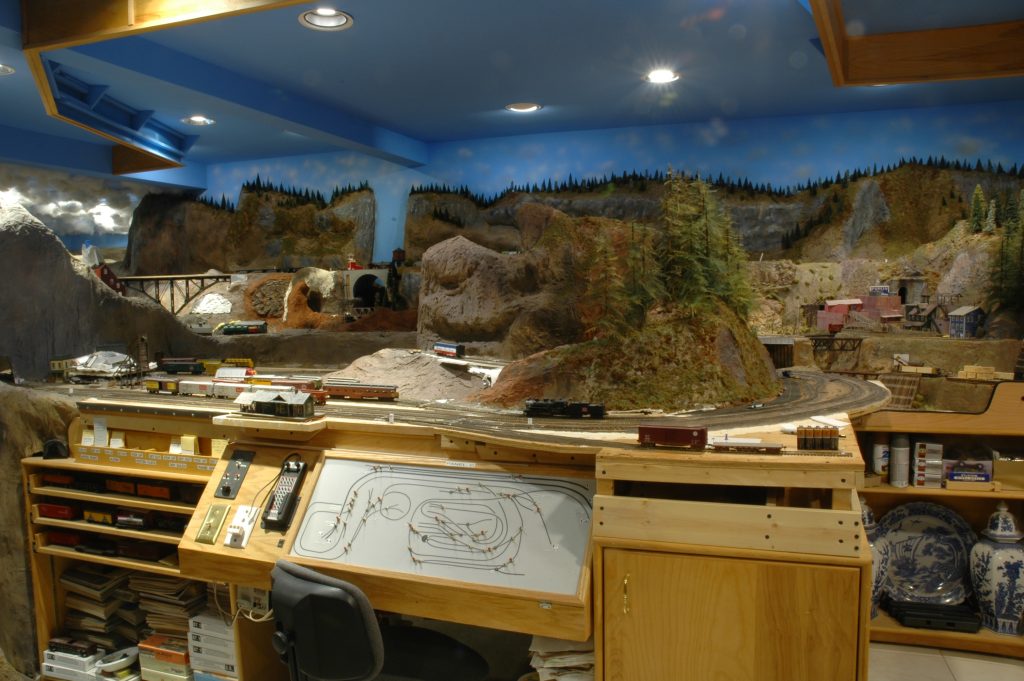
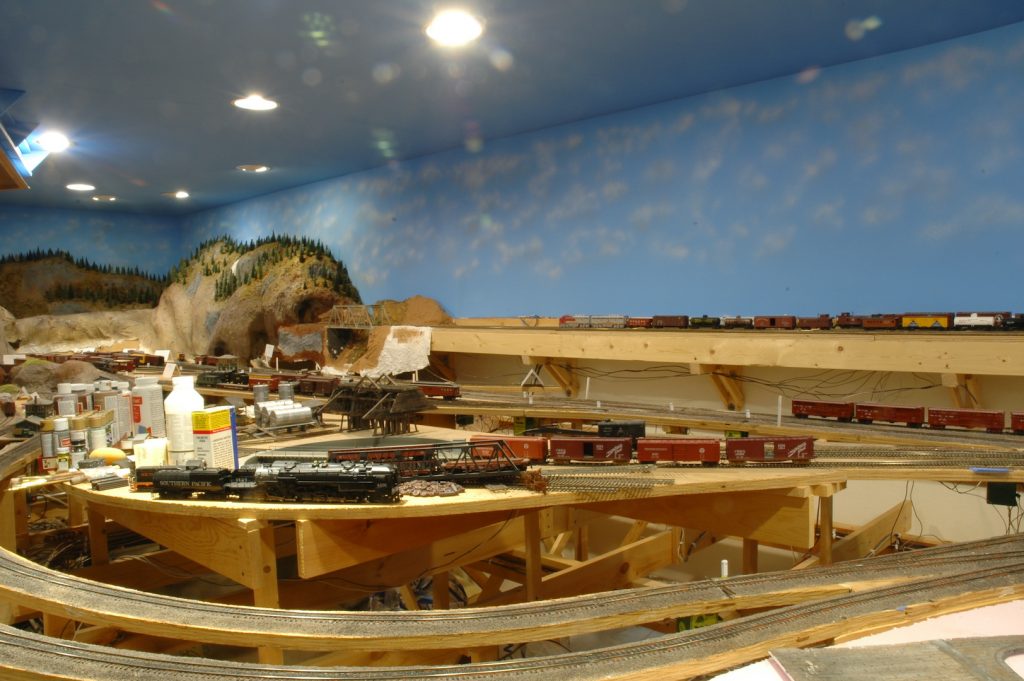
Photo 22 shows more of the bridge in the previous picture. That bridge is over 5 actual feet long. It is based on the Santa Fe’s Canyon Diablo Bridge. Can you spot the mirror in the photo? It should be easy since it is 2 feet by 6 feet in size.
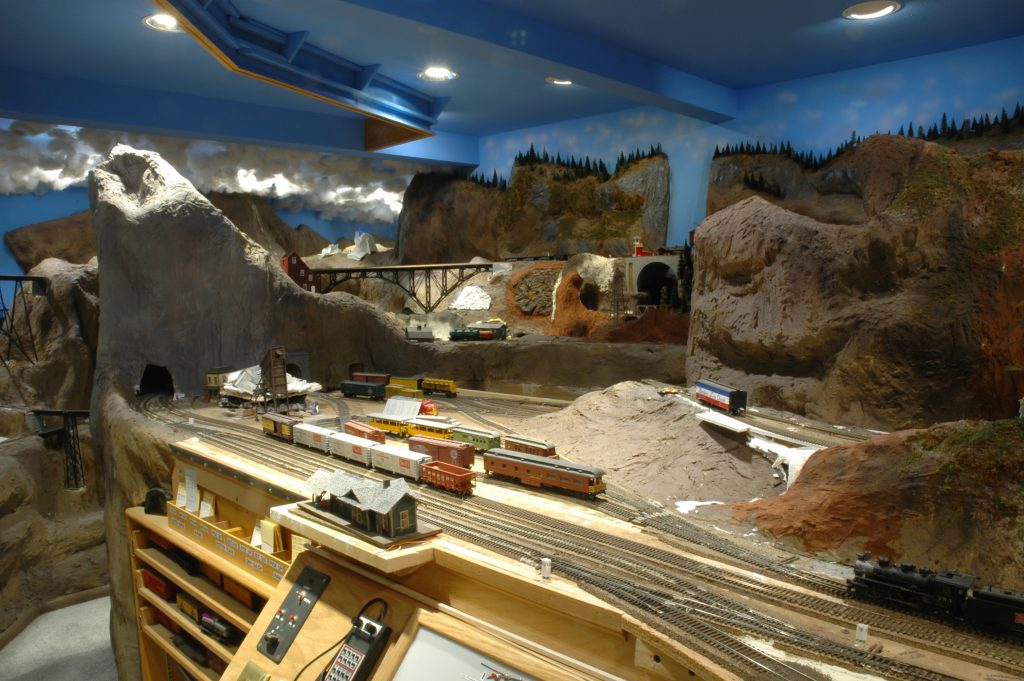
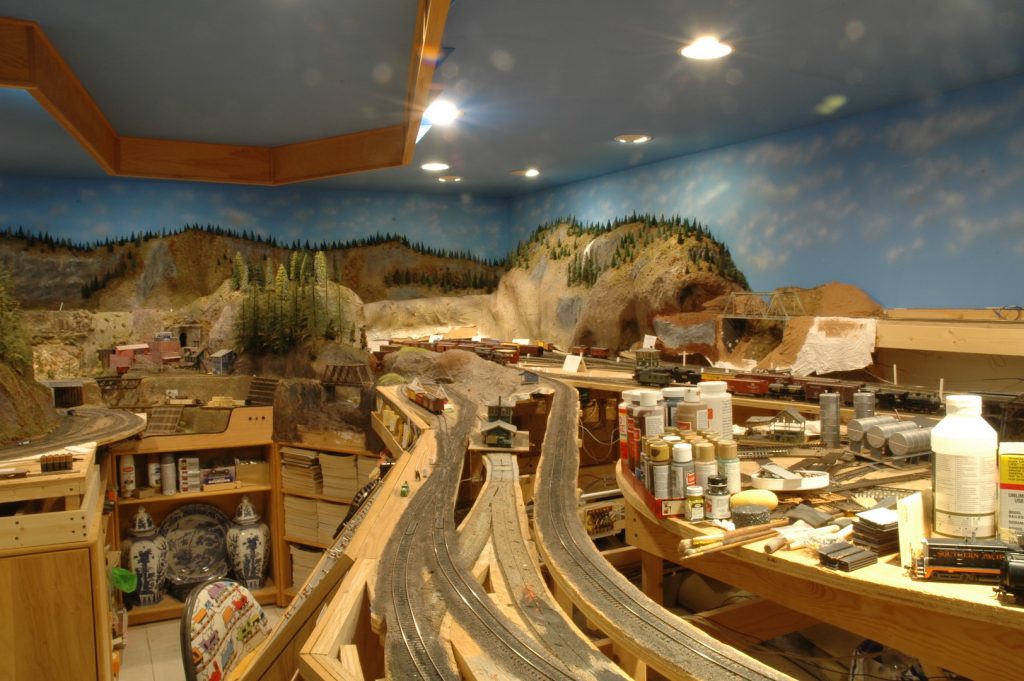
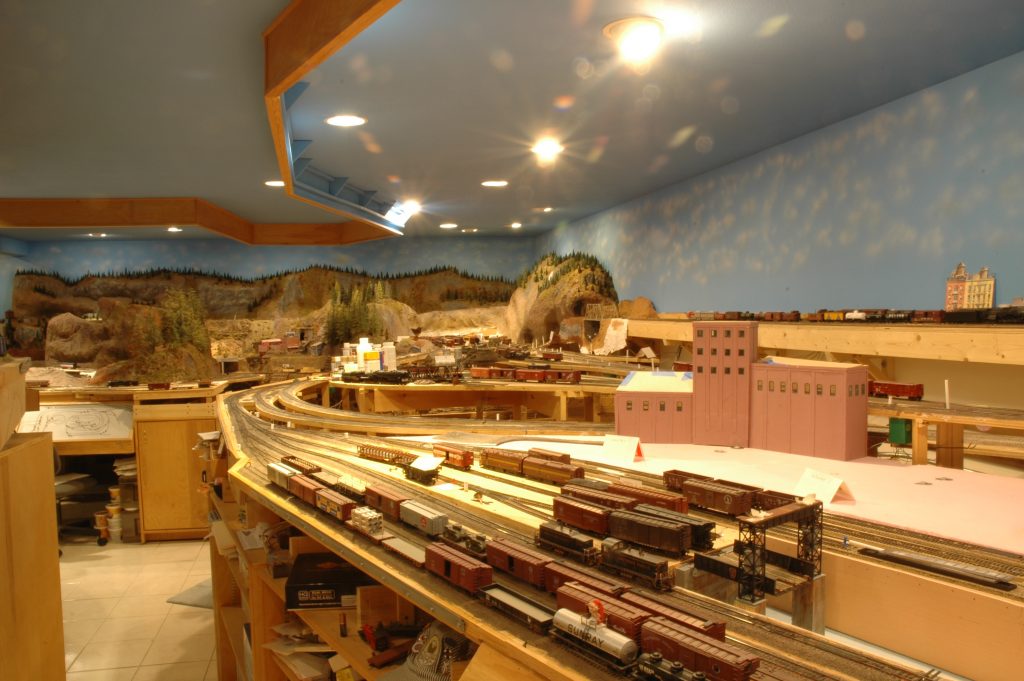
Photo 23 gives a view of my other large arch bridge. That one is based on the Vance Creek Bridge located in Shelton WA. This photo also shows how my aisle becomes a deep canyon. In this area scenery stretches from the floor to the ceiling. I admit this area of the layout is my favorite, walking down this aisle you literally become part of the layout. This photo also shows how much the trains need to climb in elevation. Hayes River is the town at the center left of the photo, it is at 29 inches above the floor. The track on the arch bridge that leaps over that town is at 61 inches above the floor.
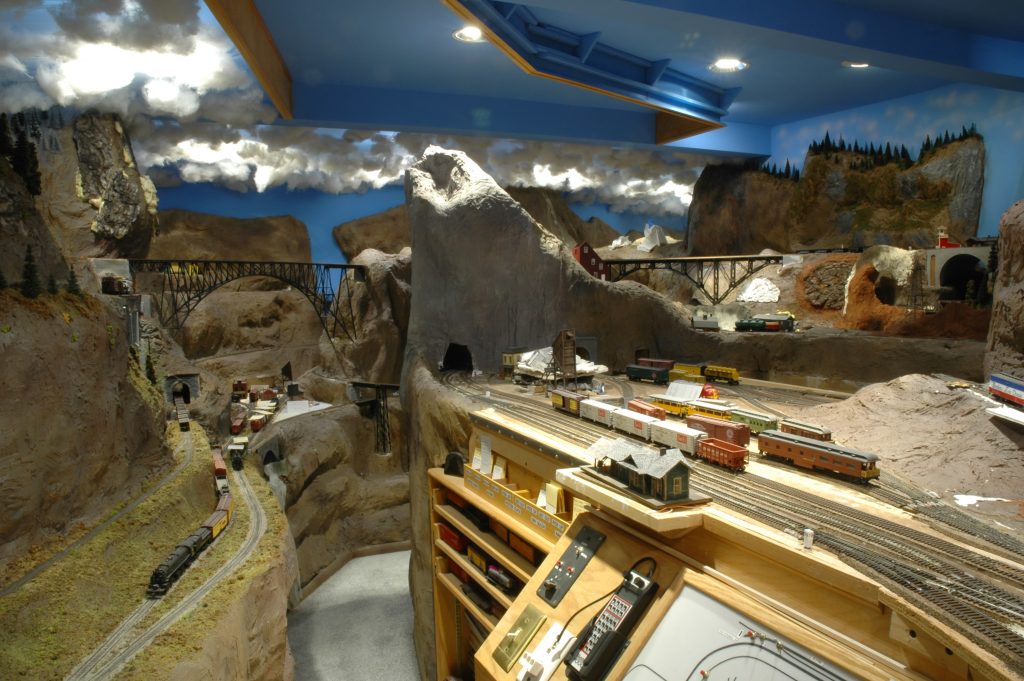
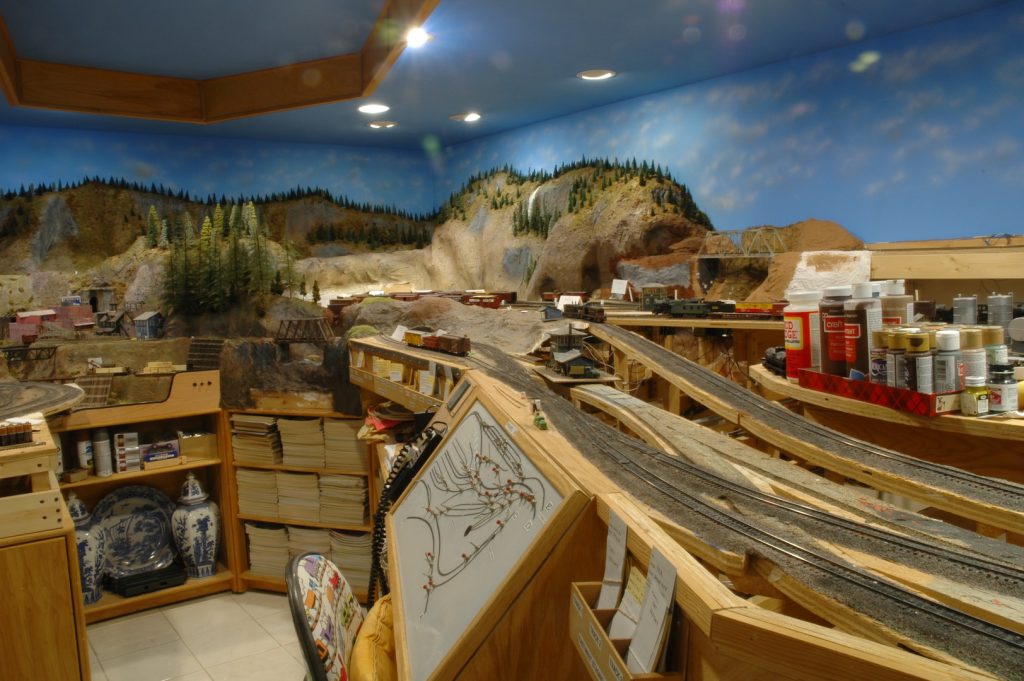
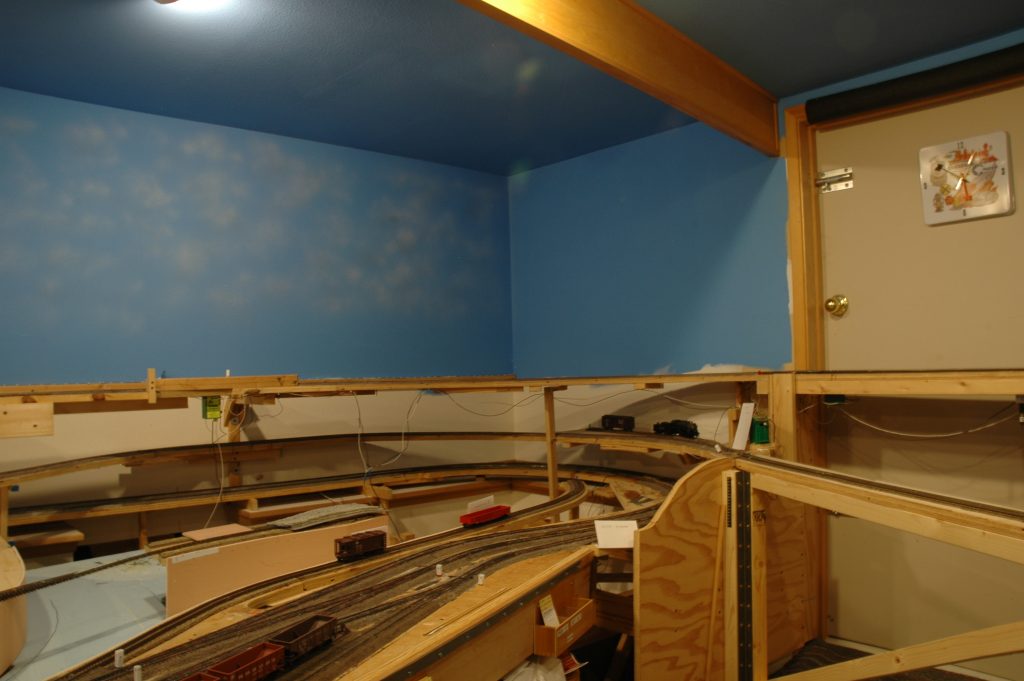
Photo 24 shows a view if you started walking down the aisle and looked back at Ellison. This photo gives you an idea of how my view blocks work and why they are needed. In the distance, against the wall, you can see a waterfall cascading down the mountainside. Yes, groups of those tall timber trees really make a nice view block. The tunnel that is by the Borden’s reefer is part of the branch line from Dry Gulch. That branch line services the small hamlet of Raade Springs.
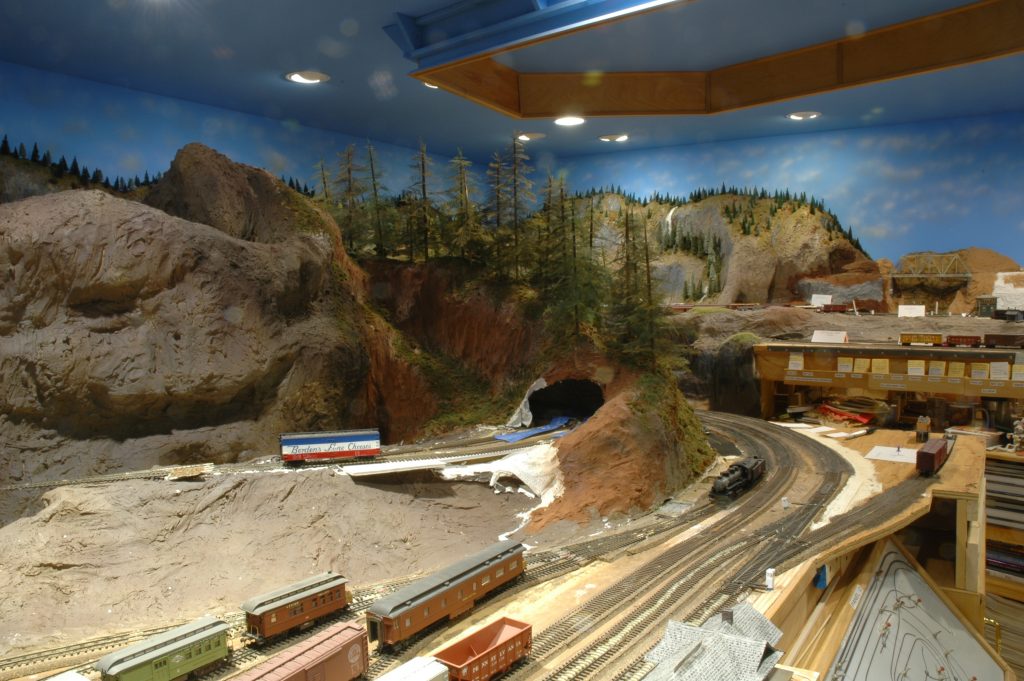
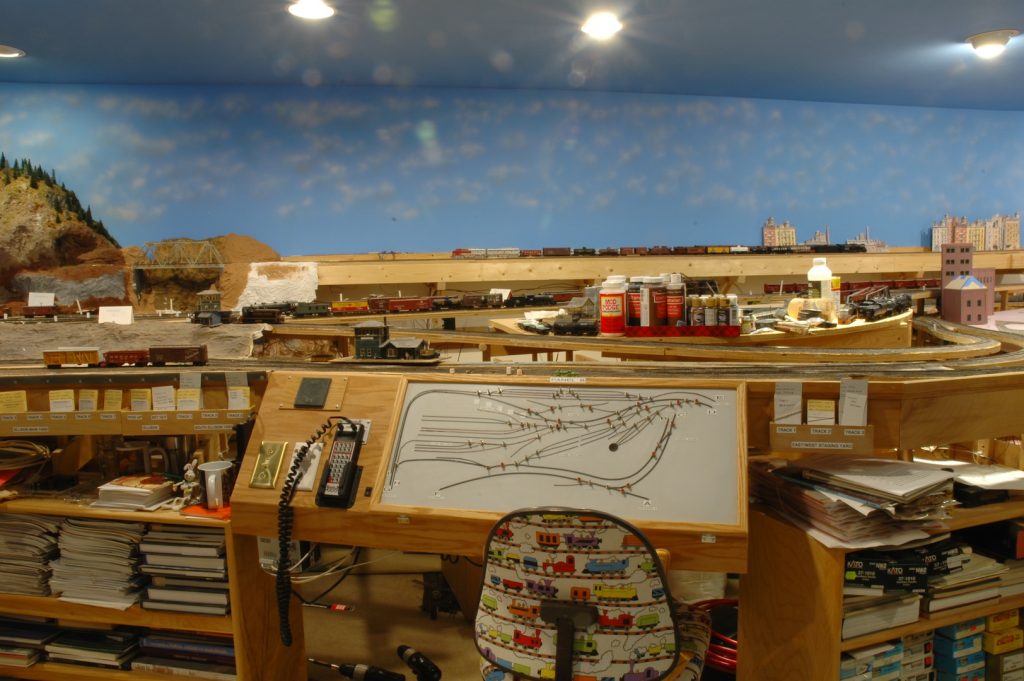
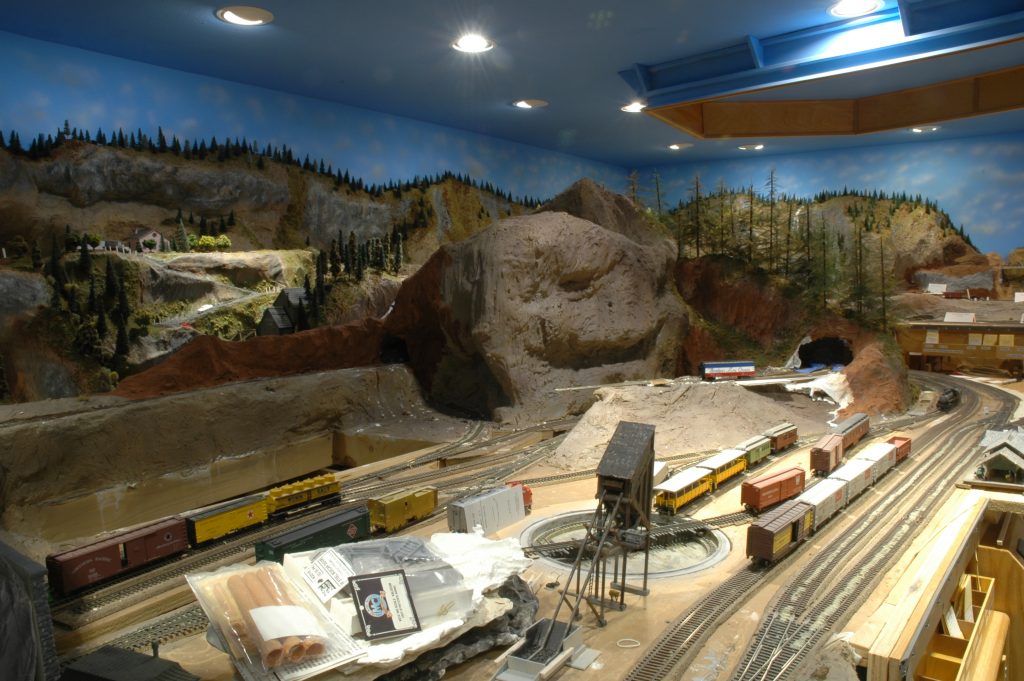
Photo 25 shows the turntable and the small interchange yard at Dry Gulch. This area still needs a lot of work, but it will eventually get done. At the extreme upper left of this photo is town of Alpine. Raade Springs is just out of the picture on the left. There is another mine perched by the small stand of conifer trees at the middle left. The open area in the photo will be an access hatch. It will be a vertical lift type. The town buildings of Dry Gulch will cover the hatch, hopefully making it invisible to the layout visitor.
That is all for this week, next week we will see even more bridges and perhaps the town of Potter Flats. Actually, Potter Flats has been in most of this week’s photos, but carefully placed view blocks have prevented the town from being seen!
David