Backdrops – A Four Person Tag-Team Approach – By Tom Buckingham
Photos by Al Frasch and Rich Blake
Four clinicians (Al Carter, Nick Muff, Al Frasch, and Cliff Aaker) took turns with different parts of the presentation. Al Carter began by briefly describing the three options one has: Plain sky, photo or photo mural and a painted backdrop.
For the plain sky Al provided some photo examples of the improvement accomplished simply by picking your favorite blue sky color and painting your backdrop with that color. The difference was dramatic and very simple.
Al Frasch then showed the improvement that can be had by using three different shades of blue. He painted a board with the darkest shade on the top and the lightest on the bottom. Then with a dry roller he simply blended the three colors where each joined its neighbor. The result was a very nice gradual increase from the darkest blue on top to the lightest blue on the bottom with no apparent “line” separating them. He said he paints about five to six feet at a time and can go about fifty feet or so before he has to get another dry roller.

Al Frasch demonstrating blending techniques
Nick Muff then talked about how he starts with a plain single color blue sky and then adds clouds. As he researched the subject of adding clouds there seemed to be four popular methods: cloud stencils, hand painted clouds, misting with a spray paint to simulate clouds and using a sponge on a stick to in effect “blot” on the clouds. His only comment about the latter method was that the end result looked like “sponges blotted on a blue sky” and were not what he was looking for. Nick ended up using the cloud stencil method. He took pictures of clouds and projected them onlarge pieces of card stock and then outlined the clouds in the projected pictures. When he was done he cut them out and ended up with about a dozen or so different stencils.
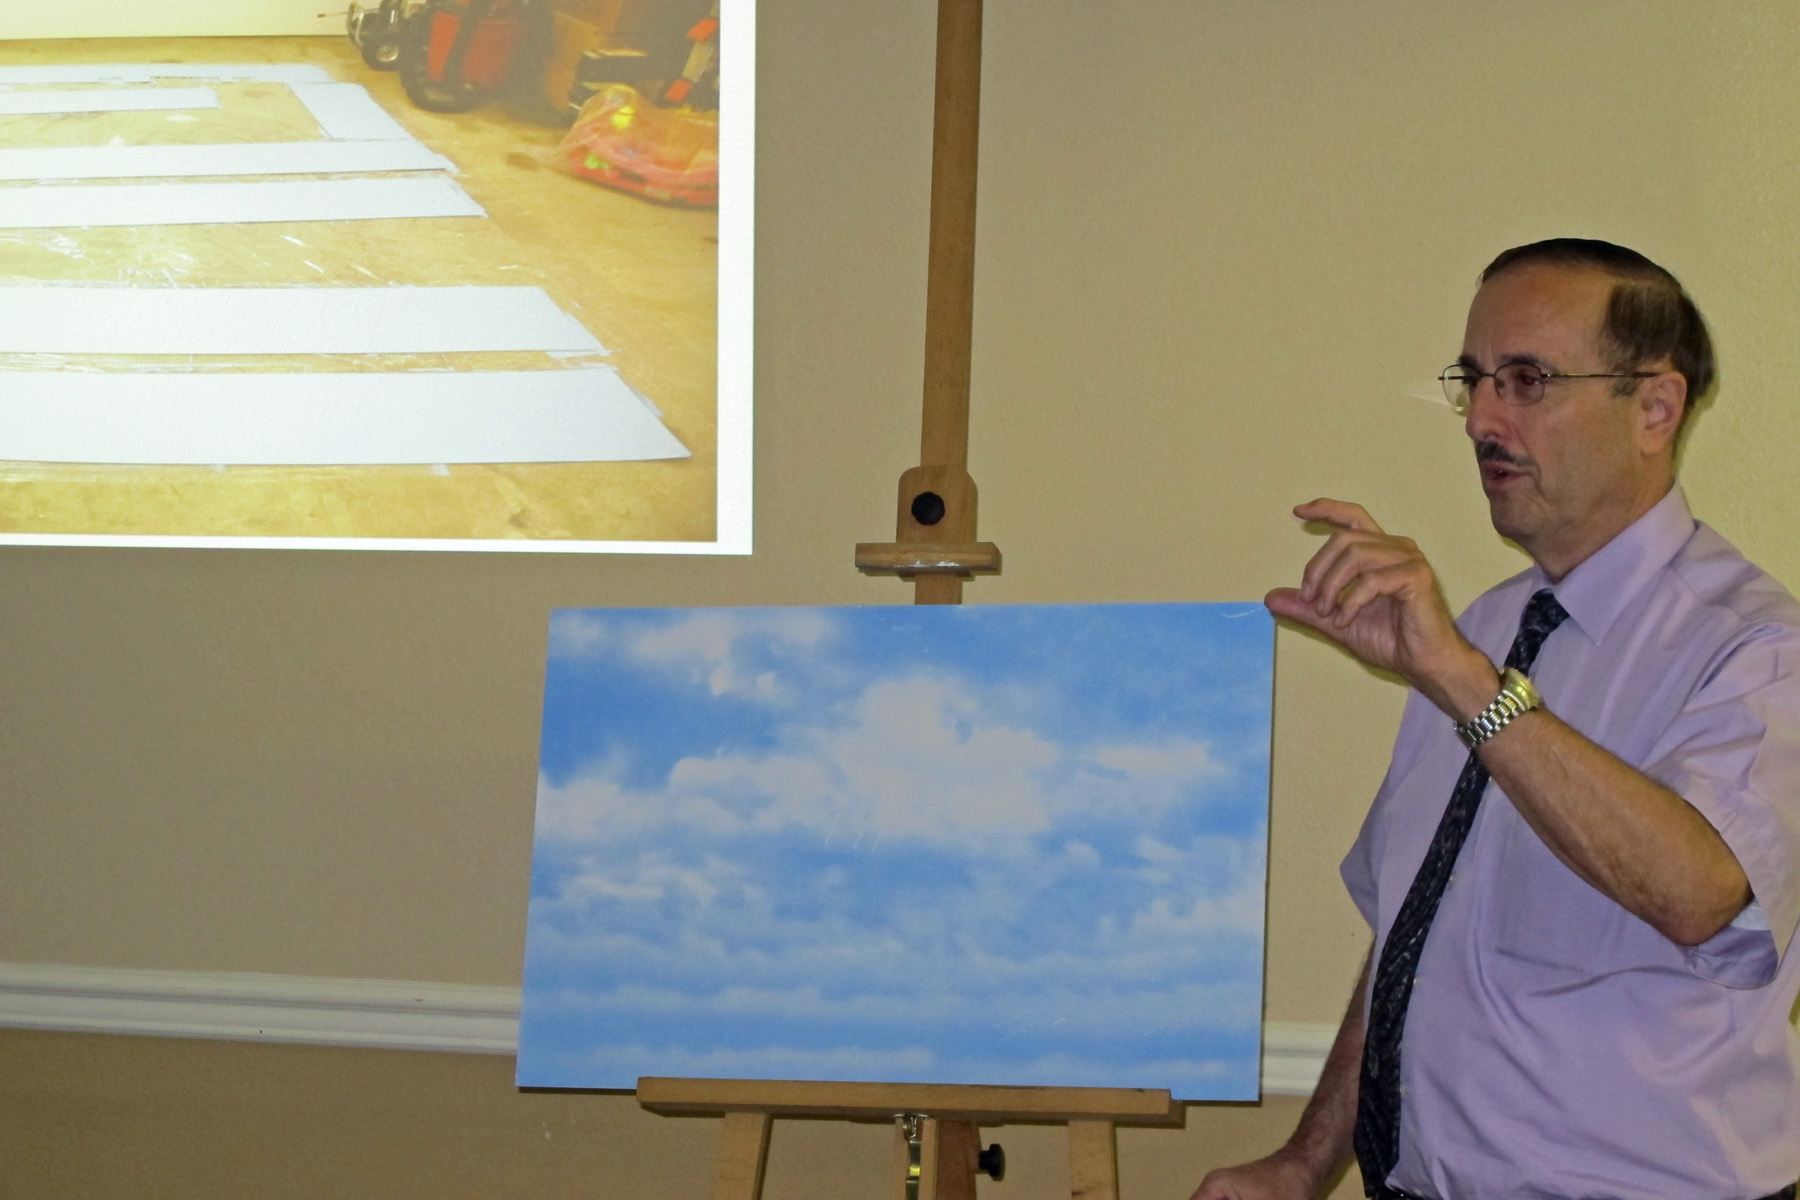
Nick Muff showing a sample of his custom cloud stencils
He chose spray cans of Flat White Krylon because he liked the color and how fast the paint dried. According to Nick the trick to getting realistic clouds is to hold the stencils about two inches away from your backdrop and spray mainly on the top edge of the stencil. The result is a more defined top of the clouds and a “fuzzy” or less defined bottom. As he gets to the bottom of the scene (that is the part representing what is the furthest away) he made the clouds smaller and in straighter lines as you would see if you were outdoors.
He passed on several secrets to realistic success—start with a darker blue than you would probably otherwise use. The blue has to be dark enough to see the white clouds. Start with a light mist and go heavier. Once the cloud is on the backdrop it won’t get any less dense. Flip your stencils end for end after a while to avoid “repeating” a cloud formation. After all, clouds don’t look like carbon copies of each other. Get a spray can “handle” so your finger doesn’t wear out. And most importantly wear a respirator. Nick had several photos of his process and a sample of his end result that was very realistic.
Al Carter then spoke about photo backdrops. You may either buy them commercially (Backdrop Warehouse, and Scenic King) or make your own. To make your own, take some panoramic photos, and then using a photo program like Photoshop Elements remove any photo errors that may have crept in, like paralax error, etc. The result can be printed commercially at Kinko’s or COSTCO, for example.
Finally, Al Carter and Cliff Aaker gave a live two ring circus show demonstrating how to paint trees by hand on your backdrop. Al dealt mostly with the far background trees using mostly very dark colors in the far background and then bringing them up to dark green and then lighter green as you come forward. He was mainly demonstrating the hills of trees that you see as you look off toward the mountains or hills. Cliff concentrated on the foreground trees. Using mostly a “fan brush” he demonstrated how quickly and easily one can paint realistic trees on your backdrop.

Al Carter showing a backdrop painted on the backside of sheet vinyl flooring
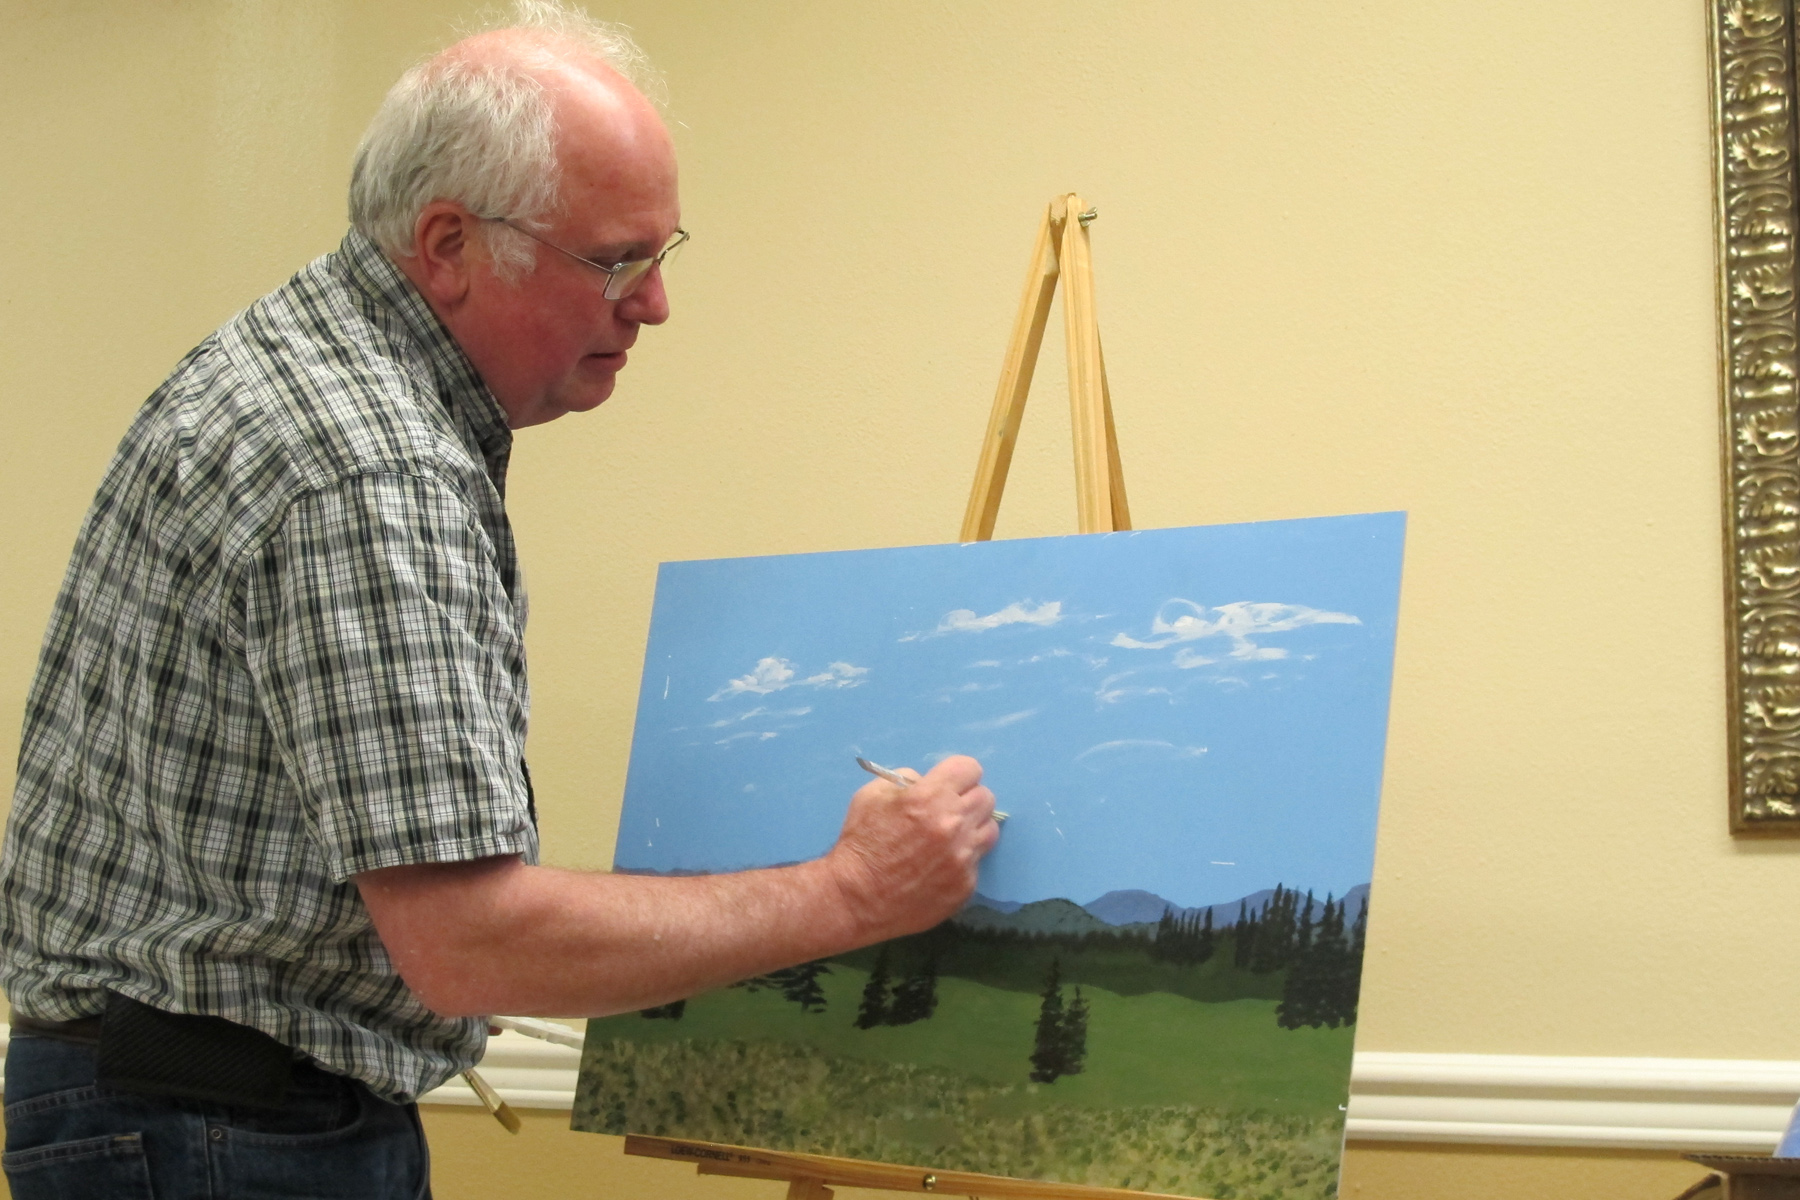
Cliff Aaker painting trees
Both Al and Cliff had several tips for realism: Have an example (a photo) nearby so that you don’t have to paint from memory. Plan ahead—it is a lot easier to paint a back drop if you can stand at the wall than climbing over your layout to do it. Make sure your “painted trees” are not larger than the actual scenery trees you have in the foreground.
Al wrapped up with some very amusing examples of the good, the bad and the ugly.
It was a very enjoyable clinic. There is nothing like seeing someone (in the case several someones) do something live. As Al Carter said: “If I can do it, so can you.”
No Comments Yet