Click here to read the September 2020 issue of The Flimsy Board from the Bremerton Northern Model Railroad club.
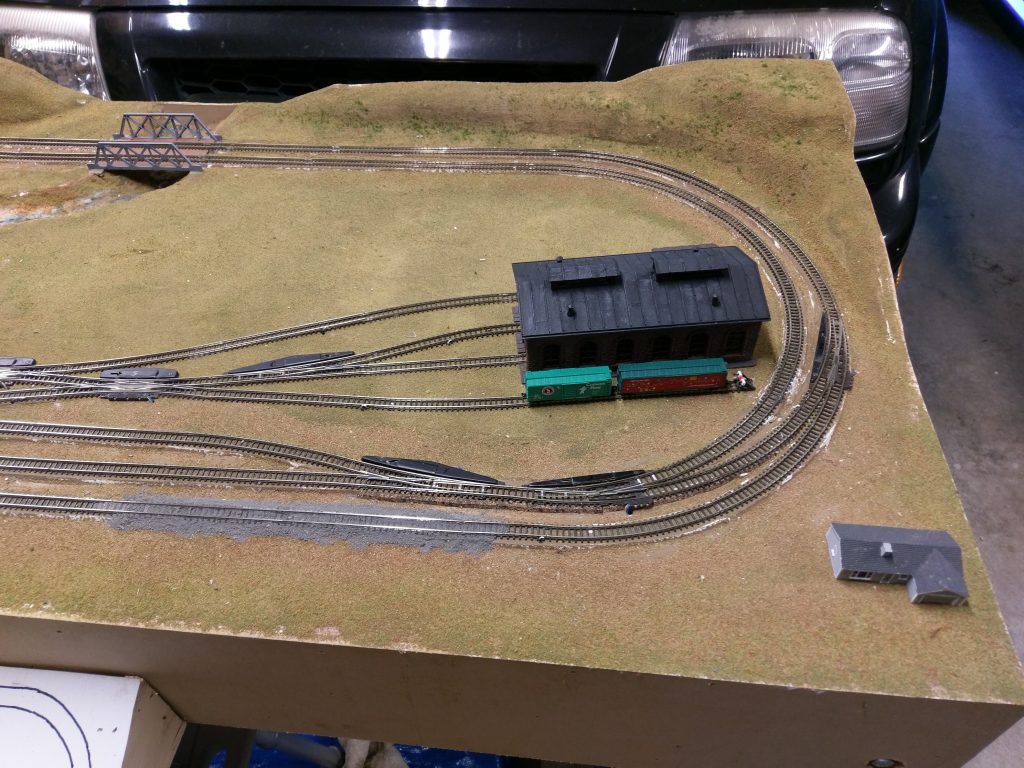
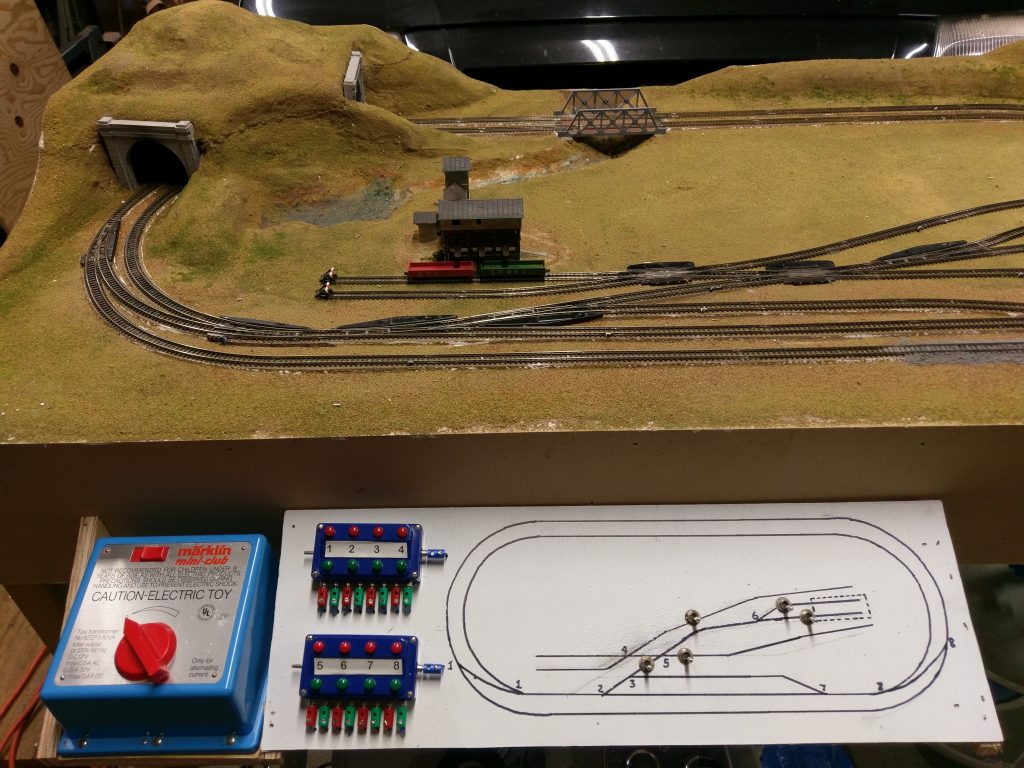
Grab Iron Posts
Learn about LCC at the North Seattle Virtual Clinic this coming Thursday, September 3rd
The Seattle North End Clinic will once again meet virtually for September. There will be no in person meeting.
This month’s presentation will be on Layout Command Control (LCC) by Brian Pickering. Brian will be providing an overview of what LCC is and then demonstrate how you can implement it on your home layout.
These meetings are for NMRA members and guests. It’s a great way to introduce your friends to the hobby. Also, with our meetings being virtual, you don’t have to drive to North Seattle. A win-win all around.
Below is the information for the Zoom meeting. The lobby will open at 6:45pm and the meeting will start promptly at 7:00pm. PLEASE NOTE: We are starting a bit earlier than we did over the summer months.
Thursday, September 3, at 7:00pm (lobby opens at 6:45pm) — all times PDT
Zoom Meeting link:
https://zoom.us/j/96056774153?pwd=ZjdnaUlvc3R0YUwwTTg1TG0rV0VtZz09
Meeting ID: 960 5677 4153
Passcode: 621667
Looking forward to seeing you on Thursday!
Lisa Murray
northseattle_organizer@4dpnr.com
communications@4dpnr.com
David Yadock’s Dry Gulch & Western Railroad – Part 6
By David Yadock
Dry Gulch & Western, A Photo Series Part 6
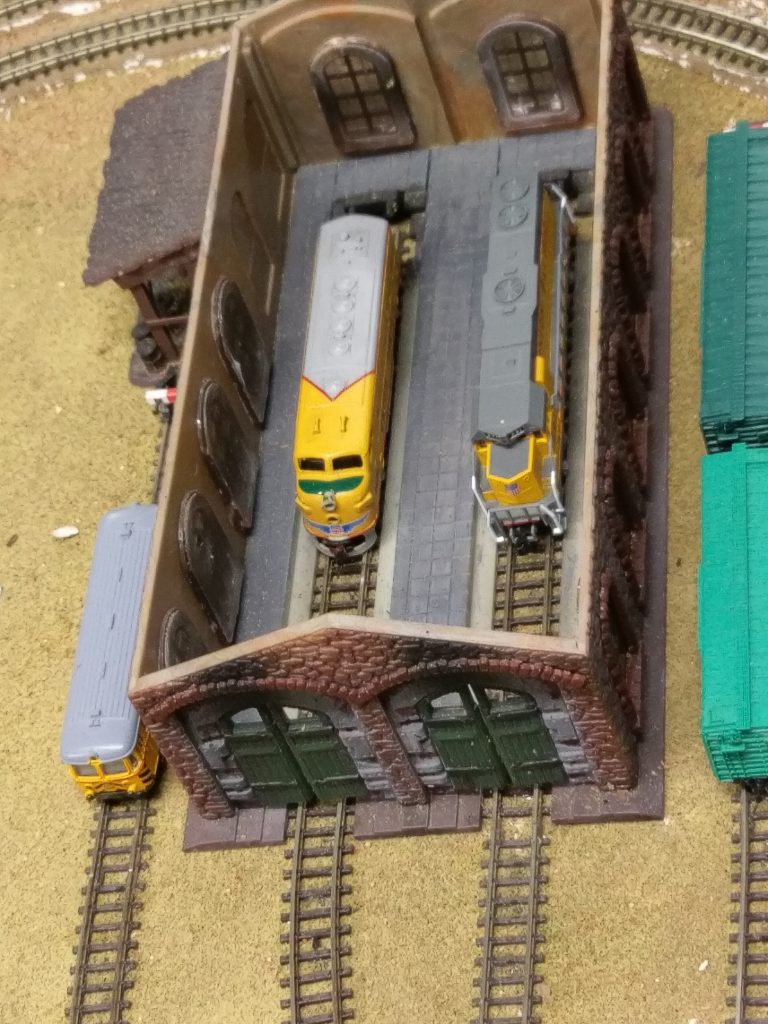
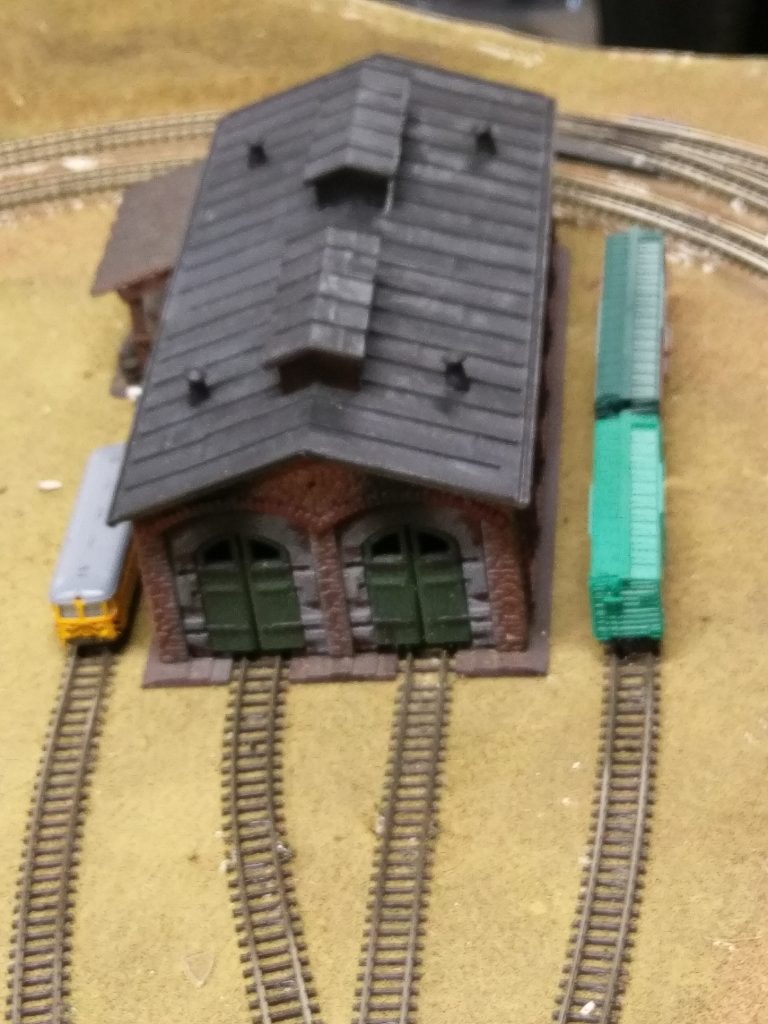
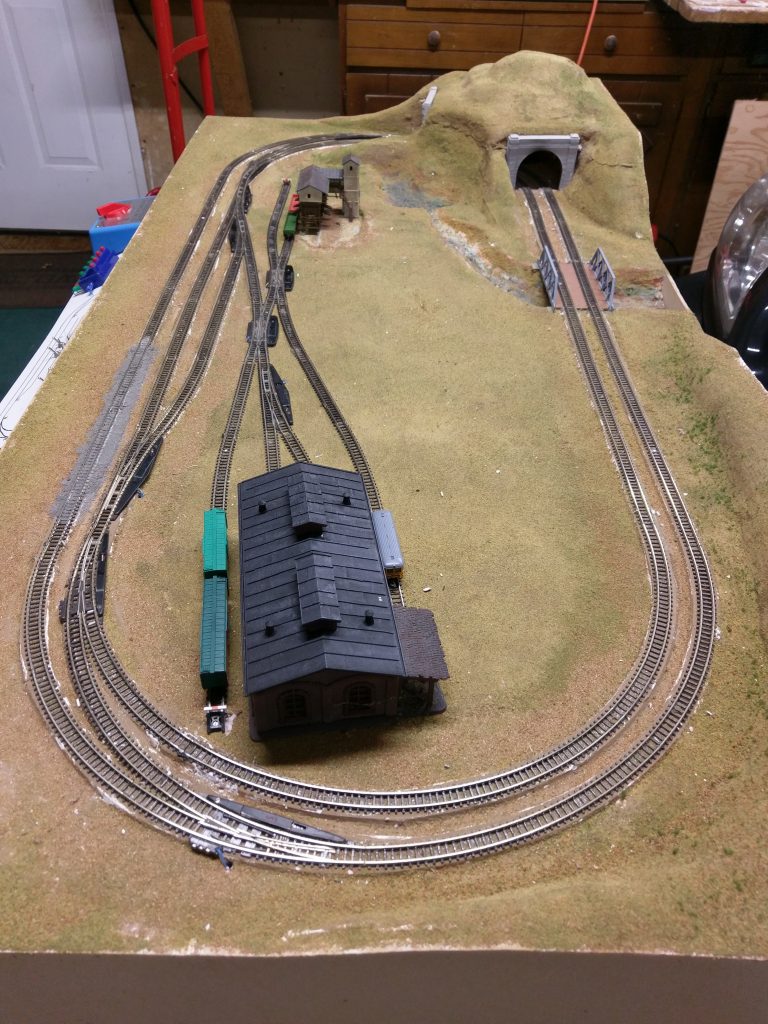
The Dry Gulch & Western has a varied list of motive power. I currently use quite a variety of different brands and wheel arrangements. There are Broadway Limited, Bachmann, Con-Cor, Proto 2000, modified Kato, Trix, and modified Athearn locomotives on the roster. The vast majority of the locomotives are sound equipped. I have begun (finally) lettering the locomotives for my railroad. Yes, this took a while, but it is slowly progressing. I have also begun the task of re-motoring some of my brass locomotives. I plan to add quite a few of them to the layout since I have been collecting them for years. They really should not be in cardboard boxes all of their life! Unlike John Allen, I have several diesels on the layout. Several Kato NW2’s usually “play” in the yards at Ellison and Newport. They are painted in the early SP tiger stripe configuration. I have two cow and calf sets for that purpose. There is a rather large fleet of Santa Fe F7 diesels on the layout. I originally started with a vintage Athearn F7 A and B powered set that I did a sound decoder installation. Since then I have added some Proto 2000 F7s also in the Santa Fe Warbonnet paint scheme. Did I also mention I have a couple of BLI Pennsy Sharknose diesels that run freights on the layout? Yes, I am a Pennsy fan, so those locomotives are allowed to run on my layout. So, let’s get back to the layout photos.
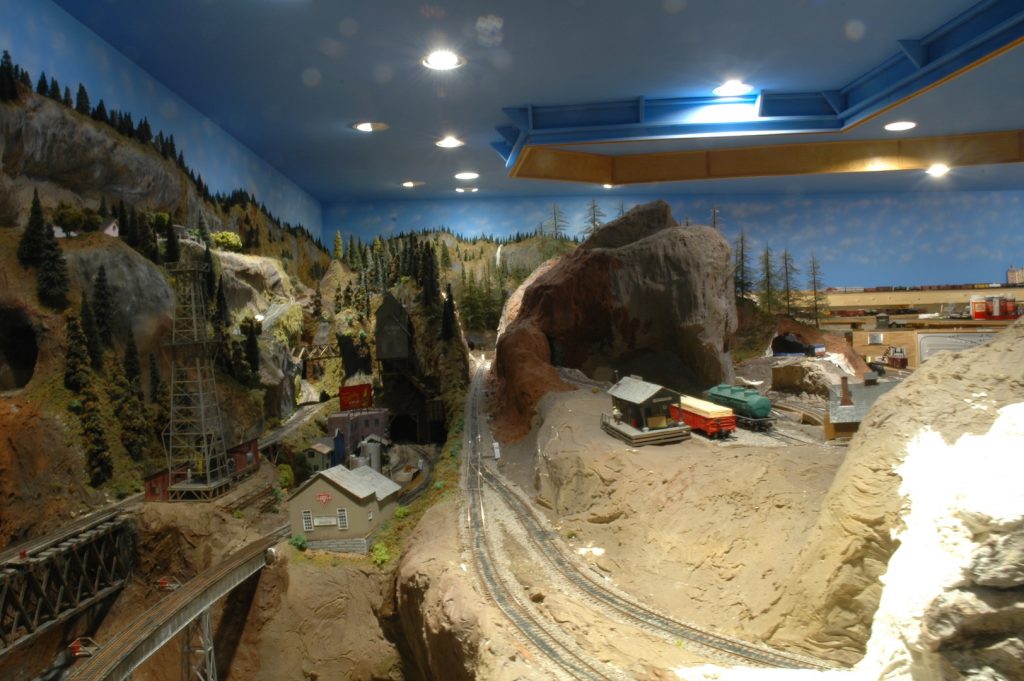
In photo 26 you are still looking back at Ellison, Taylor Junction, and all points beyond. This gives you a good view of both large control panels. These panels house most of the turnout controls for layout. Since they are only a couple of feet apart from each other it makes one-person operation of the layout’s mainline fairly easy. Continuous running of trains can be accomplished by changing direction of just two turnouts.
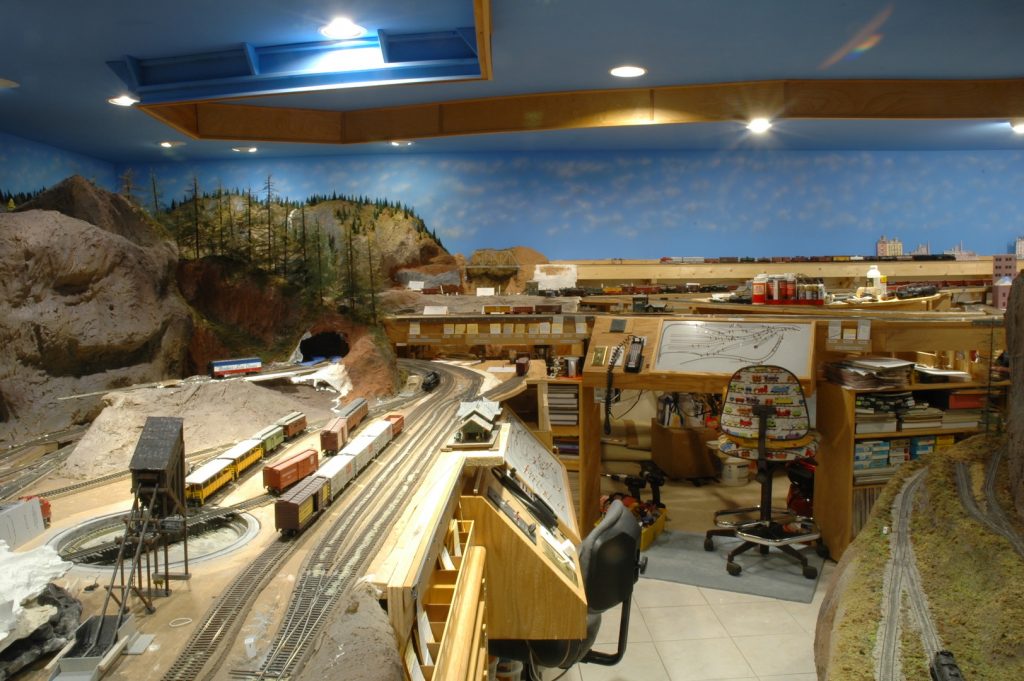
Photo 27 is a view of the very first bridge I built for the Dry Gulch & Western. It is located directly behind the tall gray mountain spire in photos 22 and 23 of part 4 of this series. It is a tall curved wooden trestle that carries the mainline. If it looks familiar this is my attempt to create the Ryan Gulch scene from the famous Gorre & Daphetid. This photo also shows the aisle in the floor to ceiling area of the layout. The blue colored carpeting mimics the color of a river.
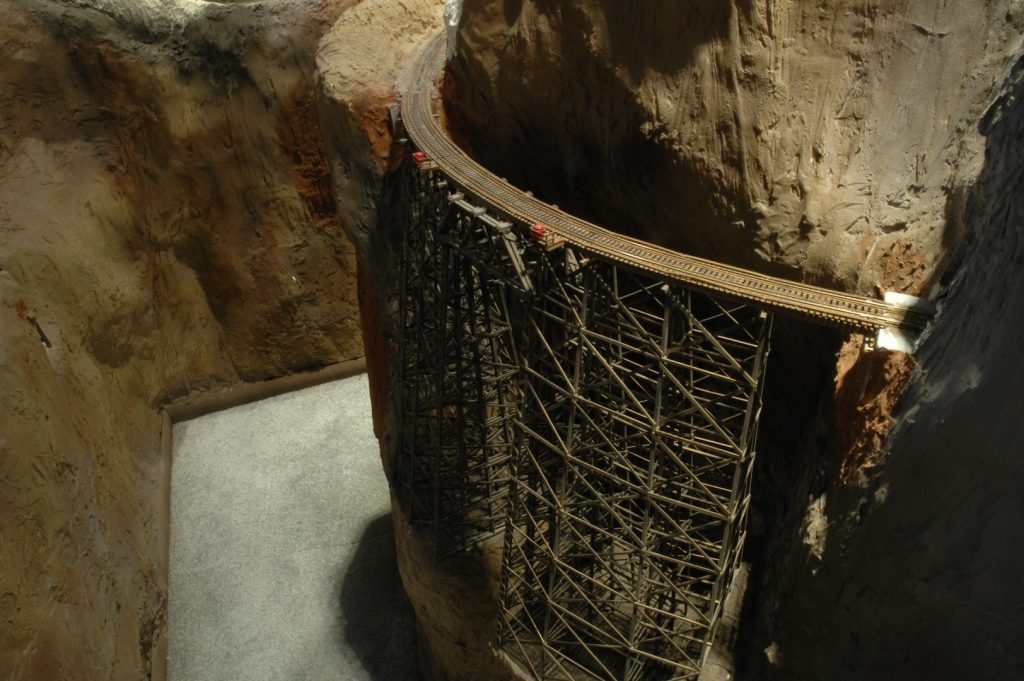
Photo 28 shows the view looking down the canyon. At the center top of the photo is the town of Alpine. Just around the bend from the wooden trestle is the hamlet of Raade Springs. Further around from the wooden trestle is the town of Potter Flats.
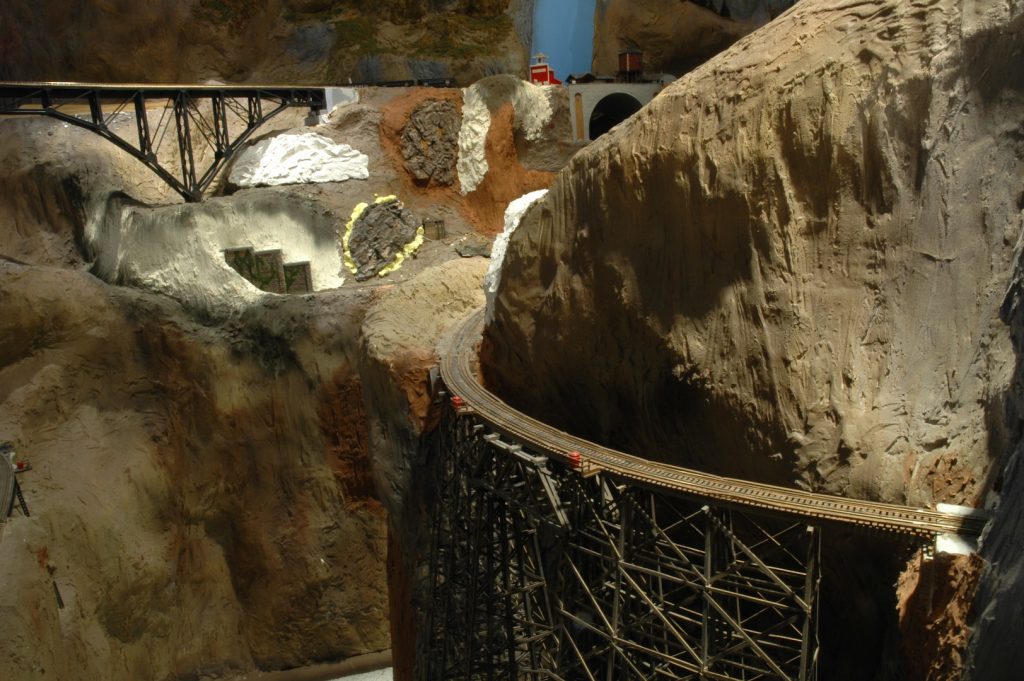
Photo 29 gives you the first view of Potter Flats. There is a mine and an oil drilling operation at that location. The little building above the rock outcropping in the foreground is Raade Springs station. (Please note that there is a lot of the scenery in this area that isn’t quite finished yet. That has significantly changed since Covid-19 and those pesky “stay at home” orders. At the end of this photo series I will try to post updated photos of this area.) On the left of this photo is my version of French Gulch, another borrowed or should I say “liberated” scene from the Gorre & Daphetid. Can you spot the large access hatch in this photo? It is almost in the dead center of the photograph.
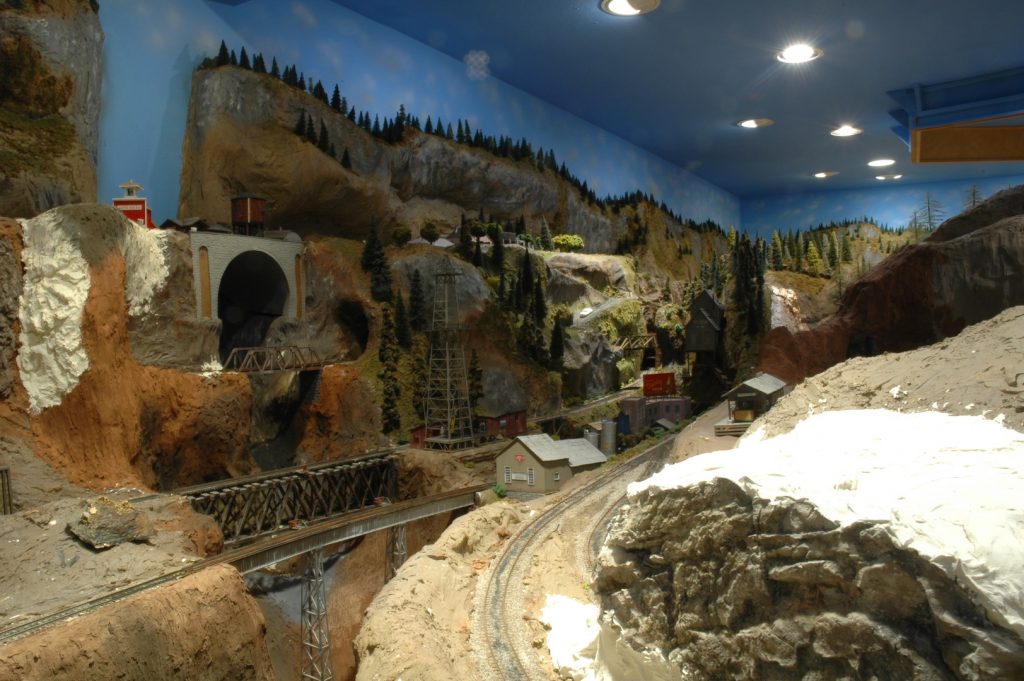
Photo 30 gives you a really good view of how things fit on the layout. It also shows the advantage of correctly placed view blocks. Let’s go across this photo from left to right. On the extreme upper left is the town of Alpine. As you go down into the valley you encounter Potter Flats. The rail line running straight up the photo travels to Gornitzka Crossing and beyond. The switch that sends the rail line off into the tunnel in the foreground is a sort of “backdoor entrance” to the town of Dry Gulch. Notice how the view blocks hide Gornitzka Crossing! In this photo to the right is Raade Springs with its small station. Even further to the right is Dry Gulch.
That is it for this week. Next time we will look at some more scenery under construction along with some of the bridges that hop from mountain to mountain. Did you folks ever find that access hatch in photo 29? Keep looking!
David
4dNTRAK Group Annual Meeting, August 29, 2020
by Al Lowe
The 4dNTRAK Group will hold its annual meeting on Saturday, August 29, 2020 at 10:00 a.m. via Zoom. All members are encouraged to log in and anyone interested in joining the group is also encouraged!
Here’s the link to the meeting. See you at 10:00.
https://us04web.zoom.us/j/78100140403?pwd=bGMrMU9kQ1YzMExGQ2I2Rmd6M3FnQT09
Meeting ID: 781 0014 0403
Passcode: 5ivcTS
National Narrow Gauge Convention is Online

Check out the website of the St Louis National Narrow Gauge Convention. The meetings were cancelled, but much of it is online this Saturday, August 29 and on the 5th of September.
There are three clinics and two layout tours each Saturday.
Here is the link. http://40nngc.com/
Russ
ZOOOOOOM
Technology is upon us. Just in time, it seems since, all our normal gatherings have been shut in. No train shows and no clinics. No visiting others layouts. Bummer.
By now, many of you have discovered the power of meetings online. With Zoom, we can meet while sitting in the comfort of our own home. No need to drive across town in the rain and traffic. No need even to shave or get out of our very casual comfy clothes. Munch discreetly on a snack and sip a cold one while a well organized presentation is displayed before us.
Now we can visit beautiful layouts without fighting for a close parking space or elbowing into a crowded layout room. We get to really see all that is there. Our host has an opportunity to thoroughly tell the story of his railroad vision. And, since it is recorded, we can visit it again, anytime.
Our clinics can easily accommodate larger attendees and the presentations can come to us from anywhere in the model railroad world.
Thanks to Burr Stewart and Bill Messecar for organizing and presenting this to us. The schedules appear regularly in the Grab Iron. So, turn on the computer and tune in.
Russ
Z Scale Layout For Sale
By Al Babinsky
A Maerklin Z scale layout on a 2×4 table with removable legs. Come with lots of a accessories Amtrak F-7 and passenger cars, UP F-7 and GP -38 caboose and various freight cars and Maerklin track cleaning car. Two stall engine house, gravel loading facility and several buildings including a station. Layout not finished but is operational in analog only. Must be picked up or will deliver within Seattle area for gas fee.
Asking $ 300.00
Contact me at babinskya@comcast.net
Al
For Sale
By Al Babinsky
1998 Roco HO DB ICE set. This is an early 1:100 scale Digital set complete with early Roco Lokmaus and oval track and extra cars. The reason the set is 1:100 scale to make the train appear smaller as in real life compared to the 1:87 scale. Asking $ 150.00 contact me at babinskya@comcast.net for photos and more info.
Thank you,
Al Babinsky
Saturday’s 4DPNR Zoom layout tours!
By Burr Stewart
This Saturday, August 22, 10:00am to noon, will feature another pair of local area layout tours on Zoom, sponsored by the NMRA’s PNR 4th Division. The first is a tour of Al Lowe’s N scale modules, set up in his garage, featuring some amazing N scale scenery craftsmanship. The second is Greg Wright’s 1:32 (3/8” scale on HO track) north central Washington freelanced Consolidated Republic Mining Company layout, by looking closely a the six mines and two mills served by this unique model railroad, that he scratch built. After each 30 minute presentation there will be 15 minutes for Q&A. Here is the Zoom information you need to watch it:
Join Zoom Meeting
https://us02web.zoom.us/j/87624697618?pwd=dnF6L3Y4L2QyTHhHWVZpL1ZmTHI4Zz09
Meeting ID: 876 2469 7618
Passcode: 272952
August 2020 Eastside Virtual Get Together Clinic
Announcing the Eastside Virtual Get Together Clinic to be held on THURSDAY, August 20, 2020 at 7:00 PM Pacific Daylight Time
Hello, everyone! I’m happy to announce our next Eastside Clinic will be held virtually on ZOOM next Thursday, 08/20, starting at 7:00 PM (We have switched back to Thursdays by popular demand!). Since our clinics are virtual these days, I would like to extend an invitation to the entire 4th Division and encourage you to join our Clinic next Thursday. You’ll meet some of the other modelers here in the Puget Sound area and see some of the outstanding model work that is being done. The log in info for the clinic is below. So be sure and save the date for the August Eastside Clinic next Thursday, 08/20 at 7 PM!
Topic: August Eastside Clinic Zoom Meeting
Time: Aug 20, 2020 07:00 PM Pacific Time (US and Canada)
Join Zoom Meeting
https://us02web.zoom.us/j/86859299442?pwd=YVJ3SU8xV2h2MUtwZ0NzNU53WjJLdz09
Meeting ID: 868 5929 9442
Passcode: 909838
One tap mobile
+12532158782,,86859299442#,,,,,,0#,,909838# US (Tacoma)
+13462487799,,86859299442#,,,,,,0#,,909838# US (Houston)
Dial by your location
+1 253 215 8782 US (Tacoma)
+1 346 248 7799 US (Houston)
+1 669 900 6833 US (San Jose)
+1 301 715 8592 US (Germantown)
+1 312 626 6799 US (Chicago)
+1 929 205 6099 US (New York)
Meeting ID: 868 5929 9442
Passcode: 909838
Find your local number: https://us02web.zoom.us/u/kdkPF48Ufd
Our virtual Clinic this month is titled “Scenery- Making It Work for You and Your Layout” and will be presented by David Yadock. David is a very talented local MMR modeler. The clinic will examine scenery planning and execution specifically on David’s Dry Gulch & Western Railroad. It will look at scenery base materials and some various techniques used to create realistic scenes that can be applied to your layout. There will be information for the novice to the expert model railroader.
After the Clinic, we will have some time for other folks to show off their latest model work in our “Show and Brag” segment. The Clinic will wrap up with some administrative comments.
Alex Brikoff, 08/14/2020