Article & Photos By David Yadock
Dry Gulch & Western, Update 9
In the last update you were able to see the new access hatch that was placed in the town of Dry Gulch. For this update, I’ll show you how it works and how this type of hatch makes life a lot easier when conducting maintenance. I would assume that there is some interest in its construction and operation.
Most modelers use a variety of ways to gain access to areas of their layout that is inaccessible from an aisle. The most common type is the simple “lift-out” hatch, this type is a simple cover to a hole in the layout. These are easy and quick to construct but difficult to actually use. One must usually find a place to put the hatch while doing maintenance.
My sliding hatch operates using a simple 1 x 4 pine board that is housed in a shaft built from four pine boards of the same size. It uses a single L-shaped lift mechanism for simplicity. Since the weight/size of the hatch is not too heavy only a single lift support is used. When raised, the hatch is held in place with a nail. A hole was drilled at a desired height completely through the shaft and hatch support. A wide pen mark on the support rails notifies the user when full extension is achieved.
Photo 47 shows the access hatch fully extended to allow access for maintenance. You will also note that the access hole is rather large to allow easy movement for maintenance. This was necessary since there are several locations on all sides of the hatch that require maintenance access.
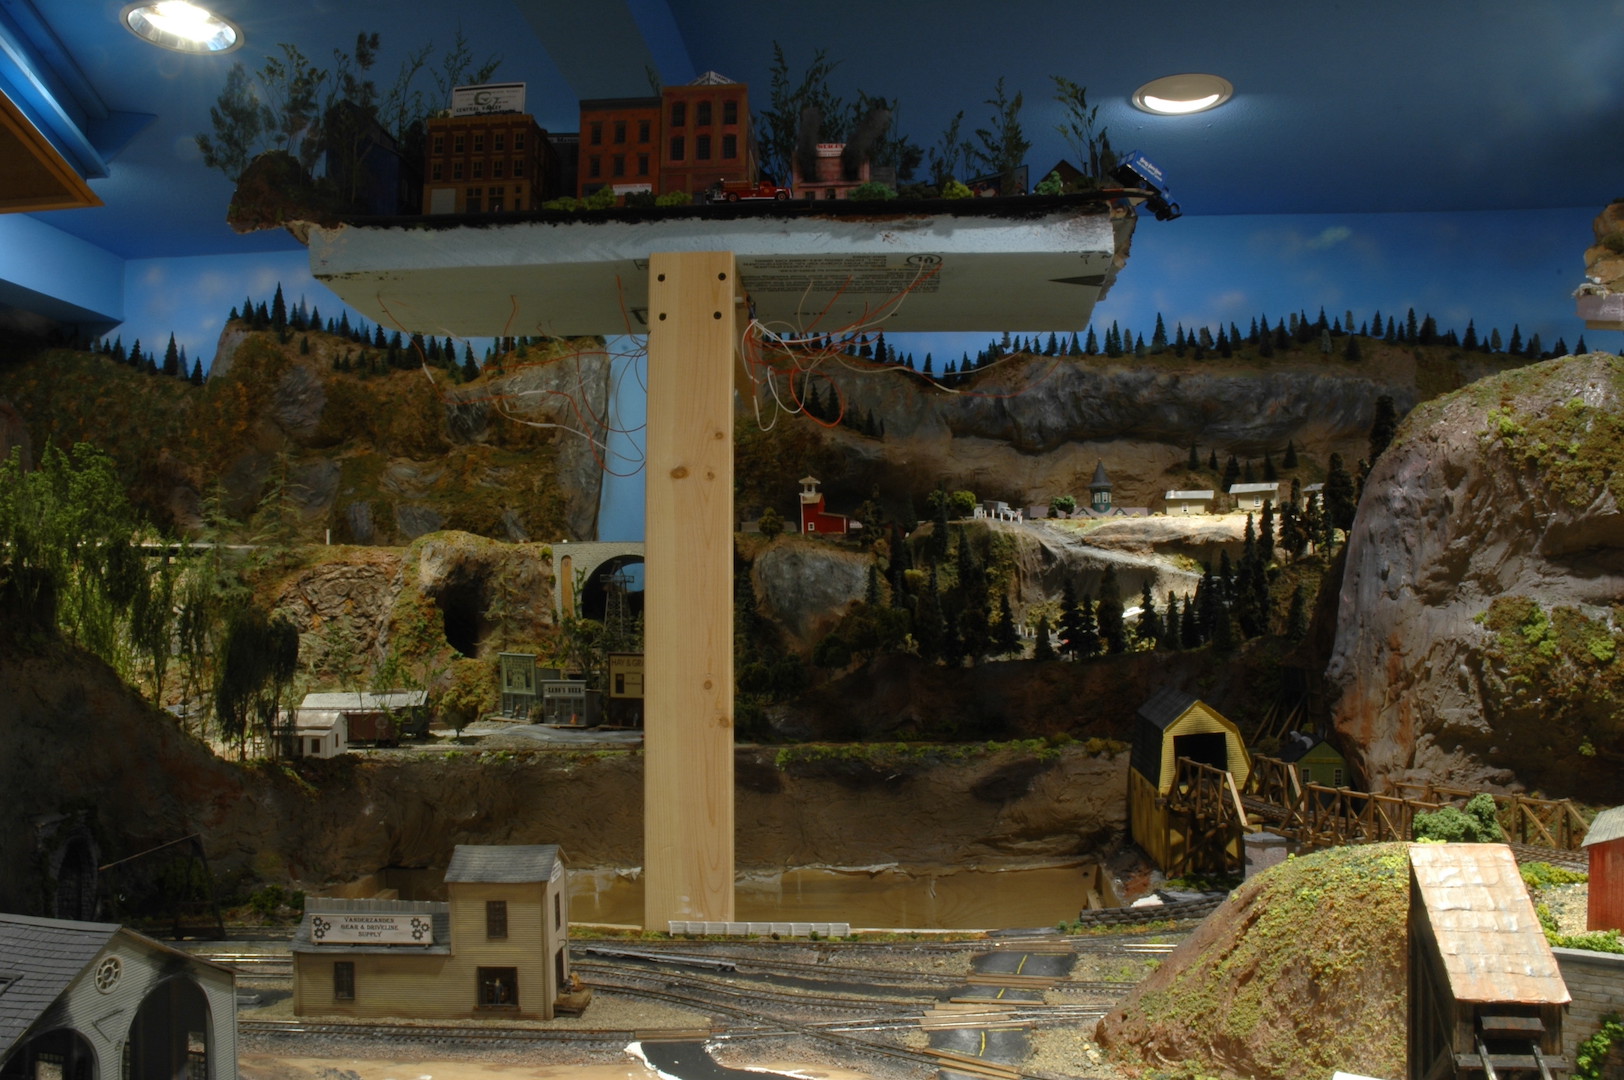
Photo 48 gives you an idea of the simple construction of the shaft. The shaft is not completely enclosed. This was done to save on wood and remove any possible binding issues of the hatch support.
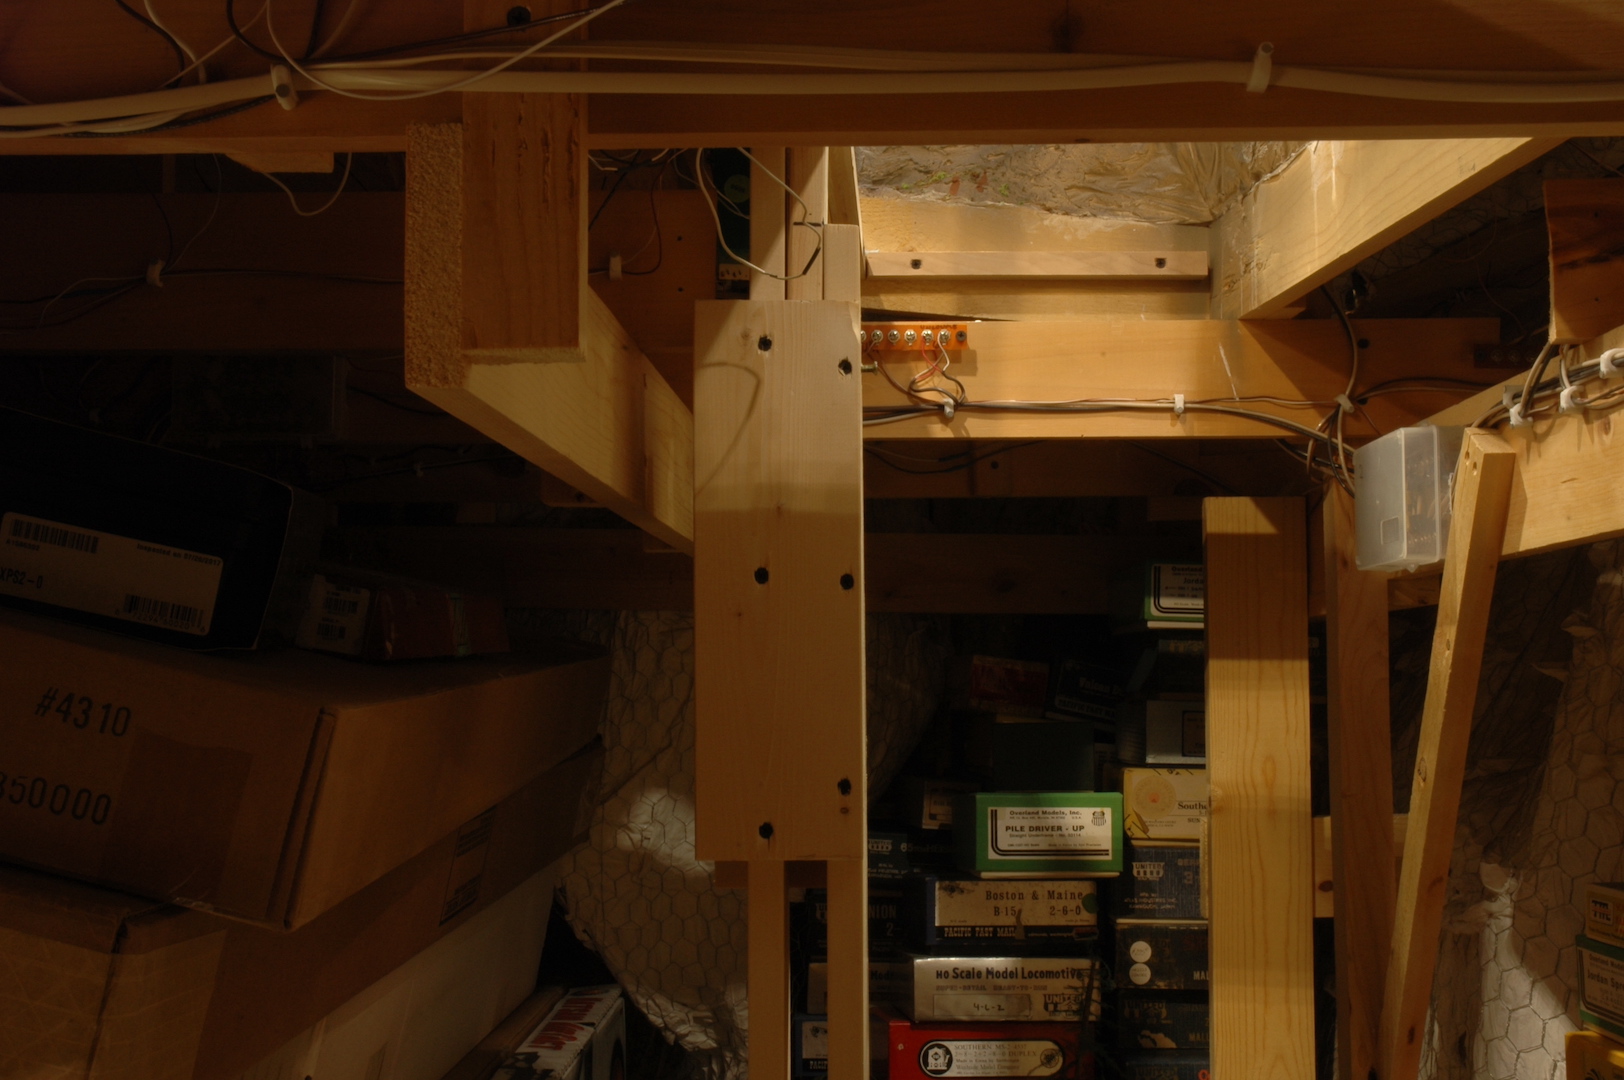
Photo 49 is a close-up of the nail placement. This nail goes completely through the hatch support and shaft enclosure to ensure the hatch will not inadvertently drop down.
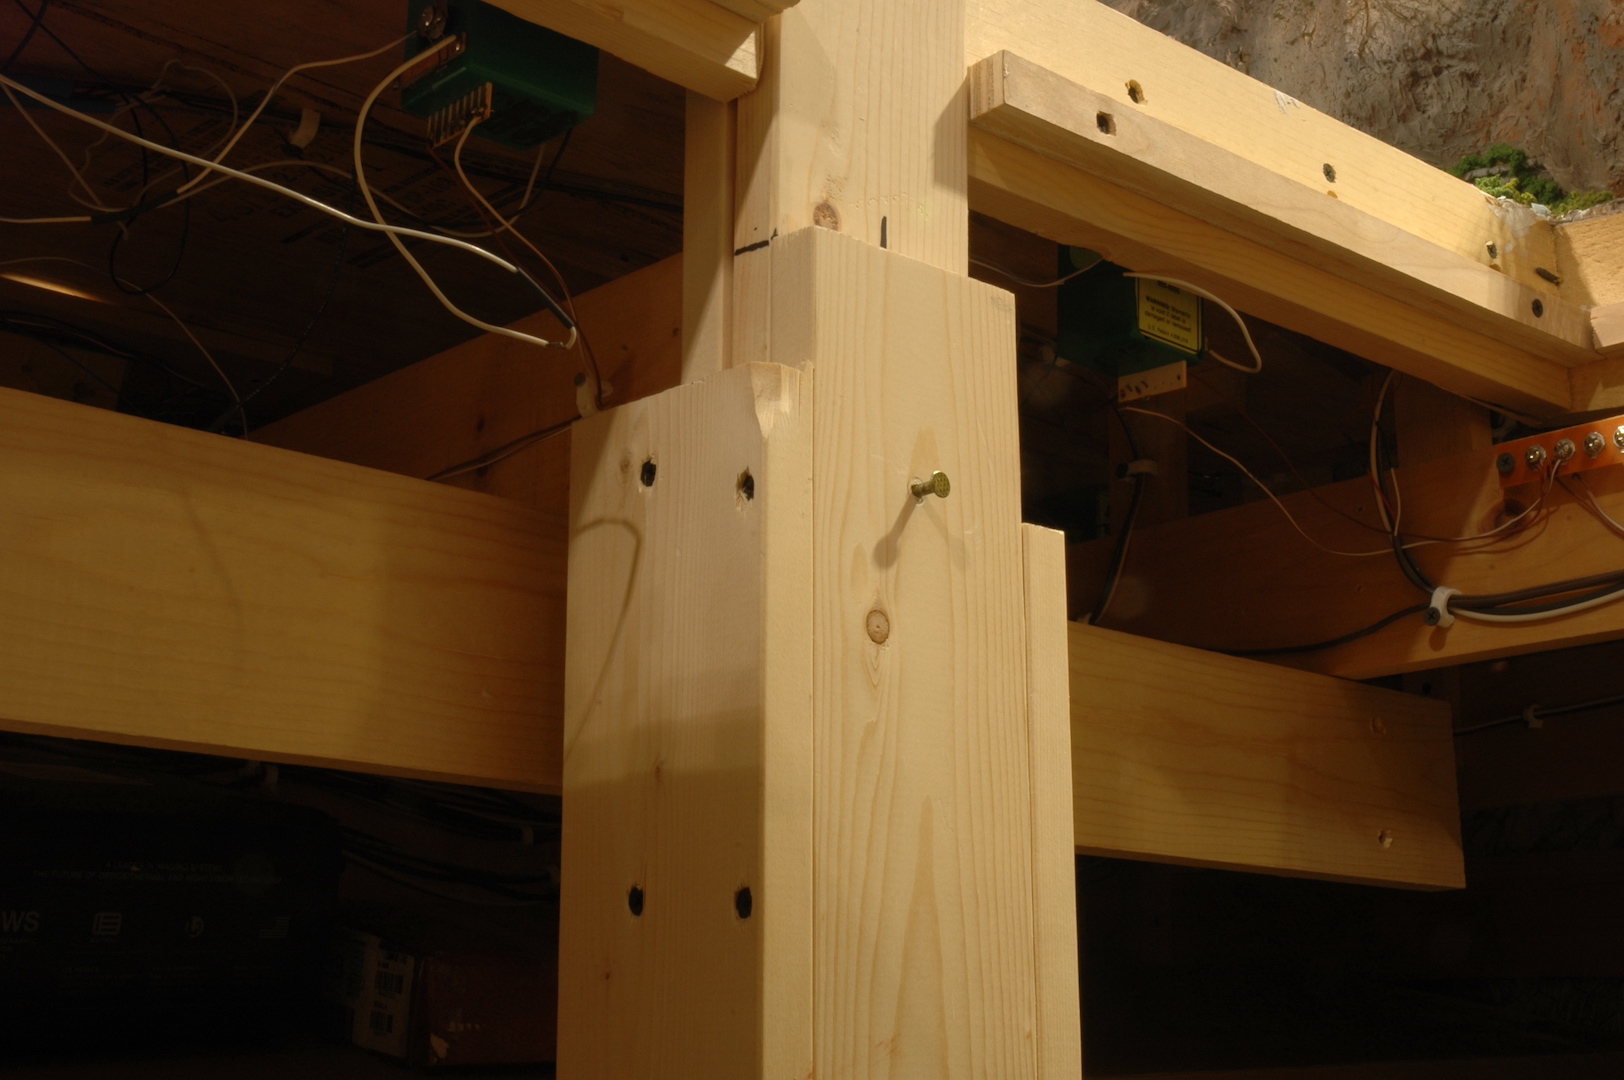
Photo 50 shows the line drawn on the hatch support. This acts as a guide when pushing the nail into the hole.
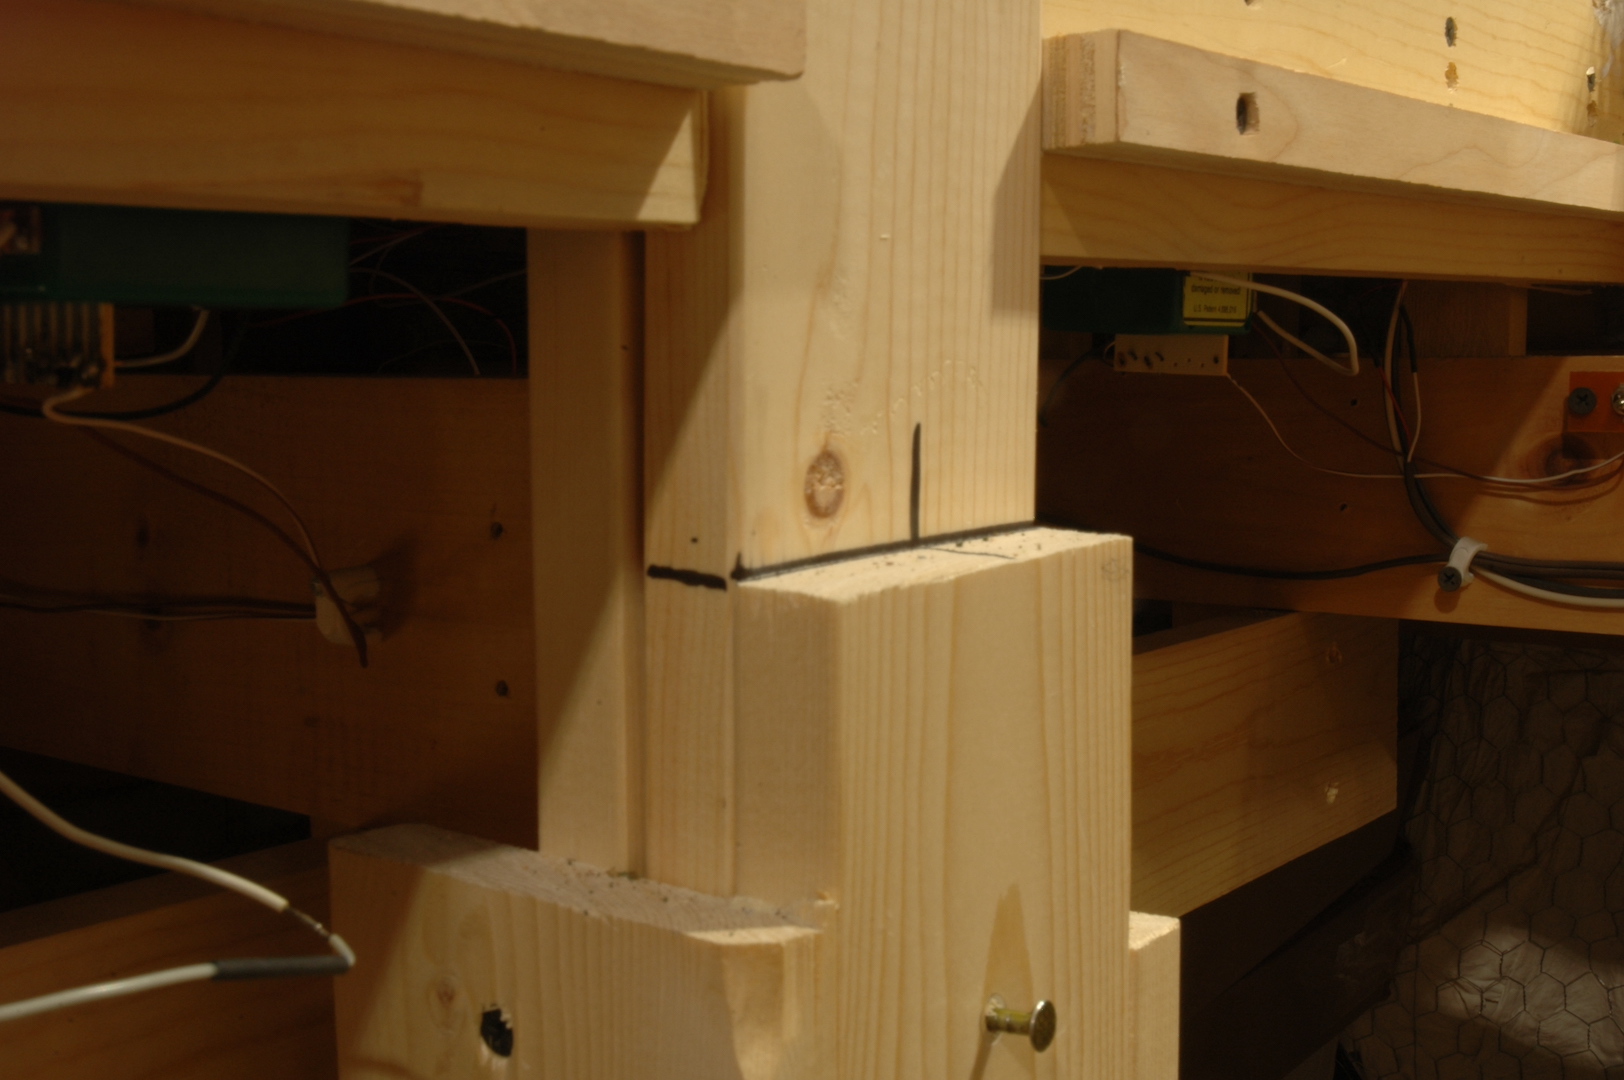
Photo 51 shows a trick I used to hide the hatch seam that runs along a roadway. I glued the back wheels of a large box van type truck to one side of the roadway that is on the hatch. The other side of the truck’s wheels are not glued down. This large truck straddles the seam and hides it quite well!
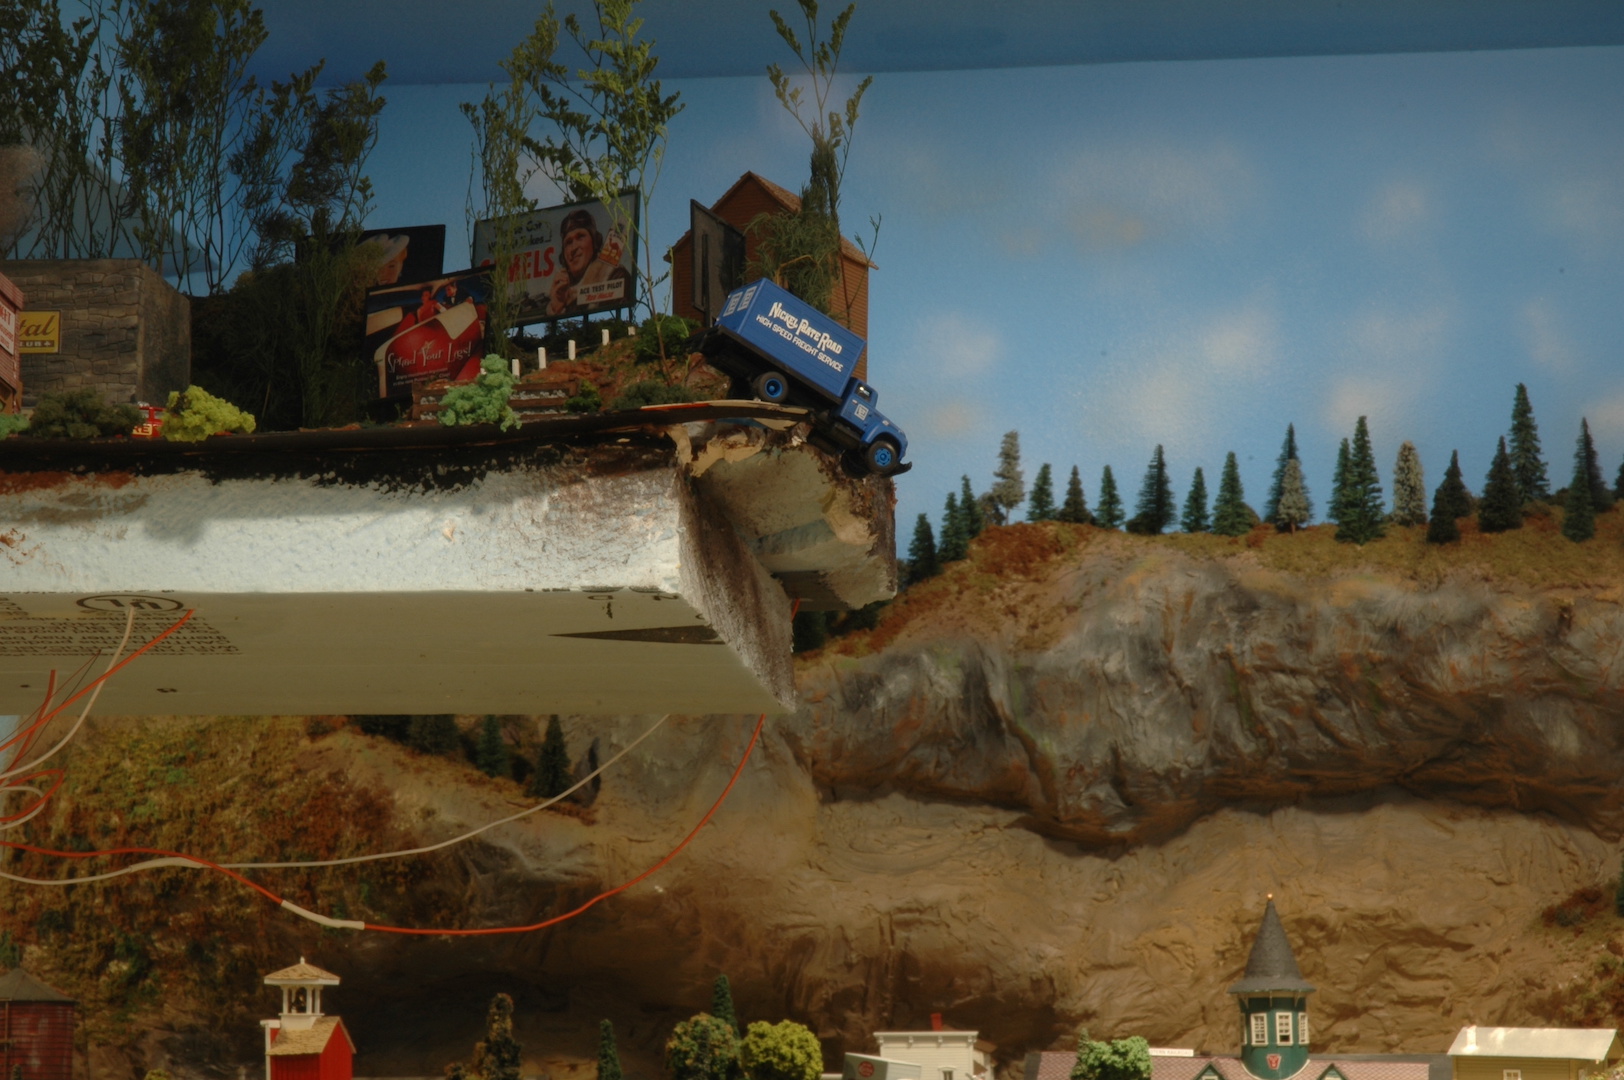
Photo 52 shows the hatch back in place. The dangling box truck from photo 47 is now back at rest on the roadway! Notice how that box van helped hide an offending seam.
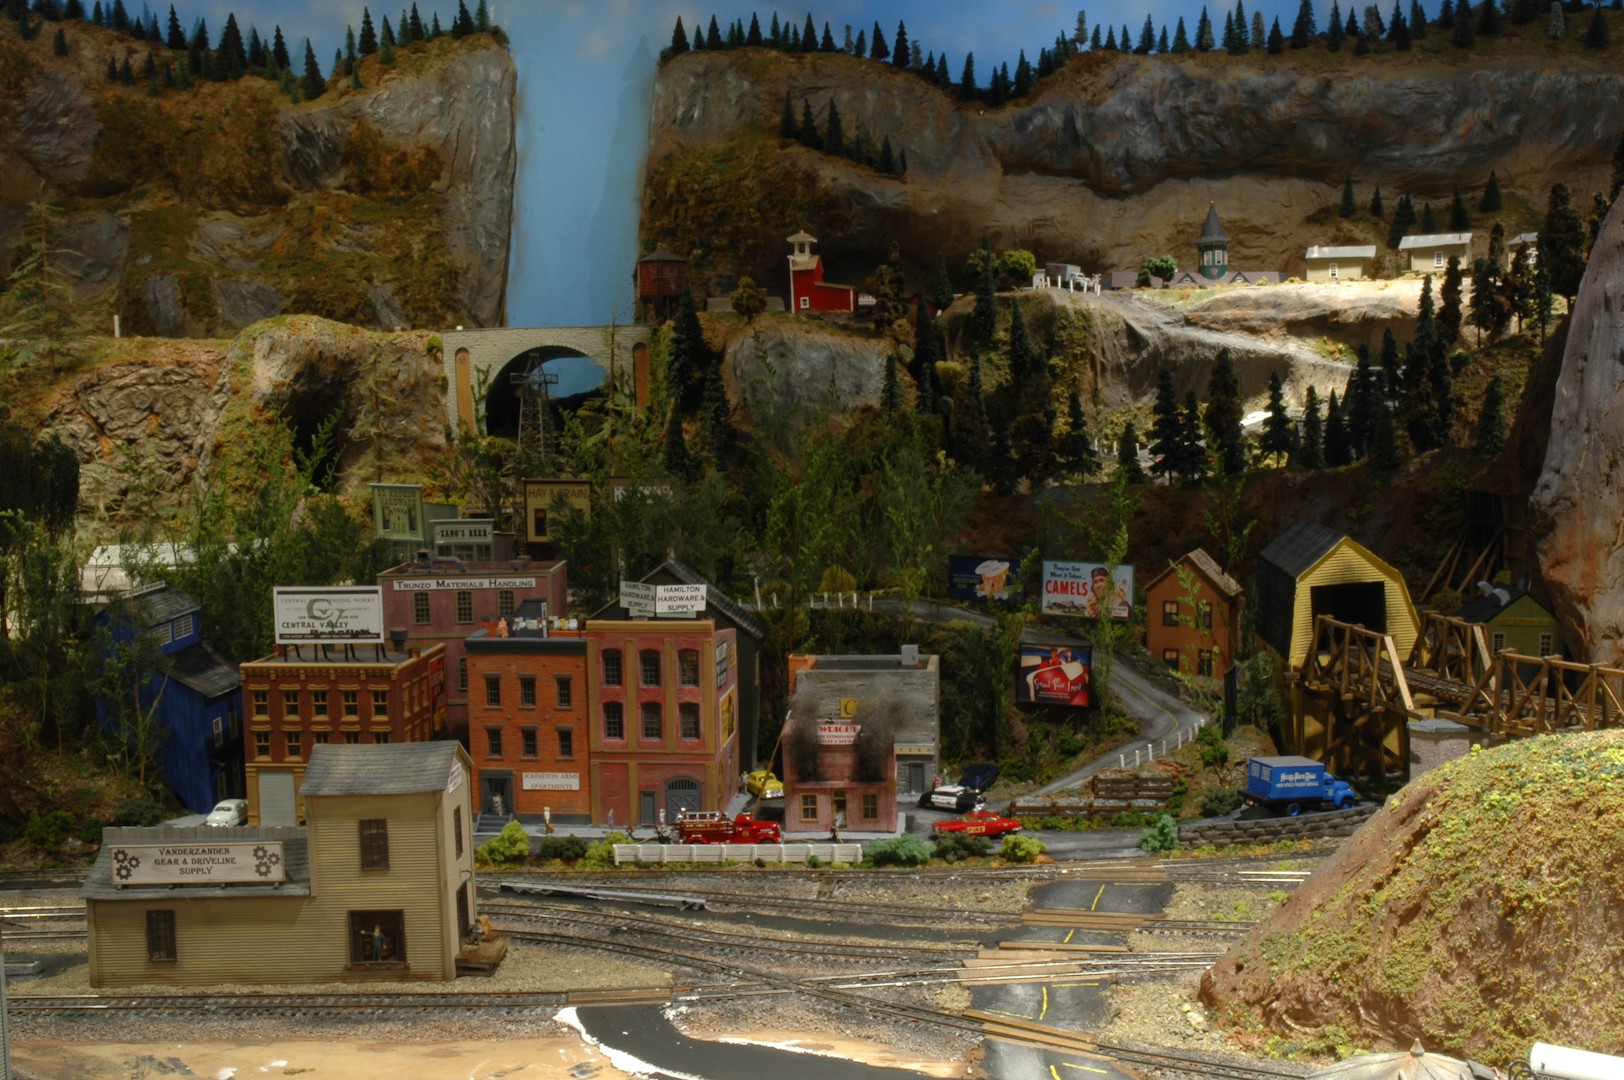
Photo 53 has Santa on his way!
In the next update I’ll show you the new scenery additions to Dry Gulch. Progress is being made on the locomotive service facilities as well as other parts of the layout. I hope everyone has a Merry Christmas and a Happy New Year.
David
Super!