Article & Photos By David Yadock
Dry Gulch & Western, Update 10
It has been a while since my last update. I thought I would do a little different update this time. Instead of reporting on scenery progress I would report on other items taking place on the Dry Gulch & Western. There have been several additions to my locomotive fleet. All of these have been either re-builds of Ebay specials or in one instance a modification of an old AHM model. I believe more folks should take this approach for adding to their own fleet of locomotives. All it takes is some time, patience, and a few choice tools.
I have been very busy updating and weathering my freight cars. The corresponding car cards have had photos of their respective car added to them. This has been a monumental task since I have well over 200 freight cars on the layout at any given time. Now all my freight cars on the layout have some form of weathering applied to them. Operators on the layout can easily find a specific freight car since they have a reference photo of the car on the front of the car card. I admit I stole this idea from Jim Younkins!
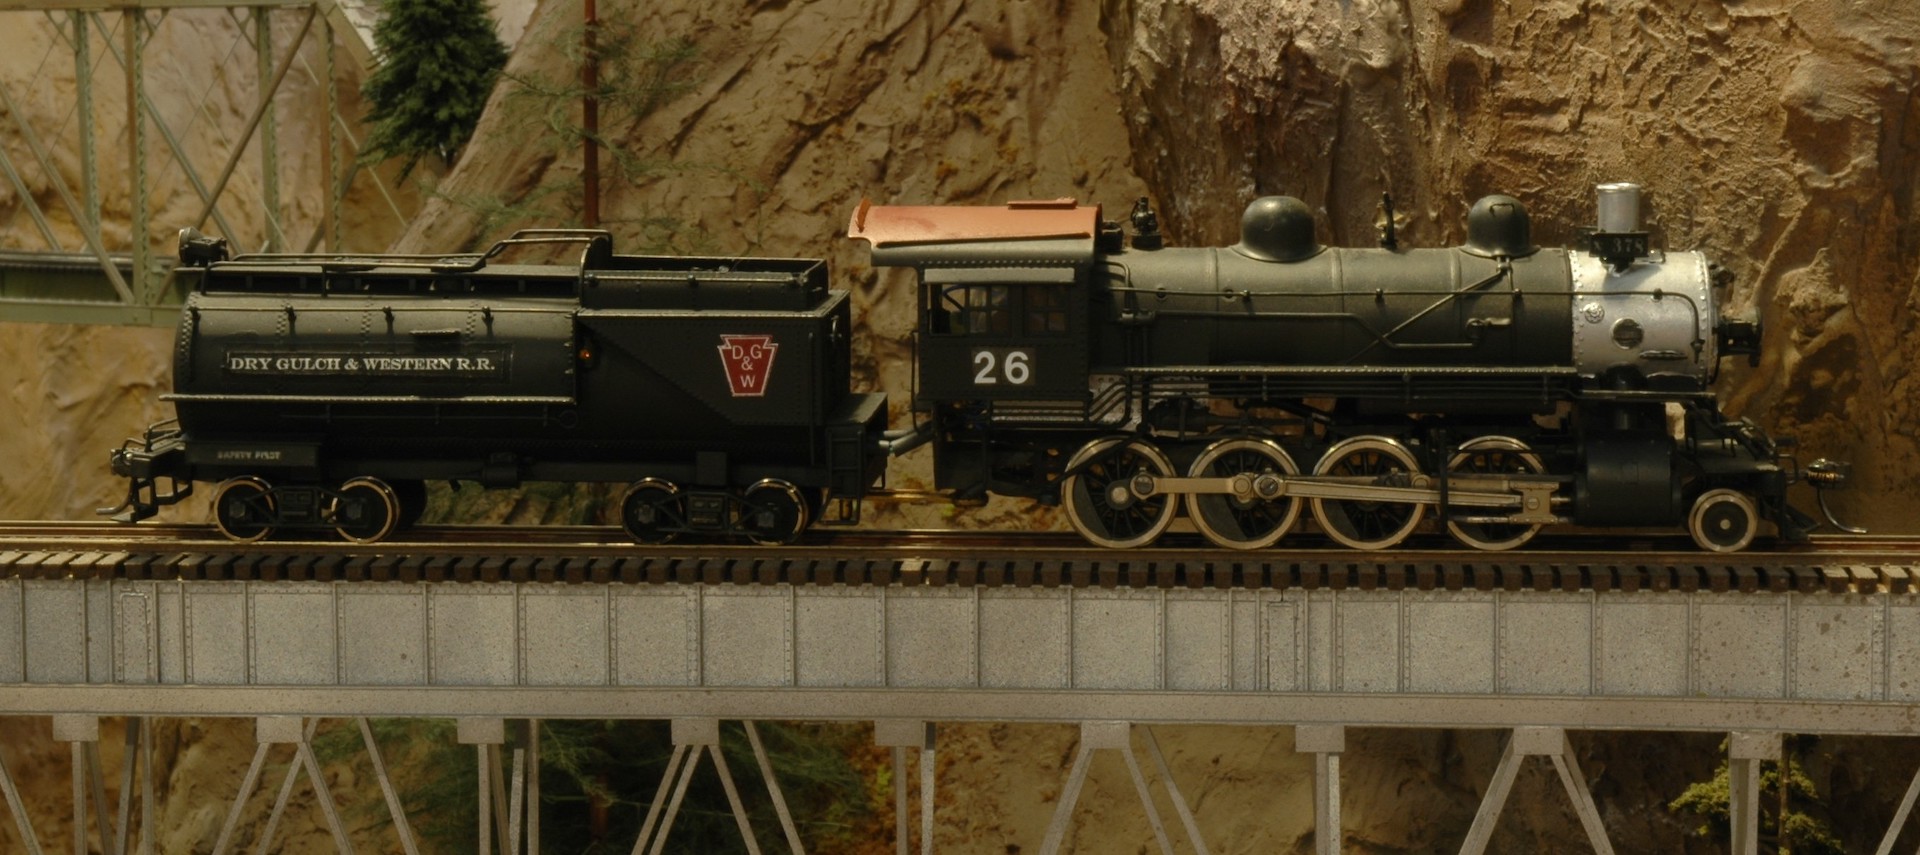
In this photo you can see the end product that was produced from another of my basket case purchases off of Ebay. This is a model of a PFM UP 2-8-0 locomotive. I’m not quite sure what the previous owner did to this locomotive, but the drivers were not in quarter. The tender was missing a wheelset and the back convex portion of the Vanderbilt tender tank was missing. I admit I have dealt with worse off locomotives but this one was in sad shape. I replaced the gearbox and motor. I installed a new motor mount, motor, and driveline. The drivers were checked for gauge and re-quartered. The cool thing about this re-build was that I could install a DigiTrax sound decoder and Stay Alive system in the tender since the back was missing. I did install new wheelsets on both tender trucks. I only needed to enlarge the holes on the tender trucks to accept the new wheelset axles. For the rear convex section of the tender, I found an old plastic Roco tank car that gladly accepted the challenge to be the donor. I was able to saw off the convex portion of the Roco tank. It almost fit perfectly into the tank of the tender. I did need to remove about 1/16” of the bottom for it to slide into the tender tank. I added a couple of stops onto the inside of the tank to keep the new convex section positioned correctly. I lightly glued it in place with Walthers Goo once the decoder was installed. The new tender back is easily removeable by gently prying it away from the tender tank wall if the decoder needs repair. Yes, it isn’t all constructed from brass, but the new paint job hides this deception very well.

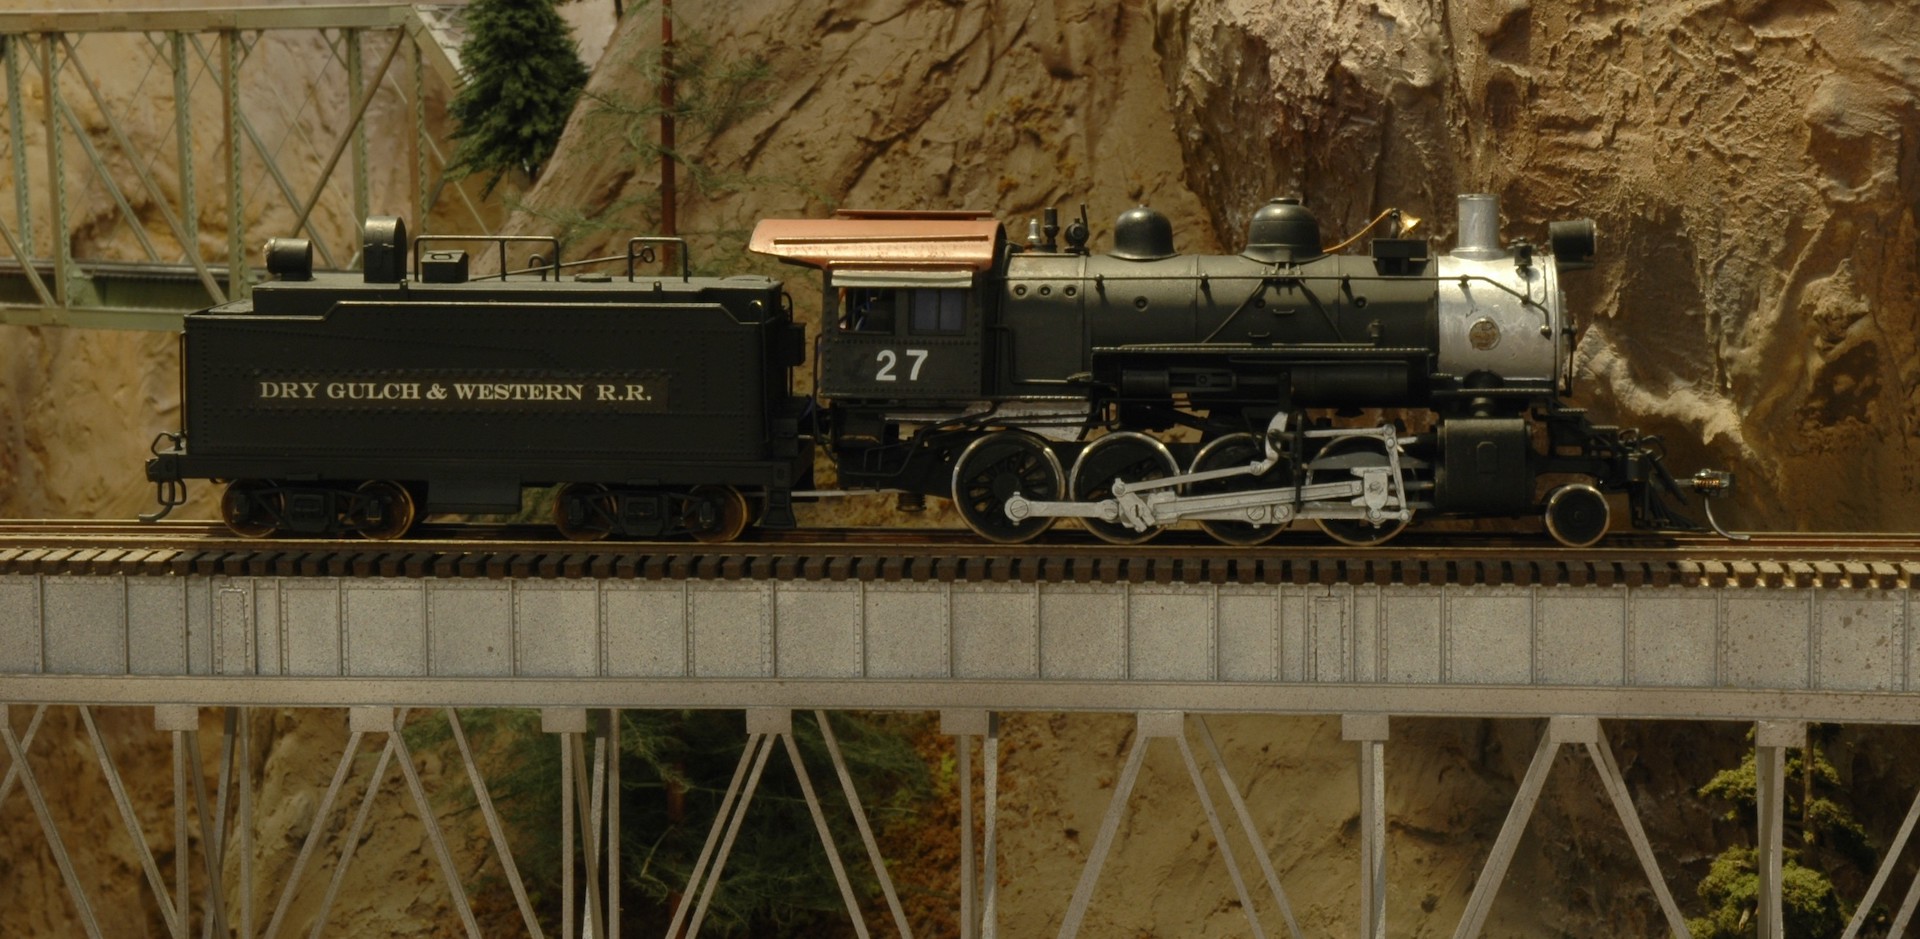
This locomotive began its life as a model of a SP C-8 2-8-0. The manufacturer is unknown. I bought it many years ago on Ebay without a tender. The locomotive had some issues since the motor was an open frame type and the gearbox/driveline was completely shot. This time the drivers were in quarter! I had an extra PFM ATSF 2-8-0 tender that was a separate Ebay purchase, so I mated the two together and produced this model. The model had a Mabuchi can motor installed with a custom mount. A new driveline was fabricated and a new NWSL gearbox was installed. This locomotive, like all my other locomotives, had several modifications. A DigiTrax sound decoder and Stay Alive capacitor system were installed. A firebox LED light, working front headlight, and working rear backup light were also installed. This old model was brought back to life and will be working on my layout for many years to come.
I bought this model of a PFM ATSF 2-8-0 years ago at the Boeing Employees swap meet. It was a good price and thought it would be an excellent model to run on my layout. It had already been painted, but the paint was way too gray. Even the valve gear had the same gray paint! The coloration didn’t look right. I did the normal modifications on this locomotive to make it DCC compatible. Again, a Mabuchi can motor was installed with a custom motor mount. A NWSL gearbox was installed with a new driveline. I installed a DigiTrax sound decoder and Stay Alive system in the tender. A “sugar cube” speaker was attached to the back portion of the boiler weight. It fit very well in that location and produces nice sound. A firebox light, front micro LED headlight, and micro LED back up light were installed. Of course, the locomotive was repainted and lettered for the Dry Gulch & Western.
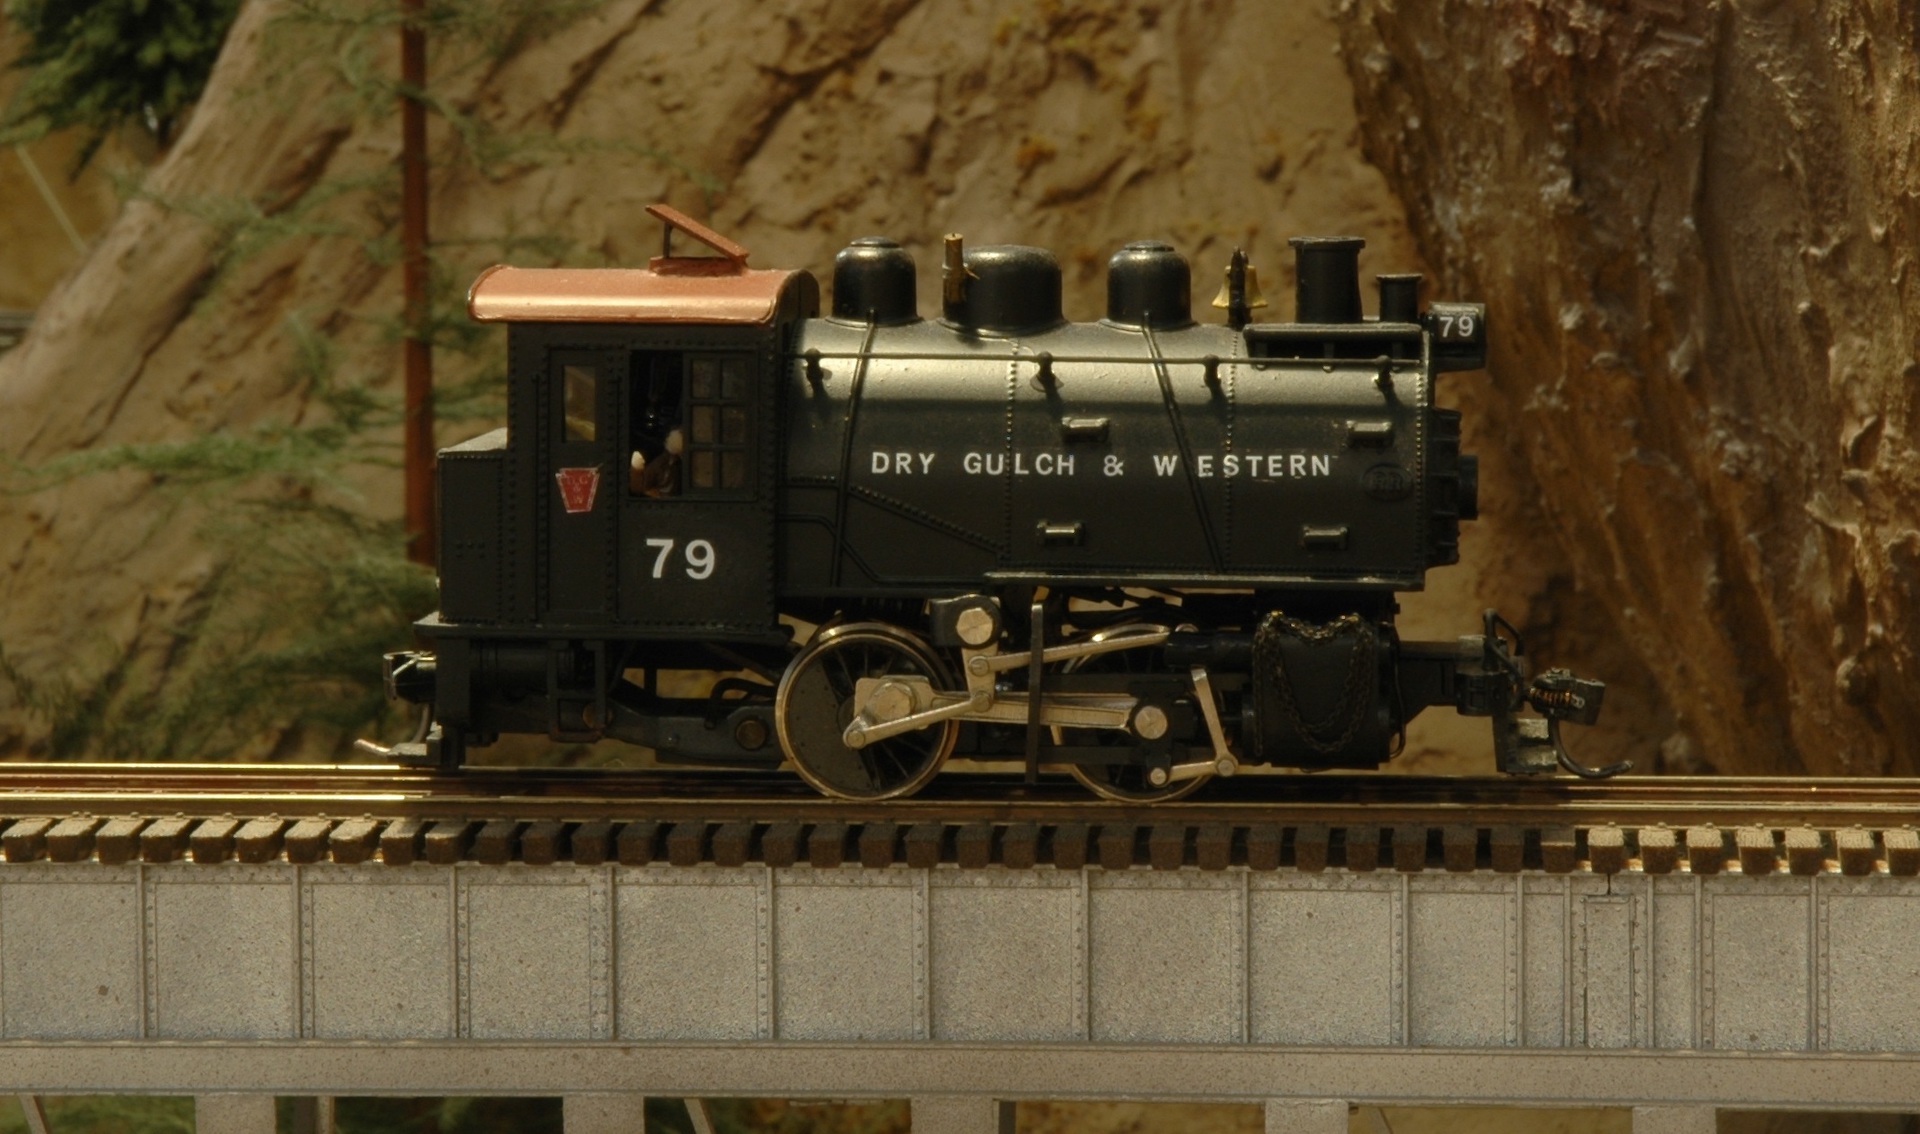
This locomotive started out as an AHM (Rivarossi) model of the famous B&O 0-4-0 Docksider locomotive. The locomotive in an unmanipulated form is a fine model if your layout has code 100 track and is not DCC! I liked this locomotive from the first time I saw it back in the 1970’s, that is why I bought it back then. I have always wanted this locomotive to be able to run on my layout. Now was the time to make some changes. My standard Mabuchi can motor was too large to fit in the locomotive without creating a custom driveline. I decided to use a smaller micro-can motor to fulfill the installation. Yes, this motor only has an 8-volt power rating, but it can be used to power this locomotive. Since this locomotive is relatively small, realistically it can’t pull a large string of freight cars, so this tiny motor will not be overtaxed. To use this motor, you only need to adjust your voltage output settings on your decoder to 6 volts. I used the original worm gear and bull gear located on the driver. I installed the old worm gear onto the new motor shaft by making a custom coupling. The original motor mount was used to mount the new motor. The wheel flanges were carefully filed down to the correct depth to allow this locomotive to run on even code 55 rail. A small Tsunami Econami sound decoder and the new Keep Alive 2 system was installed. The tiny “sugar cube” speaker was attached to the interior of the cab. Both front headlight and rear back up lights use micro-LEDs. A 5mm flicker Led was installed next to the motor to act as a firebox light. This will make for a nostalgic addition to my layout!

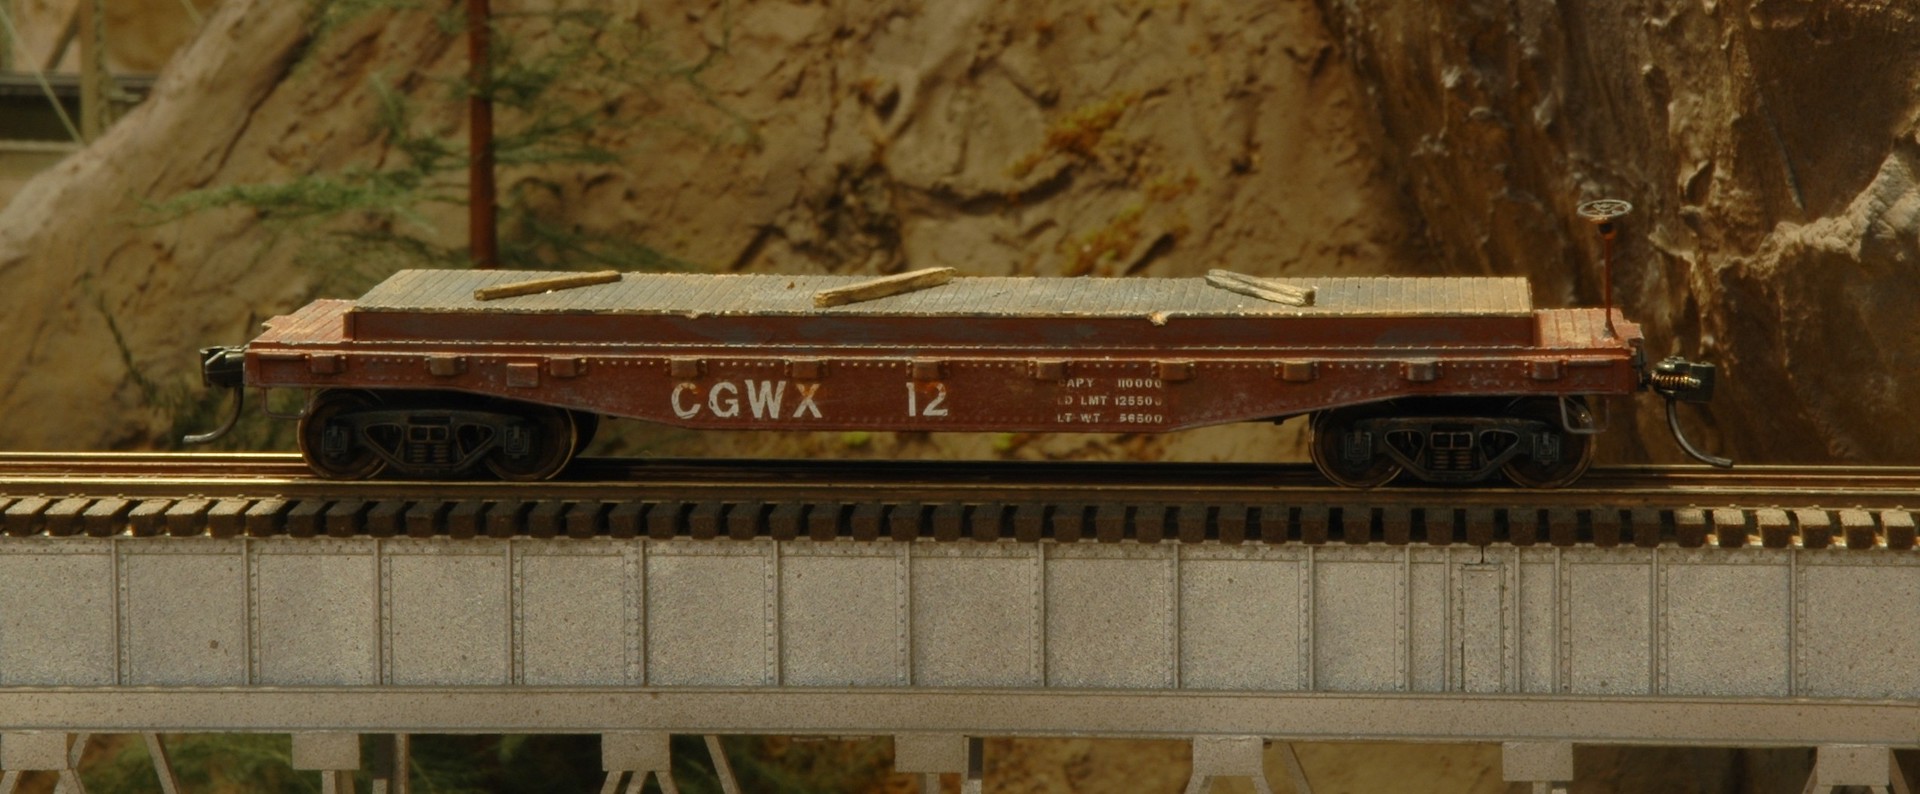
These photos are specifically for Al Lowe! They are proof of what can be done with an inexpensive old freight car. At the last Boeing Employees swap meet I bought one of these cars (Photo 59) and Mr. Lowe was intrigued by my suggested use. I already had 2 copies of this same car that were originally produced by Tyco and bought decades ago (Photo 58). They both had a strange cradle designed to carry large diameter pipe sections. I liked the short length of the car and thought they could be used as transport flats for my granite mine. I didn’t have to do much modification to them. I added some wooden decking over the odd cradle section, a brake staff, and some foot stirrups. Some weathering and a couple of chunks of “home-made” granite completed the car set. Of course, they received metal wheelsets and Kadee #5 couplers.
I thought I would present some of my “other” projects to show that you can make a silk purse out of a sow’s ear. Sometimes you encounter freight cars that really aren’t very detailed or have features that are not desirable for your intended purpose. Don’t give up on them! Just because they look odd or have strange features that doesn’t mean they can’t be modified to fit your needs. Yes, these projects do require some work, but this allows you to create a car that is more customized than the standard “off the shelf” cars. This is part of the fun. Next time I’ll get back to my scenery projects. The town of Dry Gulch is nearing completion and my expansive alcove section of the layout is having scenery applied at a record pace.
David
David,
I would love to see a video clinic on how you do these repairs. I have several steam engines that need to be properly quartered, other older enginers and ebay specials that need work similar to what you describe.
Hi Gregg,
I would like to do a video clinic but I think it would be difficult for me to actually video the process. Re-working a locomotive is a long process with many different and exacting steps. The process isn’t difficult but it needs to be done following a series of steps. I think this might be able to be done in a series of separate short videos or perhaps a photo series in the Grab Iron. I will have to think about this and determine what would be the best way to proceed. At this point in time I have a couple ATSF 2-10-2 3100 series locomotives that will have gearbox, driveline, and motor replacement. If I photograph the process it may give you an idea of what is done. Both of these locomotives do not need quartering but when I do the gearbox replacement I double check each wheel set to make sure nothing has gotten disturbed. I’ll think on this to determine the best way to show what needs to be done. It would be nice to hear some feedback from folks in the 4D to see if there is interest in learning how to refurbish old locomotives. It is a challenge but it can be a lot of fun and is a good learning experience.
David Yadock