Unfortunately, our Zoom layout tours meeting on November 14 was Zoombombed. I want to apologize for any upset feelings this may have caused. We are taking quick action to maximize the security of all online meetings.
I appreciate your patience and understanding. We have provided the clinic chairs with revised recommendations for their Zoom security settings. If you have any comments, please send them to communications@4dPNR.com.
Mike Donnelly has been a volunteer at the Northwest Railway Museum in Snoqualmie for many years now. The Museum has acquired an O scale layout from the former Bellingham Railway Museum.
They are looking for “experts” to reconnect the track and accessory wiring, and to refresh the scenery. There is a little bit of trouble-shooting on the lower level, which has reportedly never been fully reliable.
The entire layout is Lionel 027. The Northwest Railway Museum will provide any materials needed.
Anyone interested should contact volunteer coordinator Emily at emily@TrainMuseum.org
Join us Saturday Nov. 14 from 10am to 11:30 PDT for two 4DPNR layout tours. The first will be Dave Woodrell MMR, showing us his photogenic Sn3 RGS layout. He models the First District of the RGS, which was the northern end of the line from Ridgway, CO south to Rico, CO (His latest Gazette article appeared in the Nov/Dec 2018 issue). The second will be Greg Wright MMR, with a presentation on how he re-graded part of his back yard to make a “table” for a G scale outdoor layout. To join the meeting use this Zoom info:
One tap mobile +12532158782,,6193553125# US (Tacoma) +16699009128,,6193553125# US (San Jose)
As usual, if you miss the live presentations, you can watch them a few days later on the 4DPNR YouTube channel, along with most of our past 4DPNR layout tours during the Covid era.
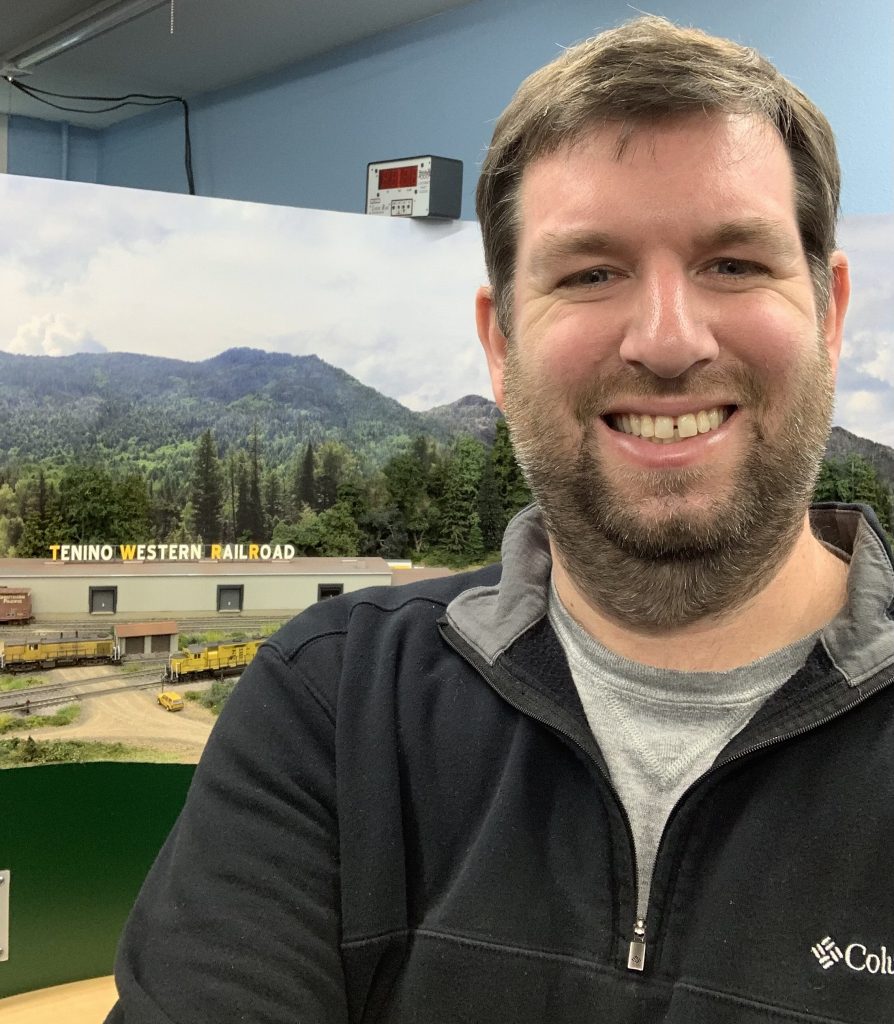
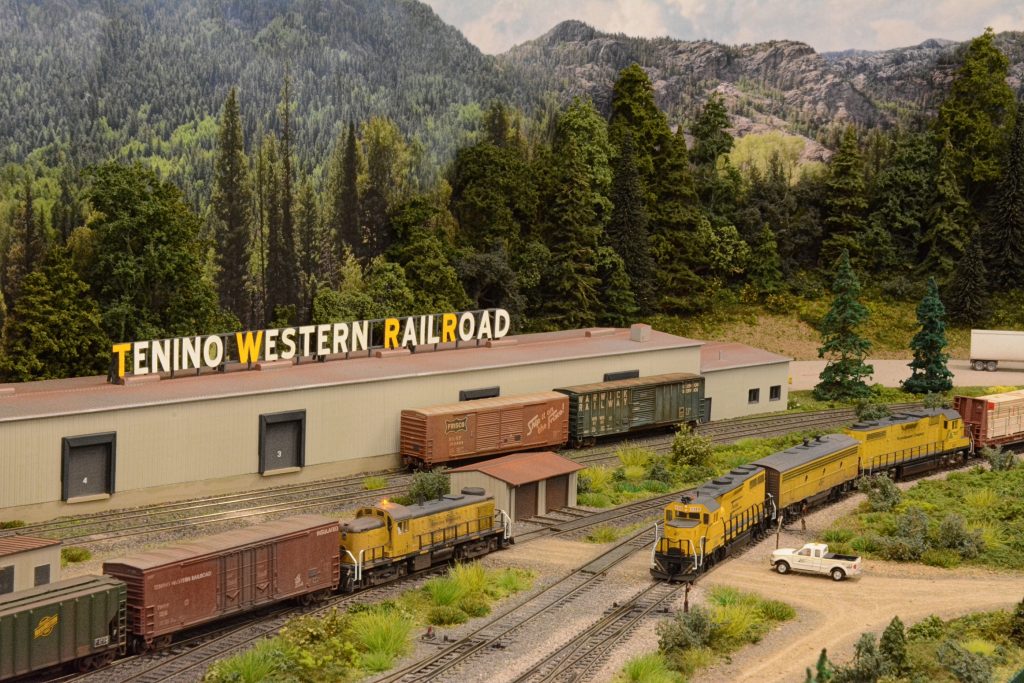
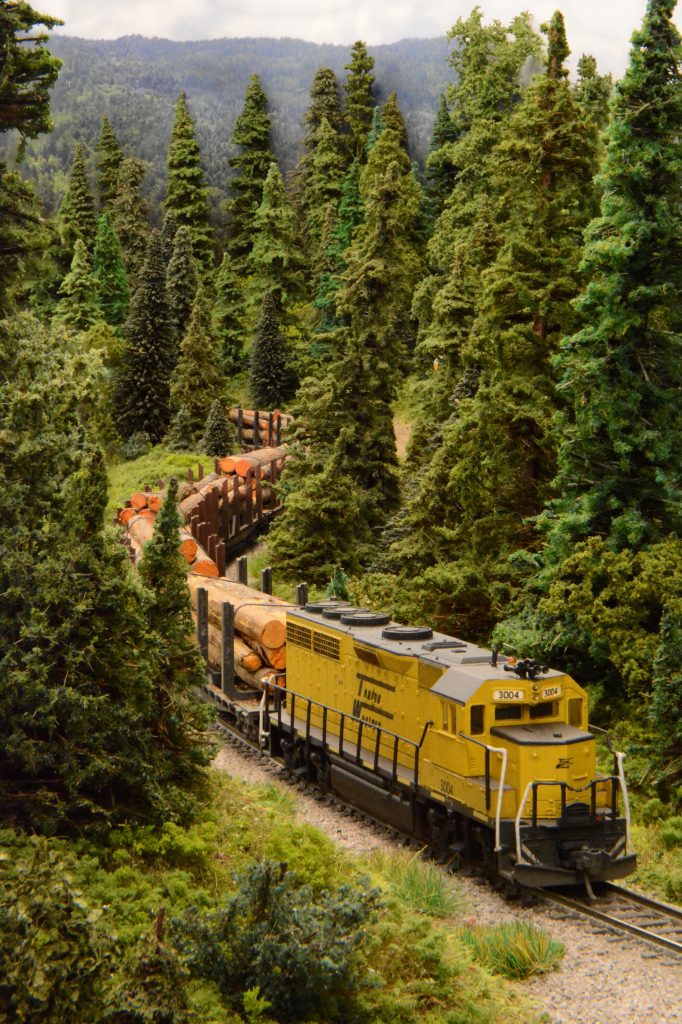
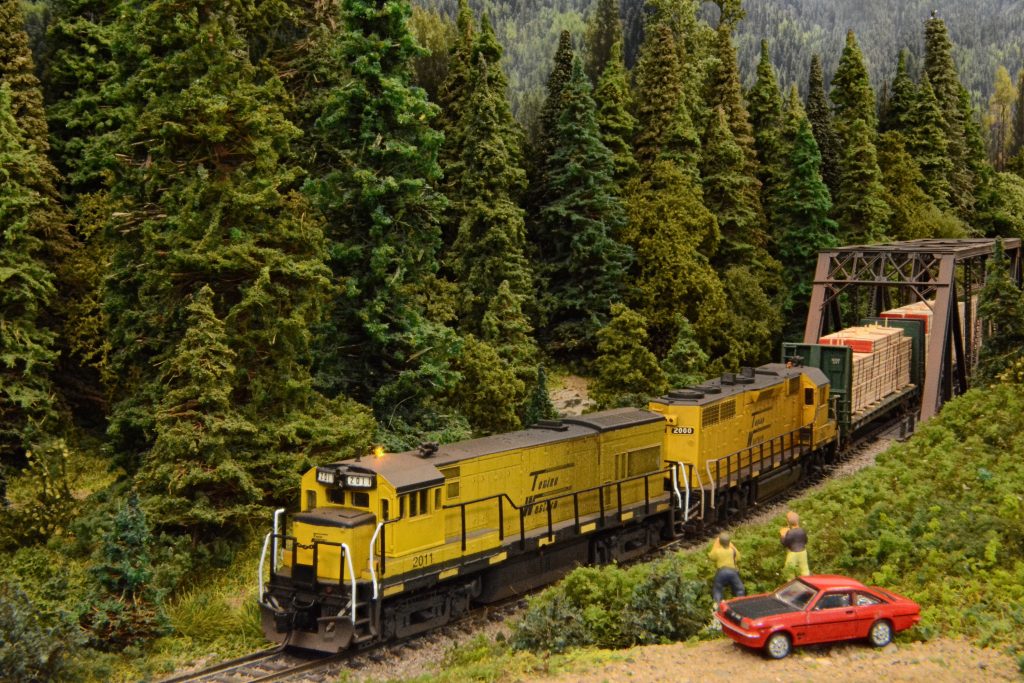
Congratulations to Tyler for his completion of all the work to achieve his MMR. He is #663 and joins a large number of MMRs here in the Fourth Division.
Tyler has hosted many open houses and always amazes us with his beautiful model building. Here a few pictures that make that point.
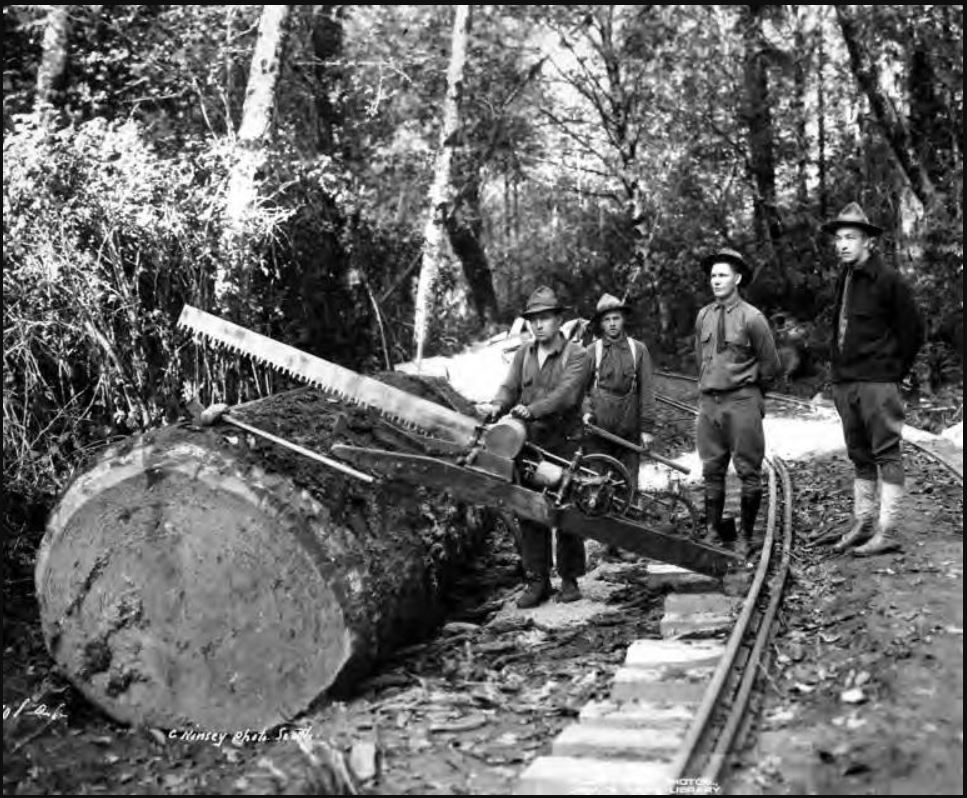
Join the Skagit Valley and Whidbey online clinic this Veterans Day 11 NOV 2020 at 7:00. Rich Blake will be our presenter with the topic: “A Brief History of US Army Spruce Production in Washington”.
During World War I the allied aircraft industry was in critical need of the finely grained and light weight spruce lumber to support production of aircraft needed defend the skies above the Western Front. To overcome organizational difficulties with local logging companies in Washington and Oregon, the US Army formed the Spruce Production Division in order to coordinate logging interests and greatly bolster lumber production. Their efforts can arguably be credited with winning the air war in Europe. Rich will review some of the locally interesting logging sites, equipment, railroad grades and history in and around the Olympic mountain range related to this massive effort.
This meeting will be on Zoom and is open to anyone reading the Grab Iron. We also encourage any short “Show and Tell” segments for anyone who would like share their modeling or stories related to Veterans and Railroading.
Below is the information for the Zoom meeting. The lobby will open at 6:45pm and the meeting will start at 7:00pm.
4dpnrOrganizer SkagitValleyWhidbey is inviting you to a scheduled Zoom meeting.
Topic: Whidbey Monthly Clinic Time: Nov 11, 2020 07:00 PM Pacific Time (US and Canada)
The Seattle North End Clinic will once again meet virtually for November. There will be no in person meeting.
This month’s presentation will be on 3D Printing by George Hinchliffe. We have had the pleasure of seeing samples of George’s teeny tiny works of art for his Japanese N-scale layout during the show-and-tell segments of earlier clinics. We look forward to his sharing some more.
These meetings are for NMRA members and guests. It’s a great way to introduce your friends to the hobby. Also, with our meetings being virtual, you don’t have to drive to North Seattle. A win-win all around.
Below is the information for the Zoom meeting. The lobby will open at 6:45pm and the meeting will start at 7:00pm.
Topic: North Seattle NMRA Clinic Time: Nov 5, 2020 07:00 PM (Lobby opens at 6:45pm) Pacific Time (US and Canada)
I want to make known to all the Fourth Division membership my deep gratitude to Mike for his superb performance as our Treasurer. Mike has served in that position for 7 years. He has been diligent in reorganizing some of our approaches to budgeting as well as documentation of expenditures for reimbursements. Our finances are in good order.
Mike has been an active member of the 4D Ntrak modular group for many years. He designed their superb carrying carts for loading and storing their modules. Mike’s skills as a designer at Boeing came in handy when he measured and drew plans for the new wood cab for the rebuilt Northern Pacific 0-6-0 at Northwest Railway Museum in Snoqualmie. He is now preparing the working drawings for the new headlight.
Mike continues his volunteer work at the shops in Snoqualmie. Better yet, now he is busy expanding his home HO scale layout. It is designed for operation with an industrial theme of a railway in Maine. It will be well done I am sure.
Adding to the library of 4D online clinics, SV&W will be kicking off monthly virtual clinics starting this Wednesday at 7:00pm. Rich Blake will be describing some of his techniques modifying and detailing some of his steam locomotives to enhance their appearance as well as better operation. Disassembling and modifying a brand new locomotive can sometimes seem like a daunting task. Emulating a prototype and super detailing a locomotive can however be one of the more interesting and rewarding parts of your modeling.
This will be a Zoom clinic with link details below. For most people on a computer you just need to click the link below and run Zoom from a browser like Chrome or Explorer. After the presentation portion we will also allow time for short show and tell segments if you want to share anything. All you need is webcam and microphone enabled on your computer or device for sharing.
4dpnrOrganizer SkagitValleyWhidbey is inviting you to a scheduled Zoom meeting.
Topic: SV&W Clinic
Time: Oct 14, 2020 07:00 PM Pacific Time (US and Canada)
Join us this Saturday, October 10, at 10:00am for another 4DPNR layout Zoom tour. This week features two of the region’s finest narrow gage layouts – Dale Kruetzer of Port Orchard and Ron Hopkins of Edmonds. Dale’s layout is an Sn3 version of a portion of the RGS, and includes detailed photo backdrops, hand laid track and scenery and structures that just don’t quit. Ron has a smaller but very fine On30 layout depicting the Olympic peninsula, and he will be showing us a number of structures he built next to photos of the prototypes that inspired them. Here is the zoom info to join the meeting: