Railroadiana Auction In Olympia

By Gregory Wright

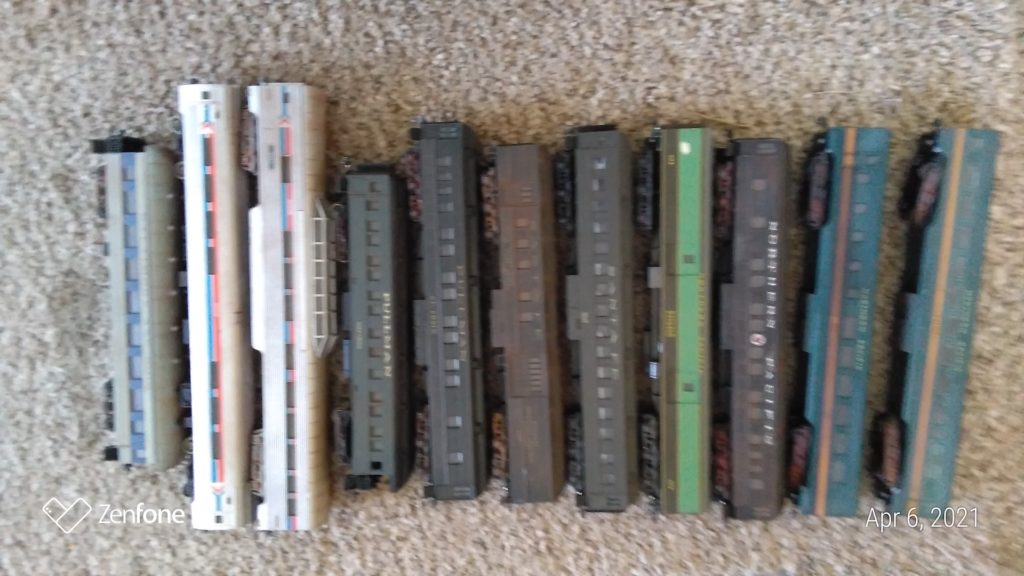
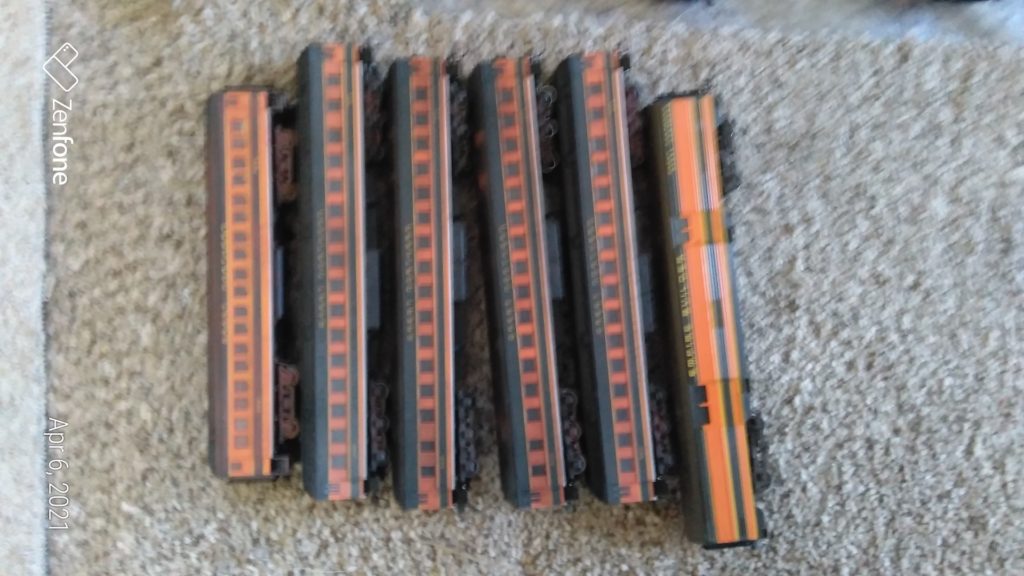
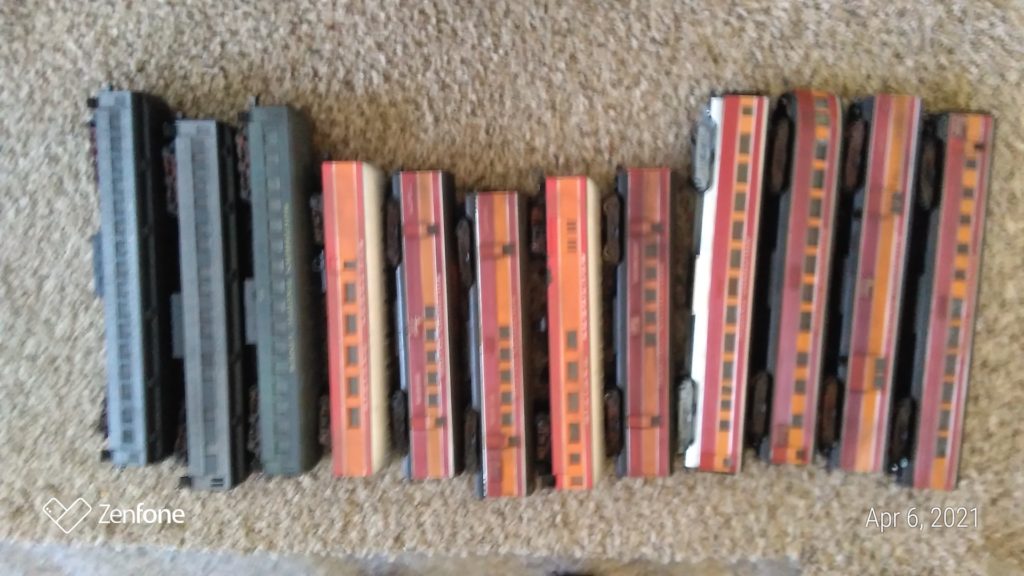
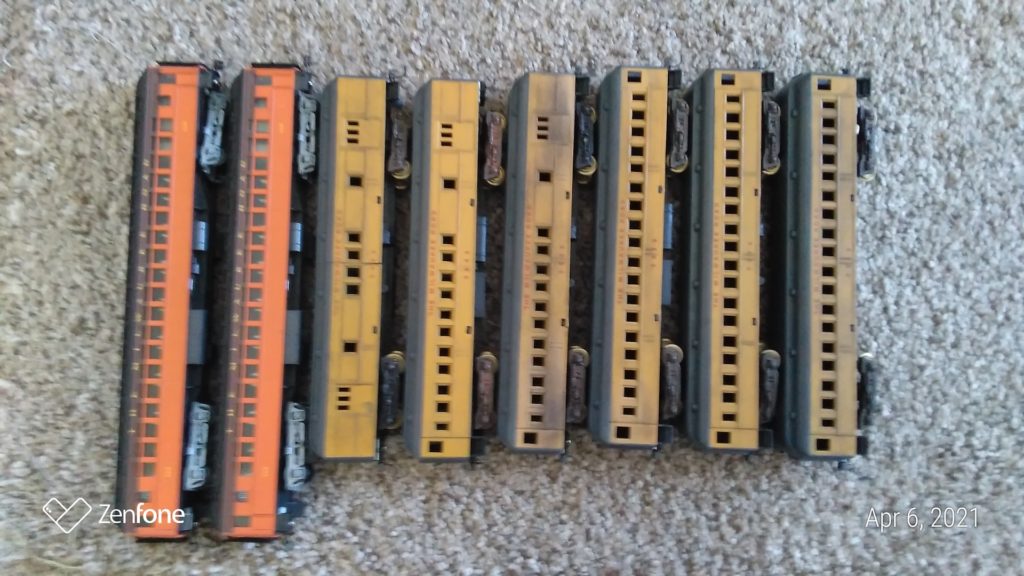
Kipert’s garage Museum in Olympia is a little known gem of interesting transportation and farm items, just south of Olympia next to the Tumwater Airport.  The owner has a number of railroad related items, some full size.  Part of the collection is being auctioned in March.  Follow the link to the Aumann Auctions for auction information.  Note that there are two listings to cover some 600 items up for sale.  

I have spoken to the owner and most of the full size items are being retained, including the narrow gauge Shay he is rebuilding and a near full size D&RGW caboose.  He hopes to have those items available for limited viewing at some point in the future.

Kips Garage Museum Collection – Day 1

Kips Garage Museum Collection – Day 2

Gregory

David Yadock’s Dry Gulch & Western Update 1

Article & Photos By David Yadock

Dry Gulch & Western, Update 1

Wondering what has changed or been modified on the Dry Gulch & Western railroad?  As mentioned earlier, I have been working on several locomotive projects to provide a varied locomotive roster when conducting operating sessions.  Before showing the changes to the layout I’ll show you some of the locomotive projects.  I have decided to re-motor and install sound decoders in some of my locomotive collection.  I have had several locomotives waiting a long time to roam the rails of my basement empire.  My logging locomotive fleet originally had several Bachmann locomotives.  Unfortunately, Bachmann’s quality control and availability of replacement parts relegated many of these great looking locomotives to the bone yard.  I needed to rebuild that fleet with some more dependable locomotives. 

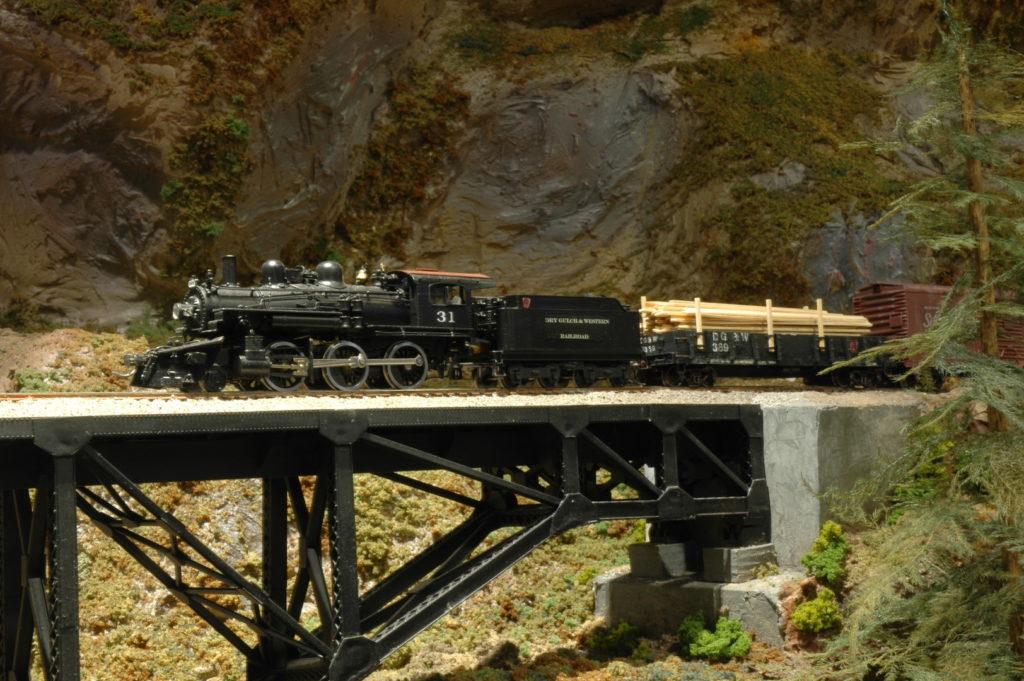
Photos 1 and 2 show the first locomotive I tackled.  It is a PFM 2-truck Pacific Coast Shay.  It had a new motor and driveline installed.  I also installed micro LEDs to the headlight and backup light.  To dim down the harsh white color of the LEDs I coated them with transparent orange paint.  A flicker firebox light was also installed.  A SoundTraxx TSU-750 sound decoder with a Keep Alive capacitor system was used for the locomotive control.  I used a sugar cube speaker for sound.  This locomotive came painted and numbered, I only needed to add my railroads name to the sides.

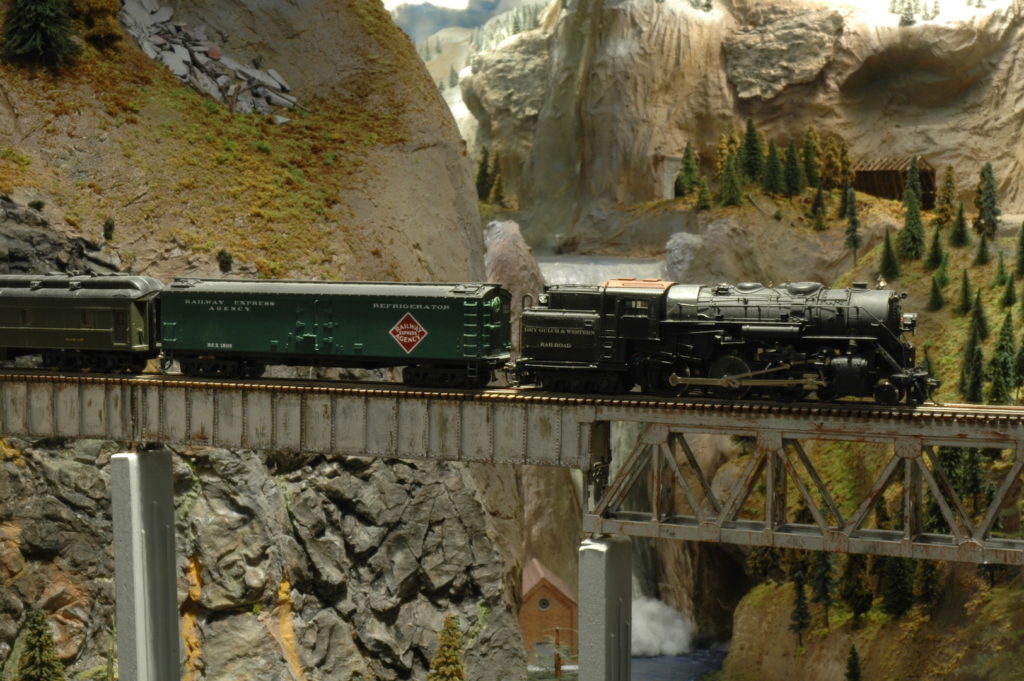
In photo 3 is a view of my PFM 2-truck Climax locomotive.  This was one of two “basket case” Ebay purchases.  This one had many things broken or damaged, such as, a broken universal joint that I had to manufacture out of flat brass and brass square tubing.  It also had been left against some of the original foam padding from the PFM box.  That foam had deteriorated and stuck to one side of the locomotive’s paint.  It had to be thoroughly cleaned and buffed prior to painting. 

Photo 3

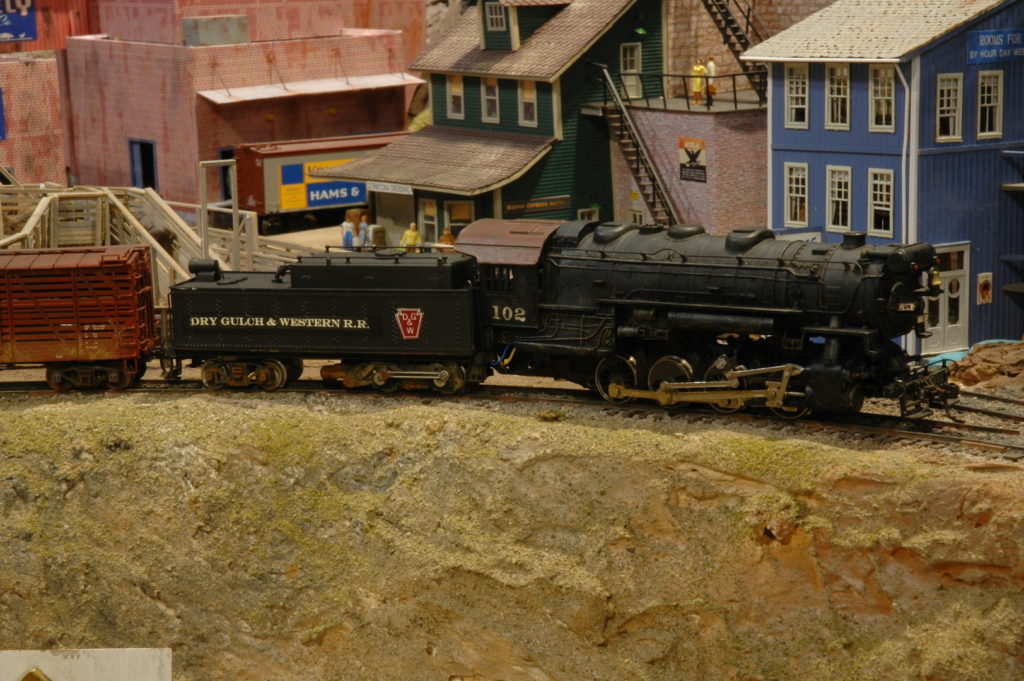
The next locomotive shown in Photo 4, is a 3-truck Climax.  It was the other Ebay “basket case” purchase.  The locomotive had driveline deficiencies that didn’t allow it to run at all.  The entire drive mechanism from the wheels to the motor had seized.  The only thing I can think is it was stored for a long time in a damp location.  The entire drive mechanism had to be taken apart.  Once apart, the gearing was cleaned and polished.  When it was all back together and lubed it now runs very well.  Many hours were spent on the gentle cleaning process to bring this locomotive back to life.  Both Climax locomotives had the same things done to them as the Shay mentioned above (re-motor, flicker firebox light, micro LED lighting, Keep Alive capacitor system).  The only difference is that I used SoundTraxx Tsunami-2 decoders in these locomotives.

Photo 4

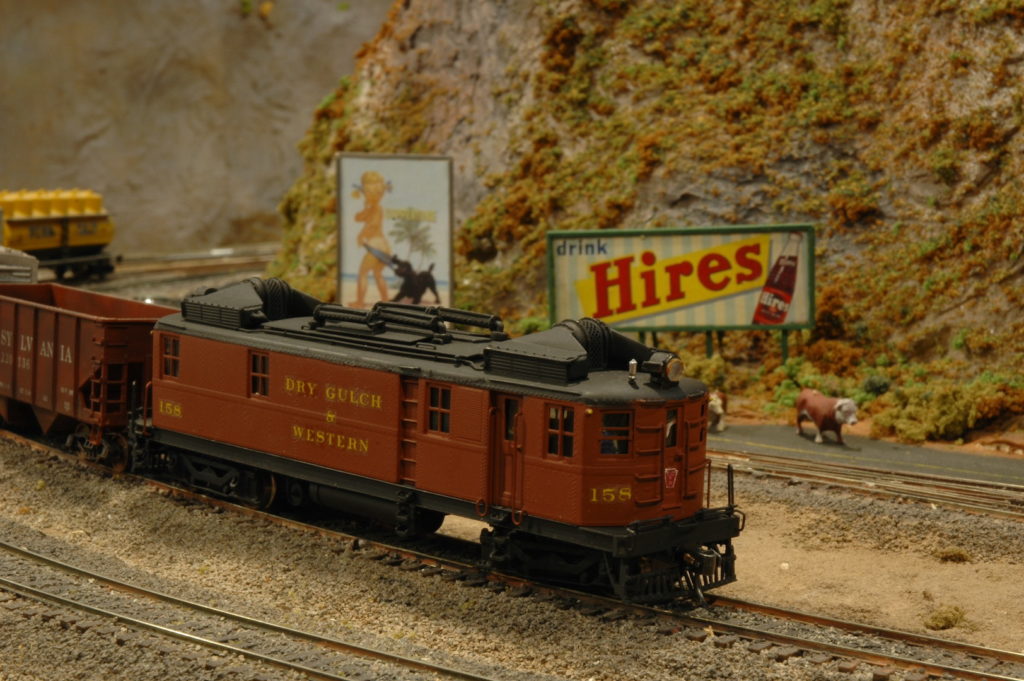
Photo 5 shows another PFM 2-truck Climax.  This locomotive was a breeze to work on.  It was another Ebay purchase but was all intact and complete.  I did notice that it did not have a backup light on the model, so I built the light out of brass tubing.  To complete the backup light detail, I added several small pieces of brass for hinges and latches.  It was then added it to the top of the cab.  Yes, this locomotive received the same sound system and electrical details as the other two Climax locomotives already mentioned.

Photo 5

Photo 6 is yet another PFM 2-truck Climax.  This one was a swap meet purchase. At first glance it looked like a great model but when I began my teardown to replace the motor several issues came up.  The main shaft from the upper driveline to the lower drive assembly was bent.  I’m not sure how the previous owner bent that shaft!  This caused the locomotive to lurch when power was applied.  I have attempted to straighten the shaft as best as I could, but the lurch remains.  Luckily the lurch is slight, and it is oddly only in the reverse direction.  I decided that I would continue with the project to completion and be on the lookout for a replacement drive mechanism for this locomotive.  This locomotive had other damaged items that I was able to repair.  It also received the same sound and detail treatment as the other locomotives. The Dry Gulch & Western now has a sizeable fleet of logging locomotives but I still have a couple PFM Heislers and two PFM Shays to add to the roster.  Eventually they will all have sound decoders and such added to them.  No, not all these locomotives will be on the layout at the same time but will be rotated.  That will give the layout operators some variety in motive power. 

Photo 6

Next time I’ll show some of the modified rod locomotives that I have been working on.

David

Woody Matthews Passes

By Dan Peters

It is with great sadness that I have to inform you of the passing of Woody Matthews. Woody passed away Tuesday, January 19th. I do not have any details on services at this time.

For all those of you who might not know Woody’s background, he was a lifetime NMRA member, involved with the Fourth Division for a long time, a lot longer than me.

He won the Fourth Division “Man Of The Year” Award in 1966. Now known as the “Golden Grab Iron” Award. ( At that time, the 4th Division was known as the “Evergreen Division”. The name got changed when the NMRA formed “regions” and our division was assigned to the Pacific Northwest Region. I think that was in the 70’s. At that time PNR changed division names to numbers. )

Woody started the Science Center show. He was the first show chairman for 10 or 15 years, until Lou Toppano took over for him. Woody has been in O gauge for as long as I’ve known him, almost all that time in 2-rail “O Scale” (as opposed to 3-rail “O Gauge”).

He used to wear a cap with the slogan : “O Gauge, The King Of Gauges”.
When the module program was started in 1988, Woody and 2 other modelers built a set of 2-rail O Scale modules. Once they had 4 straight modules up and running, the division financed the building of 4 corner modules – that was the first completed circuit of modules in any scale. The O Scale module group disbanded in the 90’s when the other 2 members dropped out because of health problems. Woody is a retired Certified Public Accountant.

Dan

David Yadock’s Dry Gulch & Western Railroad – Part 11

Article & Photos By David Yadock

Dry Gulch & Western, A Photo Series Part 11

By now I am sure some of you have been wondering about how I got some of the city names and building names for my layout.  Allentown should be obvious.  It is named for John Allen.  My main town of Ellison is named for Frank Ellison.  Some of the other smaller towns are named after close friends or relatives.  A lot of structure names are also named for coworkers and friends.  I find it a good way of naming businesses and such.

My layout name, Dry Gulch & Western, came about in a strange way.  It involves a very long explanation but the namesake town on my layout is called Dry Gulch.  The town’s initials are DG which is GD backwards, again a little homage to the Gorre & Daphetid of John Allen fame.  Now on to the last pictures of the photo tour.

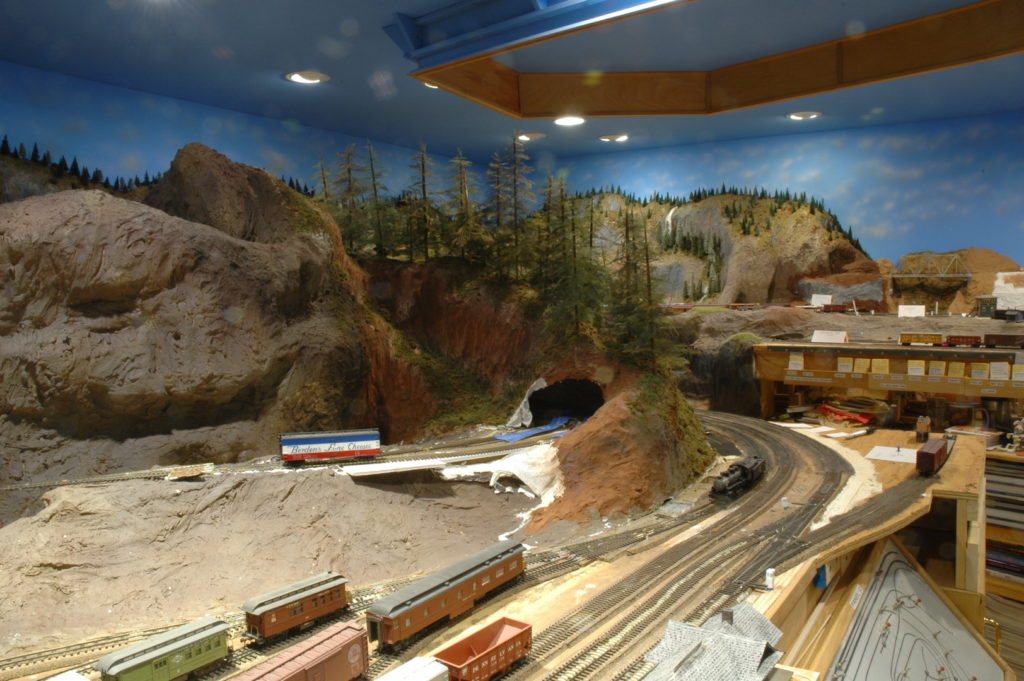
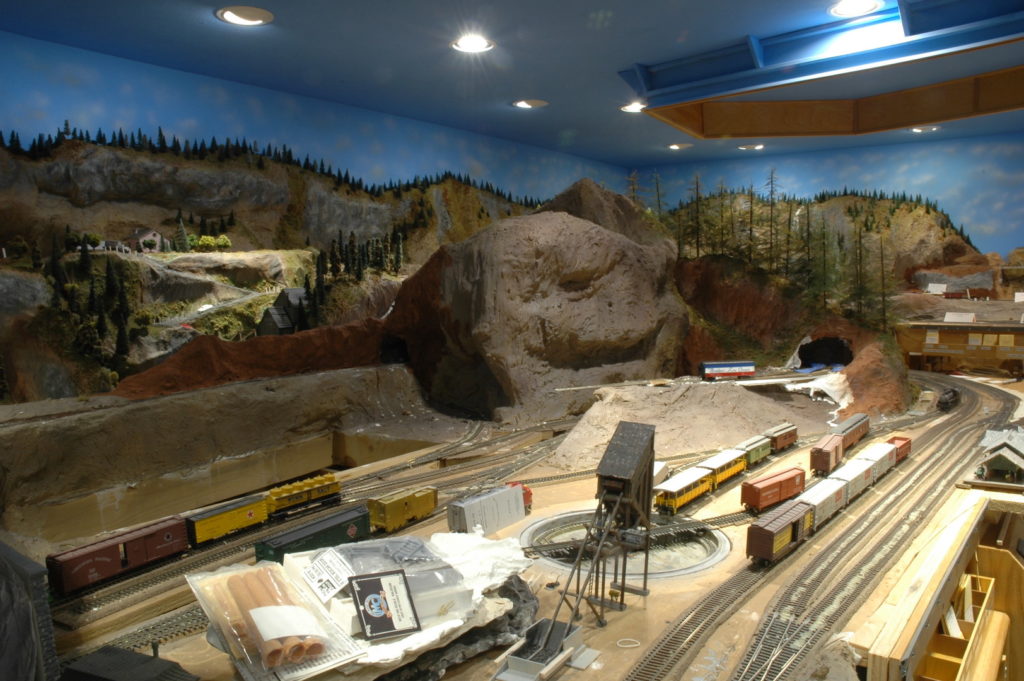
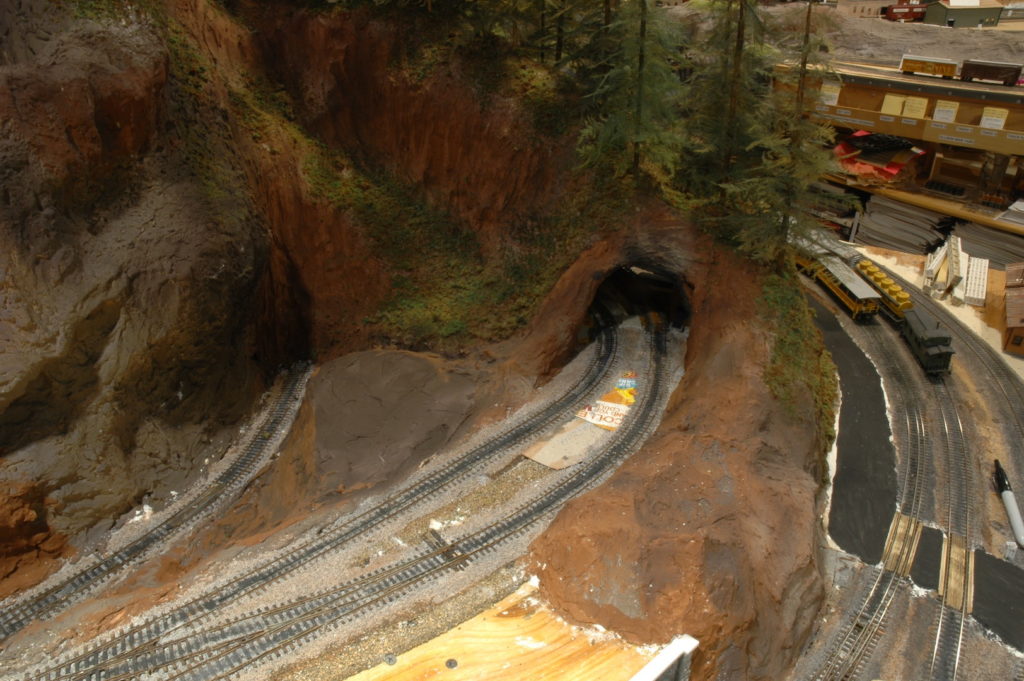
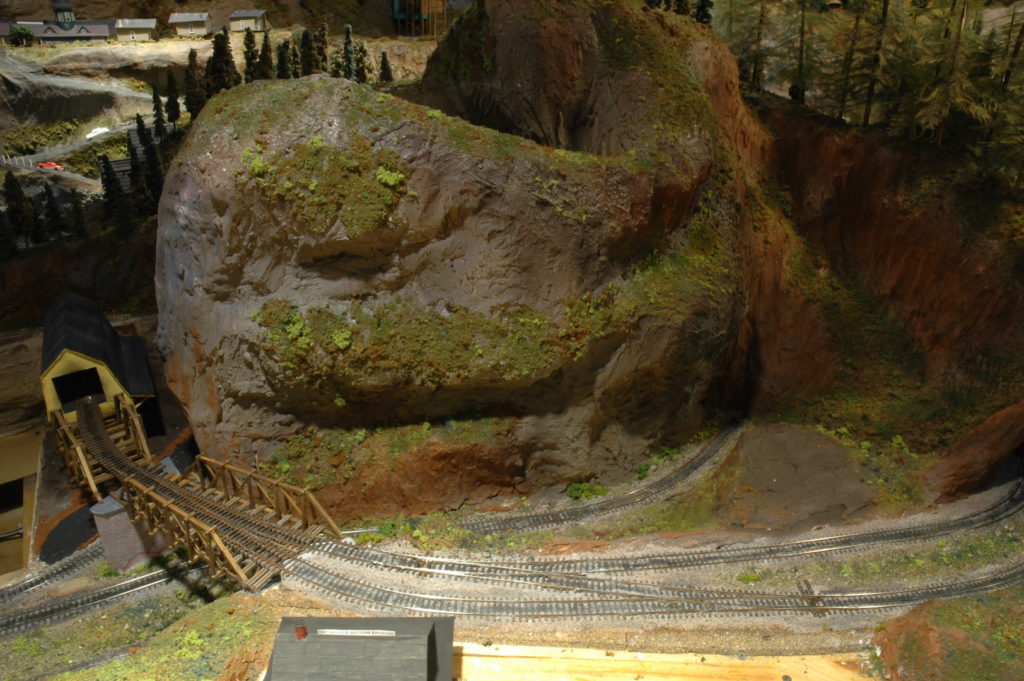
Photo 51 shows the stub end of the wye in Allentown.  This photo also gives a good overall view of the layout.  If you look between the two large mountains in this photo (center left) there is a valley that goes all the way to far wall.  There are actually 5 different mountain areas visible when looking down that valley.

Photo 51

Photo 52 shows how other parts of the layout can be used as a backdrop in this photo.  Careful cropping of photos allows this to happen.  Allentown is a mix of a lot of different structures.  The flour mill was carefully built to hide the wall corner yet allow for freight traffic.

Photo 52

Photo 53 gives a view of the layout rooms other corner along with a close-up view of the industrial section of Allentown.  The future city of Ellison will be located in that far corner.

Photo 53

Photo 54 shows a good section of the layout while standing beside South Allentown.  Allentown is to the left and Newport is to the right.  Dry Gulch is directly behind Allentown and is directly above the large control panel.  Gornitzka Crossing is just to the right of Dry Gulch and Ellison is tucked into the room corner.  If you look really hard you can see the town of Alpine by the stone arch bridge on the far back wall.

Photo 54

Thus, ends this part of the layout tour of the Dry Gulch & Western RR.  I hope everyone has enjoyed the trip around the layout.  I also hope that viewing the layout in this photo series has given some impetus to work on you own model railroad project.  In a few weeks’ time I’ll show you what I have been working on since these photos were taken.  The Covid-19 pandemic has given me the opportunity to devote some time to quite a few model railroad projects.  There has been quite a bit more work done on the layout.  I have also spent a great deal of time working on various locomotive projects.  The energy spent on these locomotives will increase my roster for future layout operations.  I hope everyone had a good New Year and the management of the Dry Gulch & Western is looking forward to a great 2021!

David

January Tacoma Virtual Clinic

By Kevin Klettke

Please join us on Thursday, January 14th for the Tacoma Group Virtual Clinic. Greg Price will be showing us how he constructs asphalt roads. Everyone is invited to share their projects they have been working on. Hope to see you online! 

Zoom meeting: 

Topic: Tacoma Clinic for January 2021
Time: Jan 14, 2021 07:00 PM Pacific Time (US and Canada) 

Join Zoom Meeting:
https://us02web.zoom.us/j/83356681575?pwd=bjVoRk5PaVdXMHlMM0dQcXNhdllwQT09 

Meeting ID: 833 5668 1575
Passcode: 556902 

Kevin Klettke

O Gauge Layout At The Snoqualmie Valley Railway

Article & Photos By Ed Ives

A request in the Grab Iron called for restoration of an O gauge layout at the Northwest Railway Museum in Snoqualmie, obviously a golden opportunity for the Hi Rail modular group to take action. The layout had formally been in the now defunct Bellingham Railroad Museum and would be resurrected in Snoqualmie. The Hi Railer’s would take on this task.

Contact with Emily Boersma the Museum volunteer coordinator was made to schedule a visit Friday November 20th for a quick assessment of the task at hand. Removing and relocating model railroad layouts might be done in one piece, unlikely, or with a chainsaw, more than likely. Emily advised that the Museum was looking at reopening on December 14th, pandemic allowing and would like the layout up and running by then. Friday came and the visit revealed a layout in essentially one piece, comprising three tracks and needing something like a modular set up at a show. We were advised that running on one of the tracks was never reliable and needs to be fixed. Yes, we can do this no problem. Hum, yes we hope so?

The first work session was scheduled for Tuesday November 24th where the team set about sorting all the tote boxes under the layout into trains, accessories and electrics. A quick look at the locomotives revealed that the mechanisms were dry as a bone and appear to have never been lubricated. A look under the layout revealed a spider work of wiring that was literally cut out to aid transportation, no color coding and any one’s guess as to which goes where. The easiest solution is to rewire, not something we normally do on a show set up. Lubricating locomotives and stock ensued, new color coded power feeders were added to two of the tracks. Soon we were testing locomotives and track. A good percentage of the locomotives needed something more than lubrication, one, a nice Great Northern electric on test made it part way round the layout before stopping in a cloud of smoke. Not good. Well not as bad as it could be as a light bracket in the locomotive decided at that moment to fail shorting out on the frame thus frying the wire. Cut off the wire and the locomotive runs fine but is without a working headlight.

In discussion with Richard Anderson, the museum director, he wished that by the 14th we have all three tracks in full reliable operation, all accessories working. As he said, he would like to see light and action. There is no evidence of previous automatic operation of signals nor barrier crossings and it would appear such operation would be desirable in the future. It was decided that this feature would be put on the back burner and handled in the New Year after everything else is fixed and operational.

December 1st was the next work session. Having gone through all the locomotives, lubricated all, repaired some and others put away for a more extensive overhaul. We moved on to the accessories to check them out, each showing evidence of extensive use. The lower inside track had been glued in place but about a six foot stretch had come adrift. The loose track was screwed down. The track was cleaned as best we could considering there are two tunnels on the line where the track is inaccessible within. Our first attempt to run a train on this track had the locomotive enter the tunnel at full gallop and derail out of sight and out of reach. Consistent running was finally accomplished by all locomotives on all tracks except for Thomas the tank. The wheel bearings on his passenger cars were so worn, through lack of lubrication, that the wheel flanges were scraping on the underside of the car floor. The drag of these cars causing Thomas to derail on the corners. The Museum did not consider they wished to buy new cars as would be reasonable. We offered to take these cars away to see if we could accomplish a repair as they are less than useless otherwise. 

December 4th revealed the Thomas passenger cars with new brass bearings replacing those original Lionel plastic ones. Thomas now runs fine. GREAT!!!! The rest of the day was devoted to powering the lights, accessories and compiling a list of spare parts required.

December 8th and in what we thought would be the final day of work before the 14th taking our stock of new light bulbs and parts for repair of ailing accessories. Work was progressing in fine order even to a bit of beauty treatment to the scenery when Richard dropped by with the disheartening news of an extension of the lock down to January 4th and that the museum would remain closed through then. Not a huge surprise but obviously a hit to the museum with lost revenue during the holiday season. A quick assessment of our ‘plan’ showed that a revision was needed, we cannot justify delaying automation of the accessories until January and in reality that should be accomplished prior to Christmas. The rest of the work session was devoted to testing the signals as well as the barrier crossings for operation.  As with most other parts of this layout few worked as is and by the end of the day by a means of cannibalization the three required functional barrier crossings were made out of seven nonfunctional ones. Neither of the signals were functional and both needed new components to make functional. It is doubtful that we can source parts locally considering these signals are at least 50 years old. Where is the Boeing swap meet when you need it?

December 11th, the final day and big push to put this program to bed with four members working on the layout; two servicing reluctant accessories; one under the layout wiring for the barrier crossings; one doing the final scenery touch ups and all tidying up around the layout. One of our members raided his home layout for a couple of color light signals set for automatic block operation that he donated to the project. These were added to the layout in the final minutes of the session. We have now been made official museum volunteers and need to sign in and sign out. A little training session will be required for other museum volunteers in how to operate the layout; put it to bed at the end of the day and awaken it in the mornings. 

Overall it was nice meeting and working with Emily and Richard; good to work on a layout again and not quite like a set up at a train show. It was a learning experience especially in automation that we might add to our modular layouts. On the negative side if there was one, the floor of the building was darned cold and hard.

Ed Ives