By Al Carter / Photos By Al Frasch
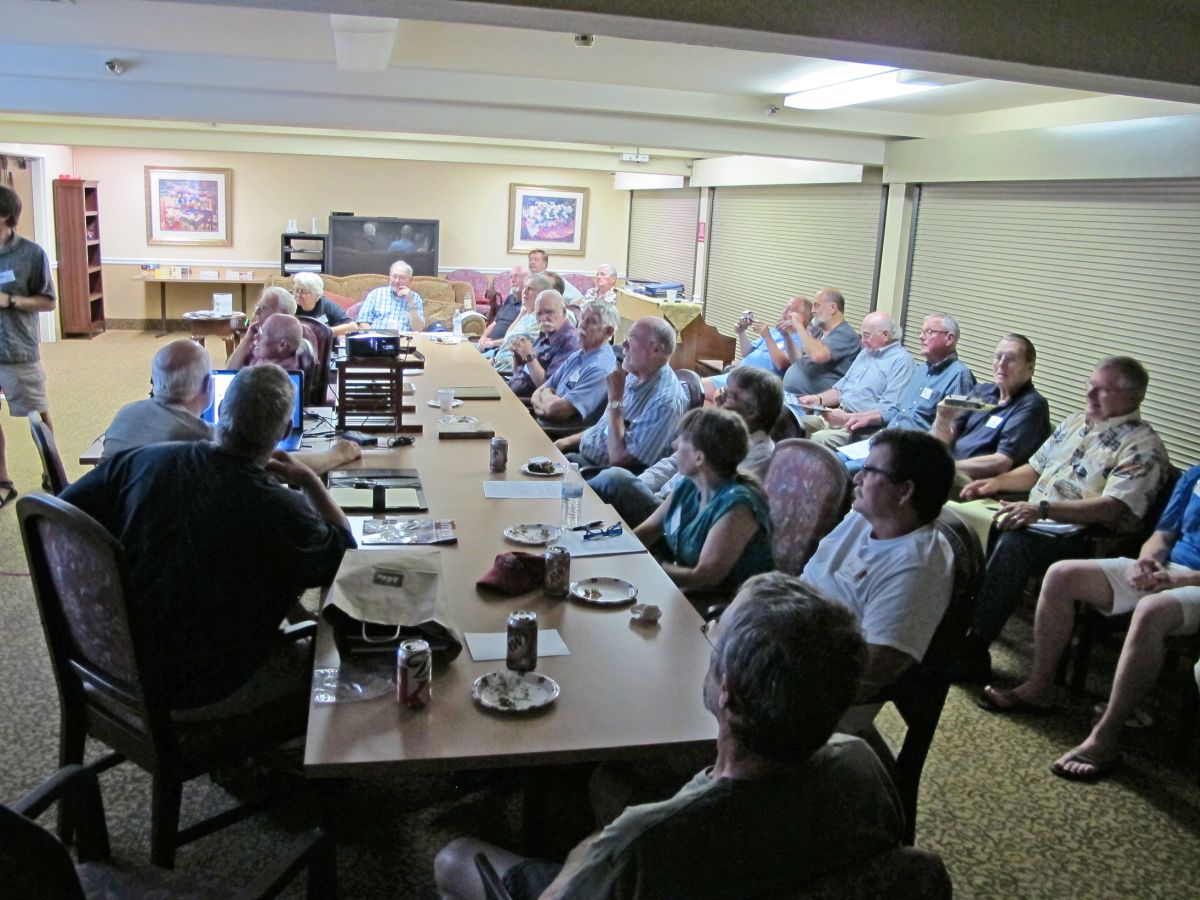
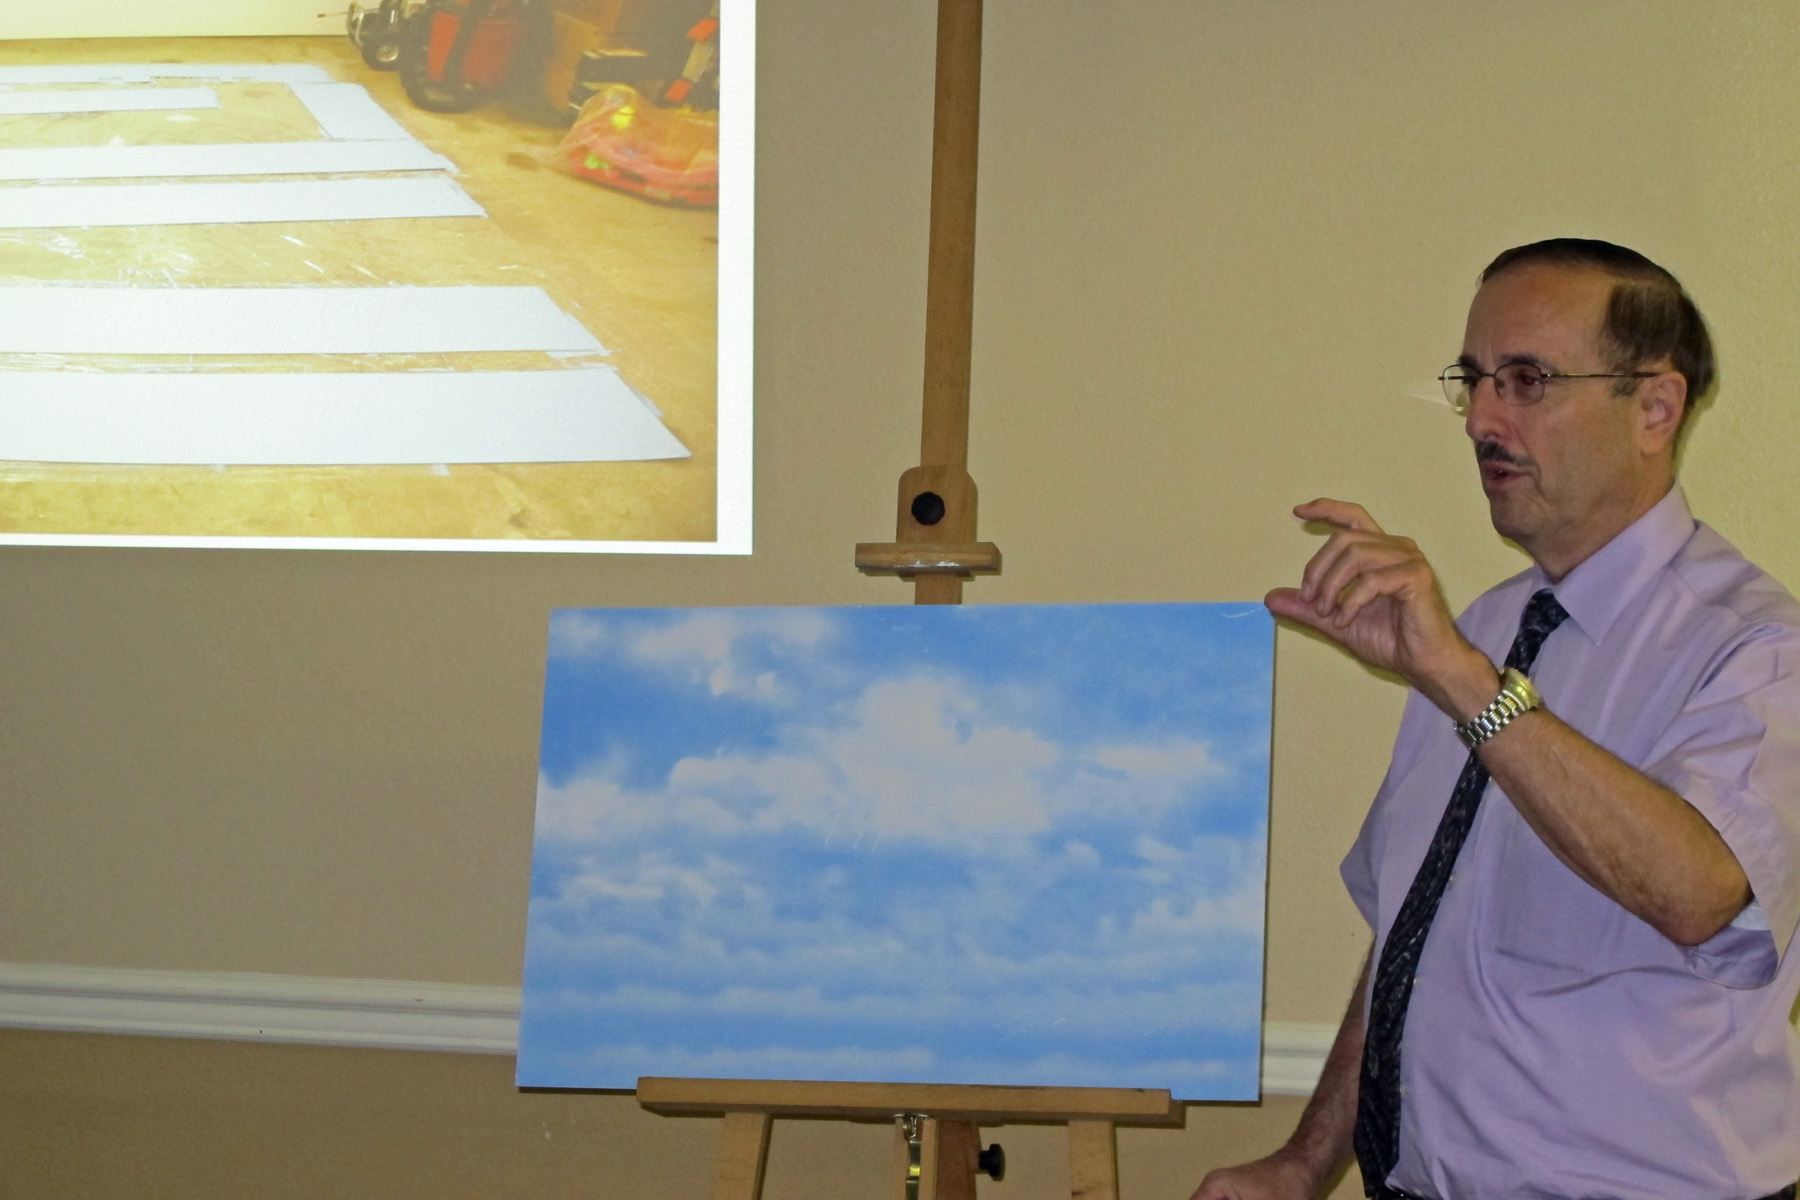
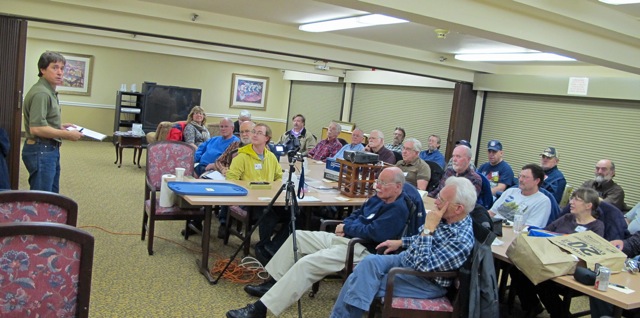
Clinic attendees eagerly listening to Rich Blake start the new clinic season
The first Skagit/Whidbey clinic of the 2013/14 season found a group of about 30 attendees ready to get back to model railroading, after the wonderful summer we all experienced. I know I didn’t get much done in the train room over the summer, but I have been surveying my back yard with respect to installing a garden railroad. Nice summers will do that to you, you know…
Clinic Chairman Rich Blake welcomed folks, and acknowledged the contributions of several folks who work behind the scenes with Rich to make this clinic so successful.
Announcements included a reminder of the upcoming, September 28 group field trip to the Mount Rainier Scenic Railway (contact Susan Gonzales if you are thinking of maybe going – there may be some seats available).
Rich introduced several new members: Elizabeth Marshall of Oak Harbor (1:48 scale), and three HO modelers from Anacortes: Dick Schussler, Frank Thompson, and Bob Easton, all of whom live at Chandler’s Square, and came down to the clinic with Bob Fulk, resident manager at the facility.
Al #2 (Al Carter) spoke briefly about the upcoming PNR Convention in June of 2014, to be hosted by the Fourth Division. Al also mentioned the special “Marshalls Shipping” contest at the 2013 PNR Convention in Boise, that he, Ted Becker and Jack Tingstad attended. Al and Ted both entered this contest, in which entrants started with a Marshall’s Shipping structure from Railroadkits.com and altered it to create a different business. Al made his into an “out of business” small engine repair company, and Ted made a boat building company that had expanded its product (the boat), but not the doorway to the building, so the boat was built but could not be removed from the building. Ted won the Most Humorous Award with his structure – Congratulations!
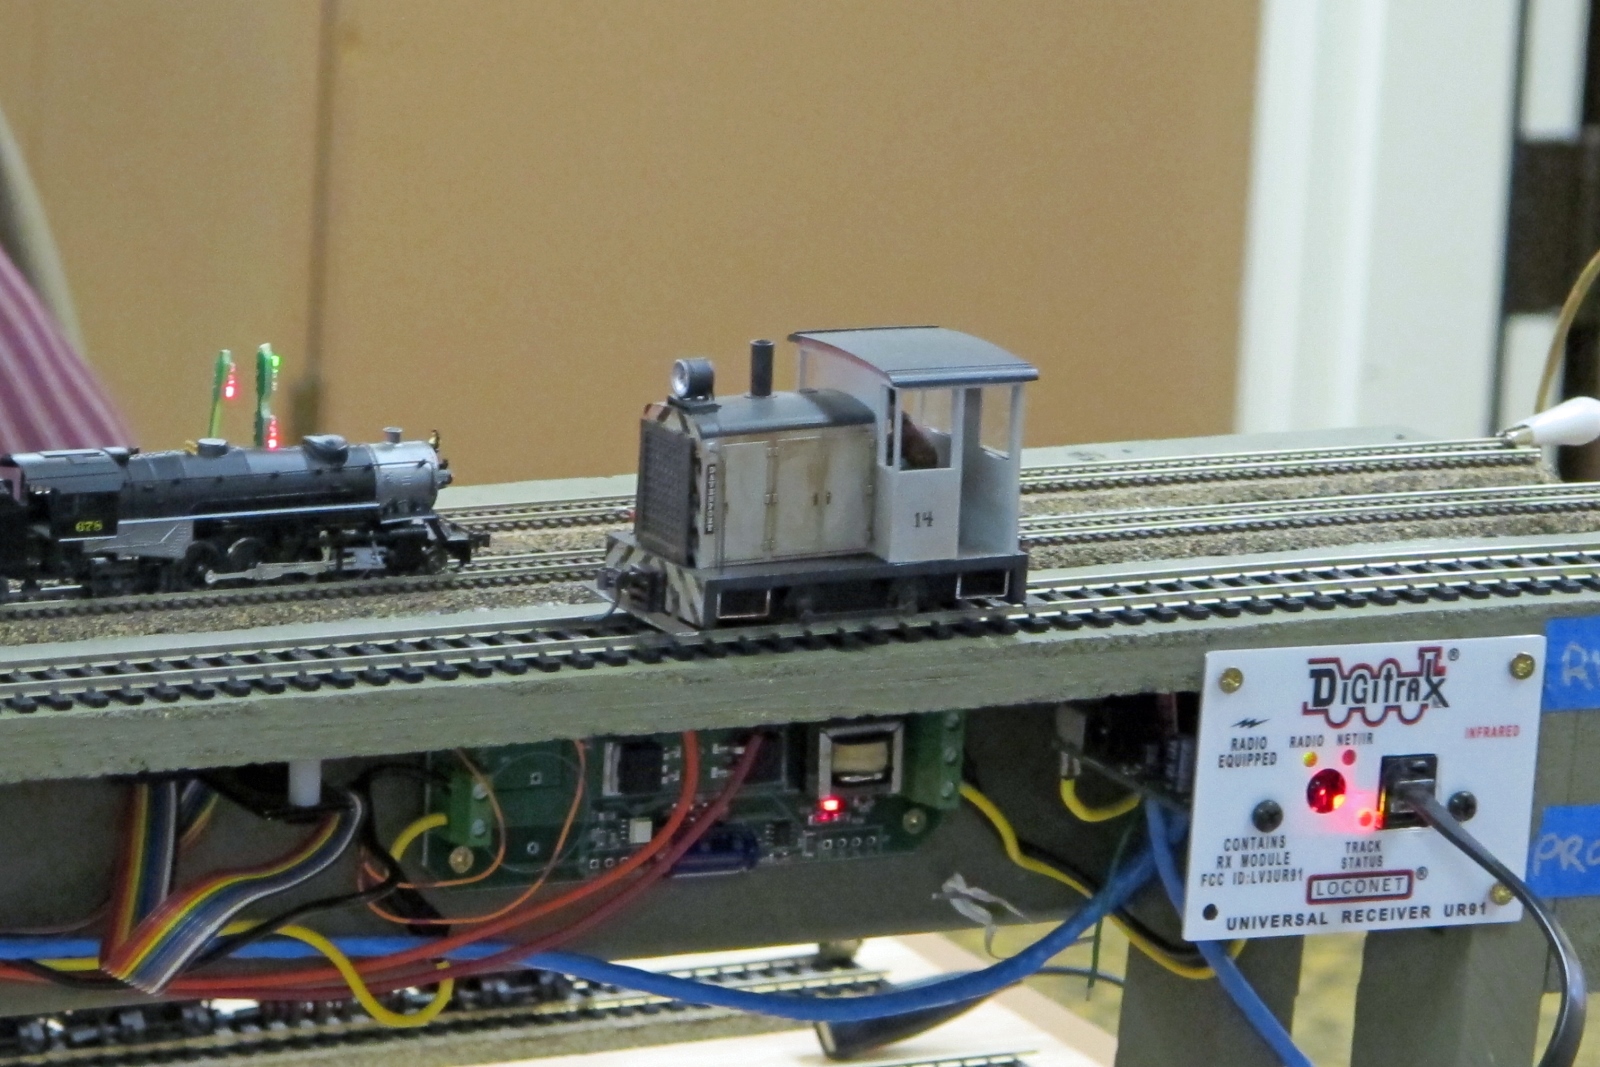
Al #1 (Al Frash) showed off some N scale mailboxes he had built through Shapeways.com, a company that produces 3D-printed products in various scales. Go to their website and check it out – this is an up and coming technology that is here now and rapidly expanding.
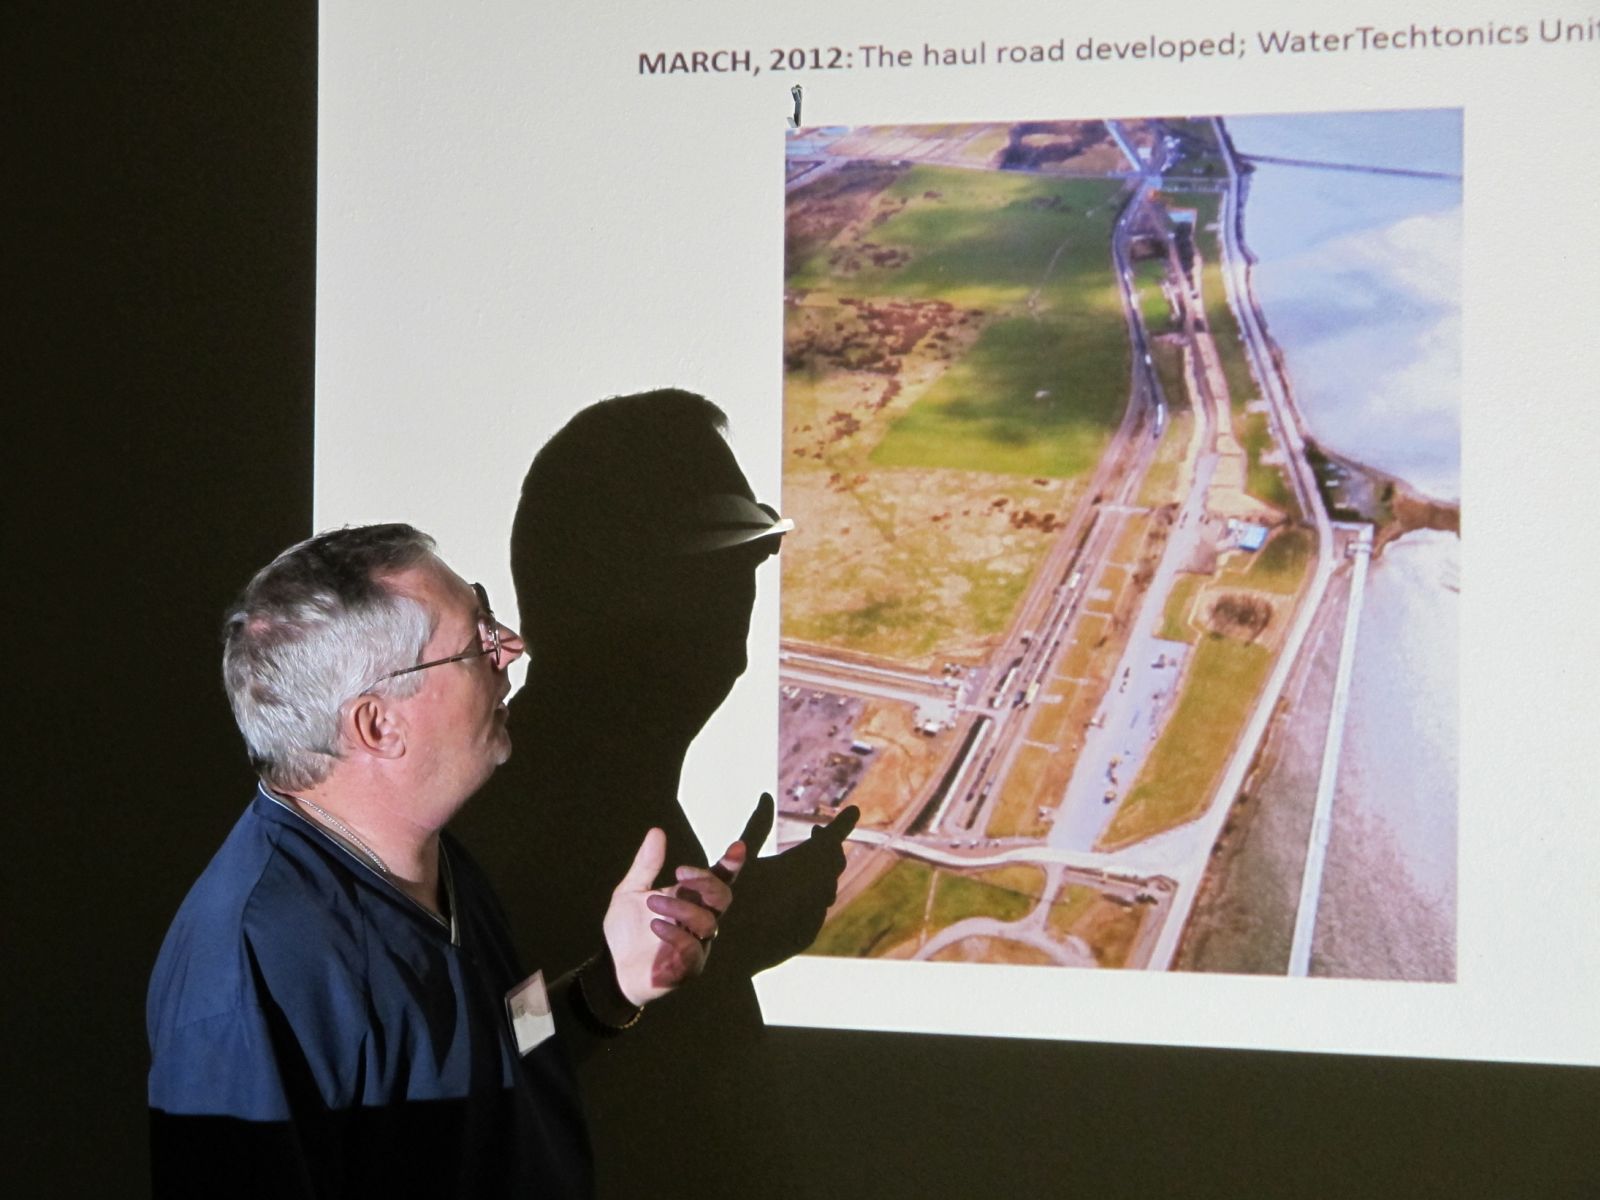
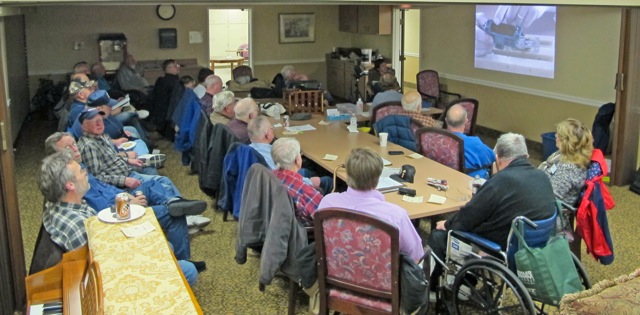
Bob Gilbert describing the beginning of the Tesoro Refinery Rail Expansion project
Our guest speaker/clinician for the evening was Bob Gilbert, Manager of Railroad Operations for the Tesoro Refinery in Anacortes. Bob regaled the attendees with some background regarding moving the Bakken crude oil from North Dakota to Anacortes, then Bob showed a number of photos of the actual construction of the facility.
Typically, railroads prefer to use a balloon (or loop) track arrangement to bring in the trains for unloading, but due to the available “footprint” of land available at the Tesoro plant, this new facility was constructed as a long and narrow plant.
Once the environmental concerns had been addressed (and there were a lot), construction started. This is more than just some flat tracks laid out on the ground. There is a vast network of underground piping, and a huge rubber membrane, plus various concrete vaults and retaining walls in place to both move the crude oil, and to ensure protection for the ground if there were a leak.
The rail yard was built on top of all of this, and laid out as four separate unloading tracks. The track is CWR (Continuous Welded Rail), 136 lb/3 ft, and there is over 29,000 feet of track in the rail yard, laid on concrete ties (John White was beaming at this news). The only non-concrete ties on site were used under turnouts, which were pre-fabricated on site and slid into place (They looked like Atlas Code 100 to me). The unloading “pad” is all concrete and measures 110’x1600’. There are two more tracks alongside the unloading pad that are used to reassemble the 100 car trains for their return journey across the country.
About the trains: BNSF runs 8 trains in continuous “loop” service between Anacortes and North Dakota, and each train is 100 cars long, with 4 locomotives, 2 on each end in a “push-pull” arrangement. In a somewhat unusual arrangement, though, Savage Rail, Inc, an on-site contractor, takes over control of the unit train at the gate, and handles the actual switching – the train is broken into 4 segments, 25 cars each, for the afore-mentioned unloading tracks. A train can be unloaded in about 12 hours.
More fun facts: Each train has 2 “buffer cars”, one at each end, and each train is 1 ¼ mile long, and each car carries 680 barrels per car (so my math tells me that each train hauls 68,000 barrels of oil). These tank cars were built new for this rail service, and are double hull and have double shelf couplers.
The company “UTLX” is contracted for on-site repairs, as any defective or damaged rail cars must be repaired before being allowed to leave the facility. Bob regaled us with his humor and description of some of the challenges that were faced. Truly a great clinic!
Next month’s topic is “Mini Clinics” that will feather a number of our members giving brief clinics on a variety of topics. November’s clinic will be on building hydrocal structures by Al #2 (Al Carter).