Article by Rich Thom, Photos by Rich Thom & Jon Wilbert
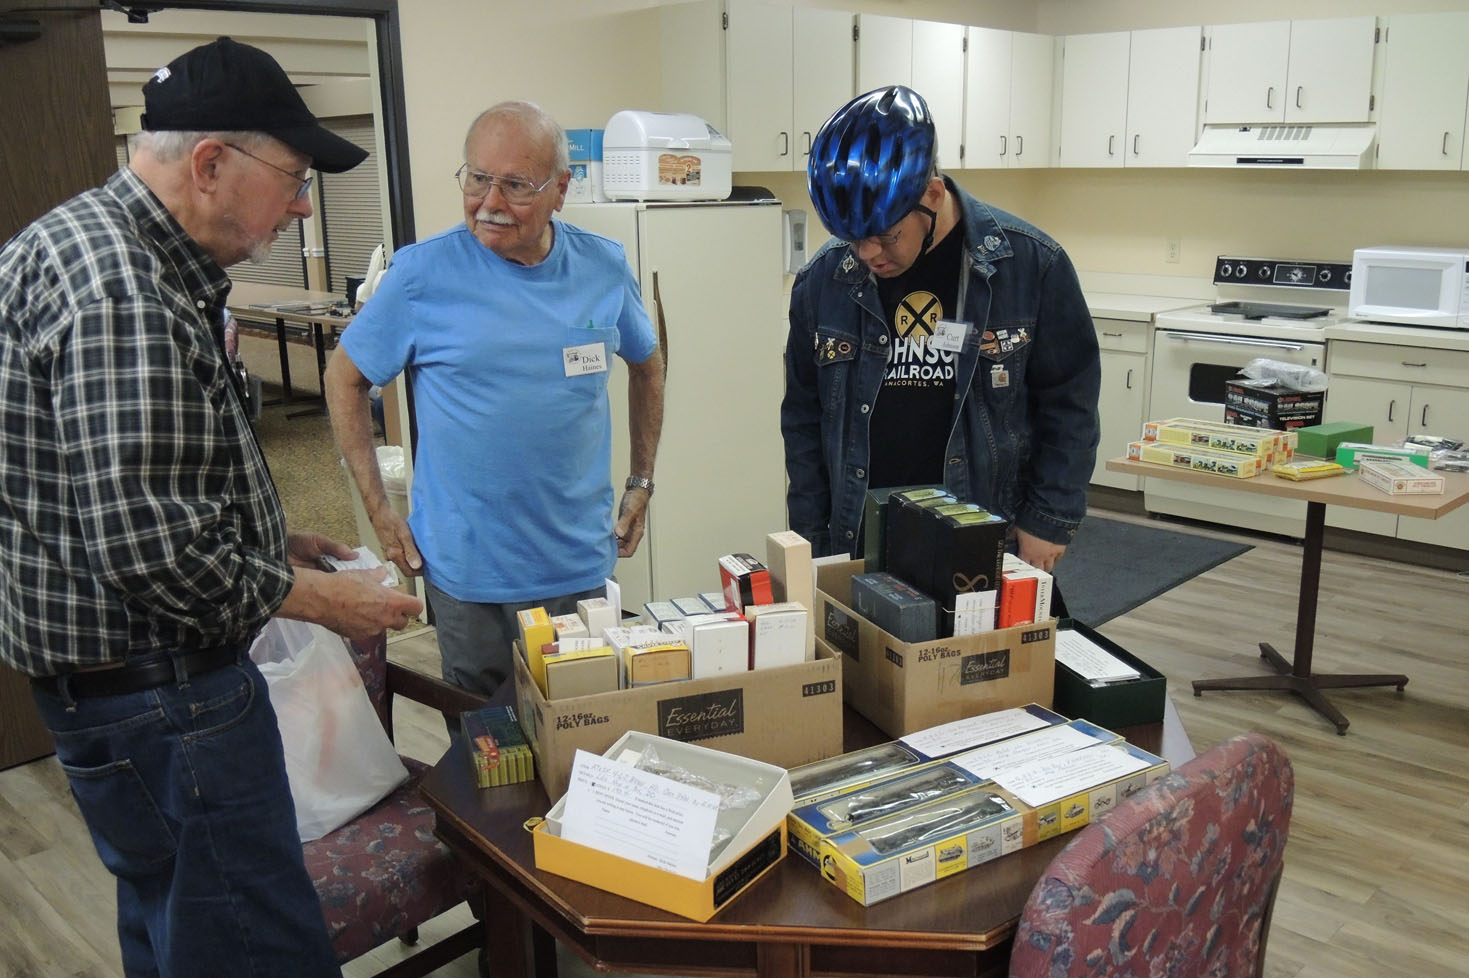
Fig 1 – A Bigger than Usual Swap Meet – Tom Hawkins, Dick Haines and Curt Johnson (l. to r.) Look Over Offerings
The Skagit Valley & Whidbey NMRA Clinic got off to a great start for the season with 27 hobbyists filling our meeting room at the Oak Harbor Summerhill facility. Clinic Chair Rich Blake welcomed guests Frankie Bott and Chris Malmkar (spouse of new member Mark Malmkar) and we hope to see both again at our upcoming clinics this year. Rich reviewed some of the highlights of the short summer break: our annual BBQ hosted by John Marshall in Coupeville and op session on John’s ever-growing G-scale empire; our private tour of Nick Muff’s phenomenal layout in Sedro Wooley, organized by Susan Gonzales; and last (but not least) – Tom Hawkins earning his NMRA Golden Spike Award for his Port Thomas & Southern HO layout in Anacortes. (Click here to view the May 2016 Grab Iron post on Tom’s layout.) Rich encouraged new people to take up some of the clinic’s tasks, one in particular to be responsible for the drinks and snacks, which have been faithfully supplied by Phil and Susan Gonzales for several years. Thanks go to Cliff and Sue Aaker for volunteering to take over this role to prevent our members from starving, although few show any symptoms of it.
The new season’s program lineup was discussed, with the popular mini-clinic evening coming up next in October. The idea of another model contest — always popular, too — was proposed, with this season’s subject being a mini-diorama — a miniature scene in any scale, perhaps no larger than a 4” by 6” file card (precise size TBA), which tells a story. Phil Gonzales stepped up to be this year’s Contest Shepherd (thanks, Phil). Judging could be in either February or April, also to be announced.
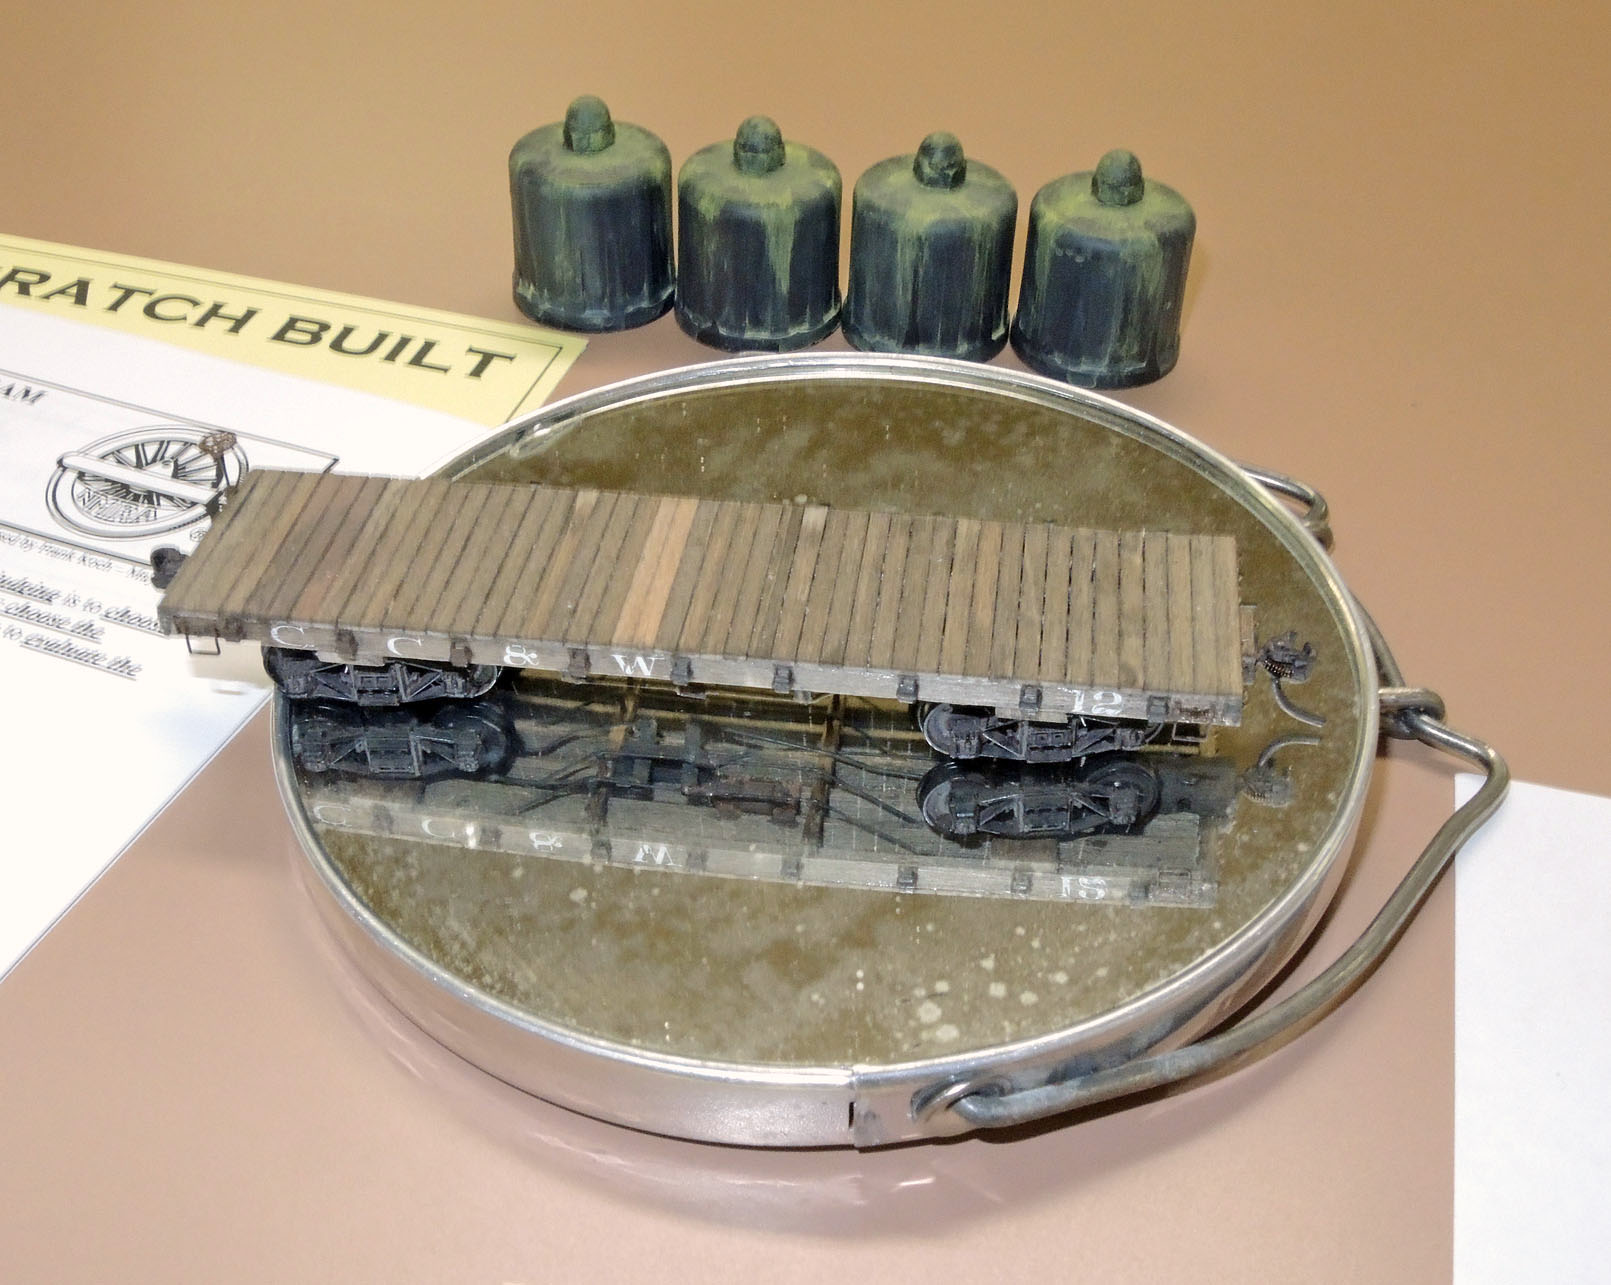
Fig 2 – Jack Tingstad’s Hot Sulfur Car Won 2nd Place, Cars
Swap meet items filled three full tables this month in our venue’s kitchen (Fig 1) as well as more tables in the main room. We don’t know how much sold, but much was on offer. Jack Tingstad reminded everyone that a table or two — a group table, perhaps? – at the United Northwest Model Railroad Club’s annual train show in Monroe, February 25-26, 2017 is a great way to find new homes for unwanted items.
The evening moved on to the night’s theme: “What I did this summer”, or just simply “Show and Tell“. Tom Hawkins led off by describing a woman in the area who had a large model collection, including not only model railroad items, but also Christmas houses, model airplanes, record collections etc. up for sale. The railway items include mostly older Rivarossi, Mantua, and similar makes both steam and diesel, passenger cars, and Bachmann sets. If anyone is interested, contact Tom (tomhawk1@frontier.com) and he will connect you with the seller.
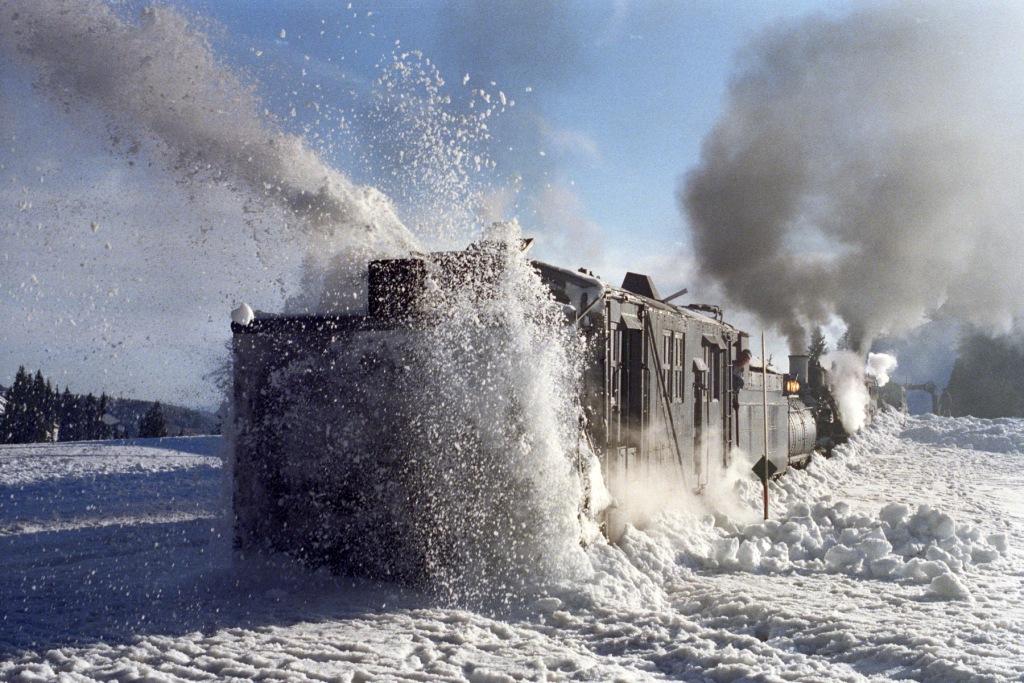
Fig 3 – Rich Thom’s 1st Place Prototype Color Photo – Last Run of Plow OY over Cumbres
Rich Thom described his trip to Salmon Arm BC, traveling with fellow clinic member Jack Tingstad, for the PNR NMRA regional convention held in June. A well-attended meet, Rich found the two days of prototype tours excellent, but the layout tours inconveniently scheduled (Sunday only, when many participants needed to head for home) and the absence of any operating sessions disappointing. Jack and Rich, though, captured contest awards for cars (Jack, Fig 2) and prototype photos (Rich, Fig 3).
Mark Malmkar showed a concrete pad (Fig 4) which he created in plaster of paris for a new building, and also revealed (our clinic members have multiple talents!) that he is an author of railroad-themed fiction. One recent work, titled “Murder on the Golden State” is available by contacting the author (plm99mfg@gmail.com).

Fig 4 – Mark Malmkar Describes his Technique for Creating Concrete
Alan Murray briefly described the National Narrow Gauge Convention that he, along with 13 other PNR members, attended in Maine, which attracted no fewer than 1,360 attendees. Alan will have a fuller report, with photos, at our October meeting.
Finally, Jon Wilbert described his “how I spent my summer” project and it was a fine finale for our first meeting.
Jon purchased a Safetran CLS-20 Signal Head on-line, completely rebuilt it, and crafted an entirely new mast and base to mount the 3-color signal beside his driveway, welcoming (in a dramatic railroading way) visitors to his and wife Cindy’s Langley home. Fig 5 shows the signal head in Jon’s garage, ready for dismantling, cleaning and repainting. (Sharp-eyed readers may spot another project in the background. It’s a 1924 Ford Model T coupe, which Jon got from Cindy’s father, who had restored it. A little minor engine work and it’ll be ready to go. Is there such a thing as too many hobbies?)

Fig 5 – Jon Wilbert’s Signal Head
Next, Jon needed a mast for the signal head, but the prototype part was a cool $5,000, so some innovation was needed. The solution was a ten-foot length of 3-inch PVC, shown in Fig 6. A collar of larger diameter PVC (at right in Fig 6) was needed to mate with the signal head. The mast was spray-painted silver to mimic metal.
Erecting the mast and signal was another challenge. Jon and his son jury-rigged a gin pole (Fig 7) to raise the mast in place so that the concrete footing could be poured.
The final installation is shown in Fig 8. Not everyone has a fully-functional 3-color signal in their driveway – a hobby project well-done! Jon joked that maybe a railroad crossing gate, complete with crossbars and flashing lights, is next.
Knowing Jon, he might not have been just kidding around.
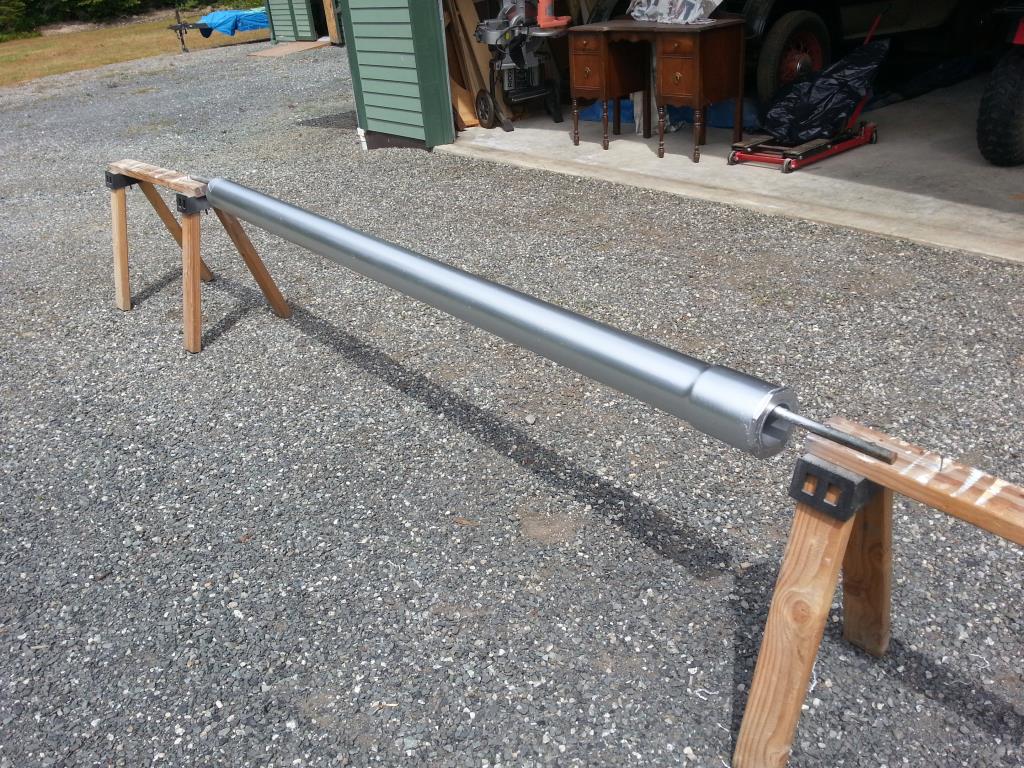
Fig 6 – PVC Mast for Signal Head

Fig 7 – Erecting the Signal Mast

Fig 8 – The Final Installation
No Comments Yet