By John O’Connell / Photos by Mike O’Brien, Roger Johnson, and John O’Connell
January 14, Mt. Vernon Senior Center
Twenty-one attended this, our first Clinic of the year, on our new, regular Clinic date, the Second Thursday. Attendees included one new member and three guests from other NWR Clinics. Welcome all!
Announcements
Ted Becker ran through several announcements:
January 16-18, the 4th Division’s Annual Model Train Show at the Pacific Science Center. Go to https://4dpnr.com/event/pacific-science-center-model-train-show/ for more details.
February 11, Mt. Vernon Clinic. Nick Muff, MMR, “Modeling the Kansas City Union Station”
February 27, 28, Monroe Model Railroad Show and Swap Meet. Visit http://www.unwclub.org/unwshow.html for details.
March 5, Milwaukee Road Meet. Burien, WA. Visit http://www.milwelectric.org/2016-march-milwaukee-meet-march-5-burien-wa/ for updates.
March 10, Mt. Vernon Clinic. Ted Becker, “Steam Locomotive Appliances”
March 19, Santa Fe Mini-Meet, Burien. Visit http://www.atsfrr.com/convention/MiniMeets/17th%20Northwest%20Santa%20Fe%20Mini.pdf for more information.
April 2, Pennsylvania Rail Road Meet, Burien.
April 14, Mt. Vernon Clinic. Dioramas and Mini-Clinics.
May 12, Mt. Vernon Clinic. Kevin Klettke “Fleet Weathering.” This is a reprise of his well-received Clinic at PDX 2015 on efficiently weathering large fleets of rolling stock. Not to be missed. Here’s a sample:
Visit Kevin’s website at http://wnrr.net.
Roger Johnson took the floor to thank the eleven Clinic members who helped him over multiple work parties to dismantle his layout and help make its components available for sale at the Monroe Show. For those of us who pitched in, it really wasn’t work; it was a great way to spend time with friends lending a hand to a friend. You know what they say, “What goes around, comes around.”
Be on the lookout in the next Newsletter for the new pre-Clinic dinner spot which we’ll try on February 11.
Al Carter and Mike O’Brien’s Progress on Pigs to MoW
Last Clinic, Al and Mike presented the first installment of kit bashing a laser cut Hog House into a track side Maintenance of Way Shed.

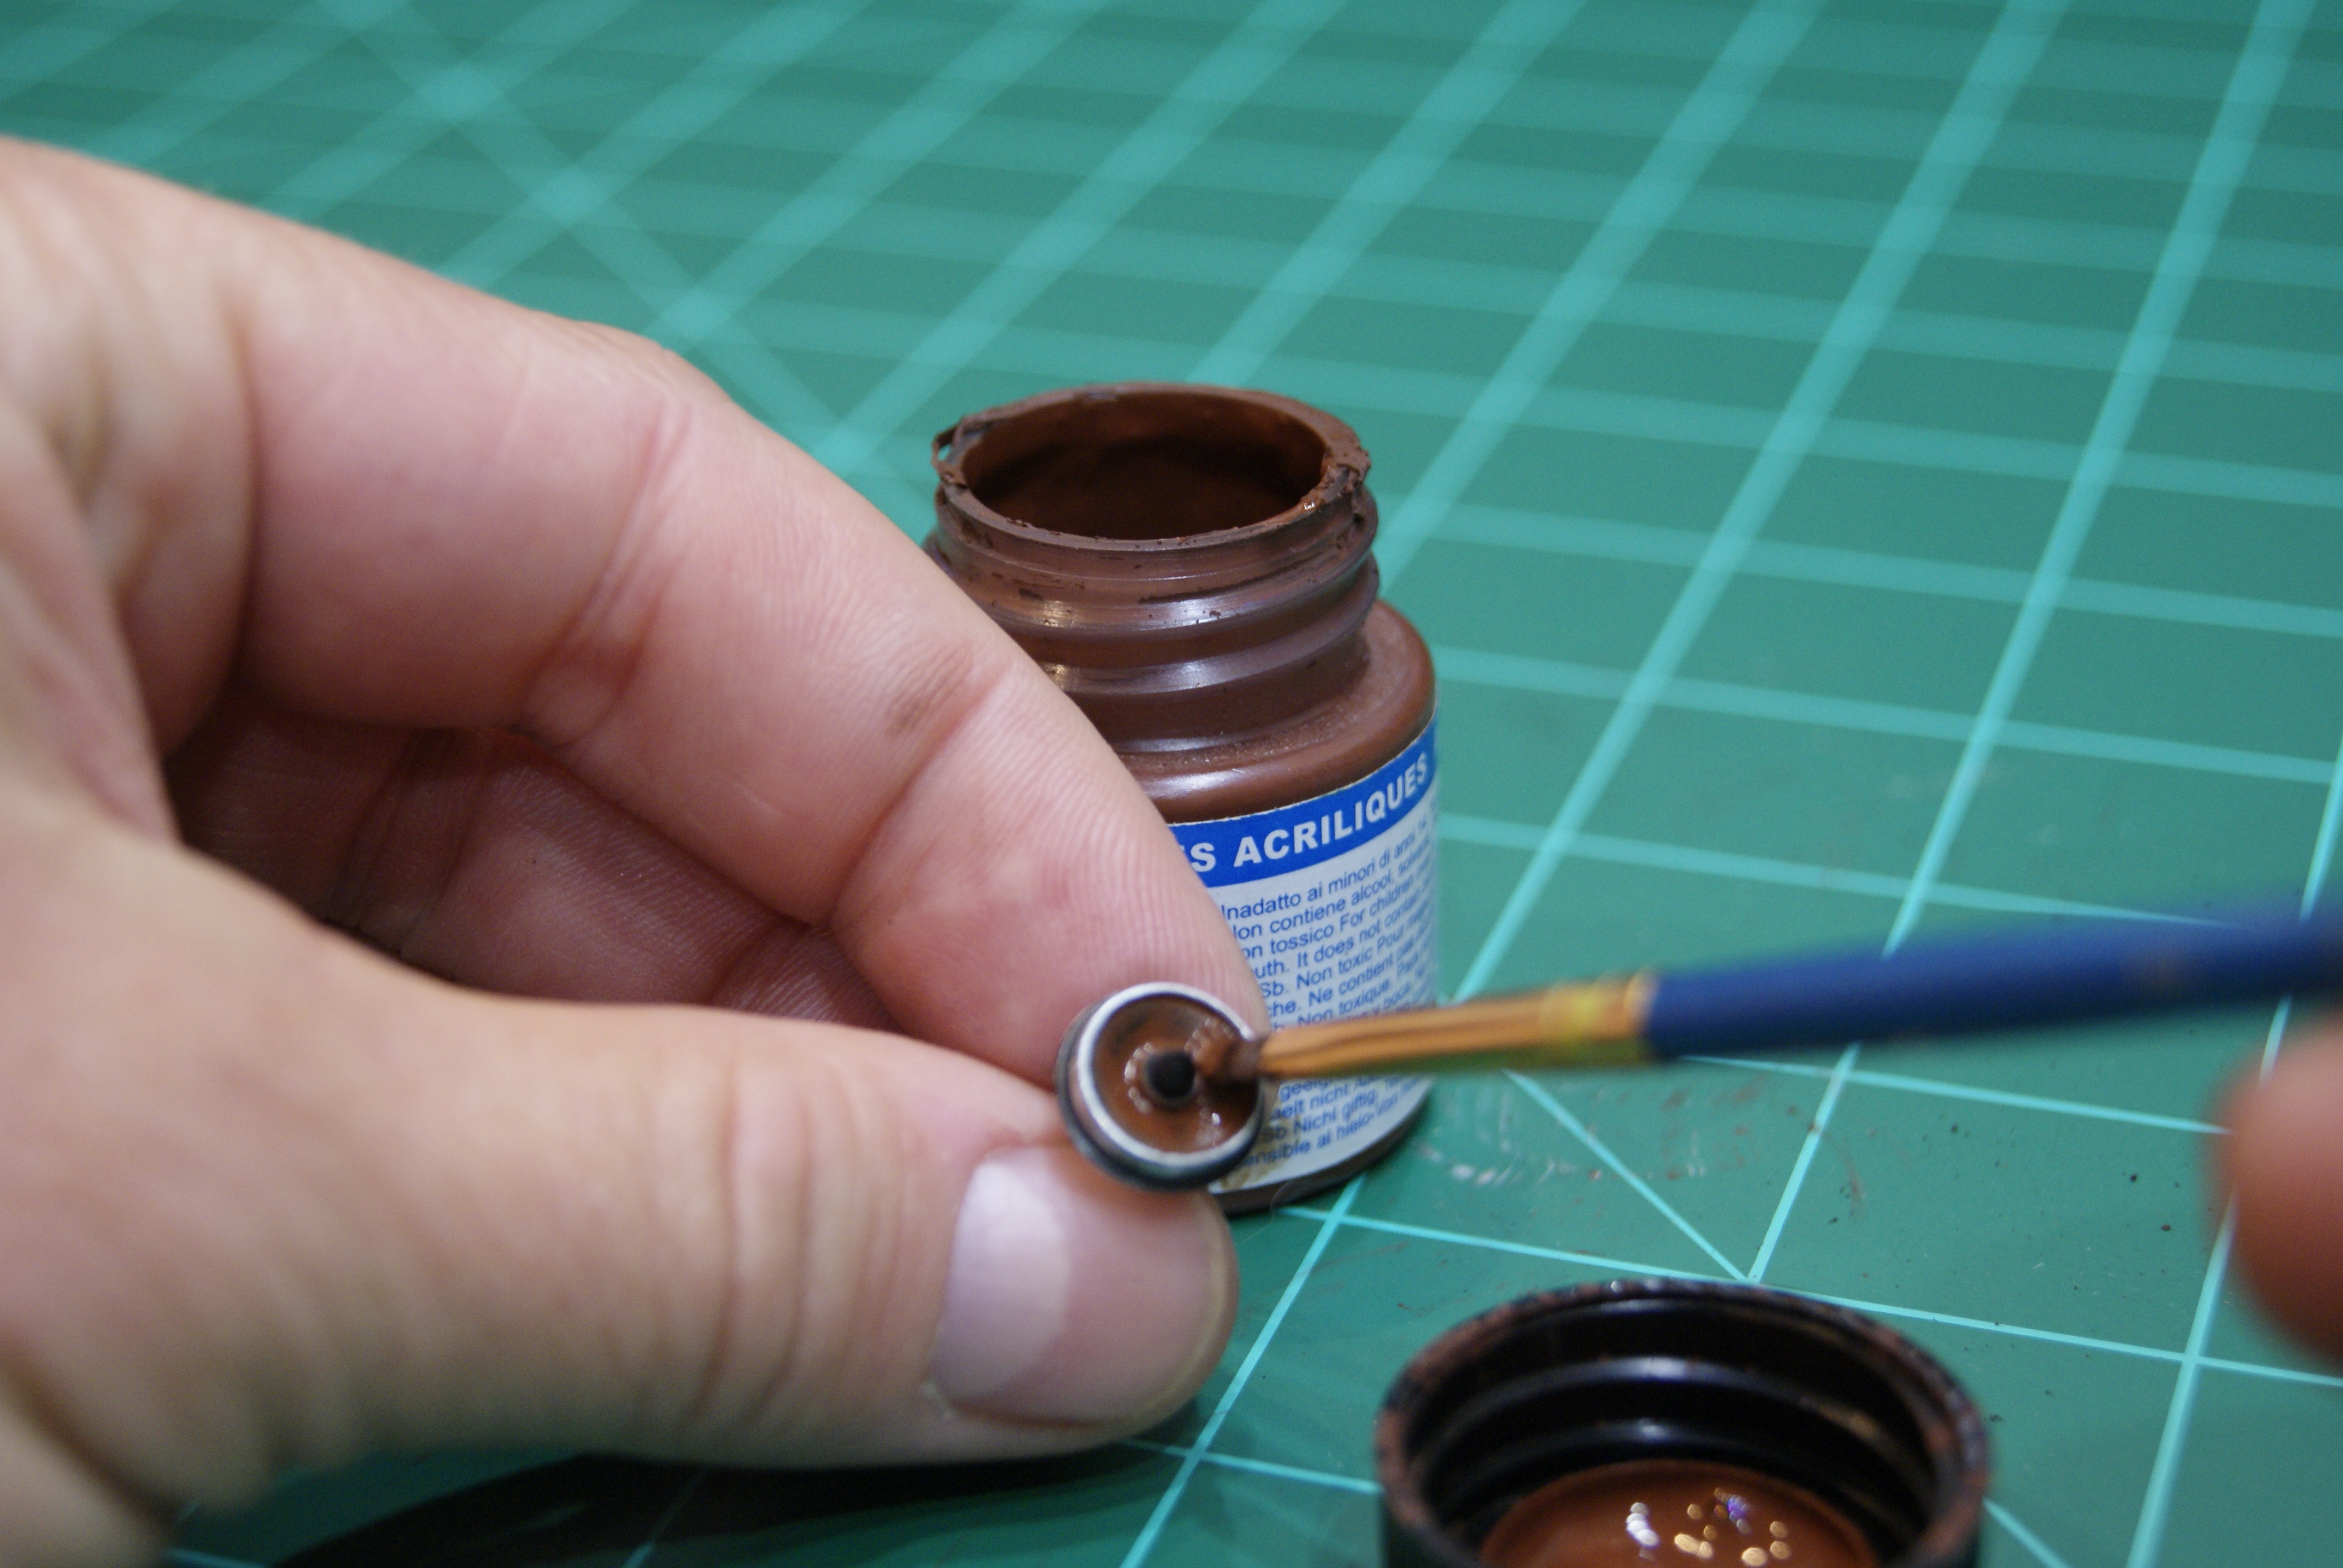
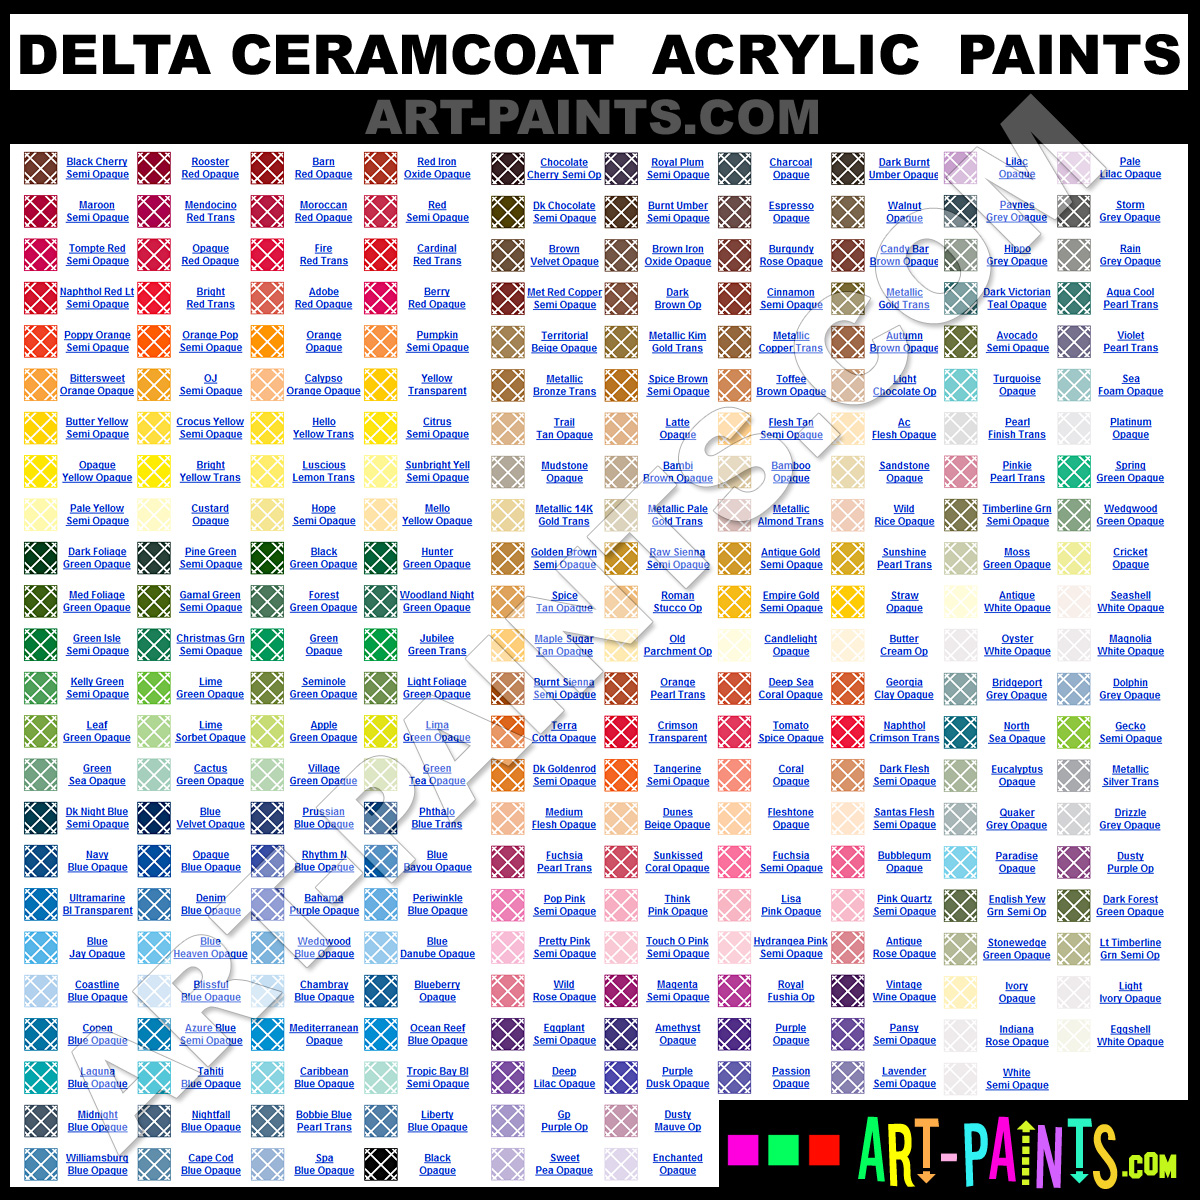
This month, Al took us through how he obtained the color effects on the exterior. For the walls, he first used PrismaColor Fine Art Markers in Warm Grey (comes in color intensity gradations from 10 to 90%), then he used Delta Ceramcoat Acrylic Paint in Oyster White and for the window and door castings he used Krylon Camouflage Brown with secondary coat of Apple Barrel Acrylic Paint. From a technique standpoint, Al dry-brushed the paints over the primed walls, windows, and doors and noted, none of these products resulted in warped wood.
Dioramas in Progress
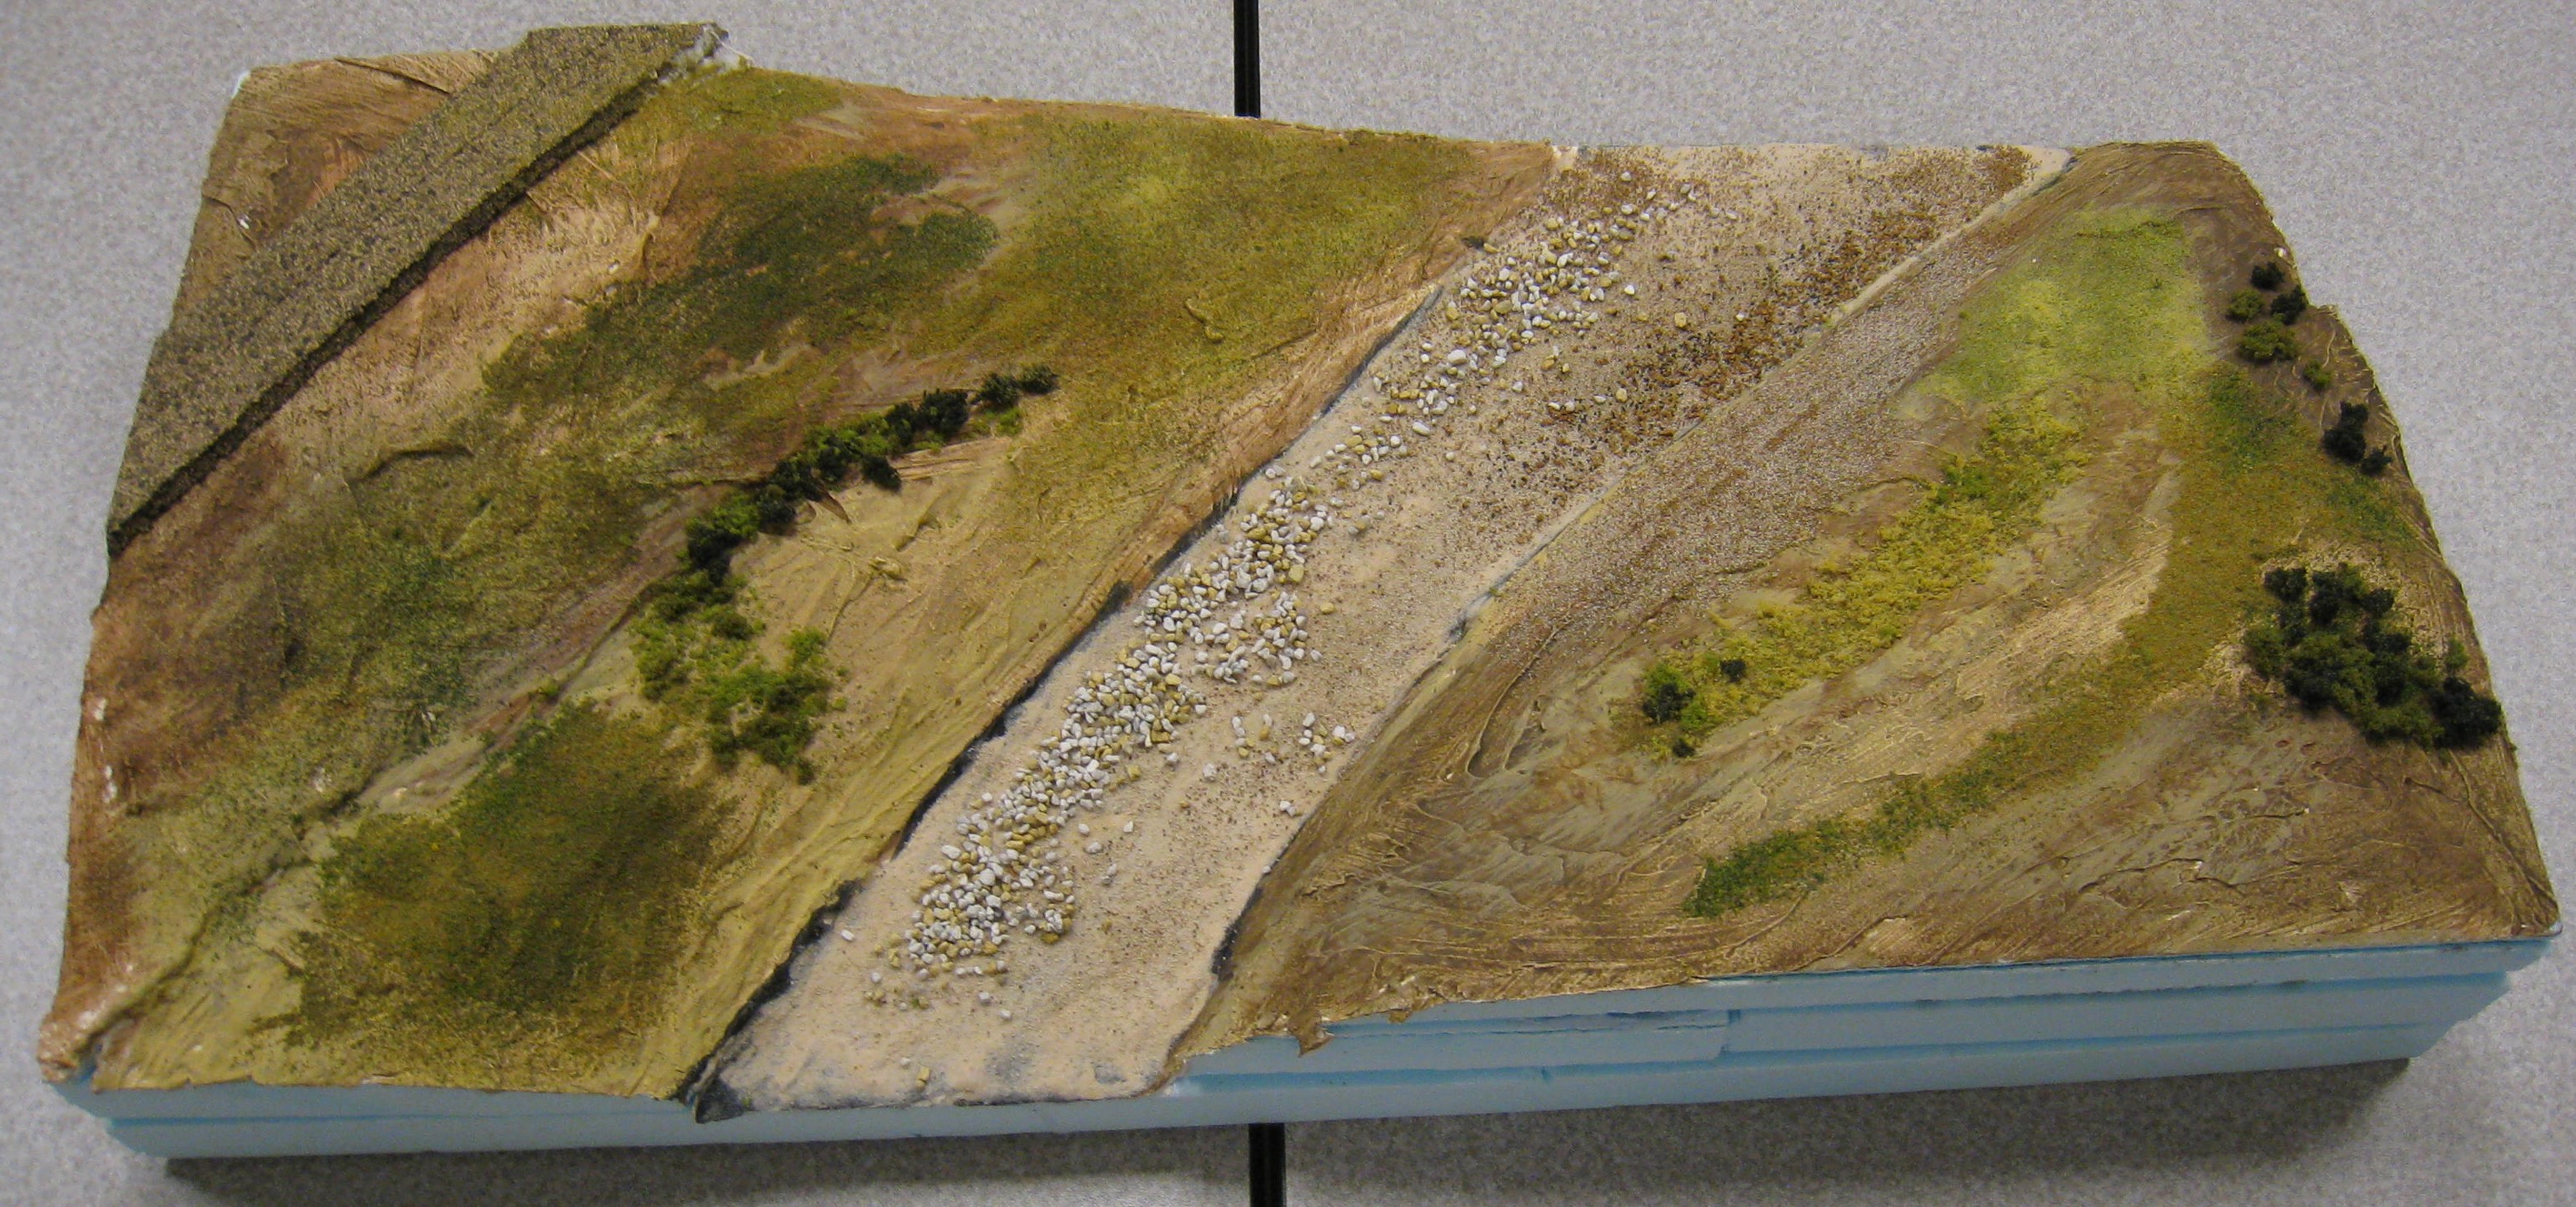
Since last Clinic, Mike O’Brien has added gravel in the stream, debris, stumps and snags. Next up are the small engine house and a rework of the Fall foliage.
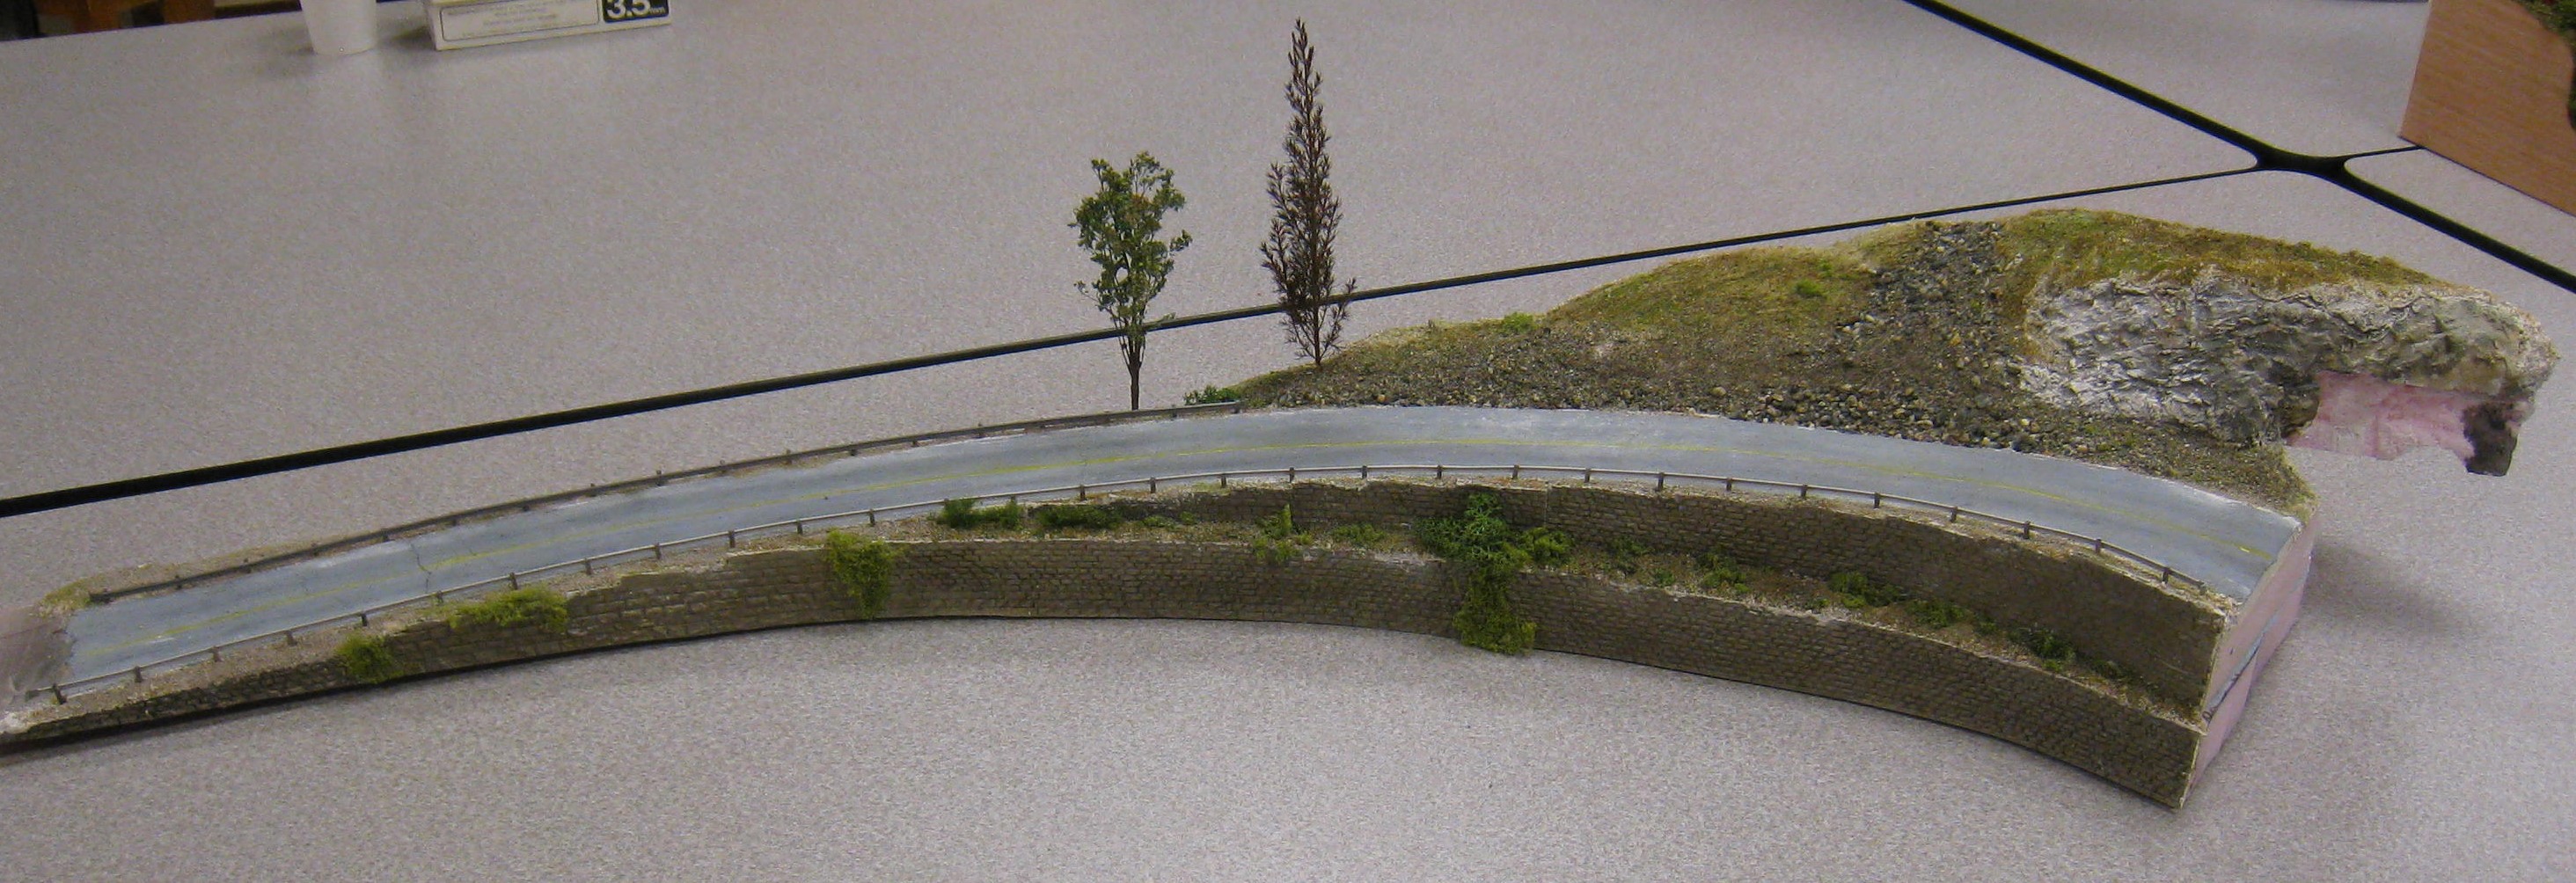
Al Carter showed us his highway scene which the referee determined was within 3 square inches of the size limit. The guard rails were fashioned from skewers and styrene; the retaining walls are from Chooch.
Ted Becker gave us an update on his Engine House which had to be expanded to accommodate his longer locomotives. The white structure is a cardboard mock up to help in judging proportions and sizing other features. The walls are finished with alcohol-based black leather dye, highly diluted to achieve an aged appearance. Then, Artist’s Loft Yellow Ochre Gouache (Michael’s) was applied with repeated dry brushing. Ted says any type of paint will work.

Tool Time
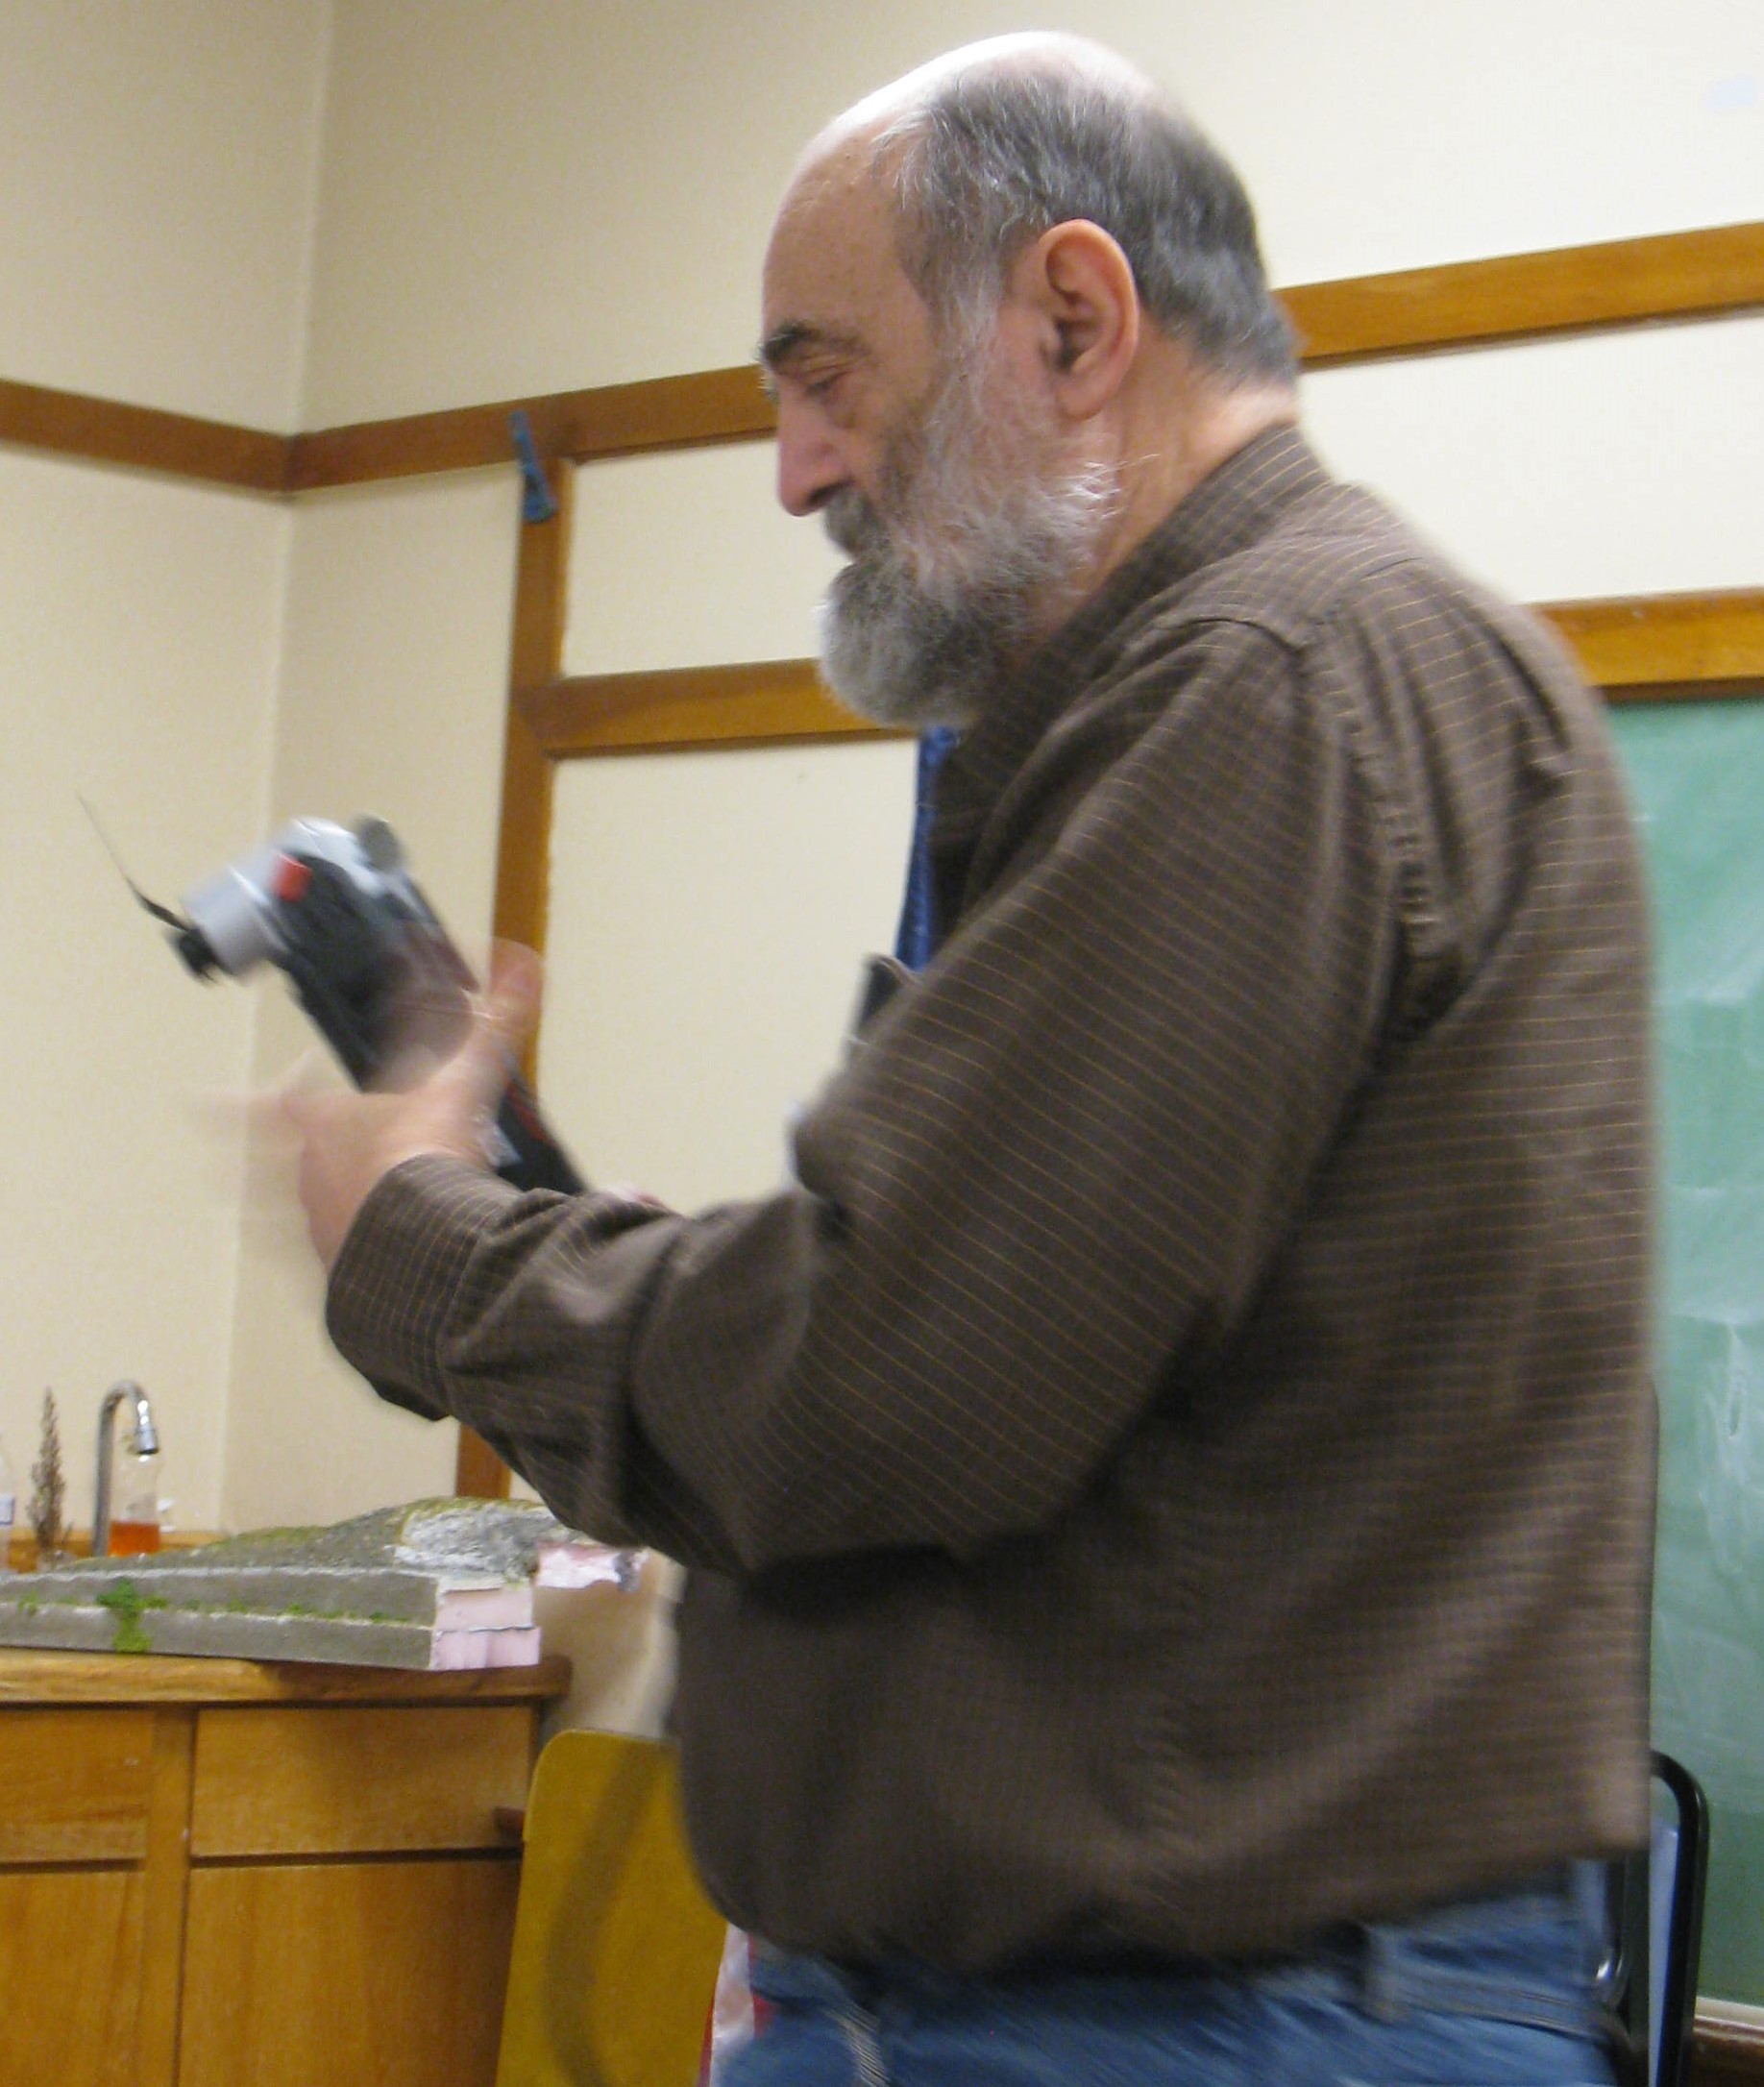
Ted showed us his Oscillating Saw which he said was great at cutting foam and small wood. His is a Rockwell tool but similar tools are offered by Dremel and Harbor Freight. It comes with several blades for different purposes.
Al shared a number of tools he finds useful in his modeling.
- Silicon Brushes for applying glue or plaster or slathering BBQ sauce on ribs.
- Nylon Spatulas for troweling plaster.
- Bamboo Skewers which are about 8” in diameter in HO.
Al found these three at the Dollar Store and emphasized that it, and bargain stores in general, are a great source of modeling treasures. Finally, Al saw reference in the Model Railroad Hobbyist on-line magazine to the Rust-Oleum product and tried it on several pieces of flex track. It is indeed a pretty good replacement for Rail Brown from Floquil.
Rust-Oleum Roof Accessory Spray Paint in Weathered Wood, item #285217
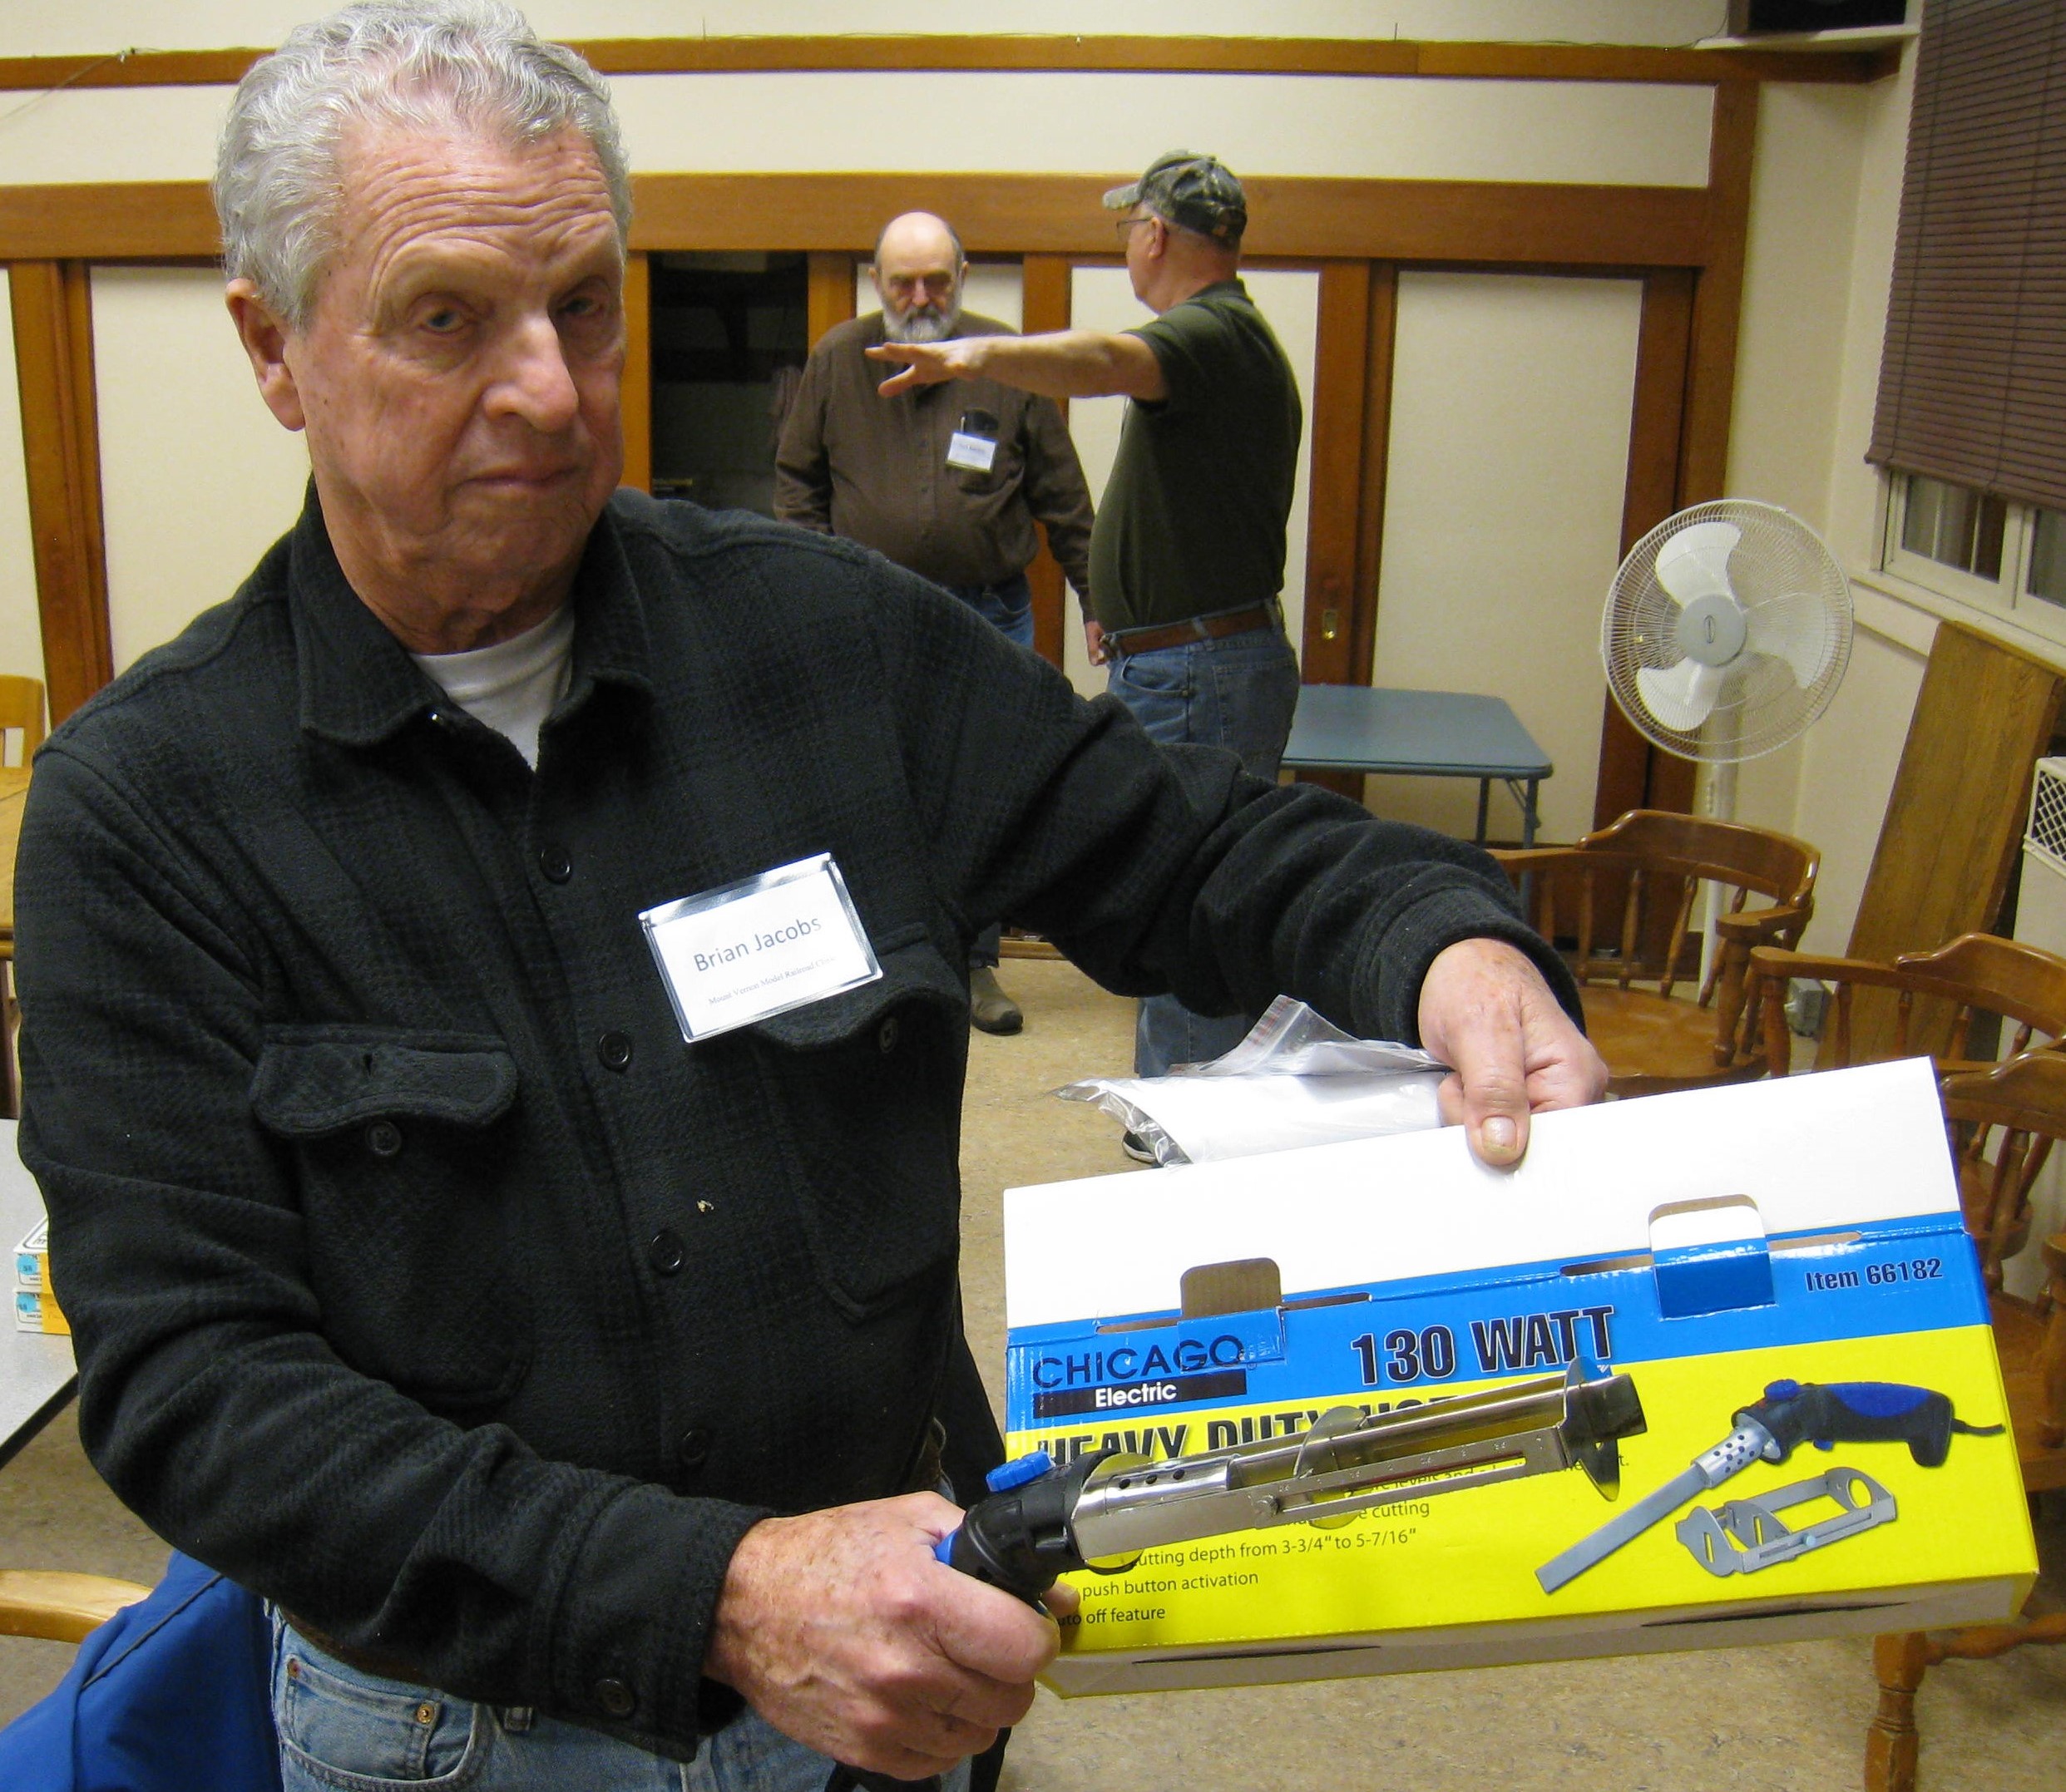
Bryon Jacobs brought his Heavy Duty 130W Hot Knife which he picked up from Harbor Freight. It cuts through foam like butter.
Show and Tell
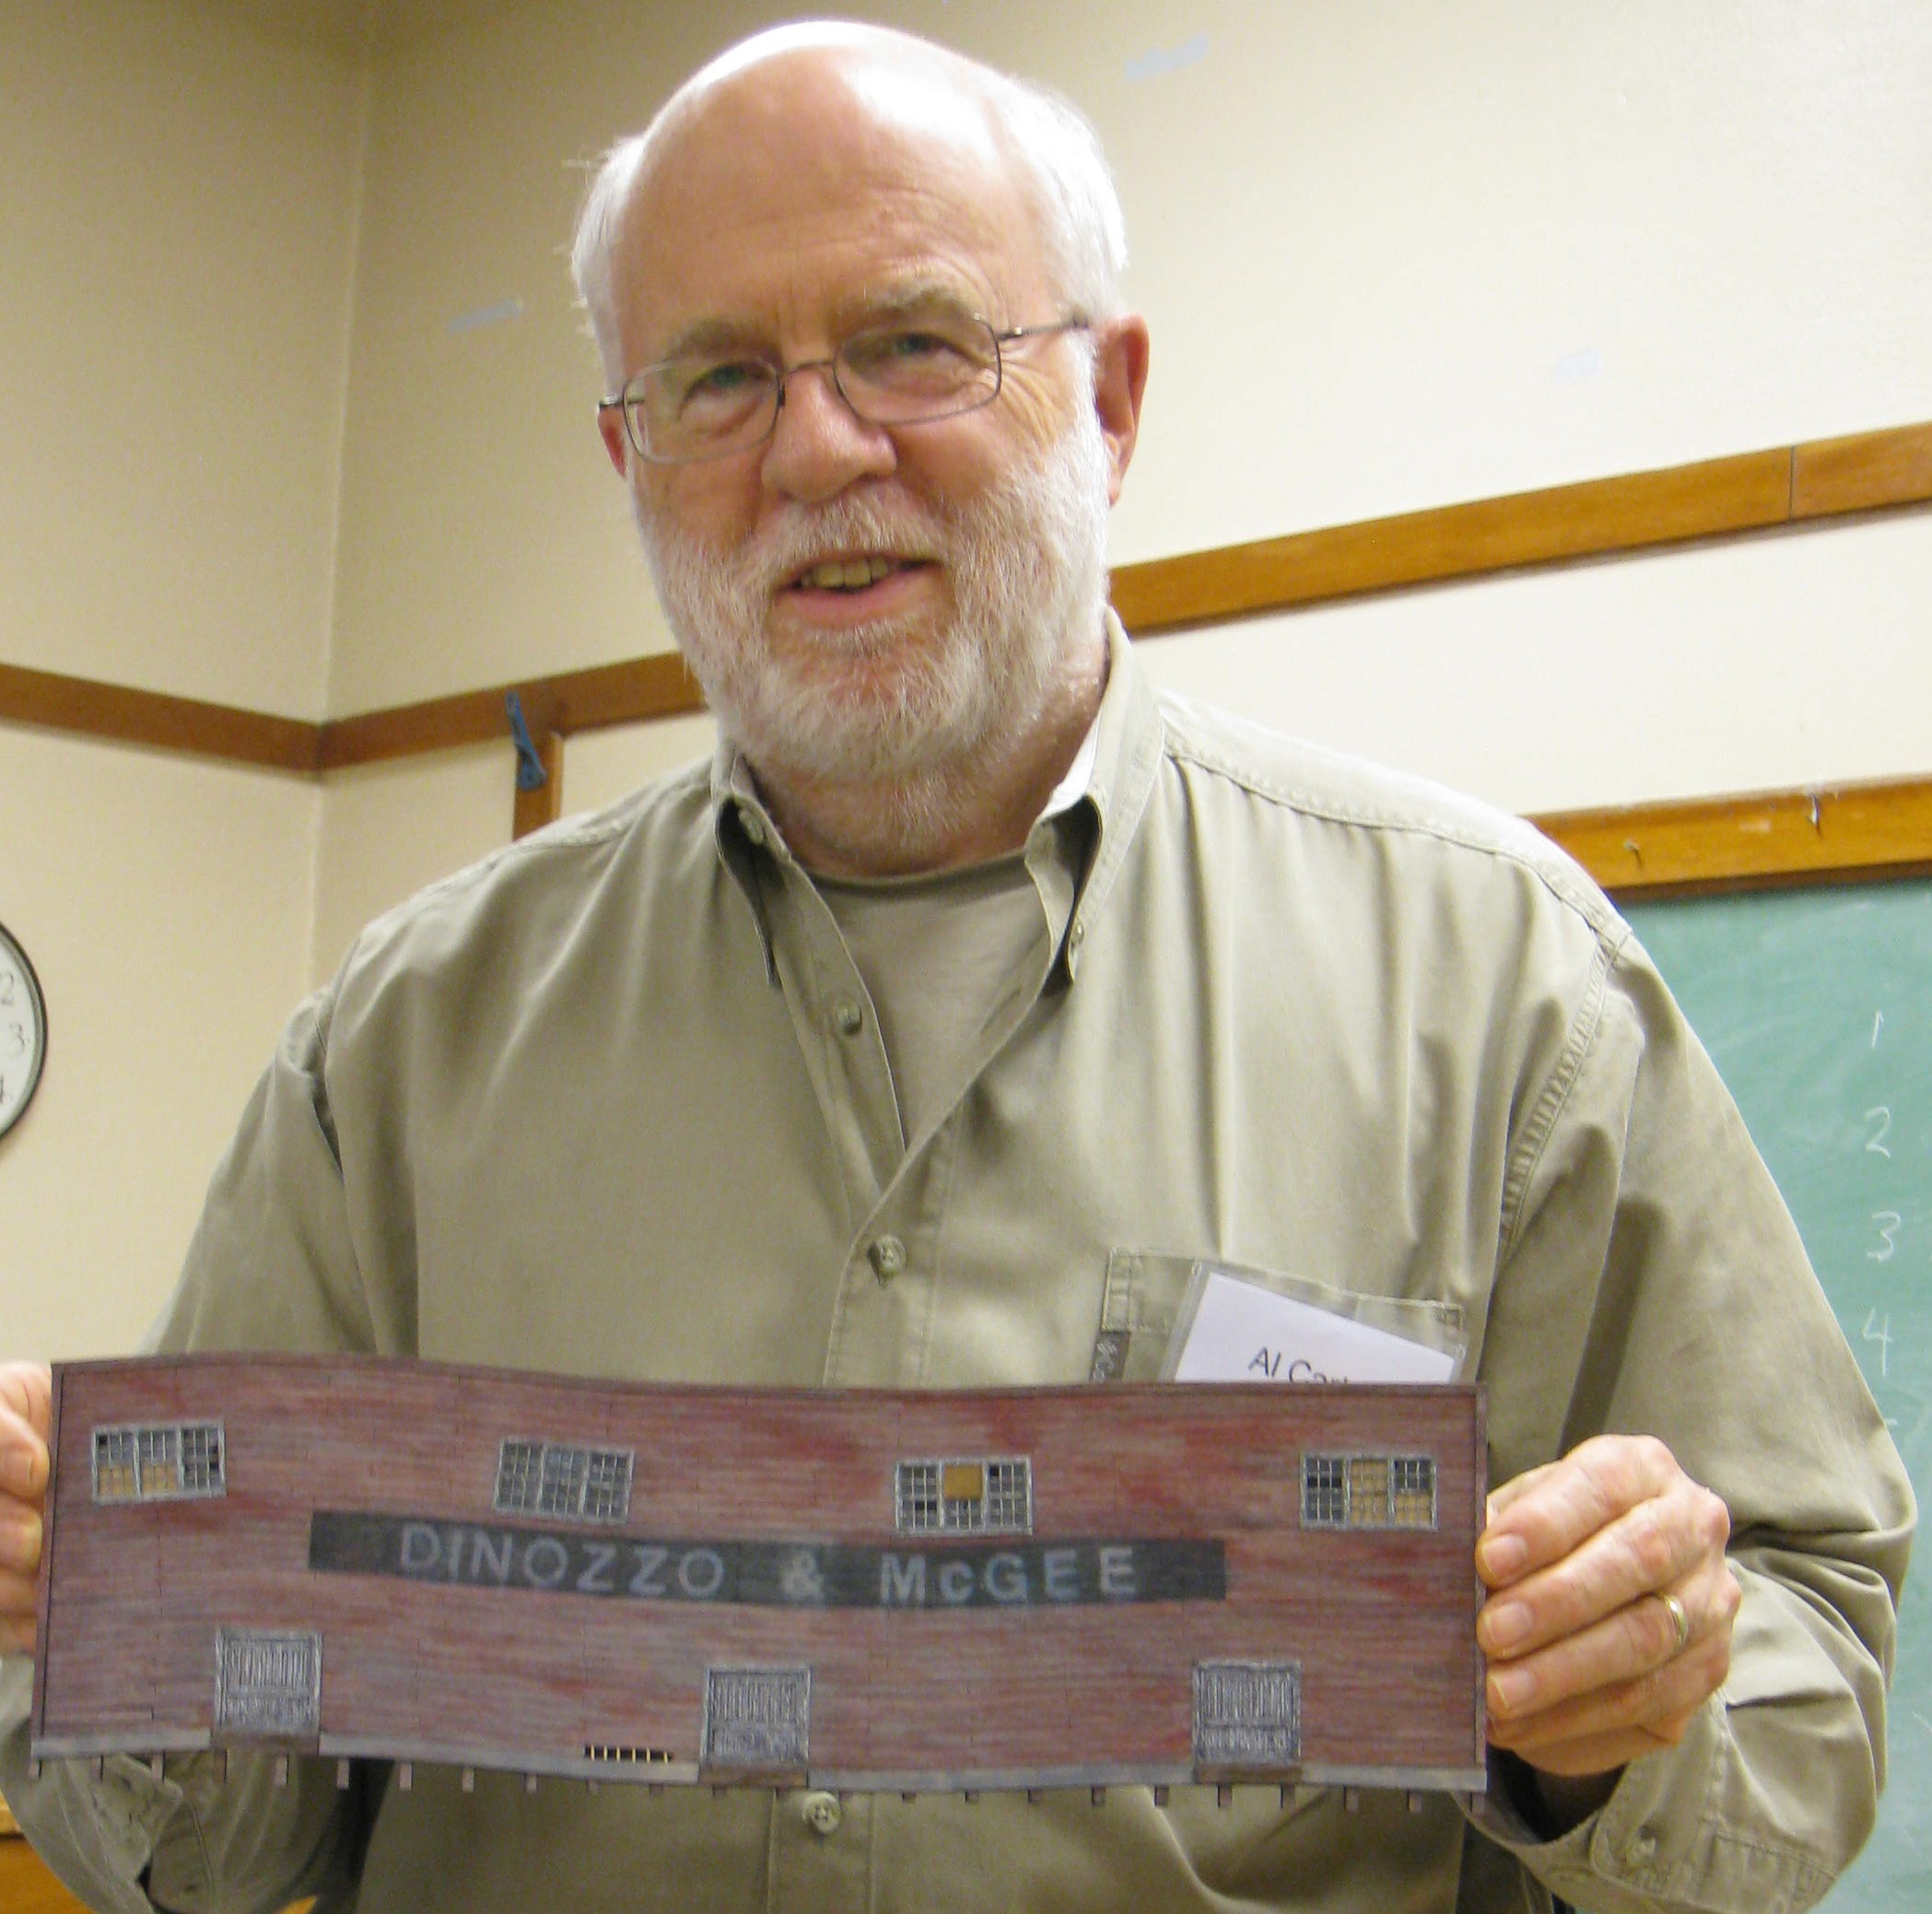
Al Carter presented the result of his collaboration with Nick Muff. Challenged with trying to model a sagging warehouse that shows its years of disuse, Al turned to Nick Muff, MMR, who designed the facade using CAD software and laser cut the material. Al then installed Grandt Line windows and doors and finished the building using Prismacolor markers to weather the wood, then a colored pencil to add the red color, black sign background, and white letters. He also used an oil pastel stick to add the peeling white paint to the windows and doors. He used no paint except primer on the windows and doors. Note that there is considerable detail lost in this picture which doesn’t do it justice.
The Program
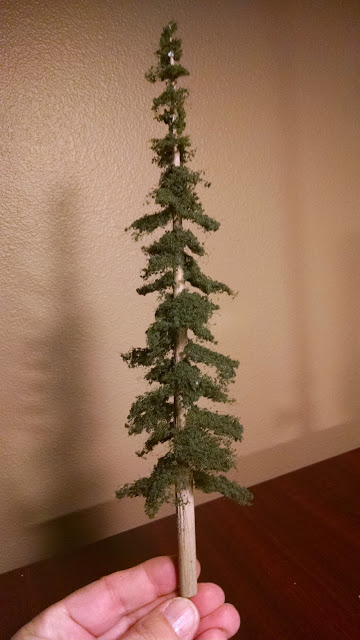
Mike O’Brien put on his long awaited clinic on fabricating conifers. If you are modeling in the North West, you have to have conifers, and lots of them. The primary source for this project is Coastmans Scenic Products out of Port Orford, Oregon. They seem to know a lot about trees! Visit their site for a sense of the variety and scale they provide. There are several sizes of Old Growth and Second Growth kits as well Windy Trees, Snag Trees plus much more. Mike showed us two variations on the theme in this clinic: The Complete Kit and From the Trunk Up.
The Complete Kit has all of the pieces necessary to complete at least three 78‘(HO) trees: Green branches material, pre-drilled cedar trunks, plug-in real wood dead branch material, wooden mounting pins, a construction stand and detail instructions. The package runs $16. Mike said it takes about 10 minutes to complete a tree.
Mike then detailed building a tree From the Trunk Up which involves starting with an Old Growth or Second Growth trunk which is pre-stained, and then:
- Drill holes through the trunk
- Insert black nylon brush bristles to make the armatures
- Insert dead branches strategically near bottom and throughout
- Glue them in place and kink them to make them appear more realistic (the nylon will hold the kink
- Apply patches of Woodland Scenic Conifer Green Foliage over the armatures with white glue
- Trim the fuzzies
- Add moss to the north side of the trunks
- Fix with hair spray
Mike noted that this approach, while less expensive, is more time consuming than the kit approach, about 40 minutes a tree. He also showed us another variation, an old dead snag, made dead branches and void of foliage.
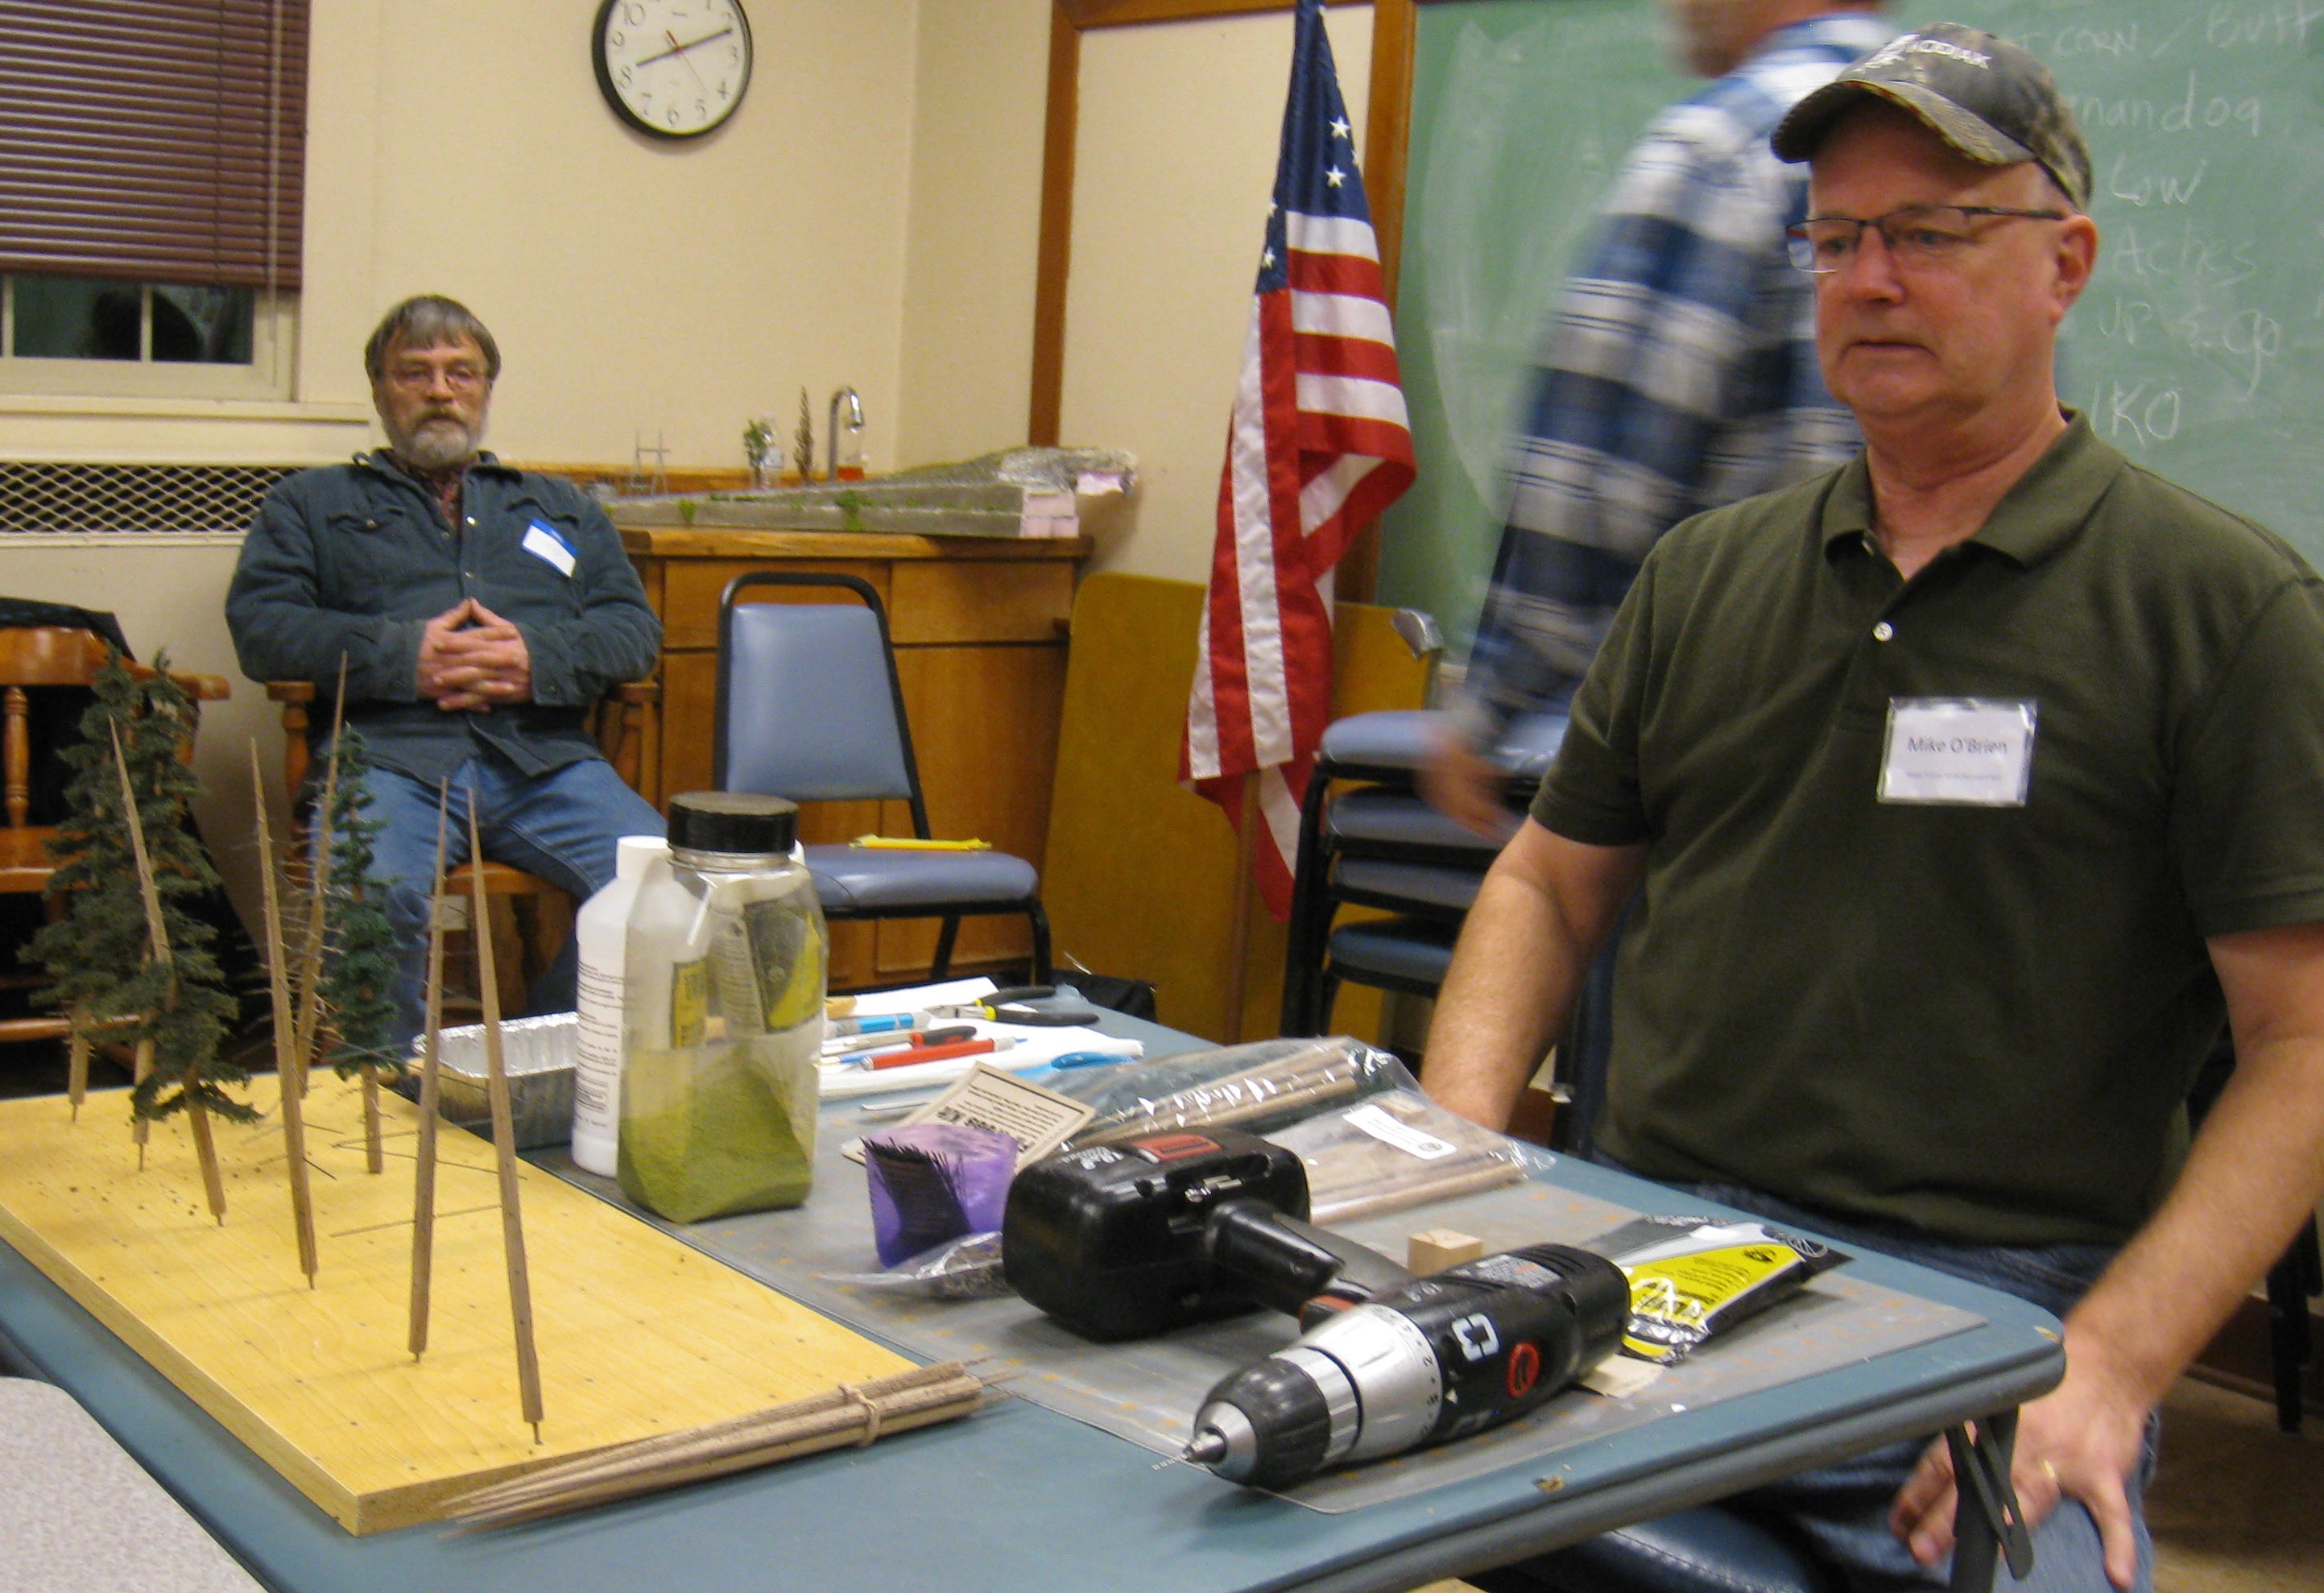
Mike O’Brien, Master Tree Builder

Brush Bristles as Armatures
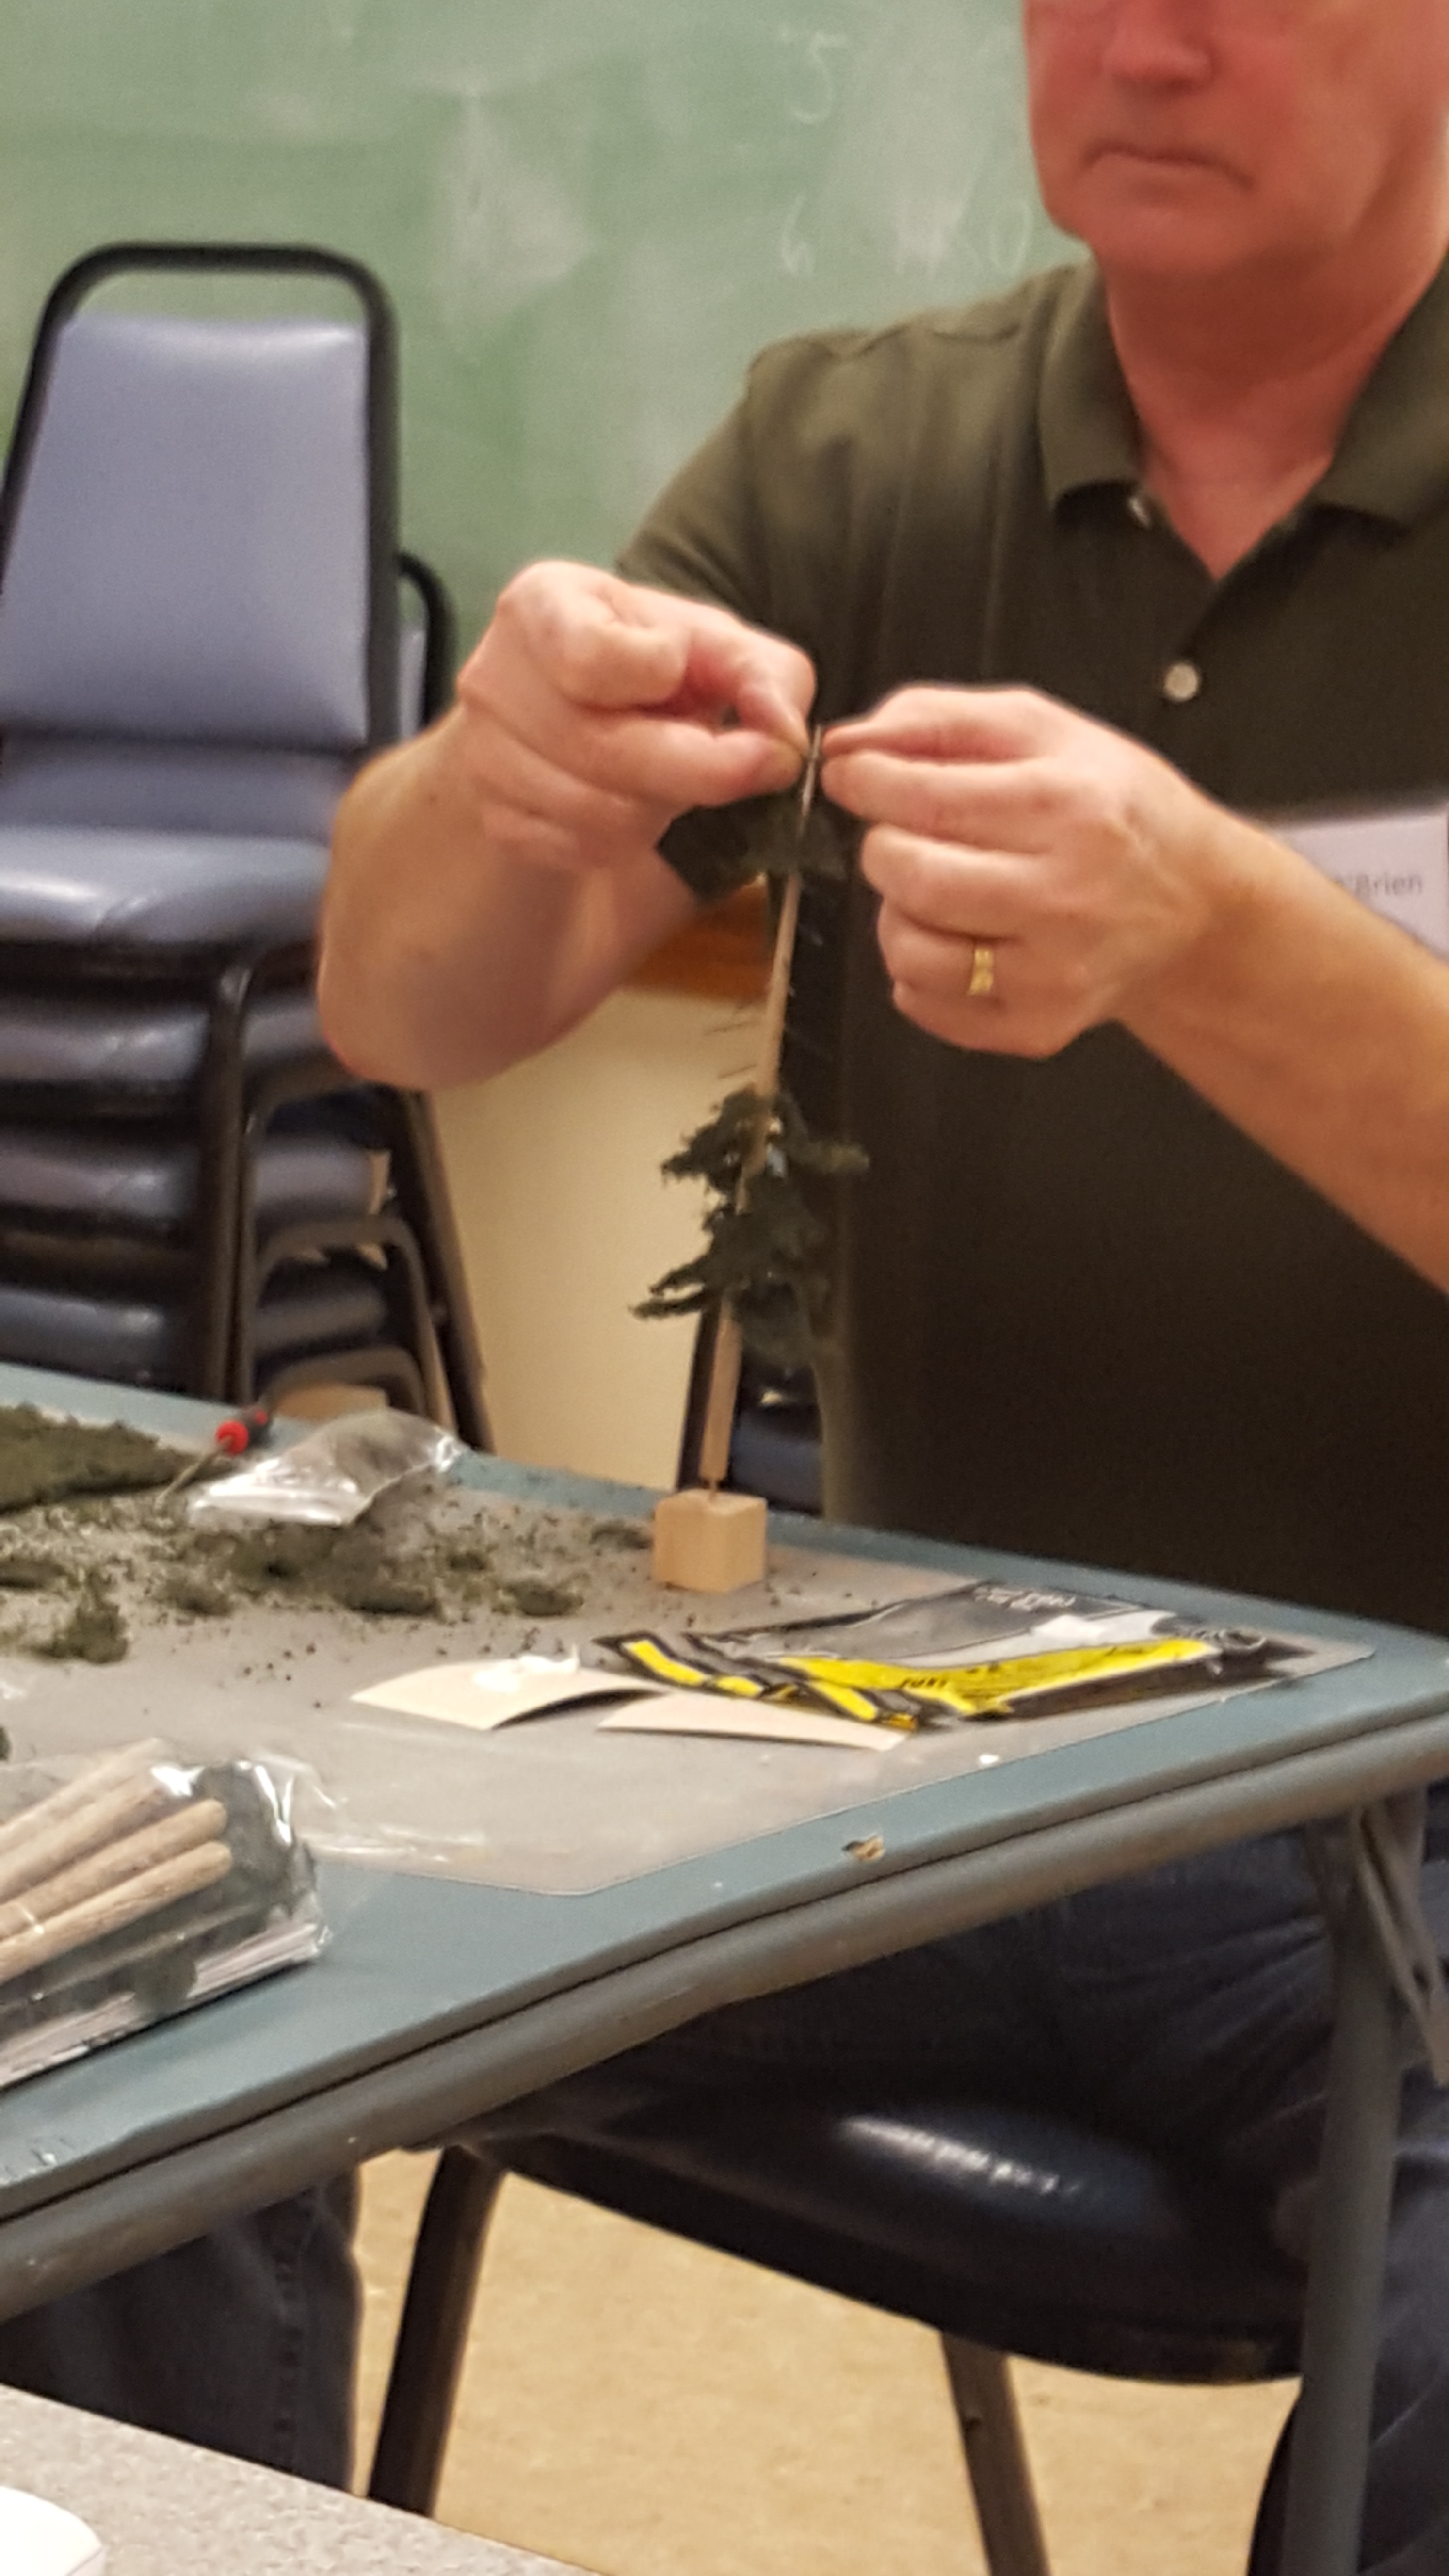
Applying the Foliage
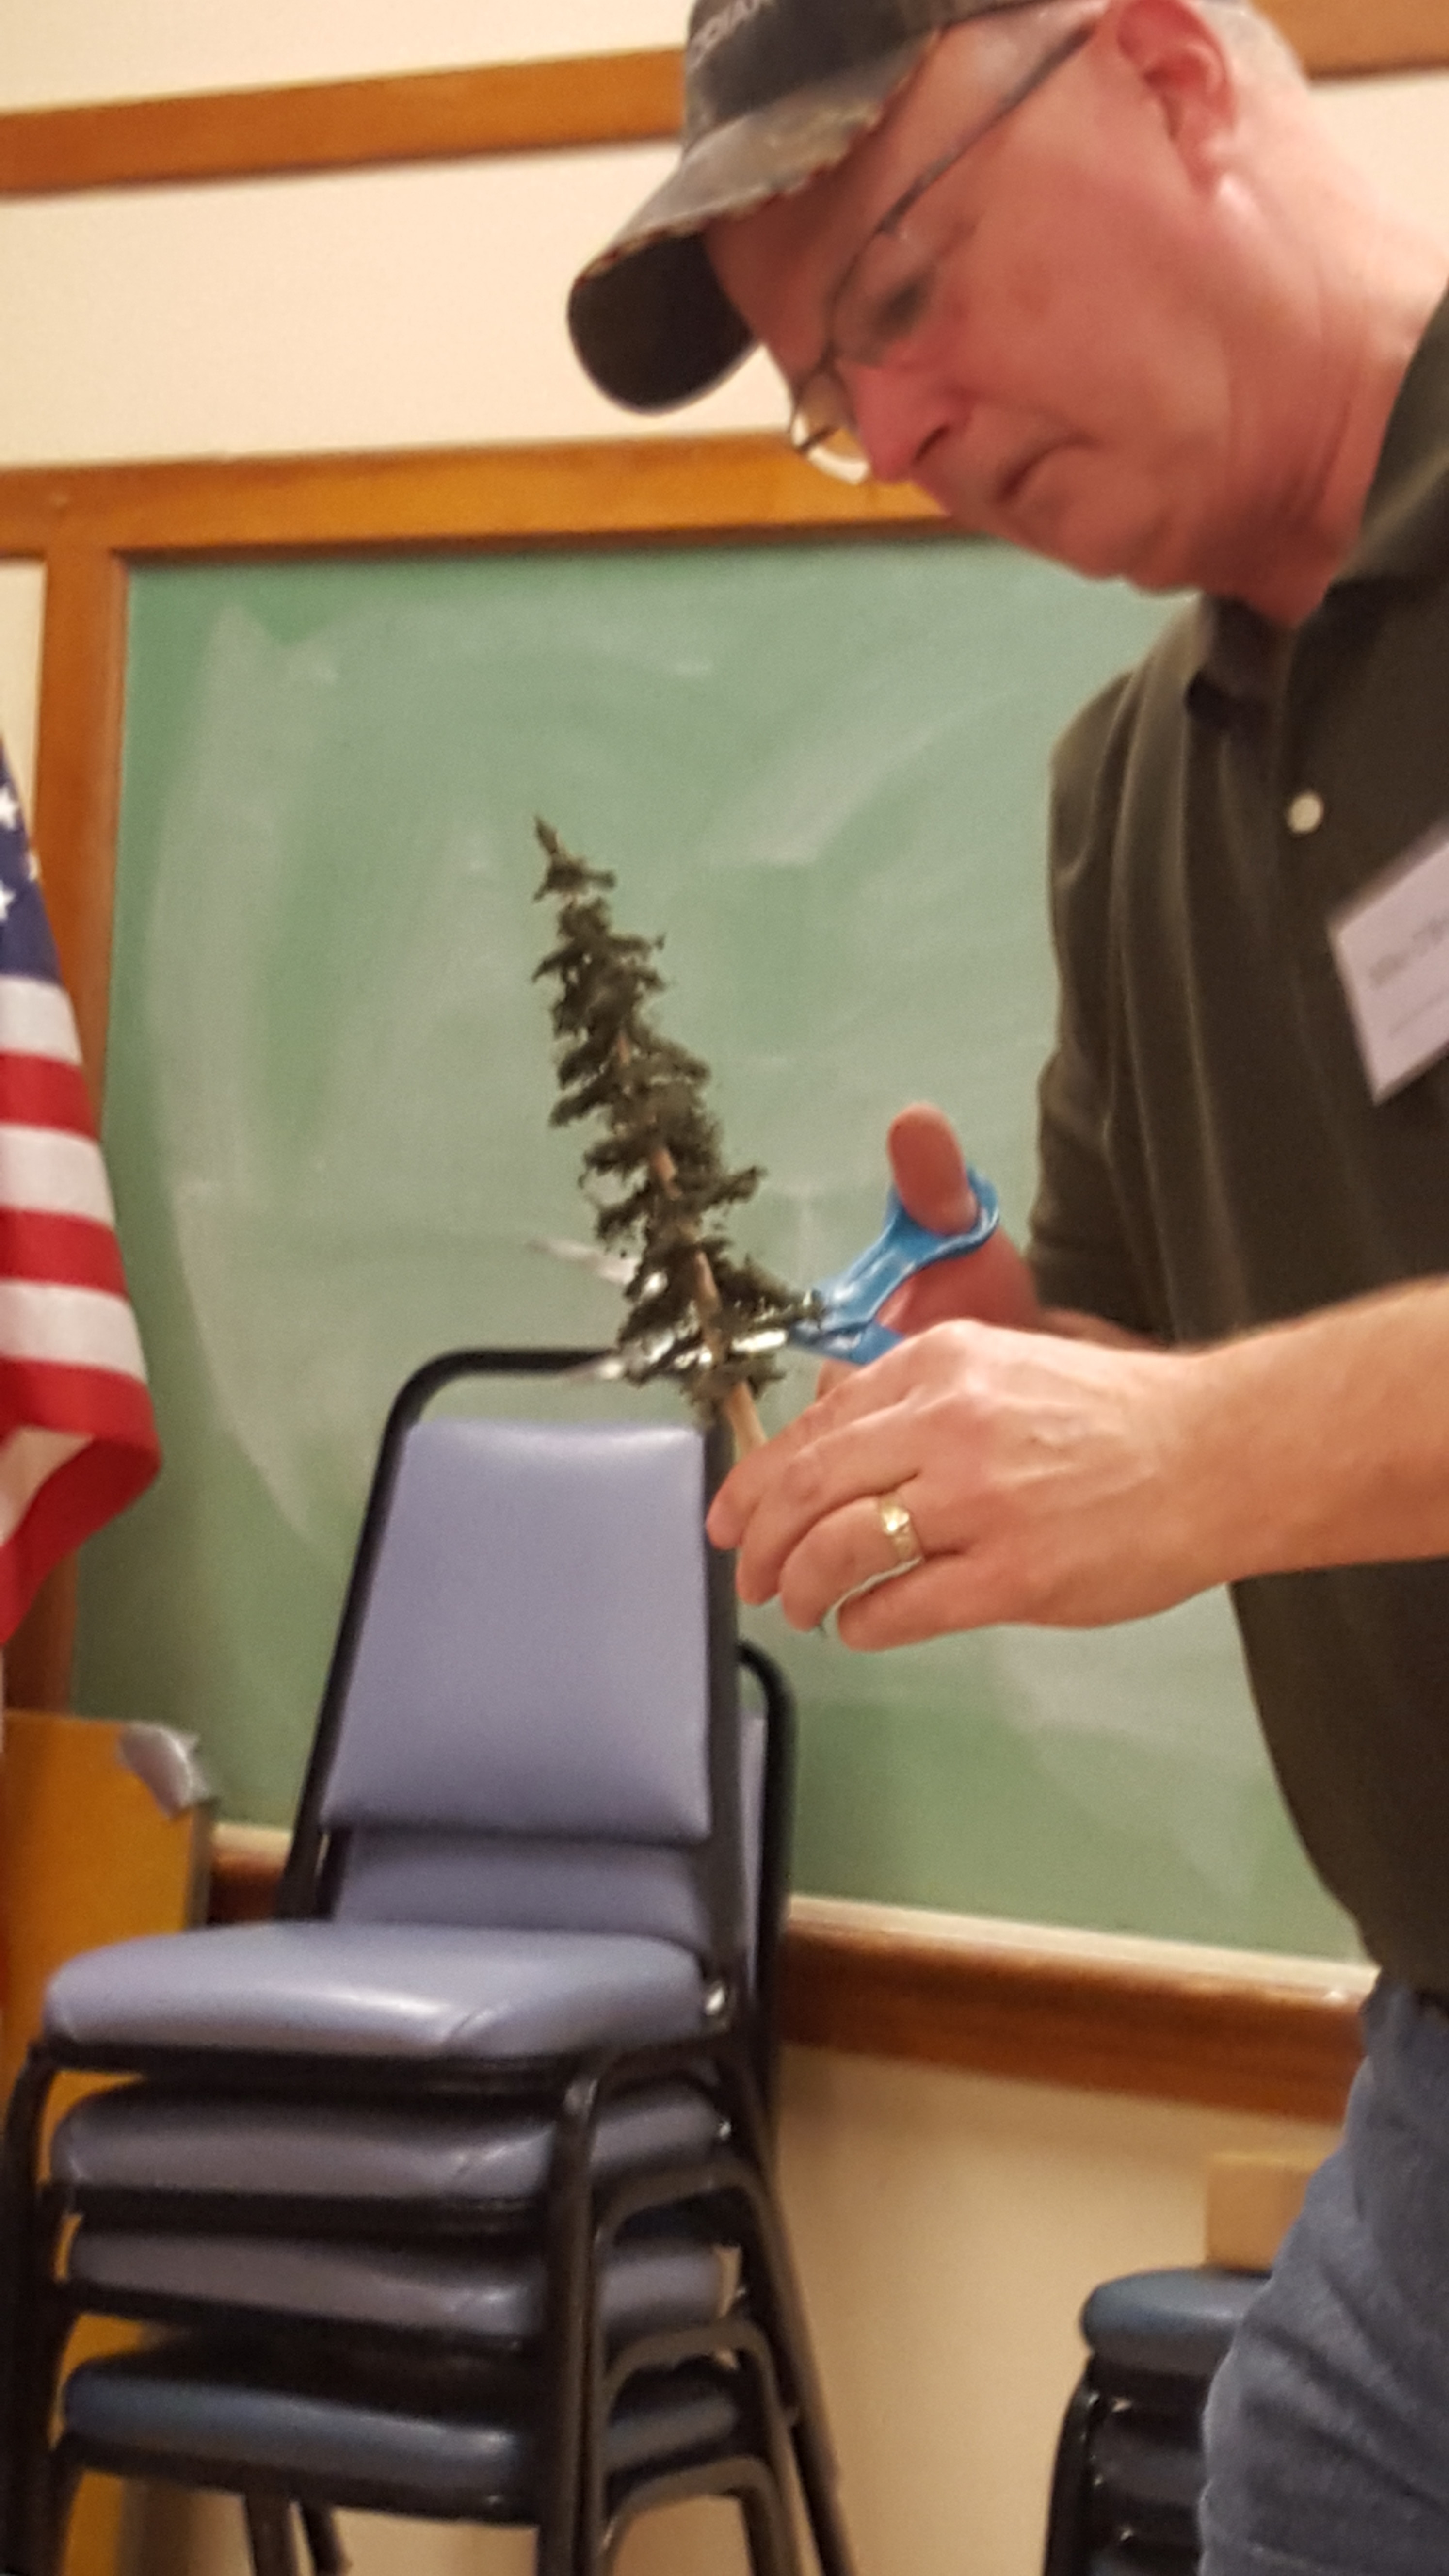
Trimming the Fuzzies
The Only Thing Missing is an Eagle’s Nest

Finished Tree “Planted” on the Layout
looks like a great meeting!