Article & Photos By David Yadock
Dry Gulch & Western, A Photo Series Part 10
We are almost at the end of my photo layout tour. For those of you that haven’t been following along with this series, the Dry Gulch & Western is a mountain railroad that follows some of John Allen’s famous Gorre & Daphetid layout. My layout is not an exact copy, nor did I want it to be an exact copy. It is more of an “adjusted” track plan. My layout follows the basic idea of John Allen’s by using a double loop with each loop folded over each other. That allows for a really long mainline with a minimal use of space. Most of the same scenery areas are used twice by having the mainline pass through it at different elevations or in tunnels. Doing this allows trains to travel more distance between towns. In the grand scheme of things, the mainline goes around the room a total of four times. I have kept a lot of the key elements that were on John’s layout but have modified them to give them my personal touch.
I still have a lot of scenery to complete and many other details to add. Since I am the only person working on the layout, I try to work on it each day, even if I just have 5-10 minutes available. I also try to work on several different projects at the same time. This helps those projects get done faster. While some paint is drying on one thing, or some glue is setting on another I can switch over to still another project to move it along to completion. I always have 3-4 ongoing projects in various stages of completion. Once a building or other item is completed, I immediately begin another project. If there are small gaps of time available, I can easily grab a freight car and weather it in about 5 minutes.
One thing I have found is that basic scenery on a layout can move very quickly over a large area but towns and cities with their various buildings take way more time to complete. When I get to a town on the layout, I start building the key structure(s) of the town. This can be done even way before the scenery ever reaches the town. I have done this with almost all my cities and towns on the layout. Let’s move on with the tour.
Photo 46 shows one of the key features of the layout. In this photo you see two different bridges spanning a steep canyon. At the base of this canyon is a narrow-gauge line and to the left is a standard gauge mainline. This photo shows my curved bottom chord bridge spanning that deep valley, it carries the mainline into Allentown. Trains that travel on this bridge can go directly into Allentown and then on to Tallyn Pass or can glide across the layout room entryway into South Allentown. The other bridge also carries the same mainline but can be used as a bypass to go directly to Tallyn Pass. This photo shows how one scene is used twice by the same mainline trackage.
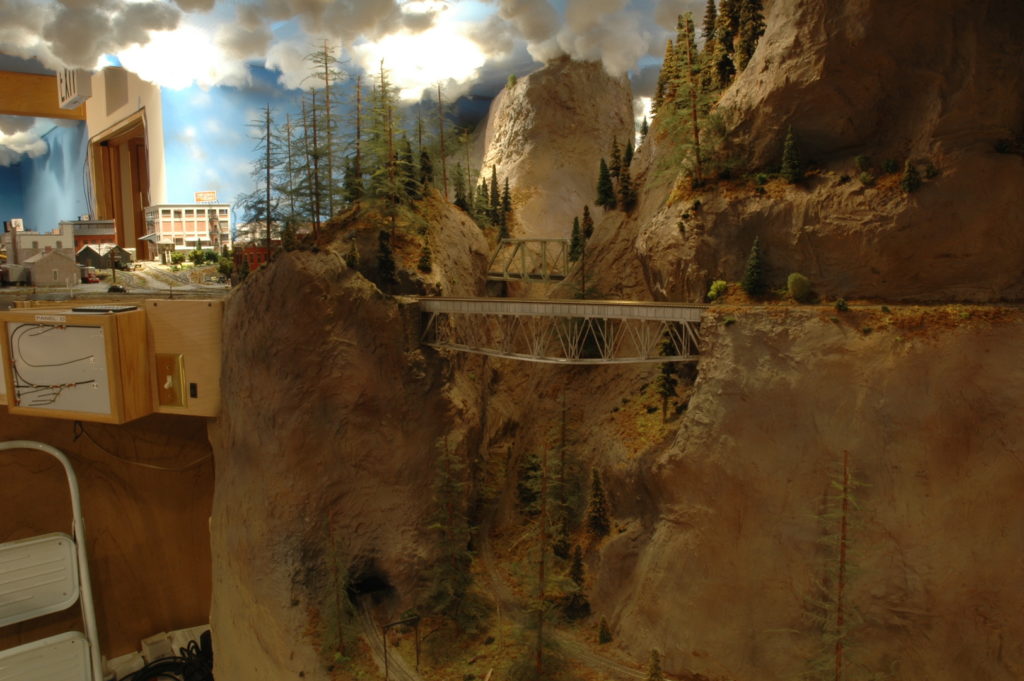
Photo 47 pans further to the left to allow you to view the aisle, Allentown, and even part of South Allentown. Please note the hill to the right with the tall timber trees covering it. That hill acts as a critical view block and divider between wilderness and the city. Also, in this photo on the extreme left you get a view of Newport yard.

Photo 48 is a closer view of Allentown. Buildings are a mixture of kits, scratch-built, and kit-bashed structures. All of them have interiors and lighting. This was the first town I completed on the layout and is set on a slight slope. Elevation from the front to the back rises about 1-1.5 inches. Yes, the sidings are not level, yet the cars placed on them do not roll away! What type of sorcery happens on this portion of the layout??? Any guesses? This area also features a wye to allow locomotives to be turned if needed.
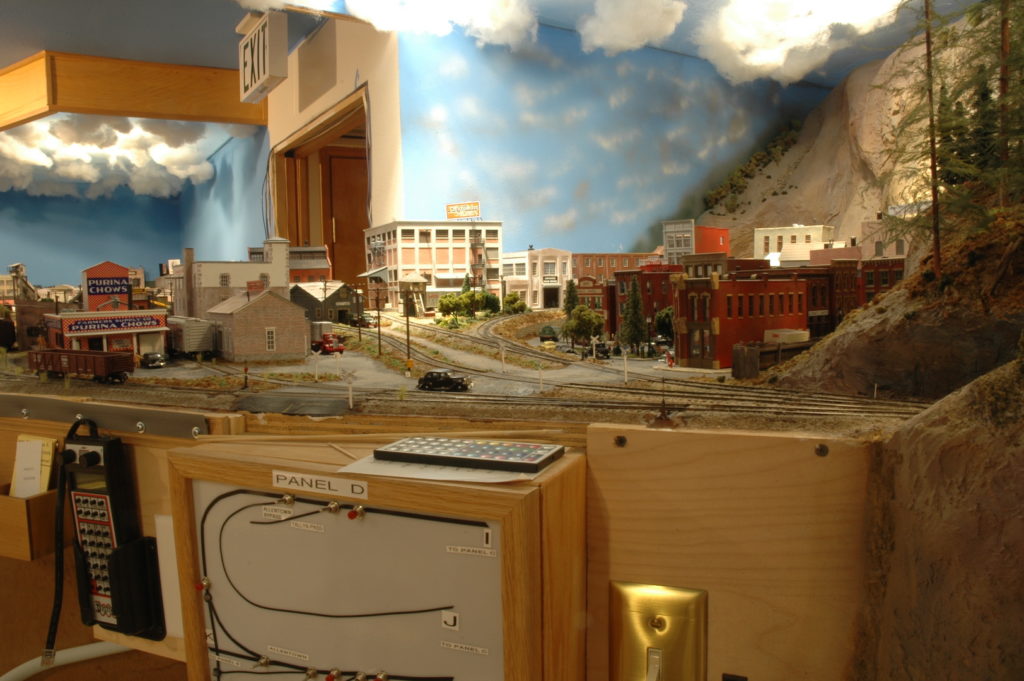
Photo 49 gives you a view looking through the trees down that canyon from photo 46. In this view you would be just about standing on that curved bottom chord bridge. Again, through those trees and in the distance, you can see the water tower at Tallyn Pass. The station is just to the right of the water tower. Tallyn Pass is about 8 actual feet away in this picture and a very long tunnel gets you there from Allentown.
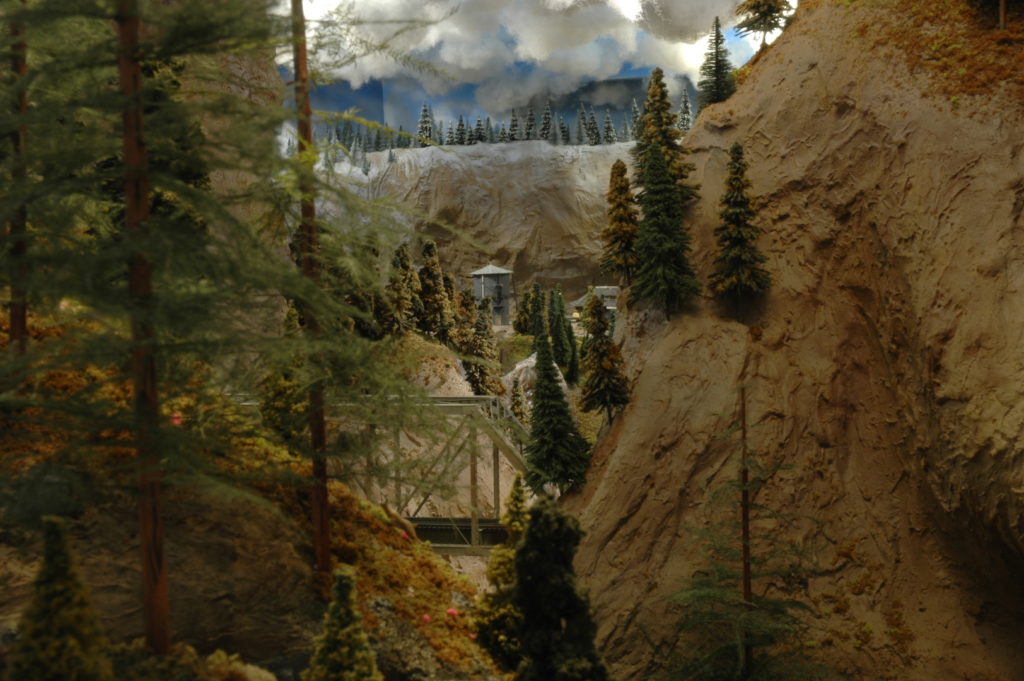
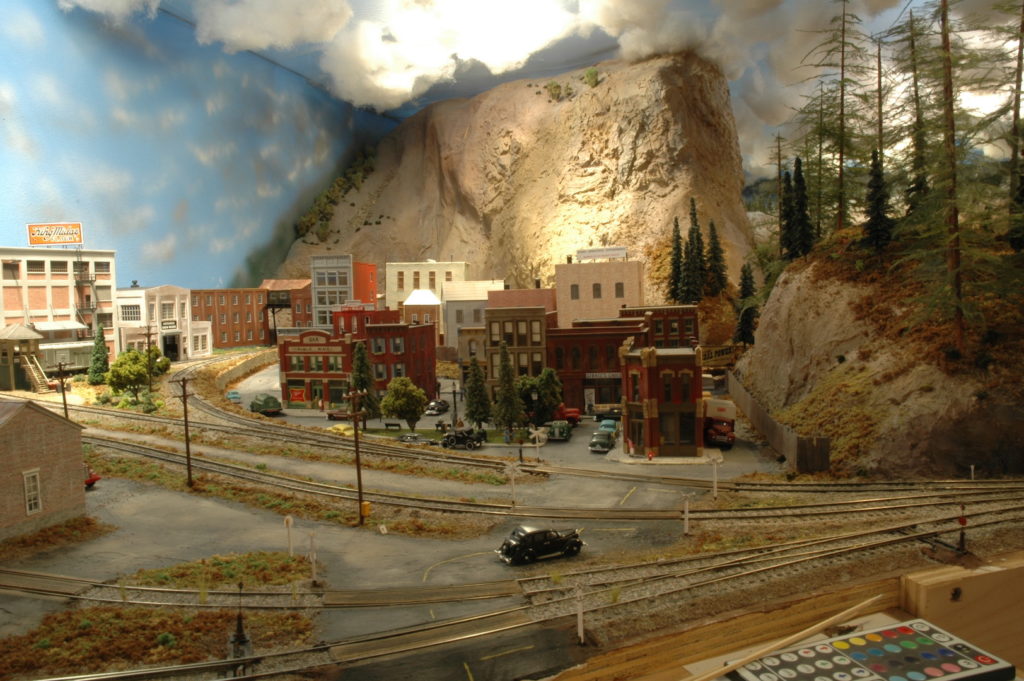
Photo 50 gives a nice view of downtown Allentown. This town does not have a passenger station, only a freight house. It does have a small passenger shed located by the freight house. The giant mountain directly behind the buildings acts as a view block. See how that other small hill with those tall timber trees acts as a view block to the other portion of the layout. Allentown has a lot of operational action in a very small amount of space. The wye has businesses located on it and there are 3 sidings with additional businesses. This and South Allentown are the driving force to get trains over the mountains from Newport and Ellison.
That is it for this installment. Next time we will look a little closer at Allentown. I hope everyone has a merry Christmas and a happy New Year.
David
I have very much enjoyed following your articles. In part 10 you said that you can weather a freight car in about ten minutes. May I ask how you do that? It takes me significantly longer,.
Hi Paul,
I first lightly spray the car with matte clear finish. It takes only a short time for it to dry. I then brush on various shades of chalks. As an example, if the body of the car is painted yellow I use a lighter shade of yellow to emphasize faded paint. I can go over it with a little white chalk too. When doing the sides, I use up and down motion going from the top to bottom to represent streaking. For the roof of the car I use shades of brown and orange to show rust and black to show soot. First apply the brown and orange, then go over it with black. Trucks can have either a dark brown applied or some orange highlights can be added for rust. At the base of the car by the trucks I use light tan to show dirt being kicked up. Don’t forget to put the wheel splash streaks on the ends of the car, I use brown for that detail. Again, any rusty hinges or other rusty items on the car can be added by using orange or brown. Once done I give the car another coat of matte clear spray. I have quite an assortment of chalk colors and use cheap paint brushes to apply the chalks. I have dedicated brushes for the various colors of chalk. That helps speed things up since I don’t have to clean the brushes. Wetting the brush can also help with streaking but the brush needs to be almost dry since too much water will wash the chalk off the model! Yes, the wheels need to be painted and I usually use acrylic paints for that process. Since I use a standard wheelset (Walthers Proto metal wheelsets) on all my freight cars I tend to paint a bunch of the them in advance and then swap them out when I have the car weathered.
Great work. Thanks for sharing. And have a Merry Christmas too.