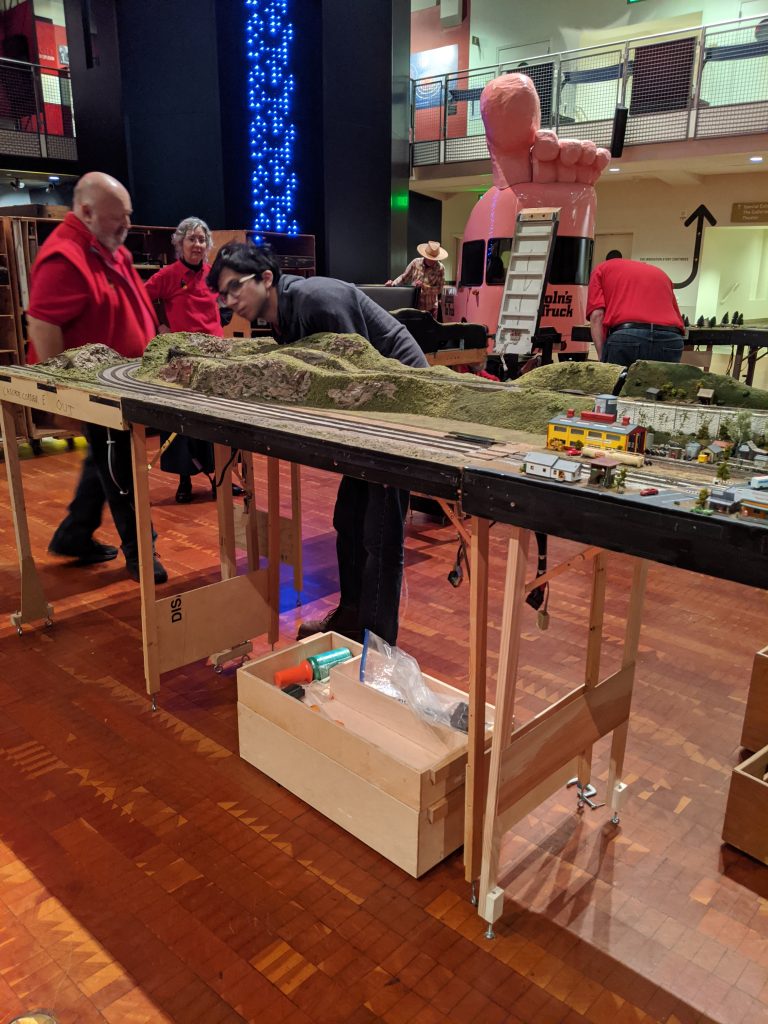
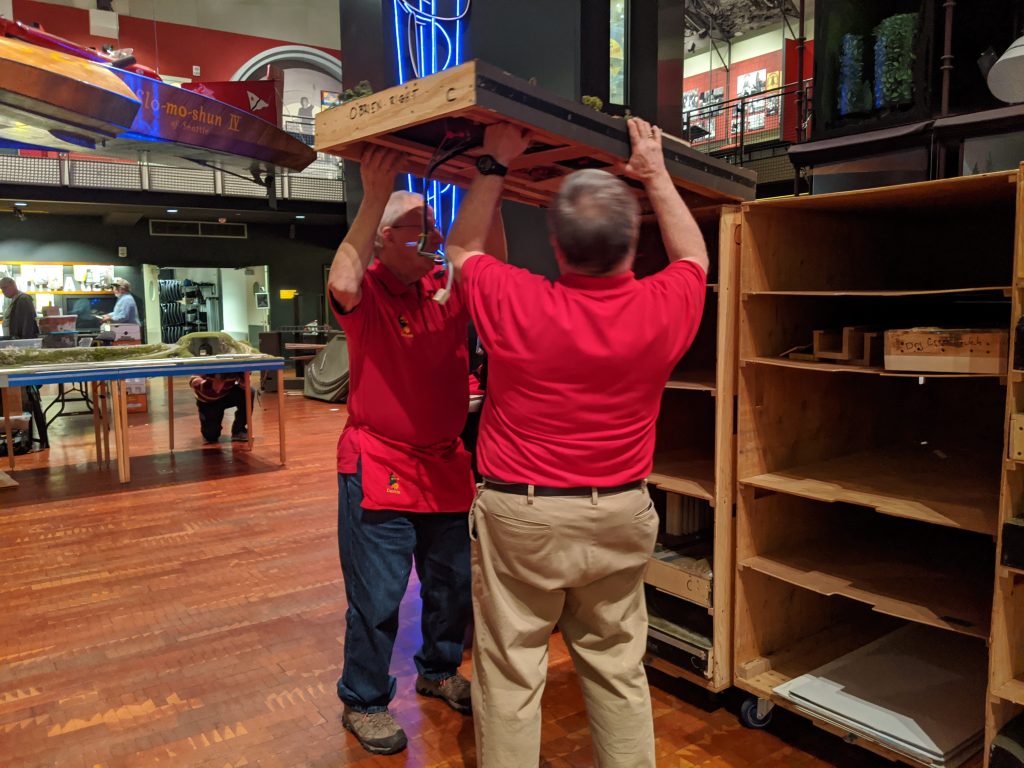
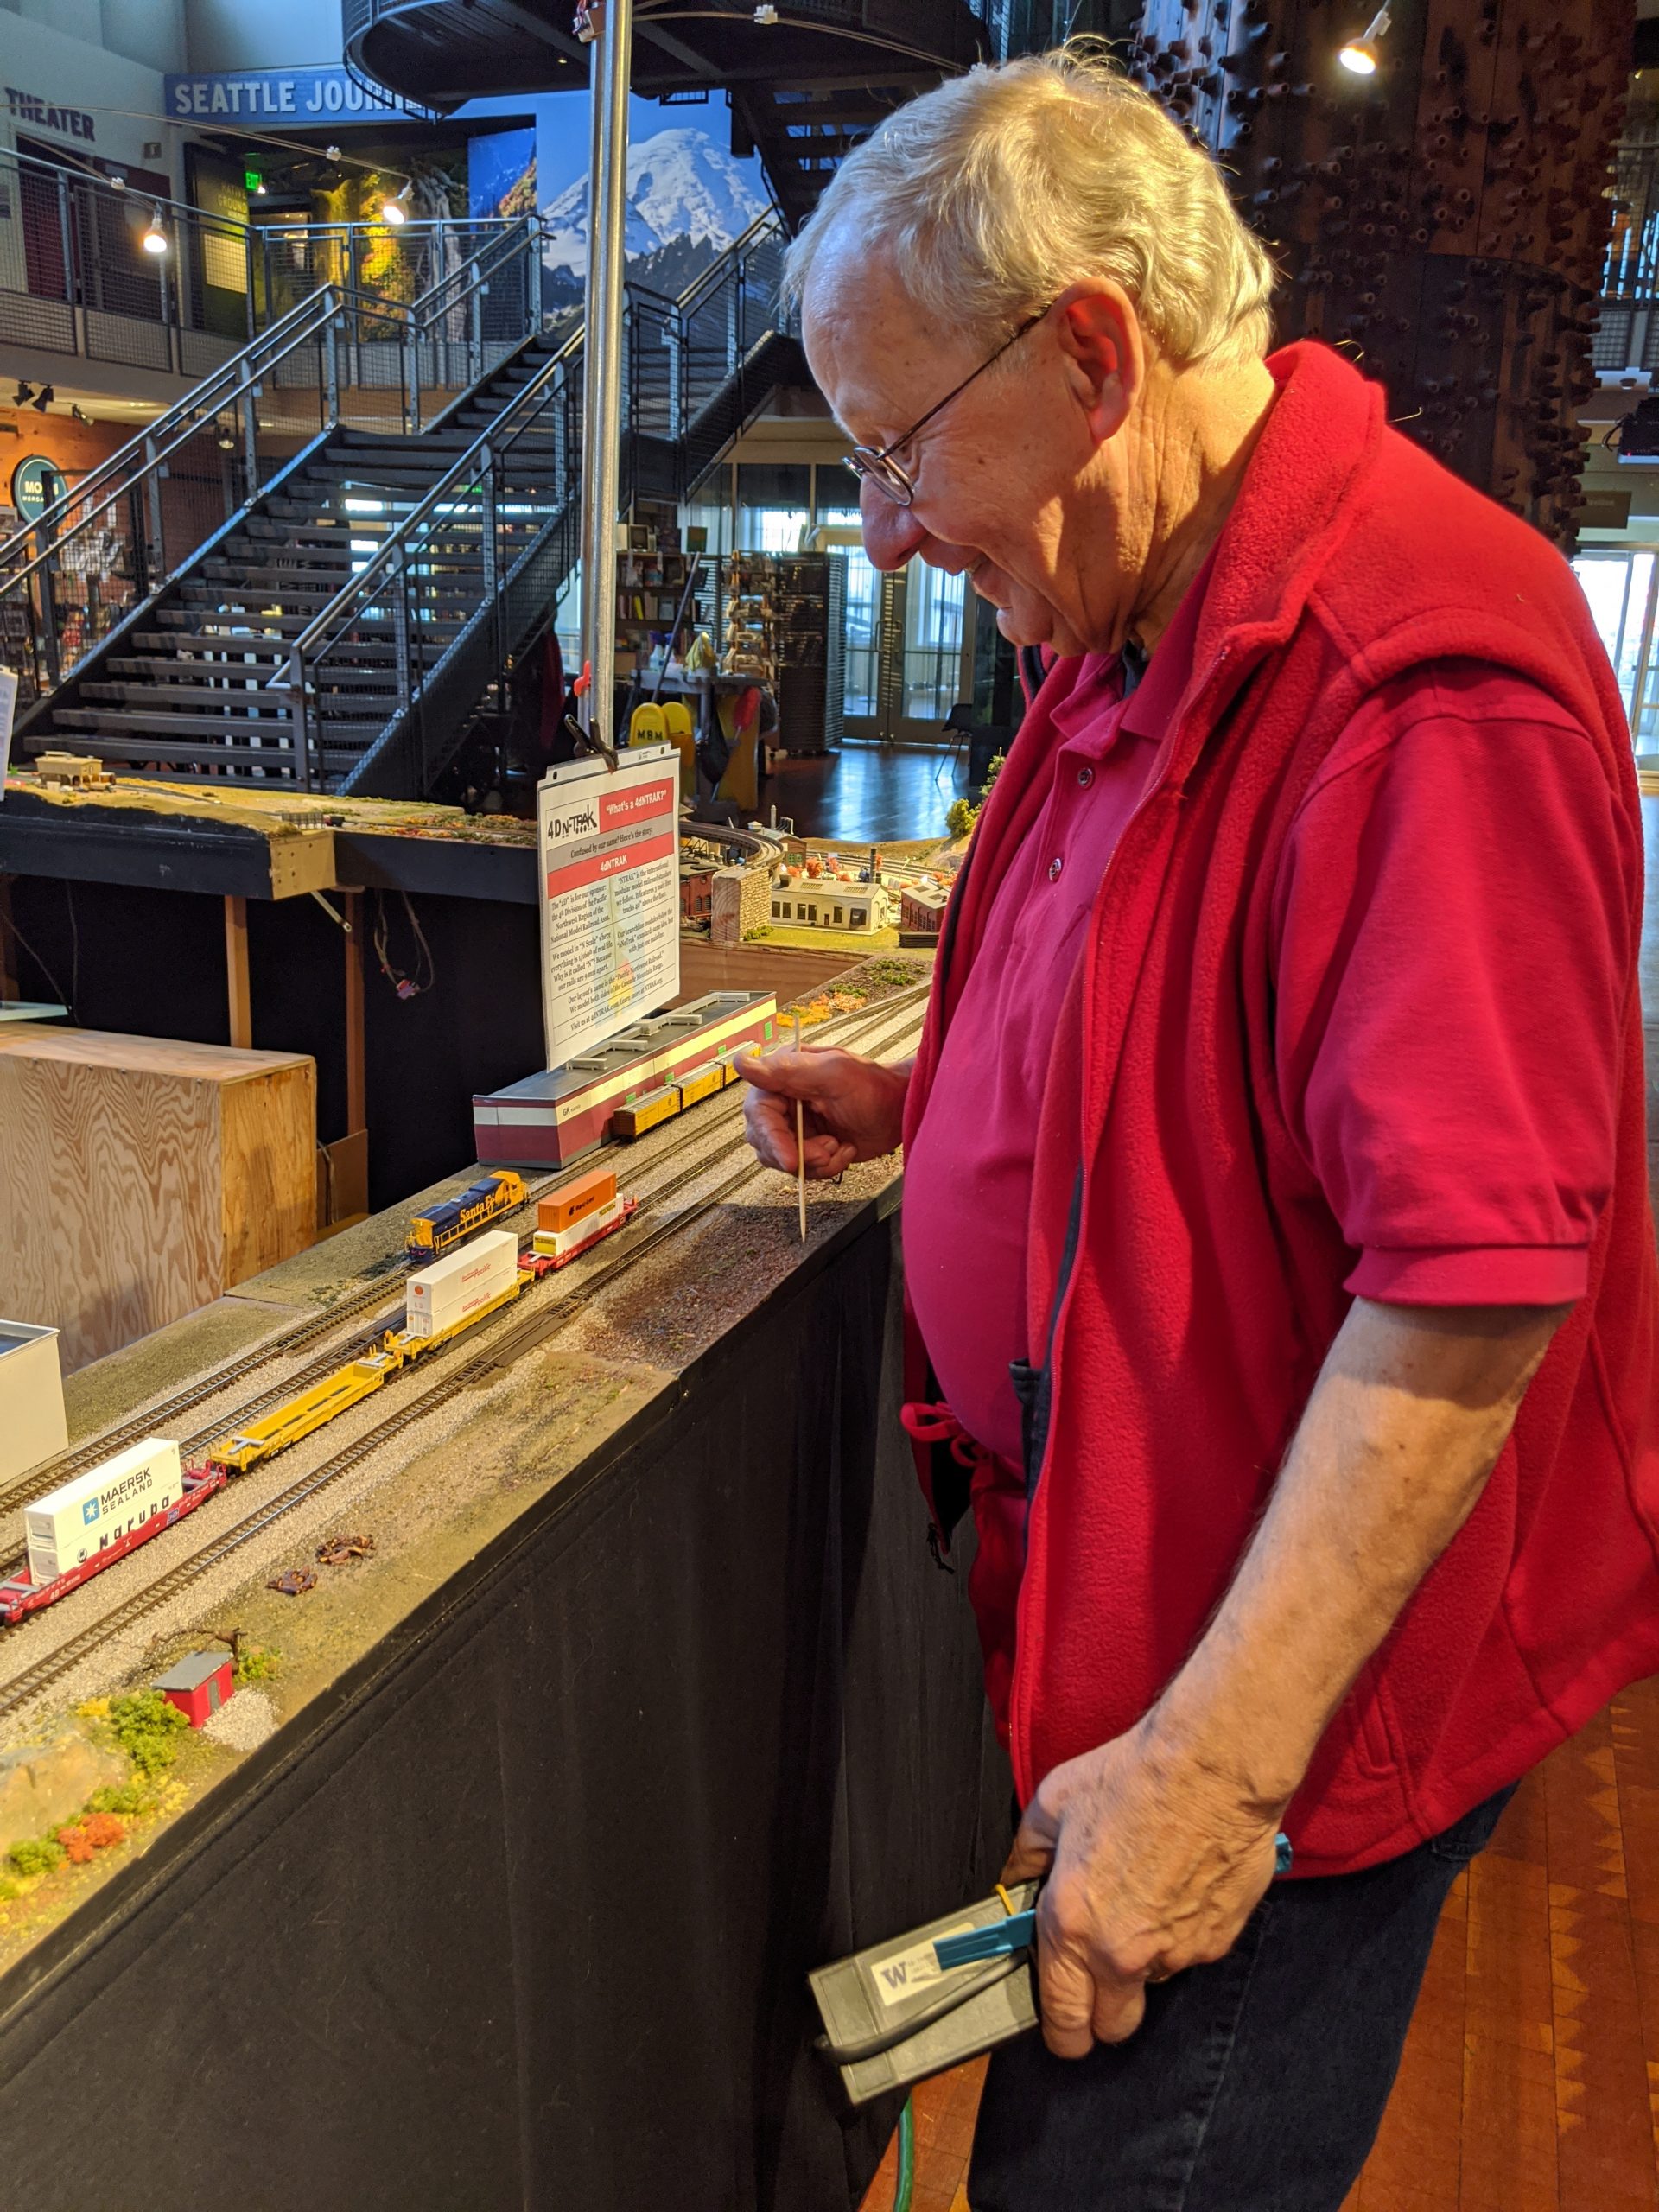
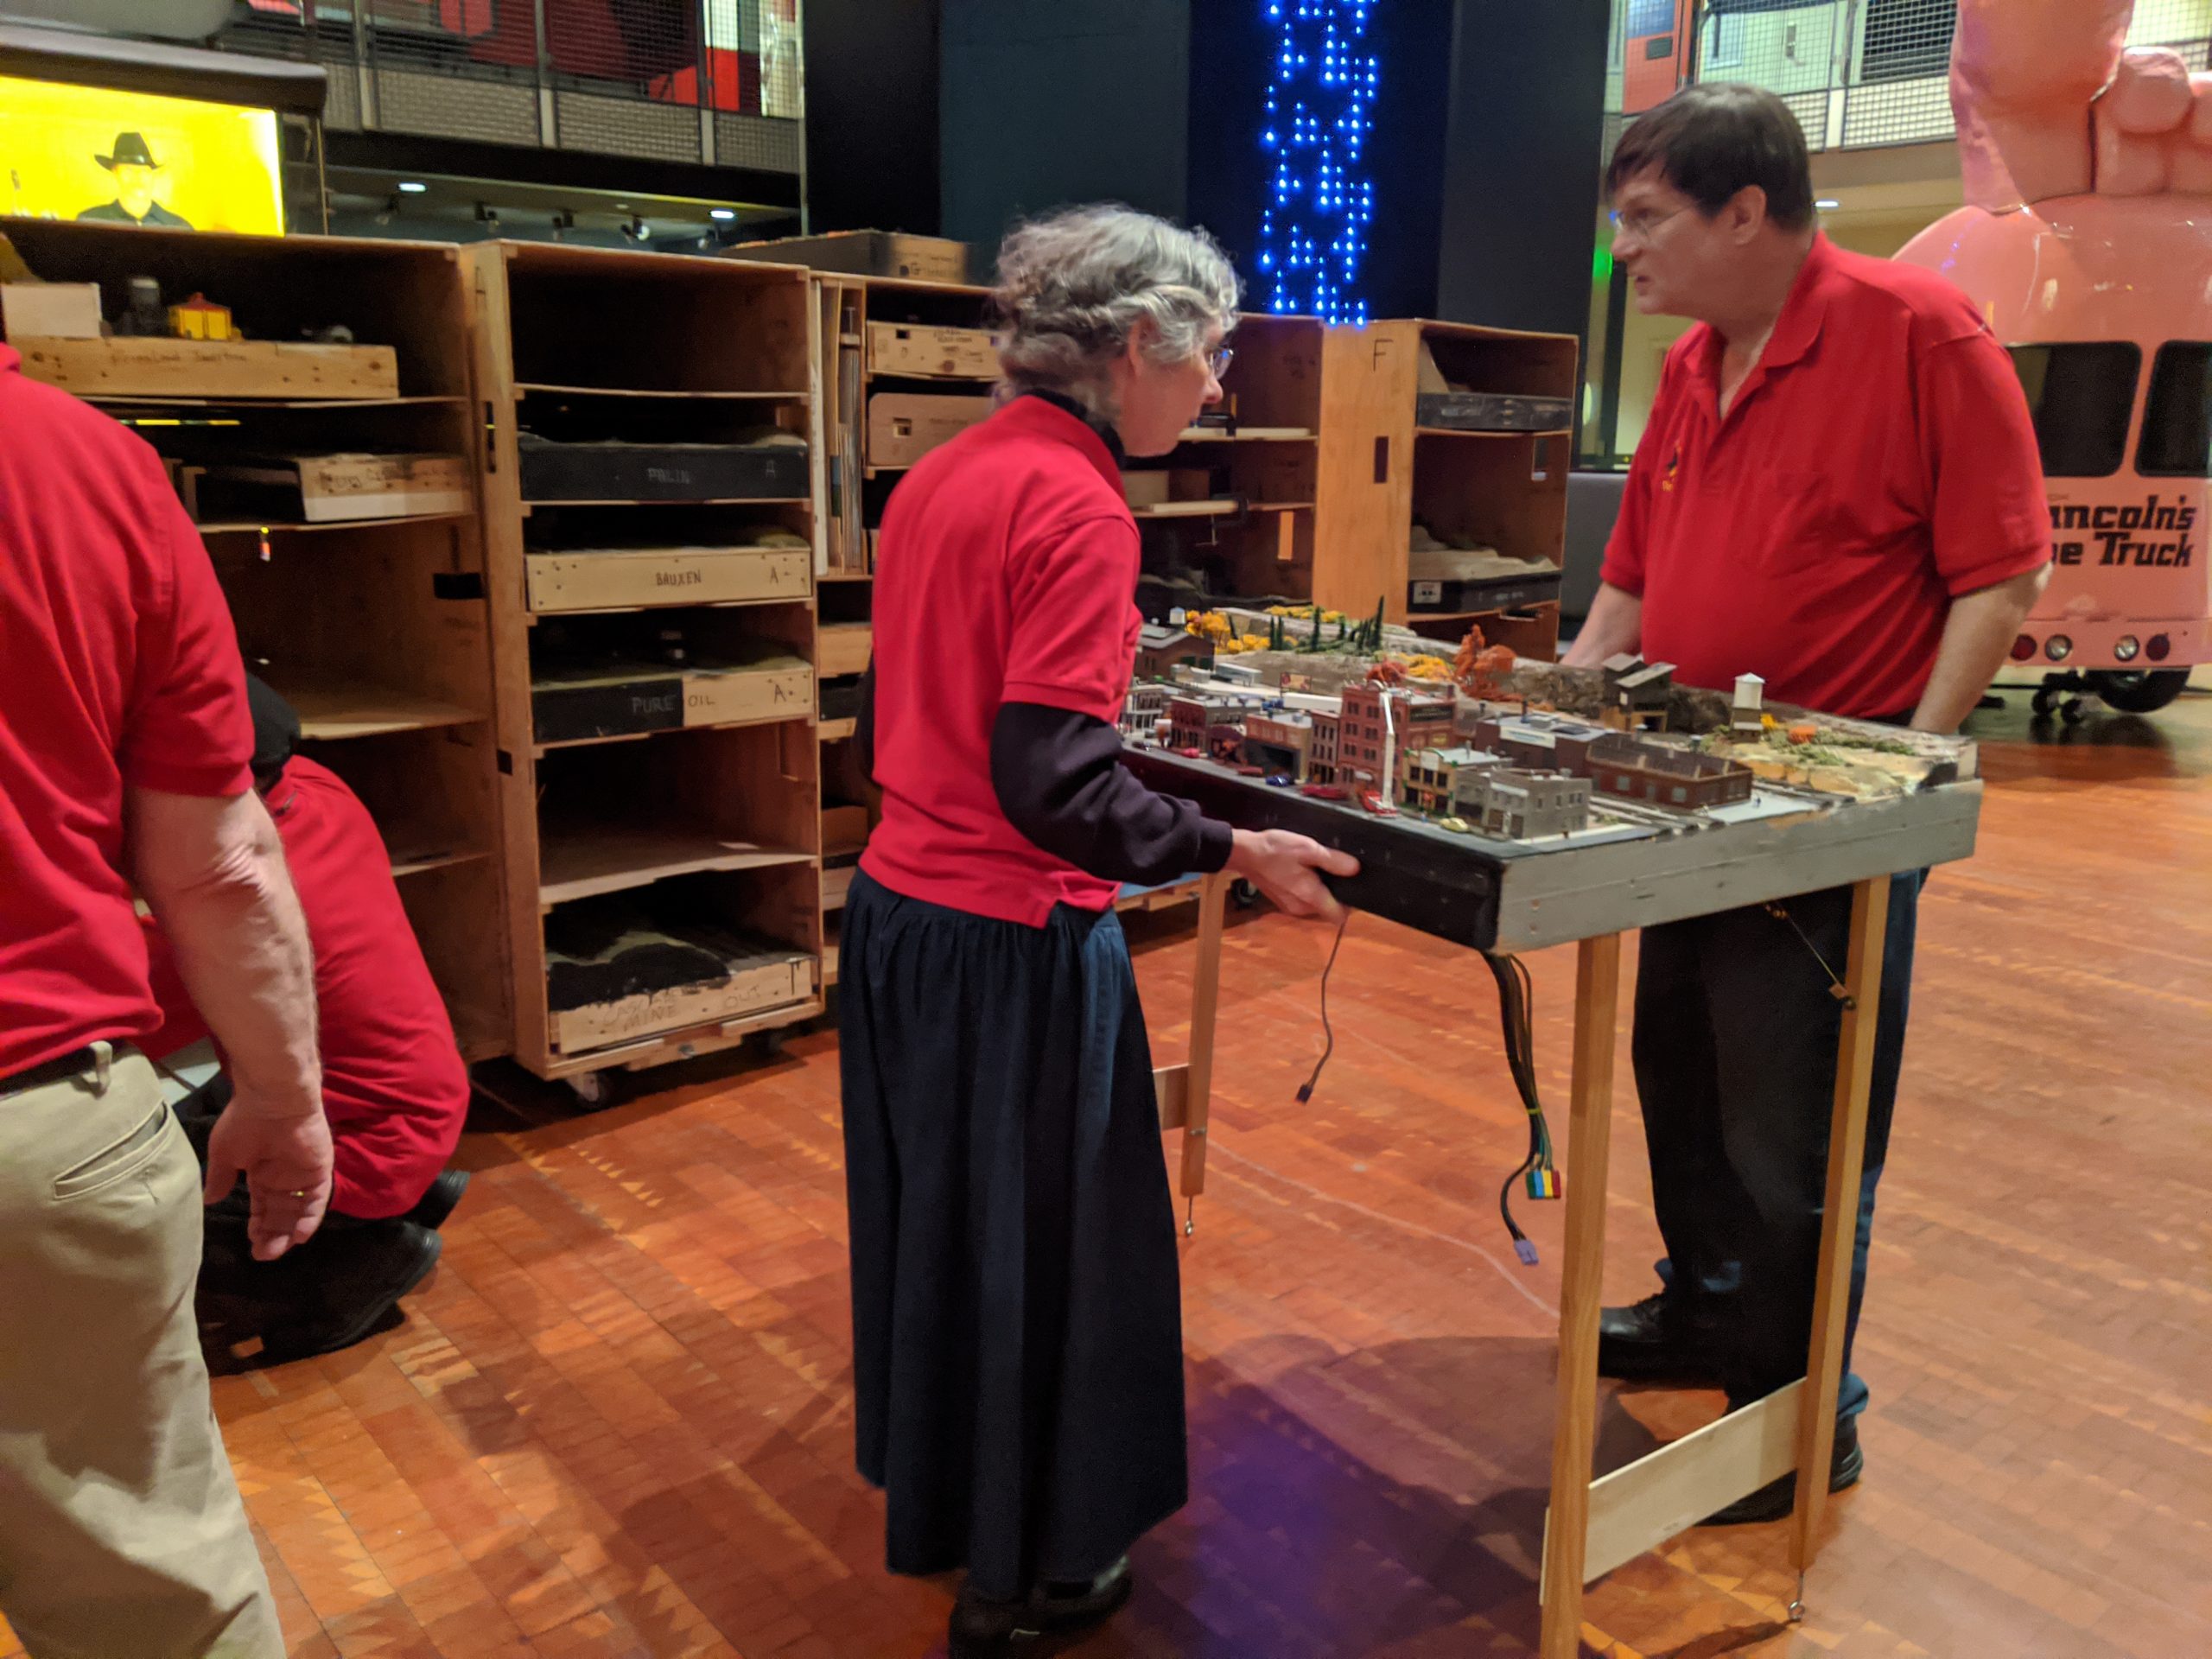
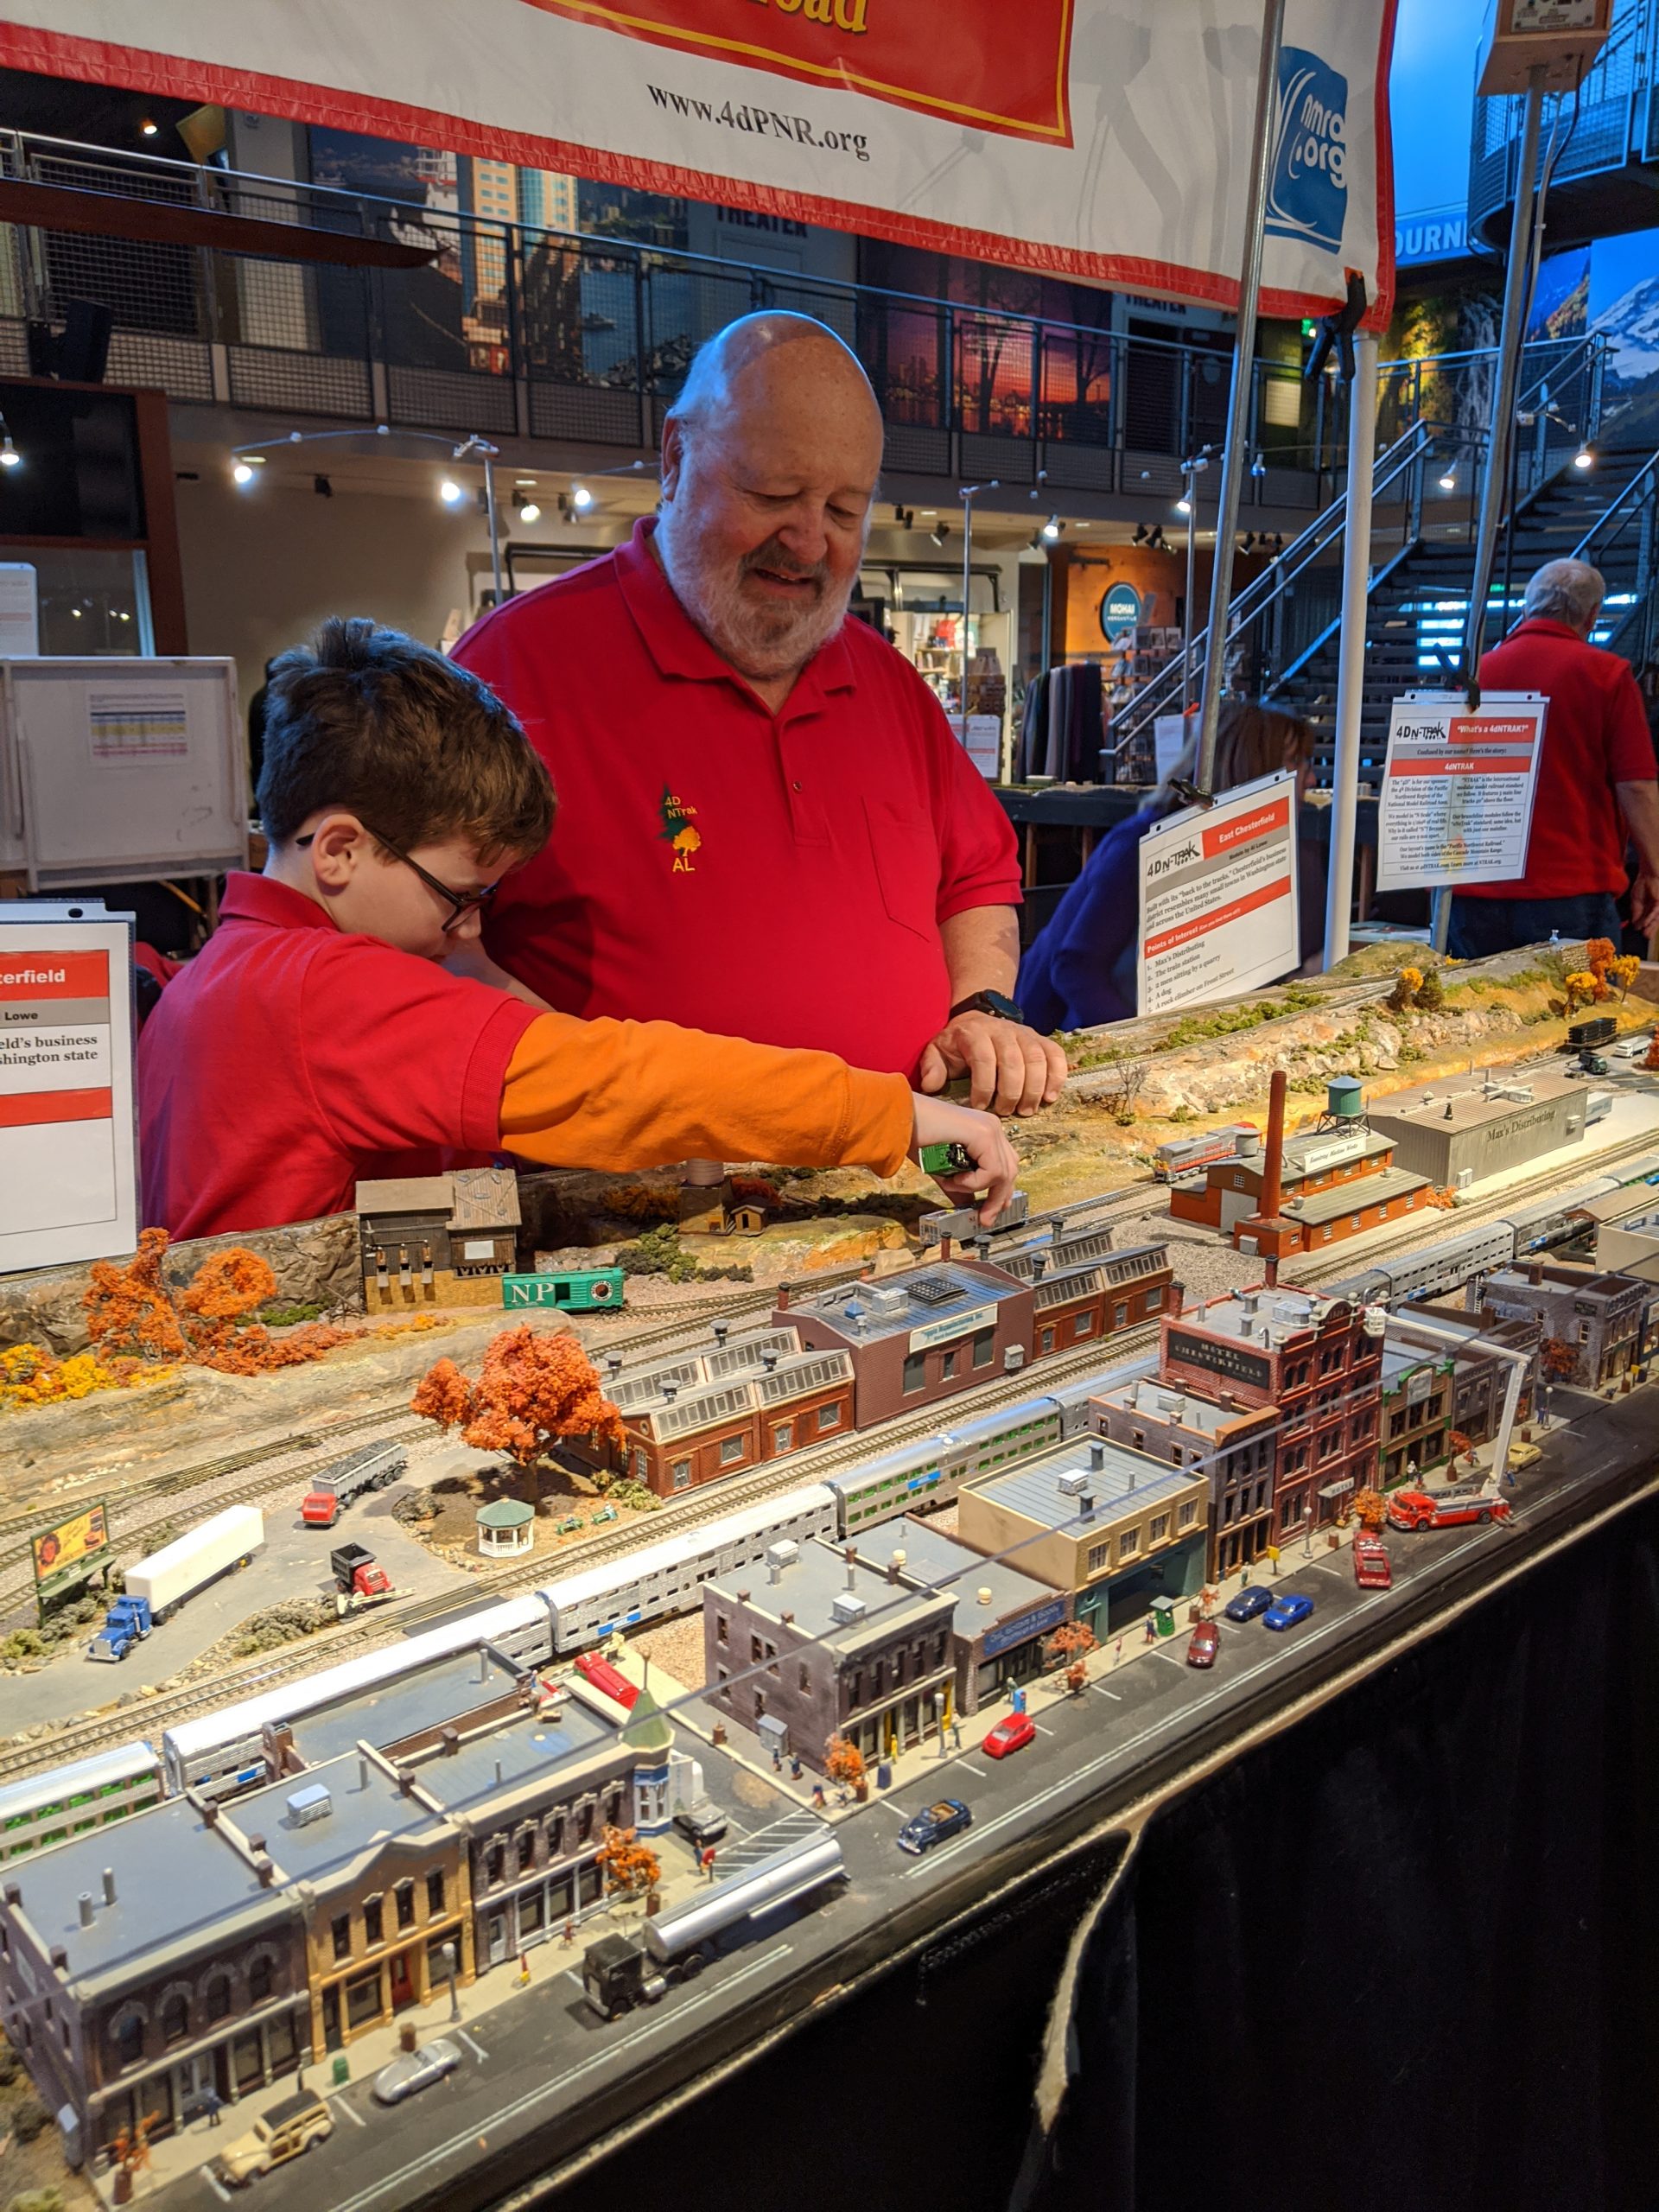
Thanksgiving weekend was a great success led by Ed Ives for the second year. Three of our modular groups: 4D-Ntrak, HO, Hi-Railers and several additional small layouts and displays participated. The feedback from MOHAI staff has been very positive and we expect an even better event next year.
Here are some shots of the activities:
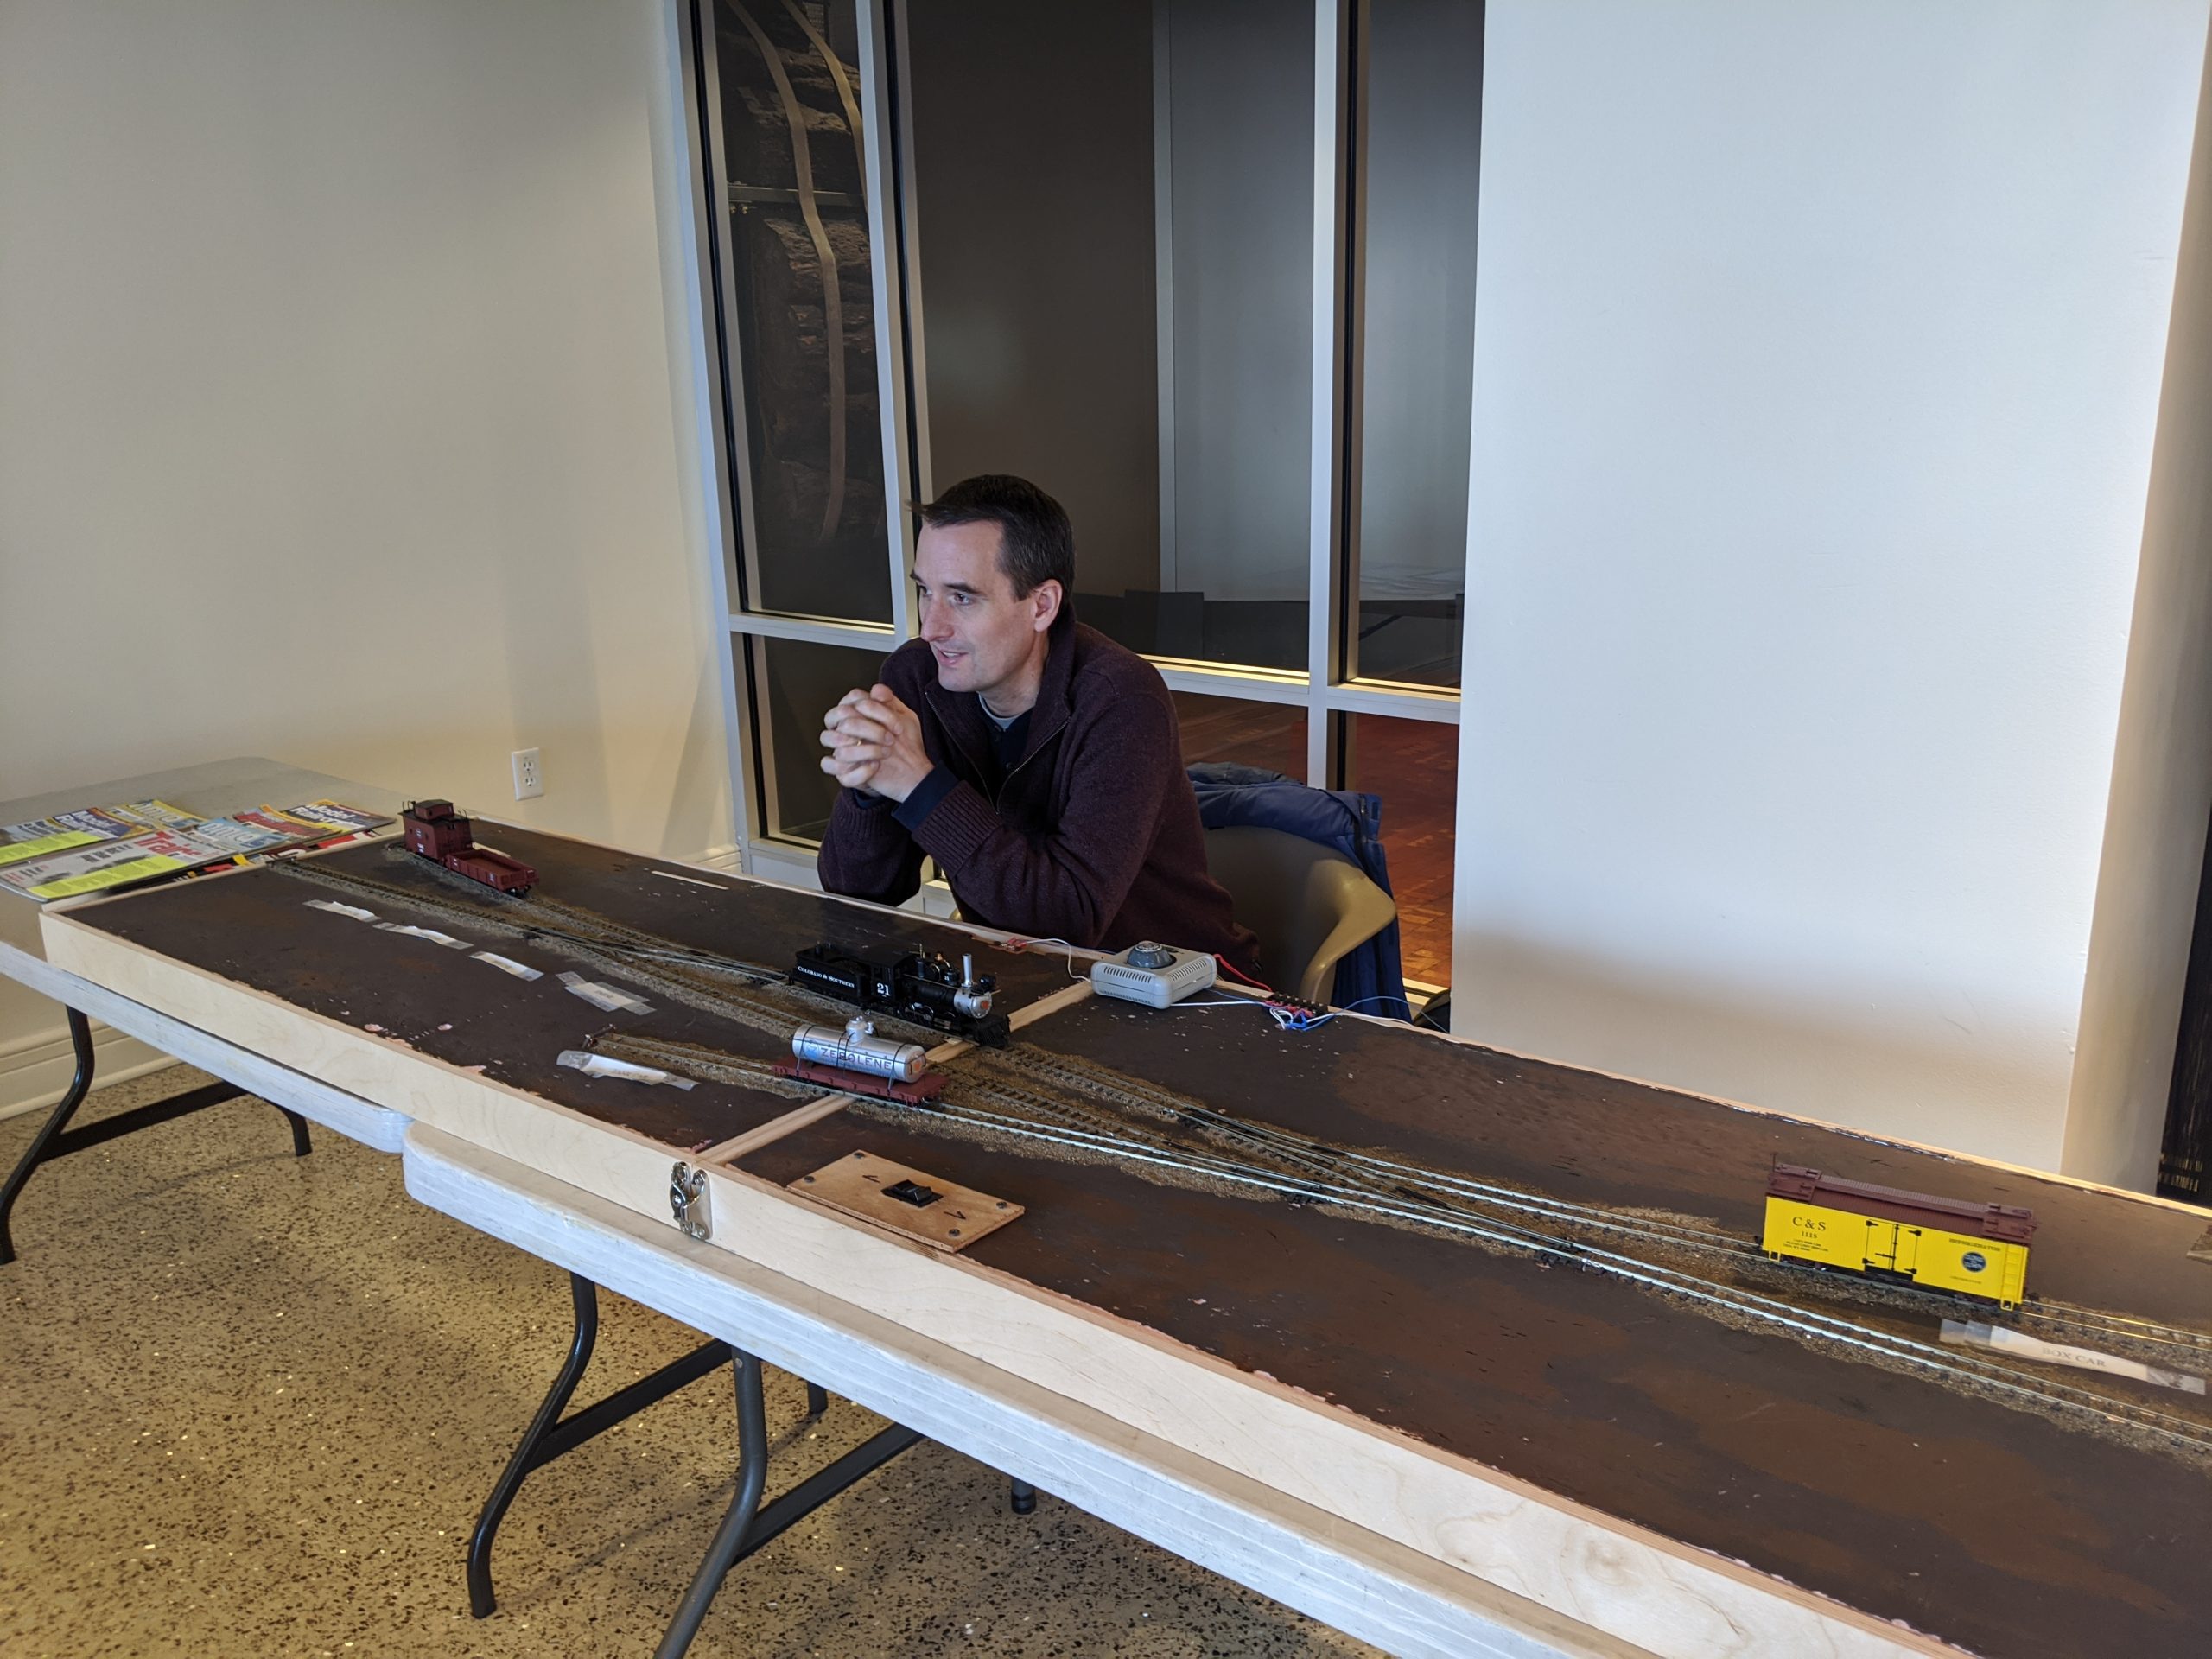
On30 switching puzzle
HO module
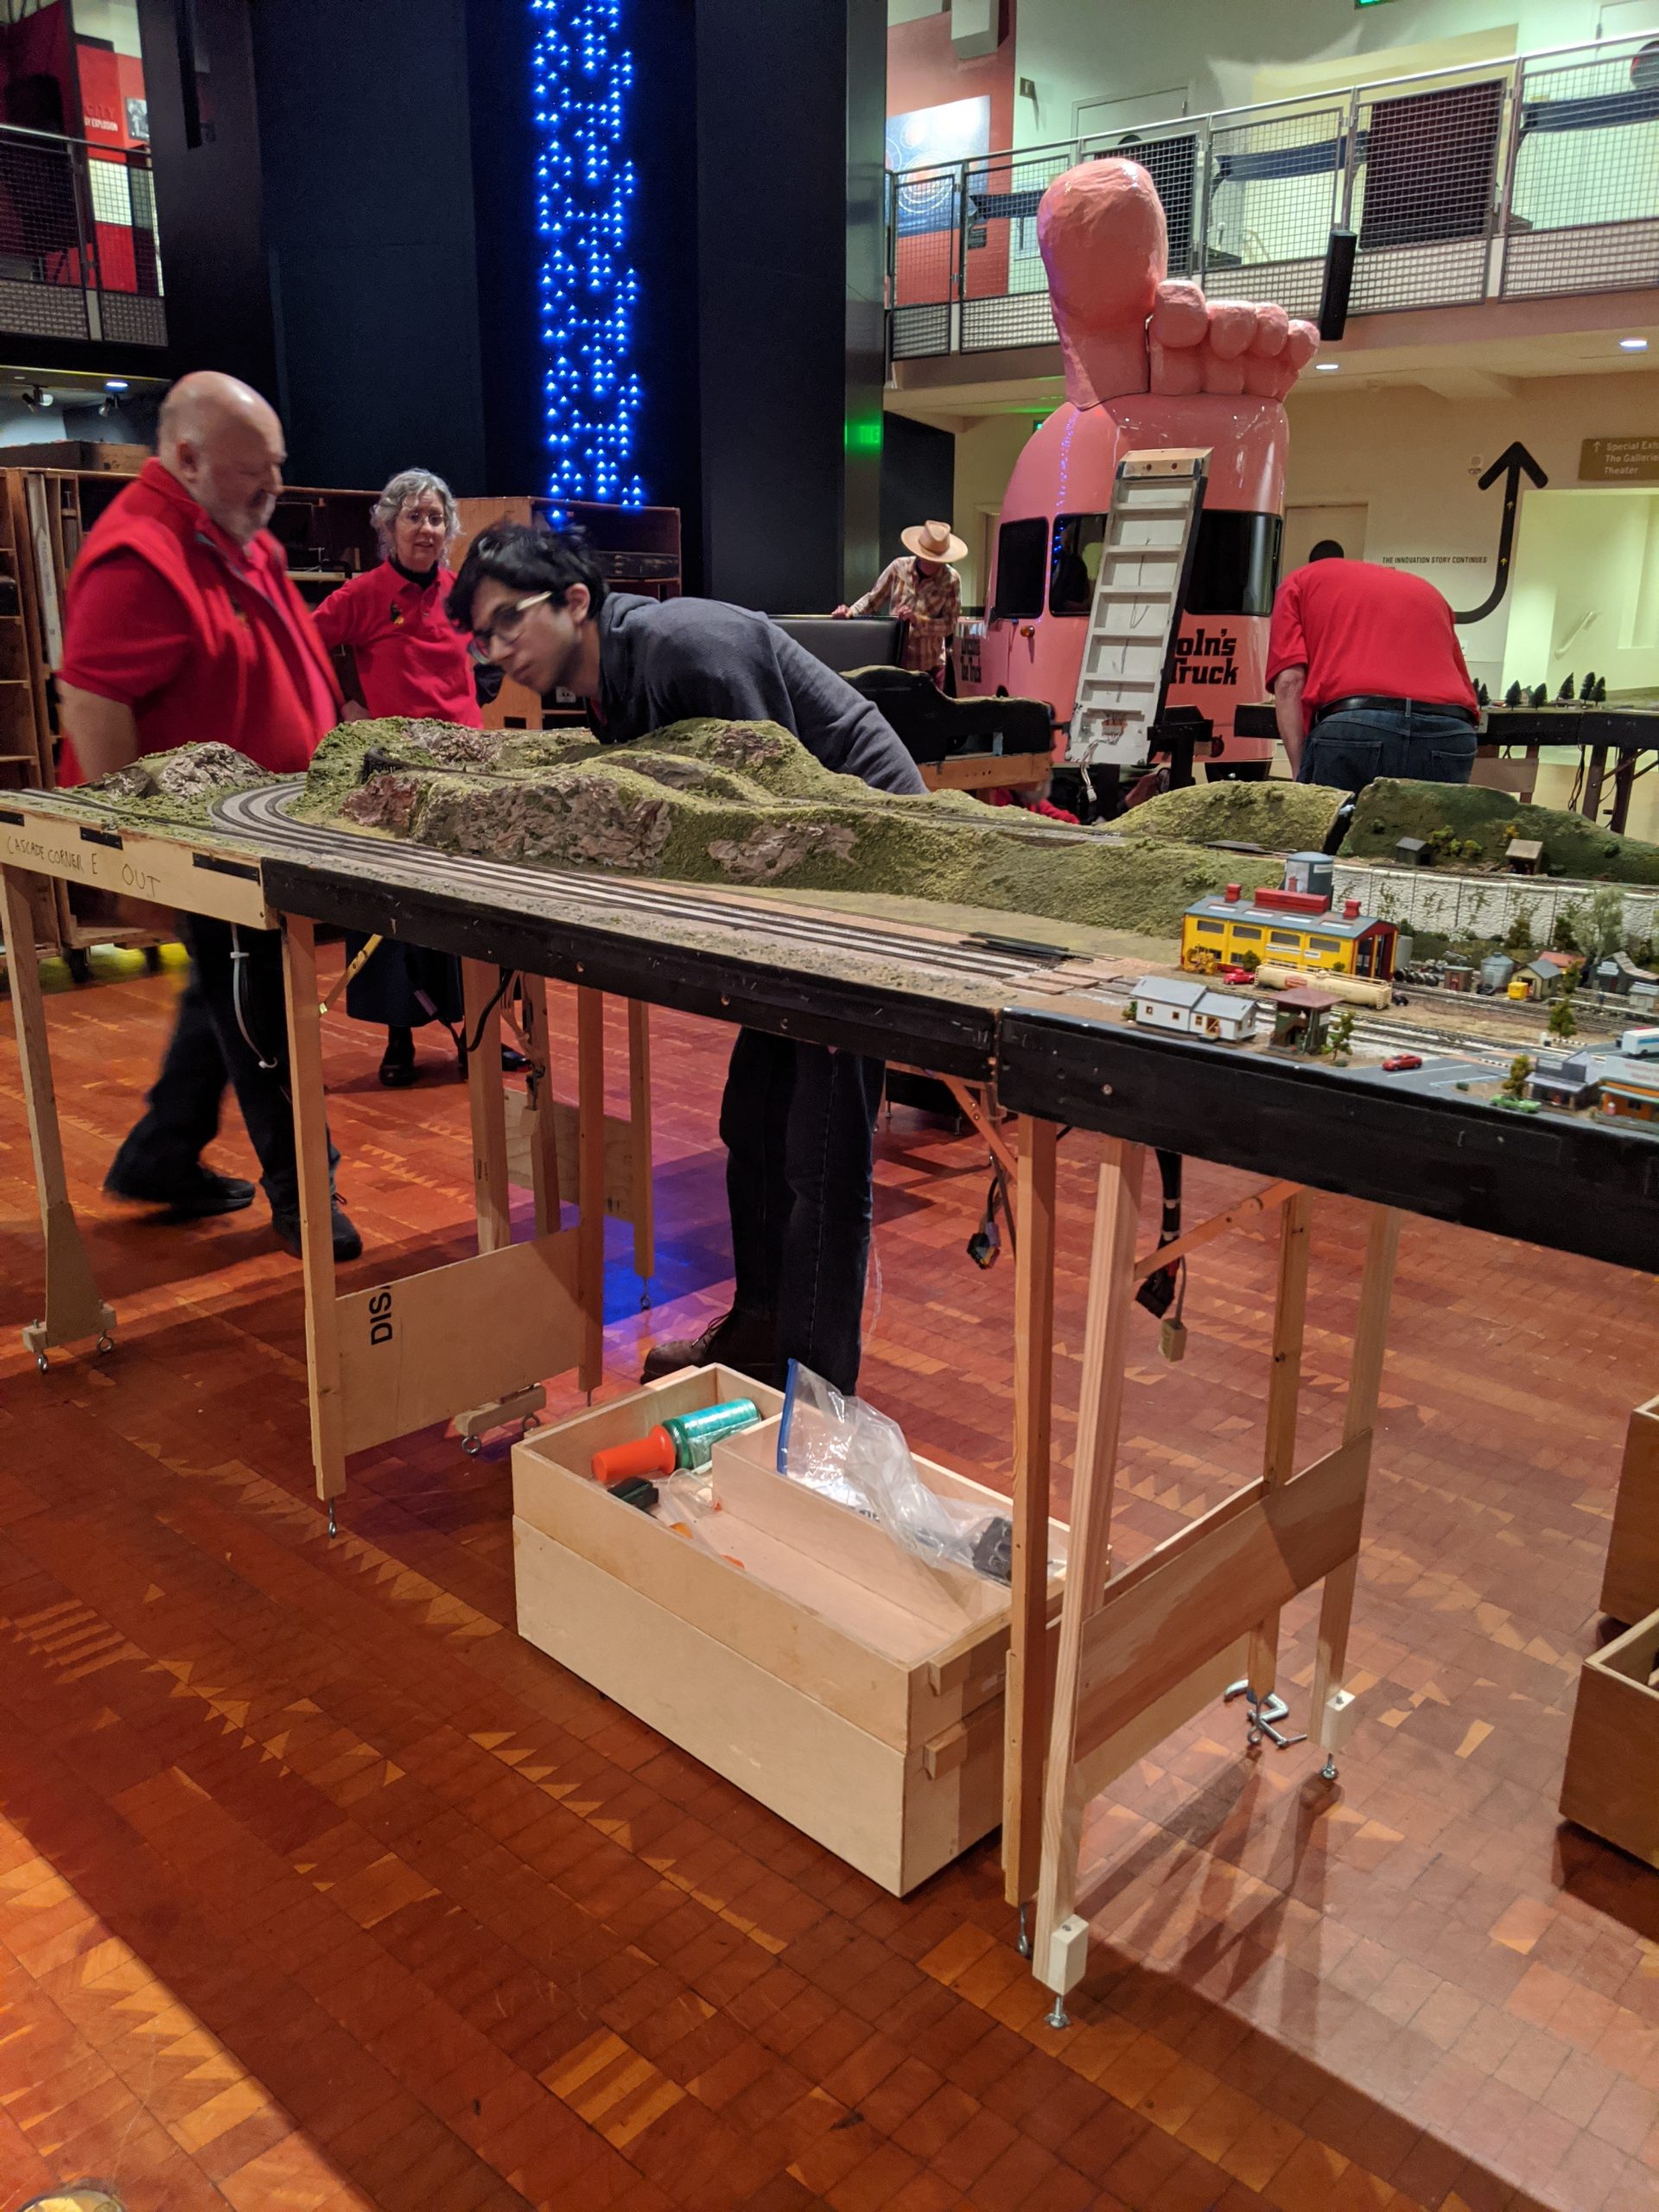
NTrak
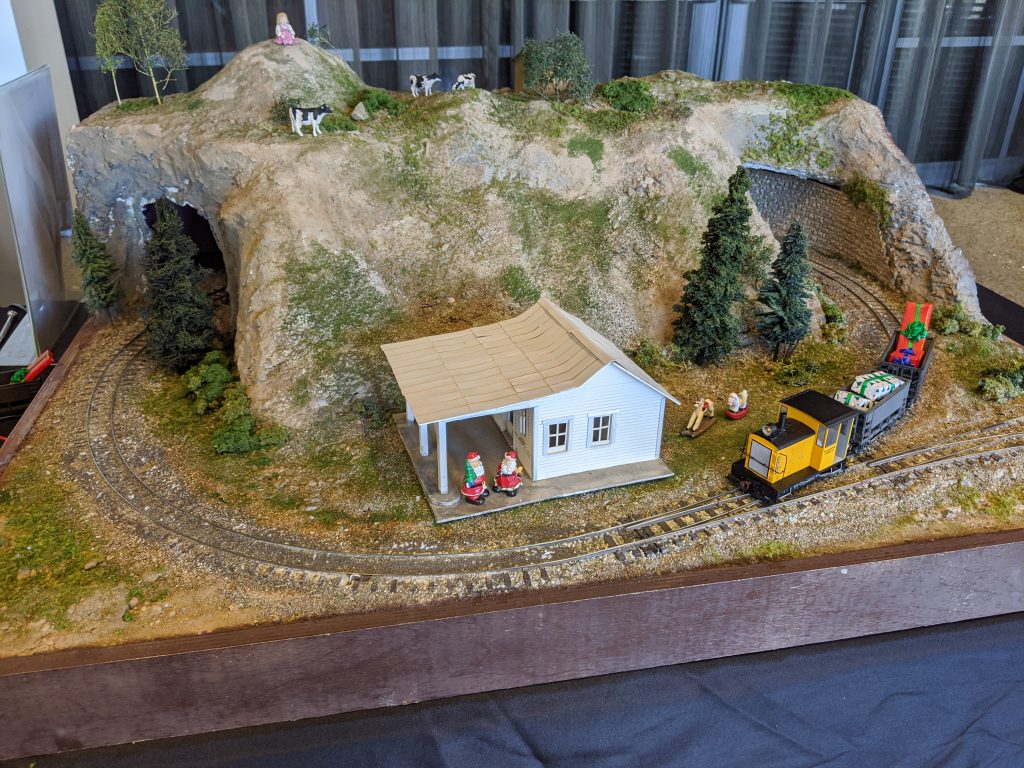
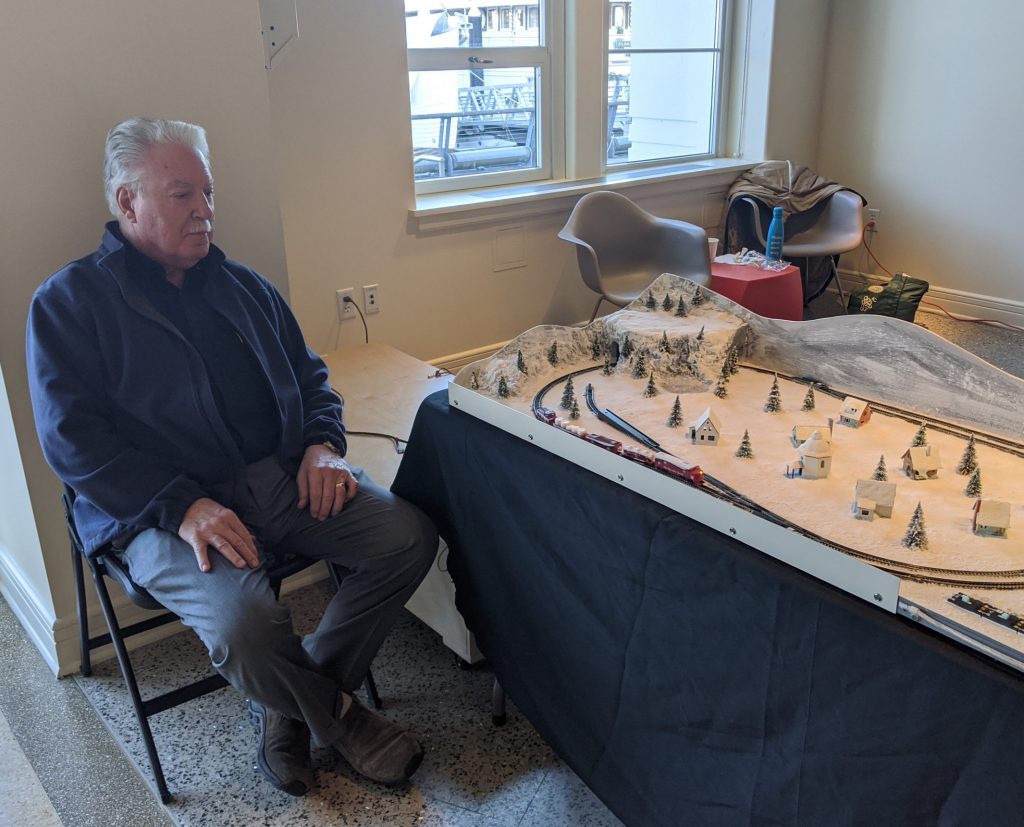
On30 layout
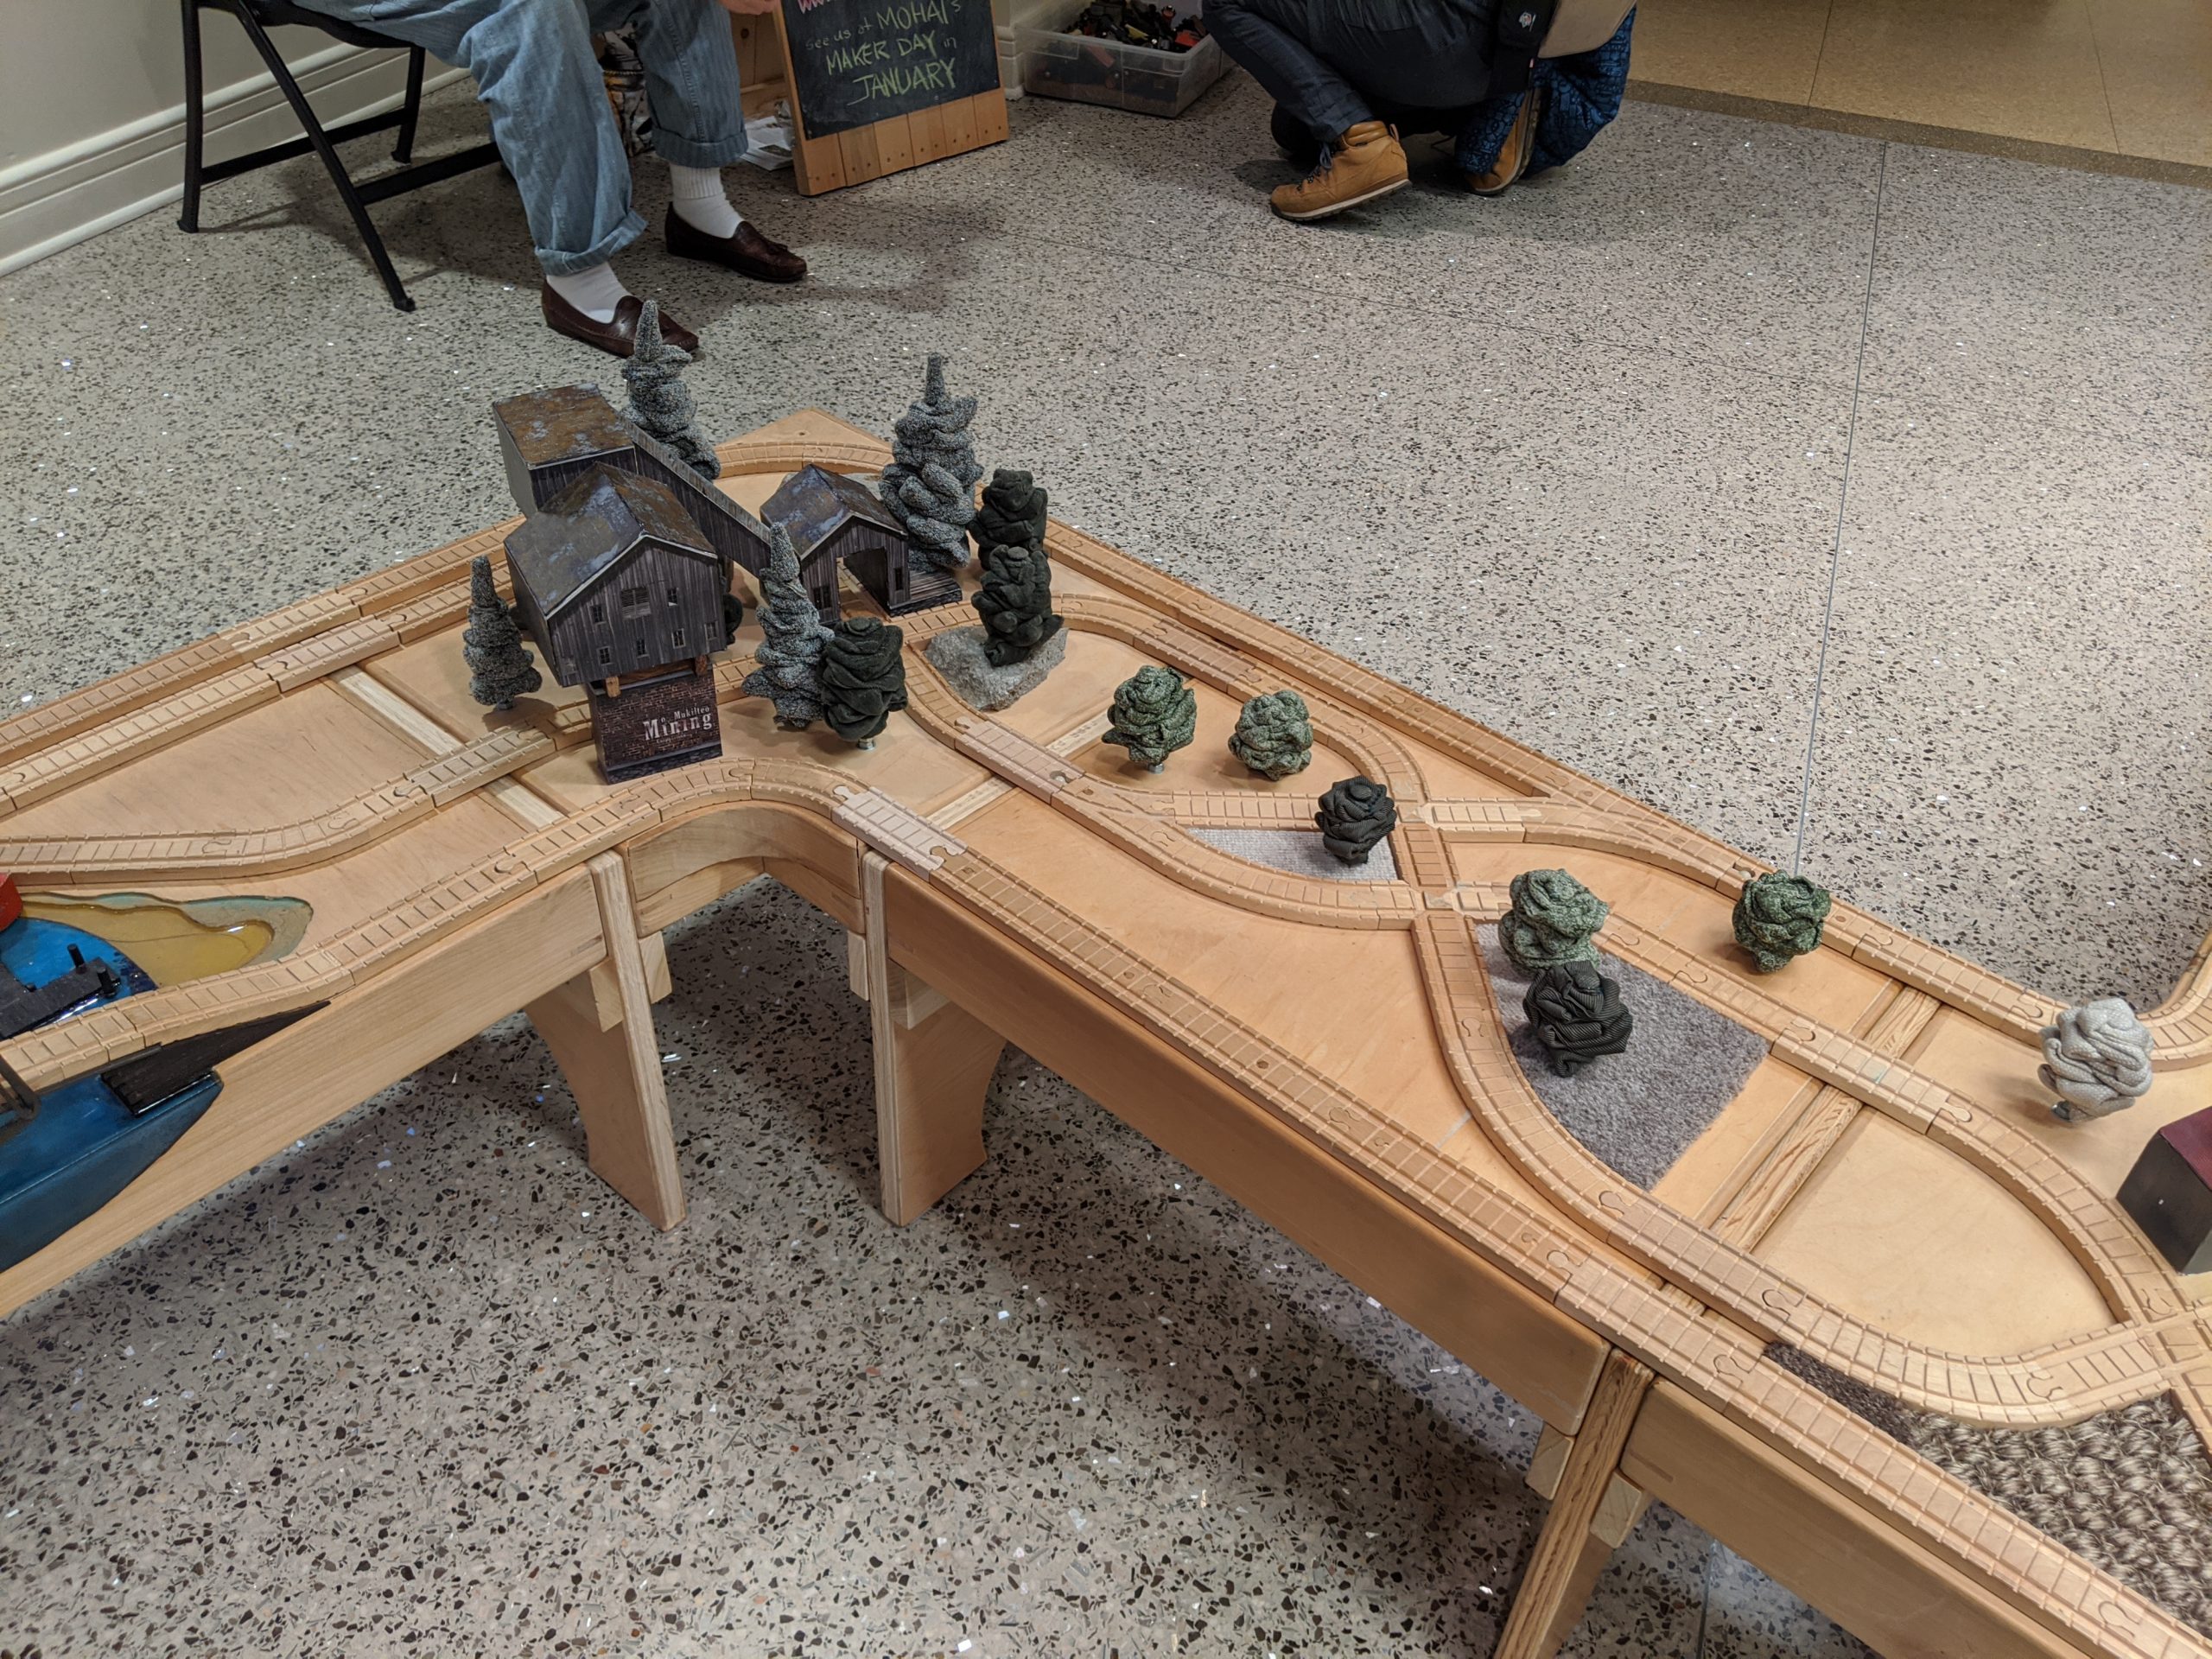
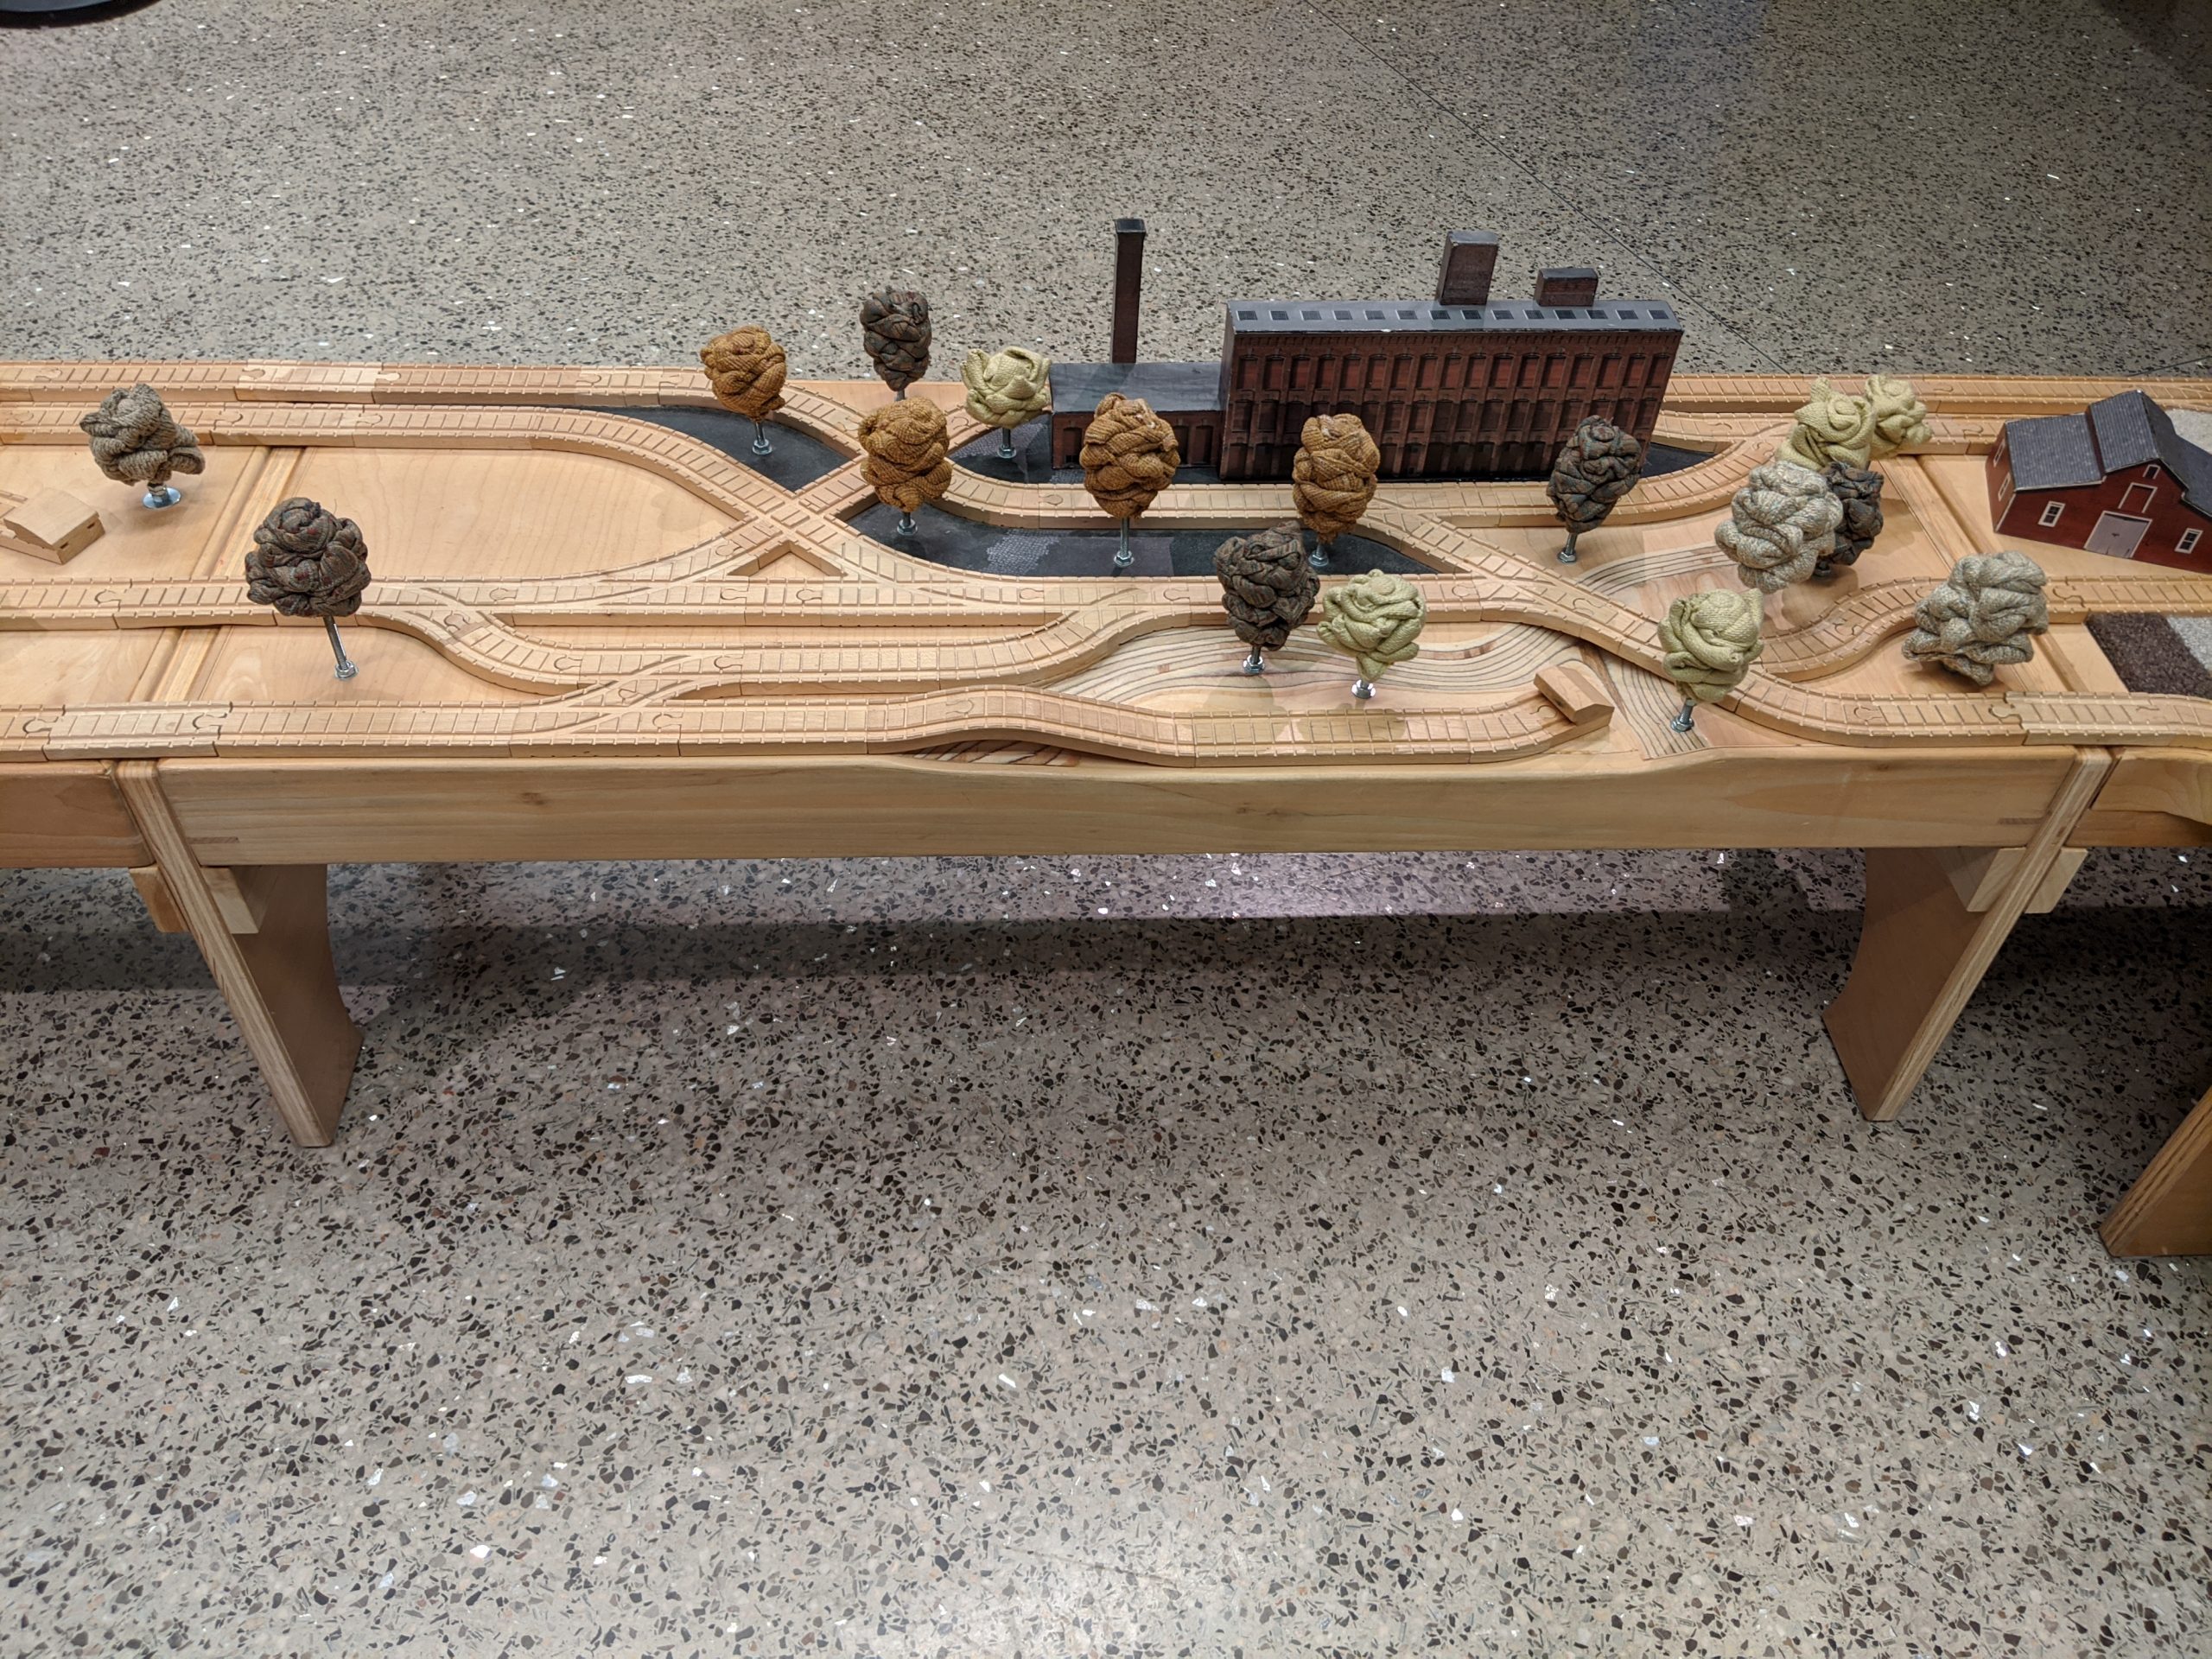
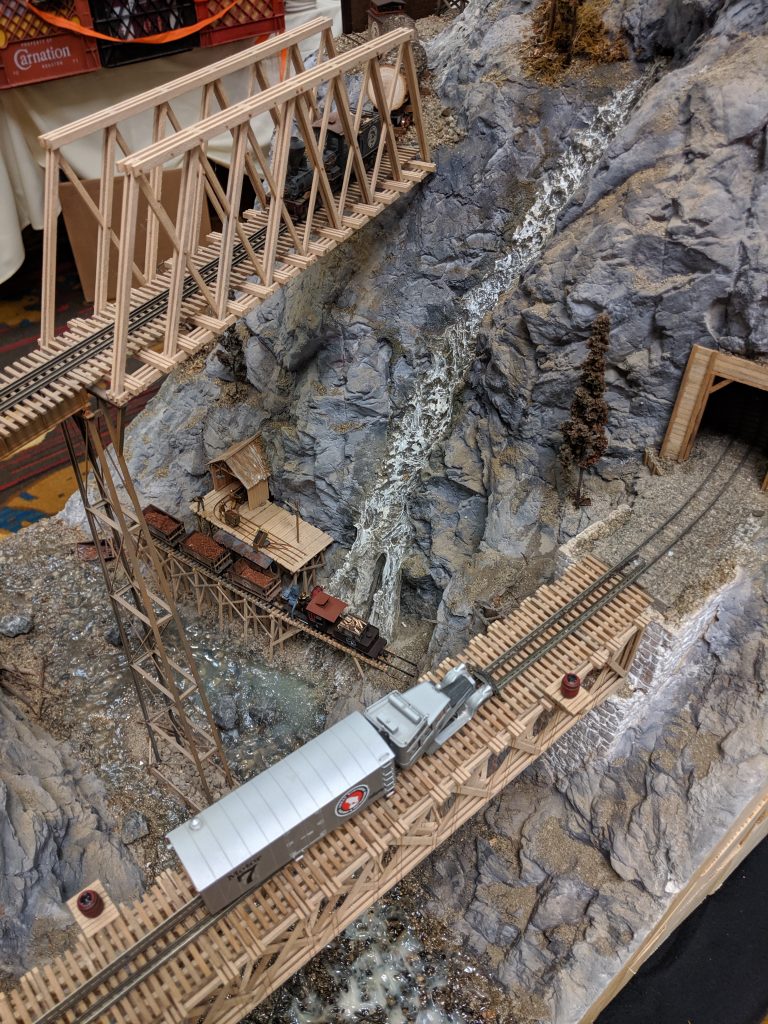
Wooden Trains
Wooden Trains
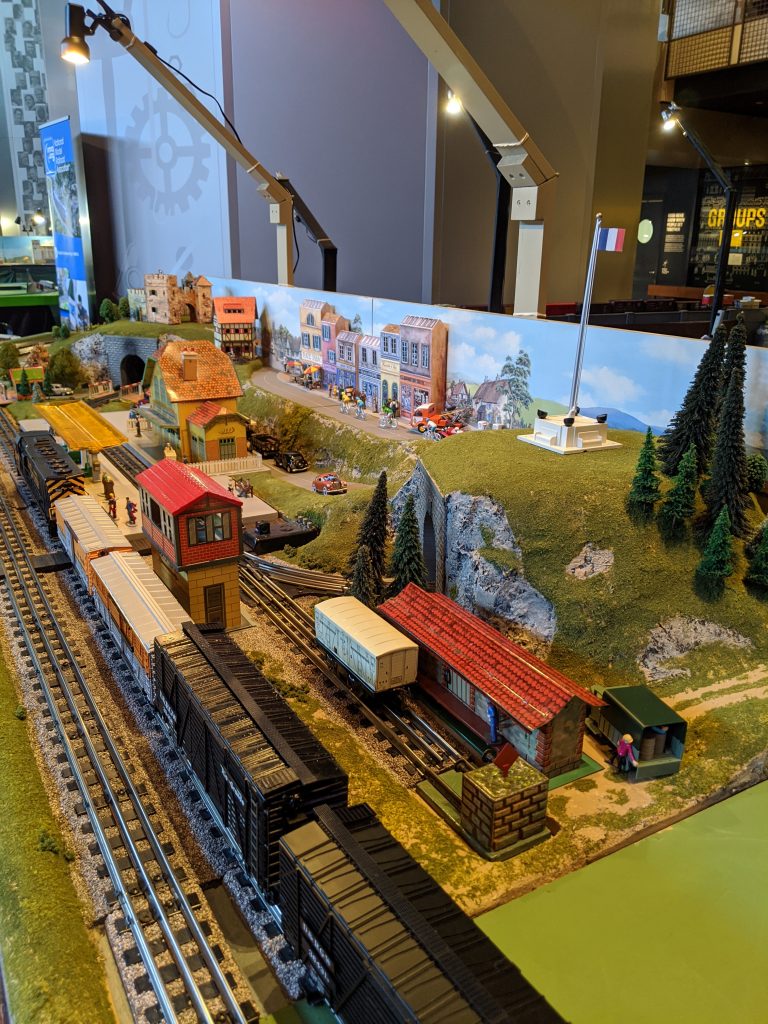
Hi-Rail
HO kids layout
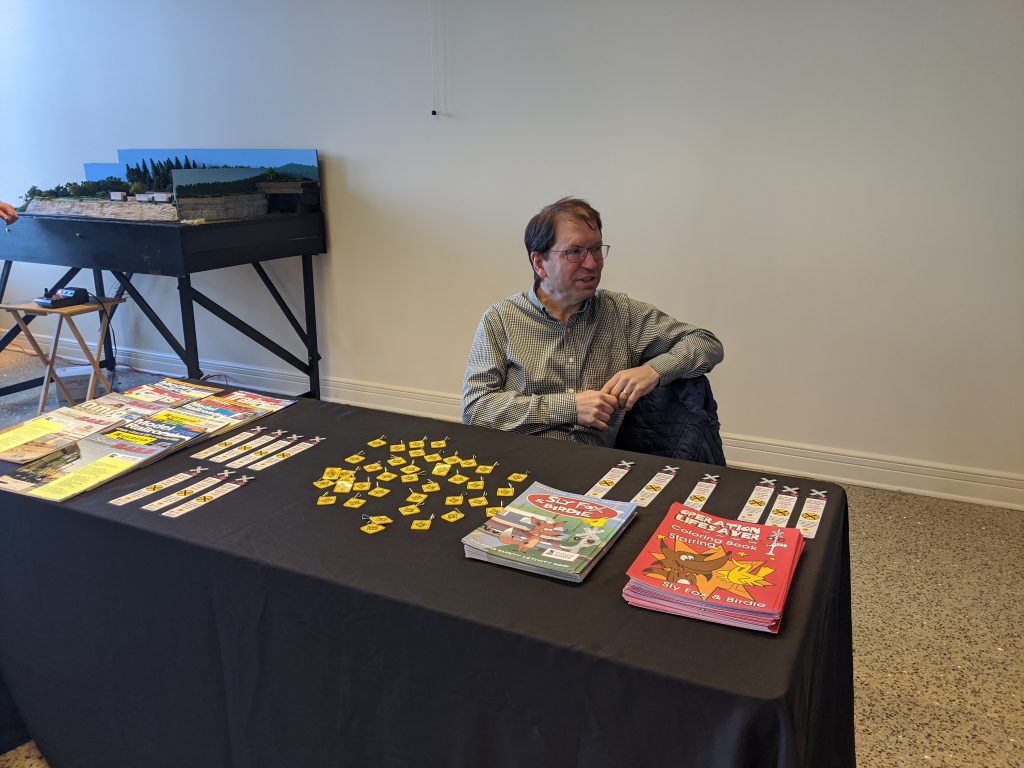
Operation Life Saver
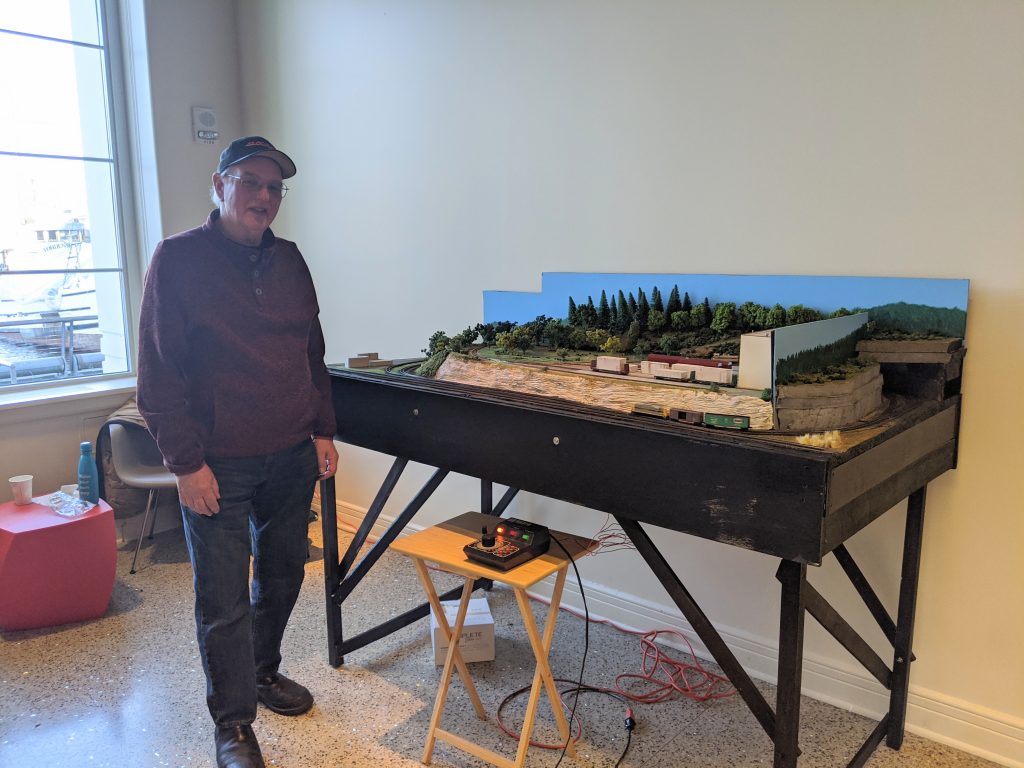
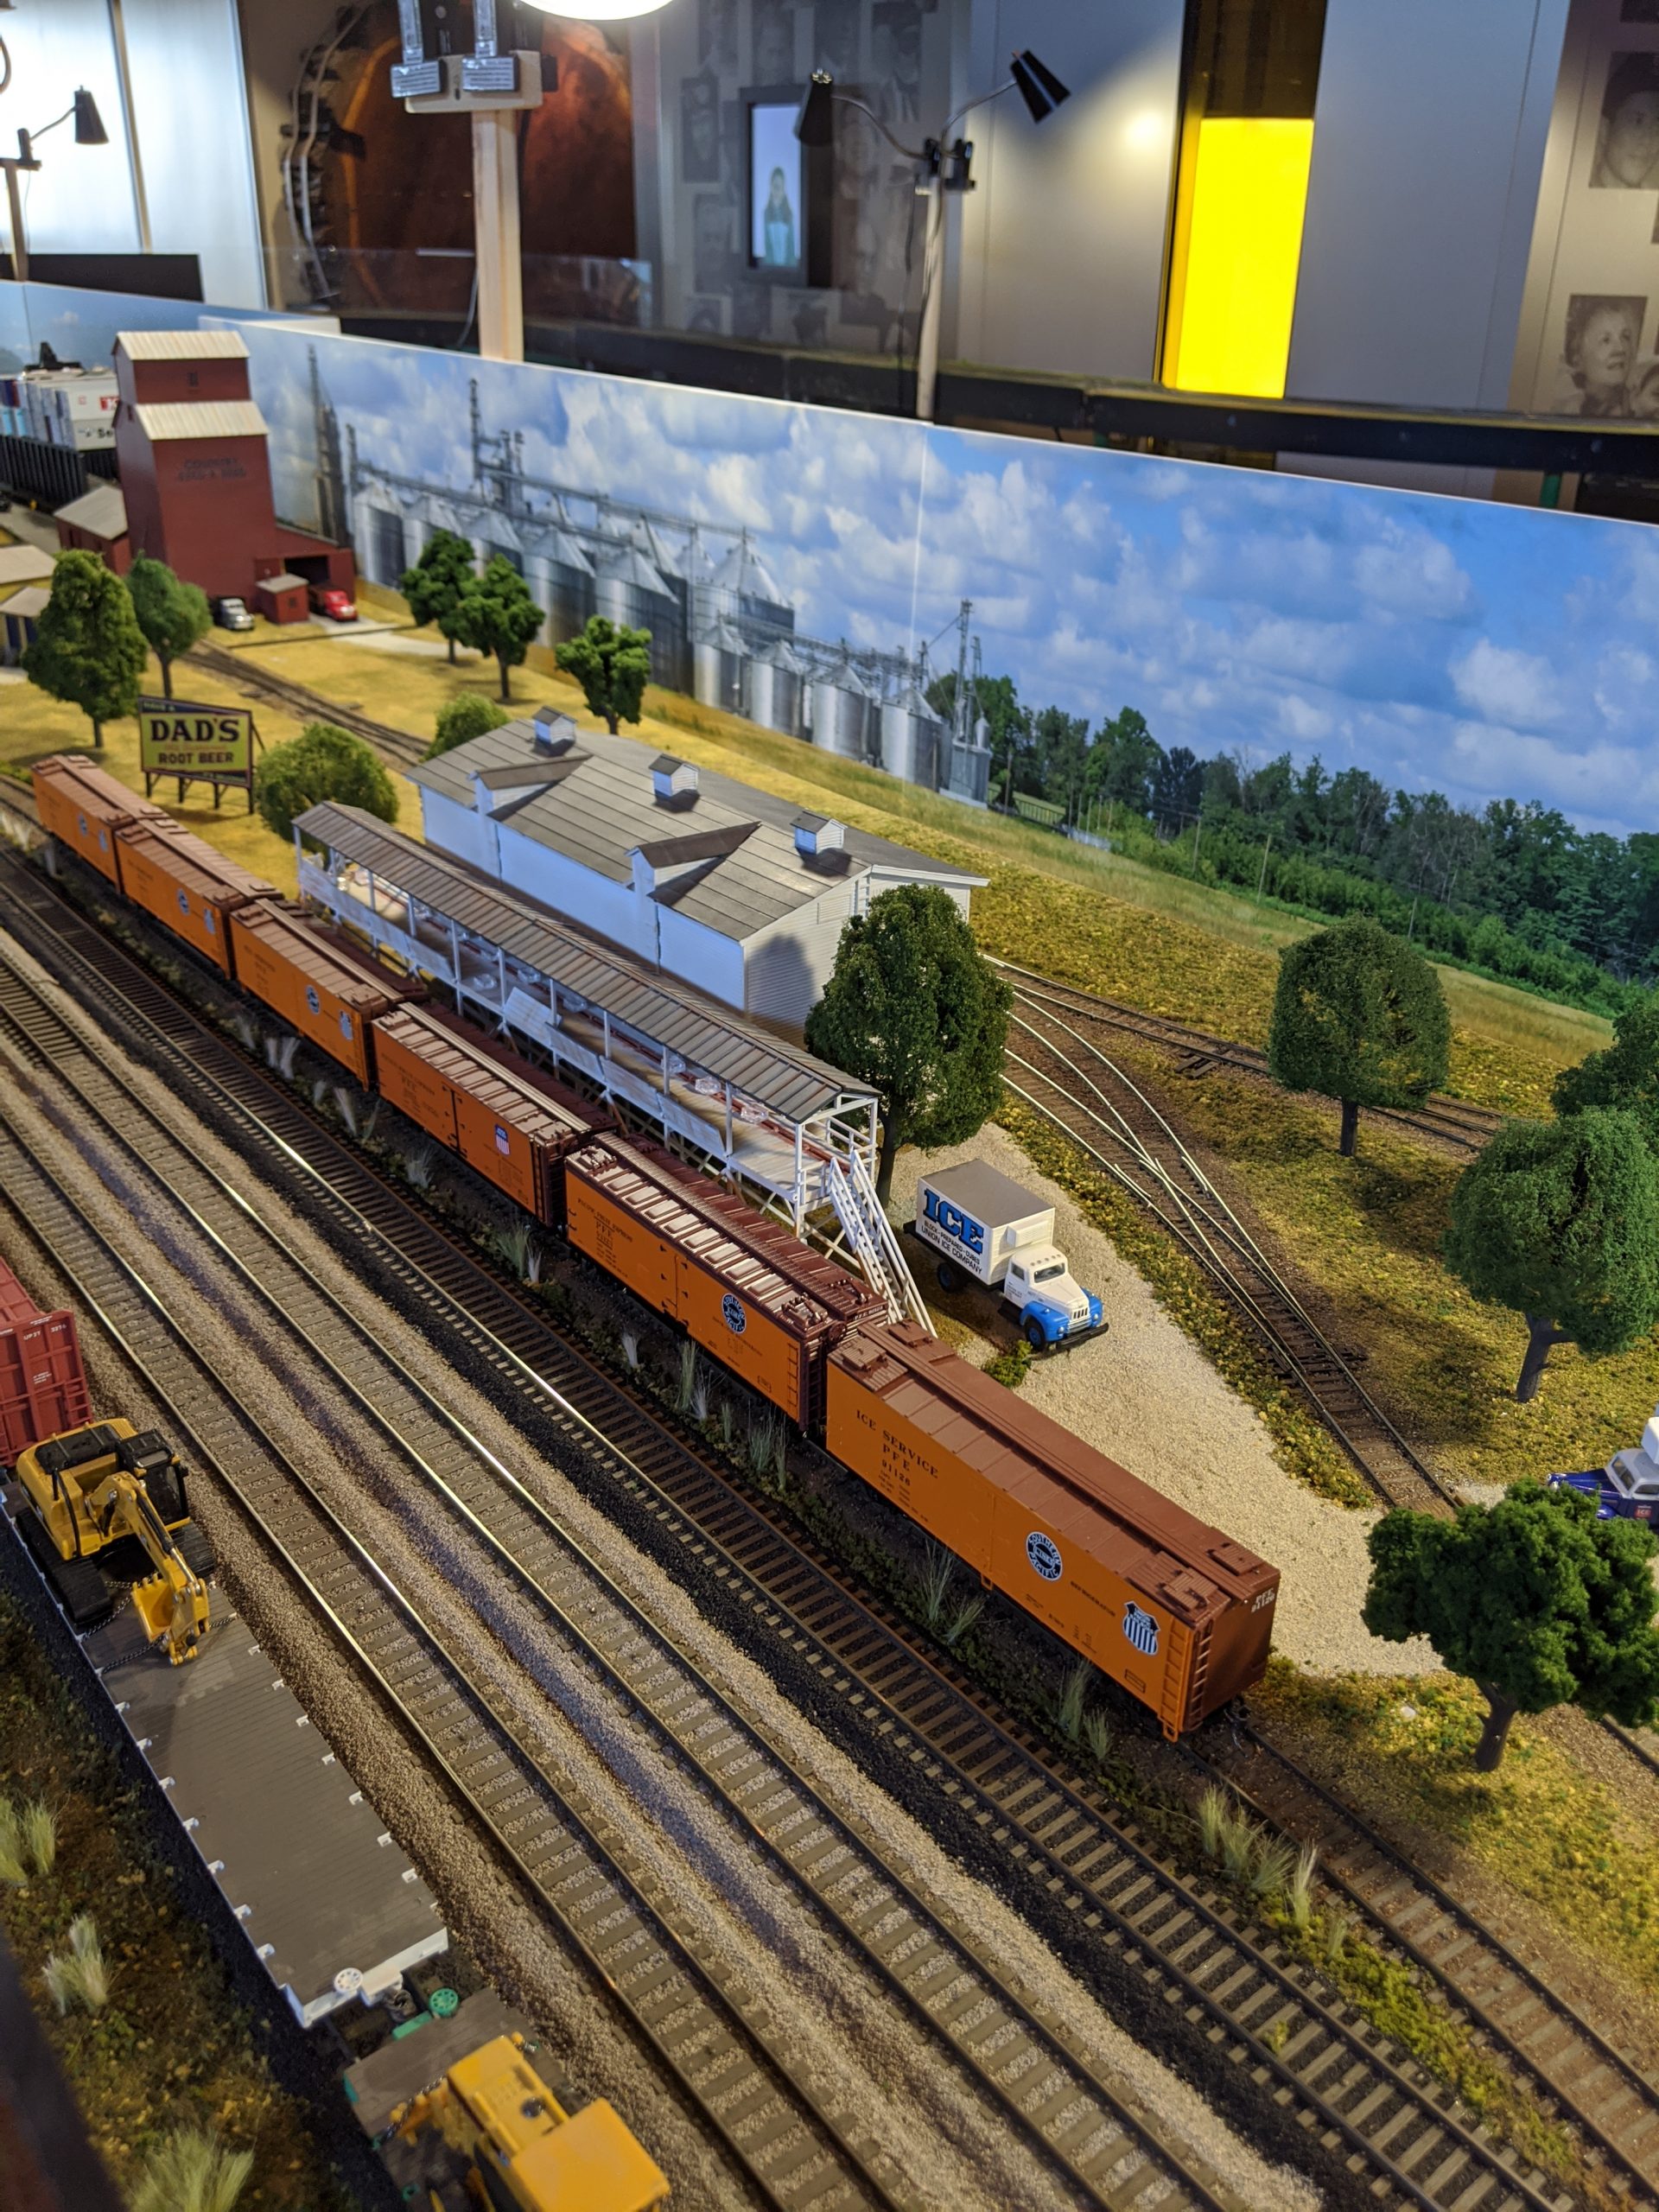
Bob Stafford N scale
Dan Kellogg N scale layout
NTrak
NTrak
NTrak
NTrak
Coming up next weekend on Friday December 20, many of the same groups will be at the Washington State History Museum in Tacoma for 11 days. This is a great show and I encourage you to go and attend to support this effort. The displays are very well done and it is a chance for all of our 4D members to share time together.
Clinic Chair Rich Blake welcomed 26 to the November meeting, first reviewing the upcoming calendar. Dec 11th will feature our annual Wassail, a tradition dating back at least a dozen years, with all invited to bring a (finger-food) potluck dish to share. The pre-clinic dinner at Alfy’s in Oak Harbor is annulled for this meeting only, and the starting time for the Wassail is 6:30 pm. For the January get-together (Jan 8th), modelers are invited to bring their latest models for detailed discussion of how they created them, and having their models judged (if they wish) for NMRA Achievement Awards.
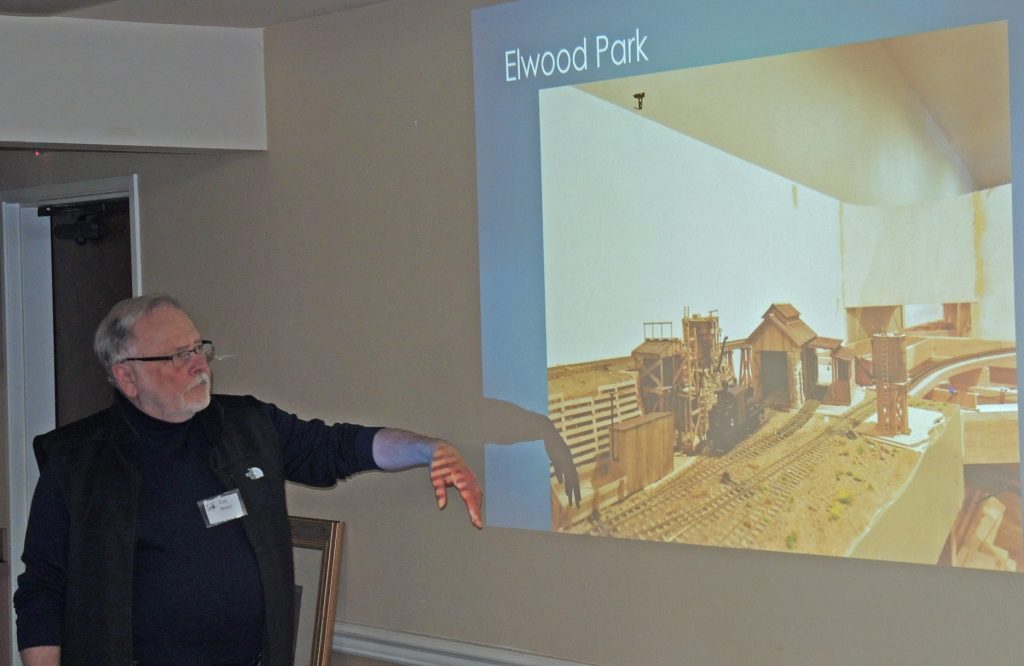
Fig 1 – Jon Bentz Describes Progress on his Railroad
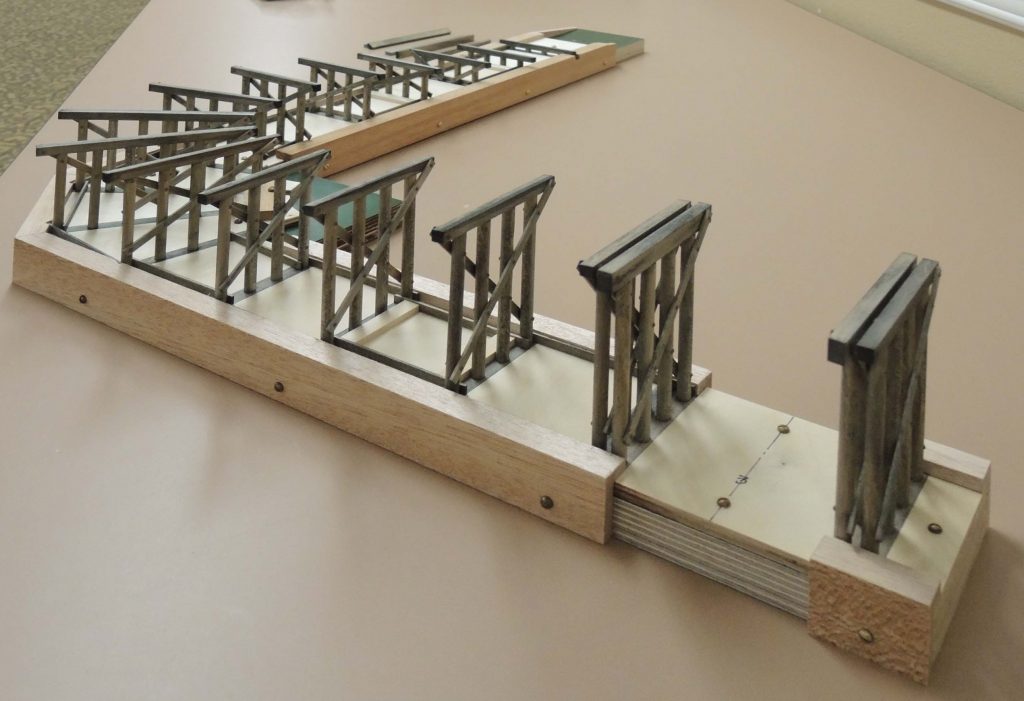
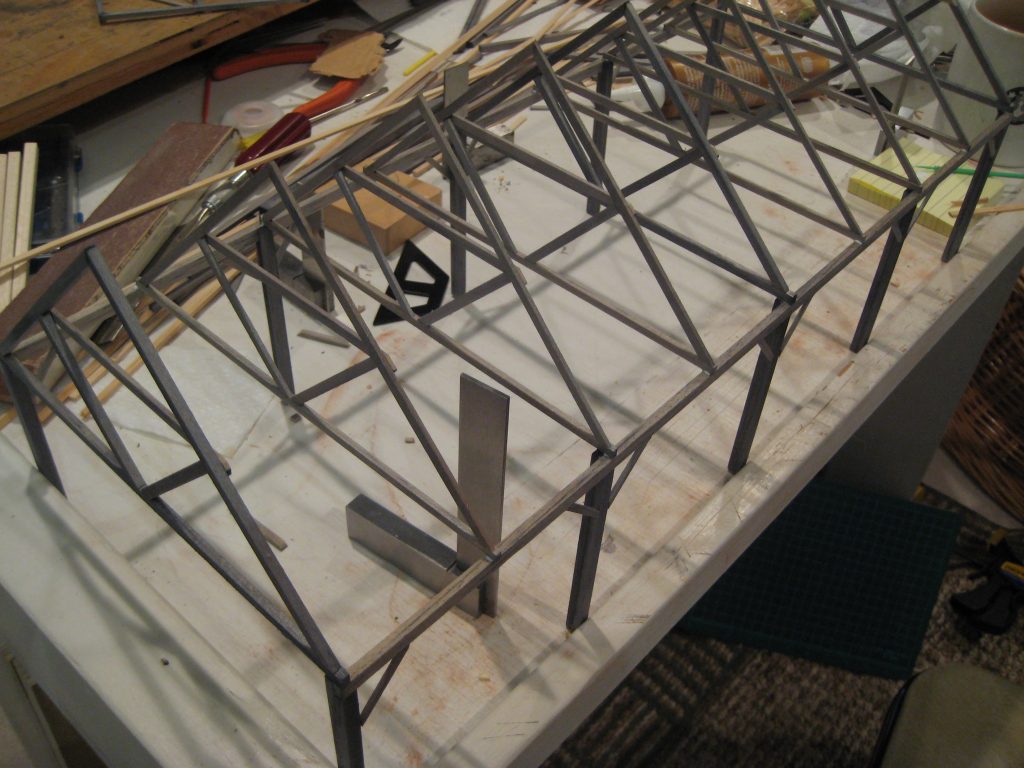
Several clinic members have layouts in progress including Jon Bentz (Fig 1), who described the status of his Rio Como Railroad. Filling the better part of a 14’ x 39’ room, the On30 pike re-uses many of Jon’s scratch buildings on all-new benchwork. A car float operation is featured. Helping Jon with the construction among others is Cliff Aaker and Alan Murray; Alan, for example, is building the overpass (Fig 2)—a work in progress—for a spot on Jon’s layout.
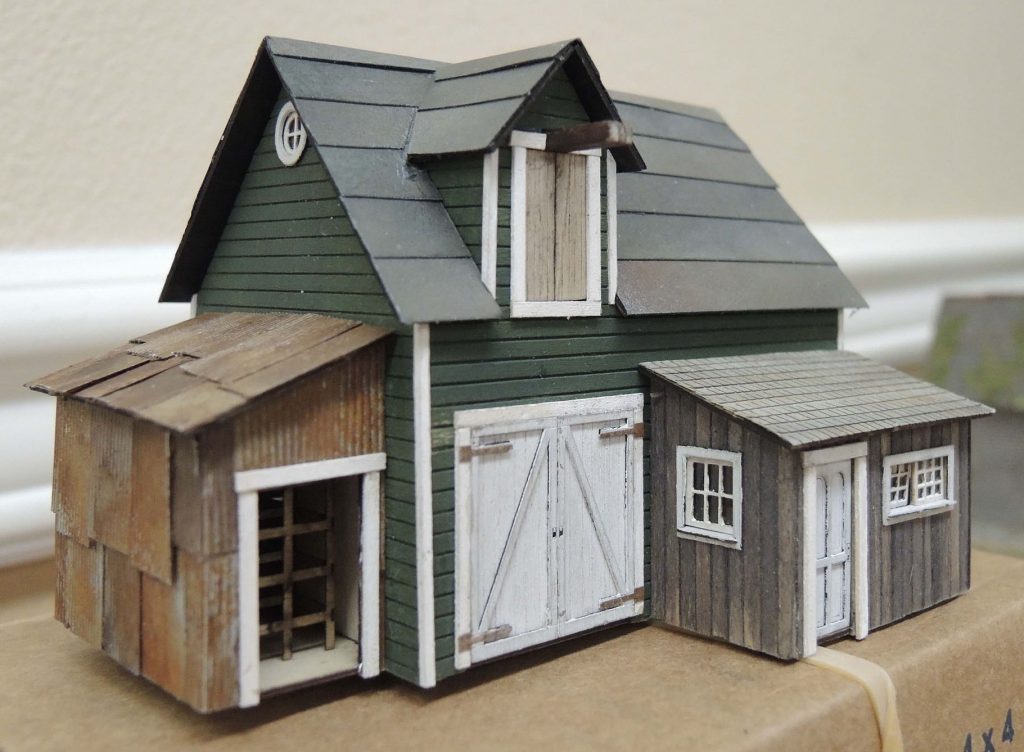
Fig 2 – Alan Murray’s Overpass (In Progress)Fig 3 – Ted Becker’s Banta Kit
Ted Becker brought in a model for display (Fig 3), a Banta Modelworks HO-scale “Crick Hollow Hardware and Miners Supply.” Ted has thoroughly re-purposed the structure and varied the details.
I have learnt over the years that things just do not happen without volunteers, be it the PTA, Boy Scouts, junior Baseball or commercial operations such as Boeing. They, Boeing, need volunteers in order to conduct the evacuation testing and certification of a new airplane. So for us, the 4th Division, we must have volunteers to man the events such as the Spring Meet, the Science Center show, the MOHAI show and others or they just DO NOT happen.
We need your help at the MOHAI show during the Thanksgiving weekend with the equivalent of a minimum of six persons all day for each day of the three day show. So far I have but three volunteers for part of one day each. Part of a day volunteering is great but I need a lot more of you doing just that.
So what would a volunteer be asked to do?
We have a number of owner operator displays where the operator will need some relief from time to time during the day. You could be attending temporarily to the BRIO display or the switching display or running a train on a small seasonal display. You will be selling nothing, just keeping trains off the floor and engaging in light hearted conversation with the public.
Please bring your dioramas to the Boeing Swap Meet. If they are not fully detailed, that’s ok. You will be able to take them home and can continue to work on them before the Science Center Show in January.
Please bring a 3×5 card telling something about it and your contact information. We will need to look at them by noon and you will be able to take them back by 2pm. I will have tables in the Gymnasium where they can be displayed.
Thanks for your efforts and thank you for sharing.
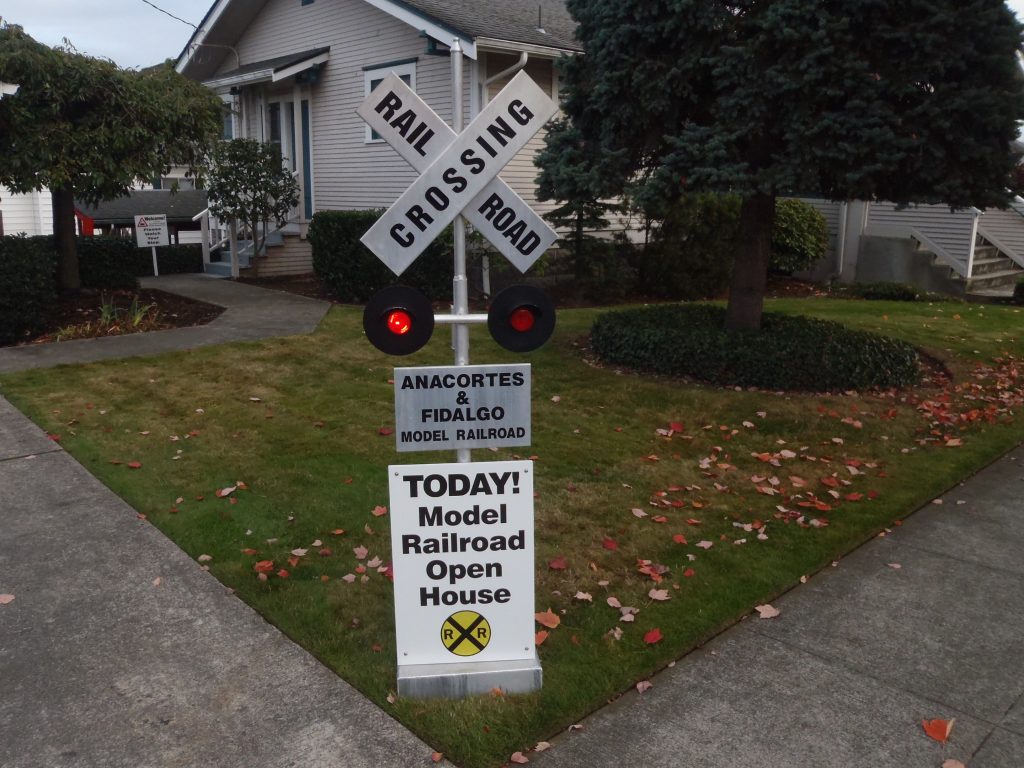
The Anacortes and Fidalgo Model Railroad Club will host what may be their last open house this weekend November 2nd and 3rd from 10am to 4pm each day. The layout is located in the basement at 419 Q Ave. in the beautiful seaside historic town of Anacortes west of Mount Vernon off HWY 20.
Look for this sign off Q street in Anacortes, the layout is in the basement around the backside of the house in the photo.
The club has been at this location since 1994 starting with a 500 square foot area and about 10 members. Over the last 25 years the club has enjoyed a long and interesting pursuit of building and operating a detailed layout depicting many of the historic railroad features in and around Anacortes, Fidalgo Island and the Skagit Valley.
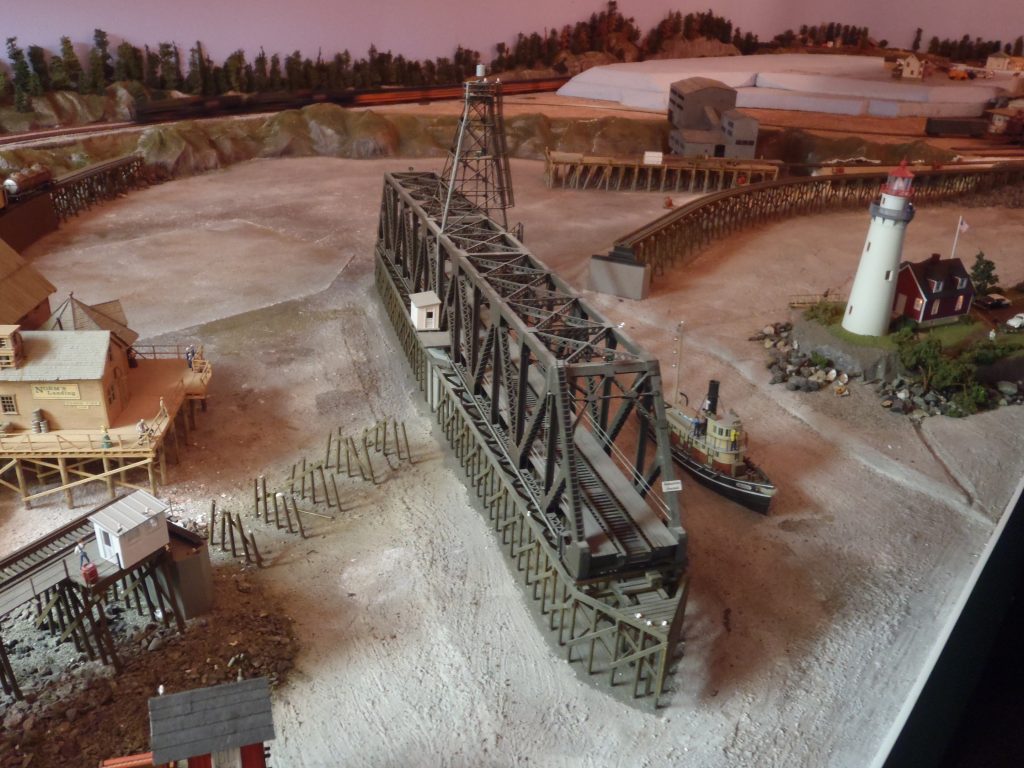
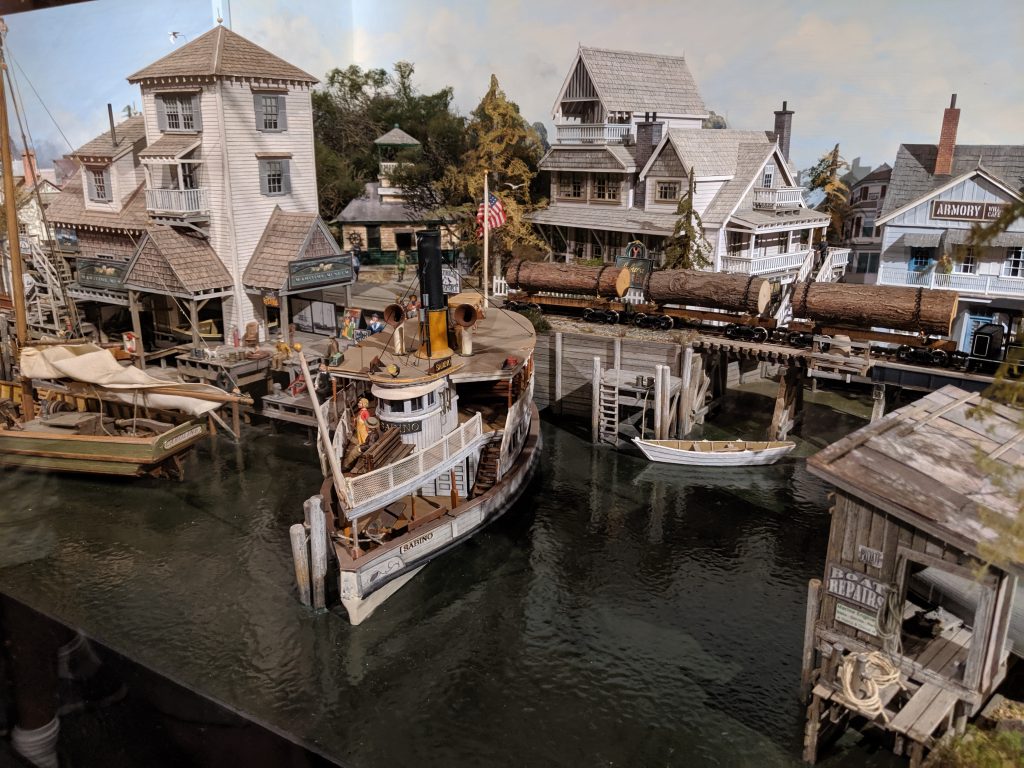
Scratchbuilt and operating model of the Swinomish Channel swing bridge which is still in use today by the BNSF serving the March Point refinery. You can see the distinctive prototype bridge along HWY 20 on the way to Anacortes.Waterfront scene depicting the busy Anacortes port terminus of the Great Northern Railroad.
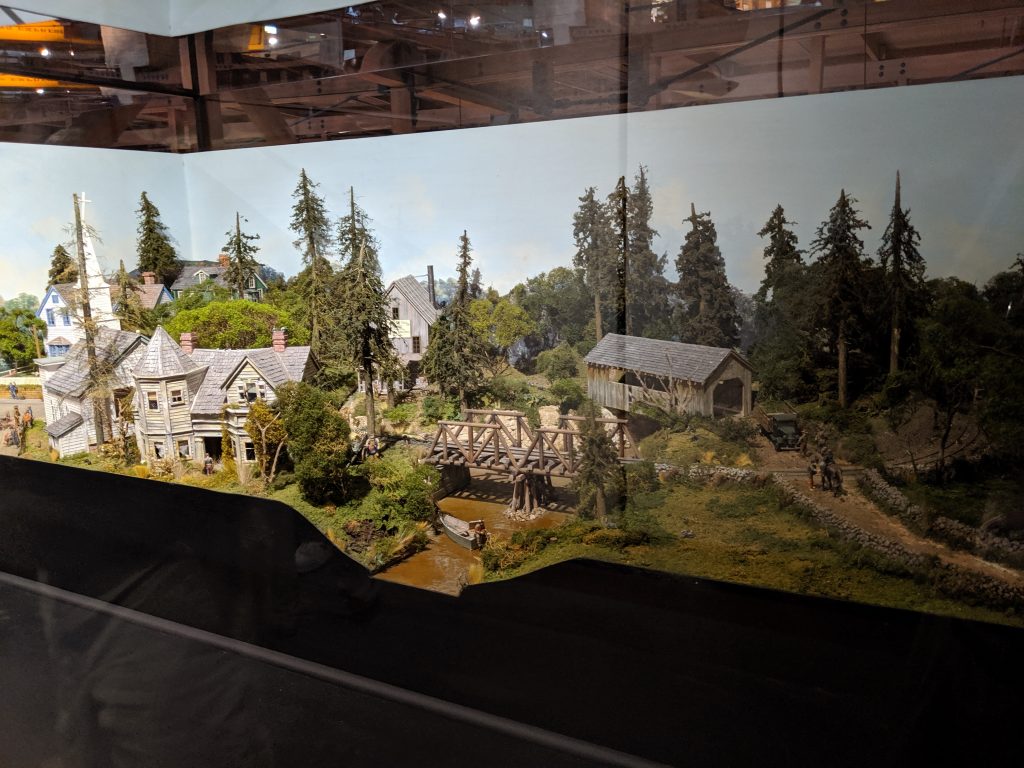
A lot of hard work and dedication has gone into the layout and it shows in the many finely constructed structures and scenery details. The layout now occupies the full 1000 square feet available however the club must unfortunately move out within the next year.
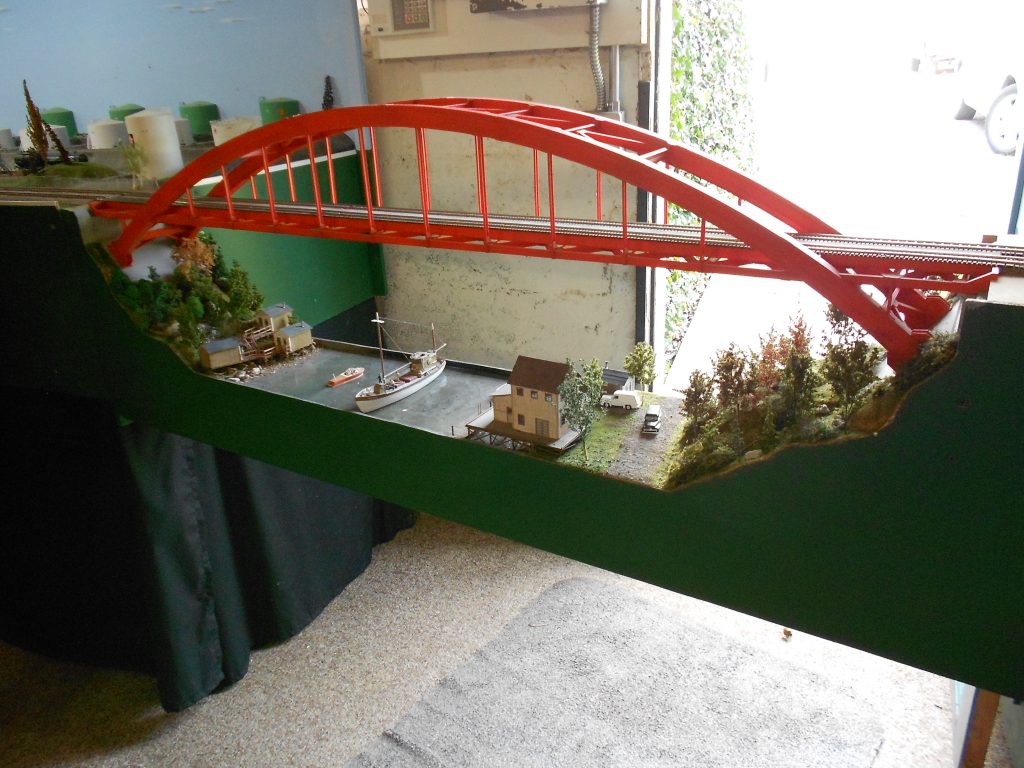
Entryway to the basement layout features a re-creation of the La Conner arch span bridge that connects Fidalgo Island to the mainland on what is now Reservation Road.
Hopefully the club can find a new location to host their layout and equipment in the near future. Many members of the club are local PNR 4d NMRA members and regular attendees of both the Mount Vernon and the Skagit Valley and Whidbey NMRA Clinics.
A recent GoSkagit article about the layout is here
History of Anacortes and the local railroads is here
Ken Liesse just posted this. Ken speaks for all of us in our appreciation of Gene Swanson
“It is with great sadness that I report the passing of my friend, Gene Swanson, MMR last Friday in Tacoma, WA. Gene was a fixture in 4D/PNR and had just won the President’s Award from the NMRA in June of this year. Gene ran the Tacoma Clinic for over two decades and was instrumental in building the popularity of that meeting. He was also a member of the Puget Sound Model Railroad Engineers and built several of the structures on the layout, mostly from scratch. Gene preferred to work in wood, but would “stoop” to plastic on occasion when necessary.
My own association with Gene began when I started attending the Tacoma Clinic. Gene’s welcoming nature brought me into the group and made me feel at home. His layout was the first I assessed for MMR and I was very happy to be on hand when he was awarded this honor. He also invited me to help out with a traveling museum exhibit, which culminated with me doing the figures and animals for a traveling display depicting how the railroads tamed the west that visited several museums around the country.
Ever a high school sports fan, Gene was very encouraging to my son, who was a budding high school sports photographer when they met. They formed a friendship of their own, and Gene ended up commissioning my son to do a photo book of Gene’s layout, which ended up with four separate printings.
I am aware of several who are building dioramas for display at the Boeing Swap Meet November 9. There is still time to get one ready. Rules are simple:
12″ by 24″
Railroad theme
Any scale
Give it a try to show off some of your skills and challenge others to get those kits out of their boxes and built.
Questions? Contact me at 206 200 2211. Russ Segner
The Puget Sound HOn3 Modular Group is underway with the first two modules being constructed. The theme for those two modules is the Newcastle coal mine-to-Lake Washington connection. These are being built by Russ Segner and John Paschal. Interfacing modules may have other themes as determined by their builders.
Matching track locations for other modules have yet to be determined and may take some coordination. Russ and John have taken the lead on the module design, so the general specification may be strongly, yet not finally determined by their efforts.
A proposed specification, subject to close scrutiny, slings and arrows, is available upon request from the undersigned.
As Interim focal and contact, I can collect comments from all interested parties at:
The Skagit Valley Children’s Museum located in the Burlington Outlet Mall (Old Bass store) is building a hanging G Scale model railroad with over 700 feet of track as an interactive display. The main layout is suspended 9 feet high due to the other museum structures. There will be false building fronts and wall murals depicting that area of the layout, farm land, city, industrial etc. The trains will be controlled by push buttons and the kids will be able to view the trains from cameras inside the cabs. A lot of items have already been donated for this project and grants from BNSF have been given. This project is ready to begin. We need volunteers to build this layout. If you work with wood, wiring, landscaping and painting, we need you. Click here to see the drawing of the layout. If you would like to participate in this project, please contact me.
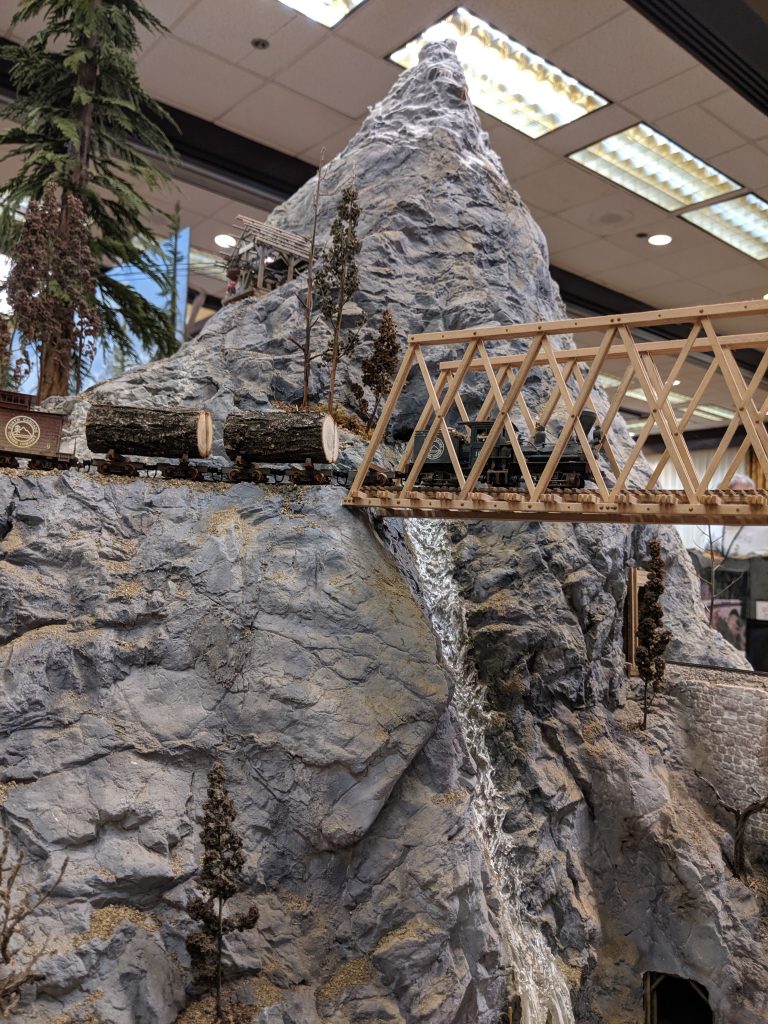
The recent Narrow Gauge Convention featured many very interesting things. There were great clinics, many fine layouts and several prototype attractions. There were also several award winners from our area: Greg Wright and Harry Avis of Olympia both won awards as was previouslyreported.
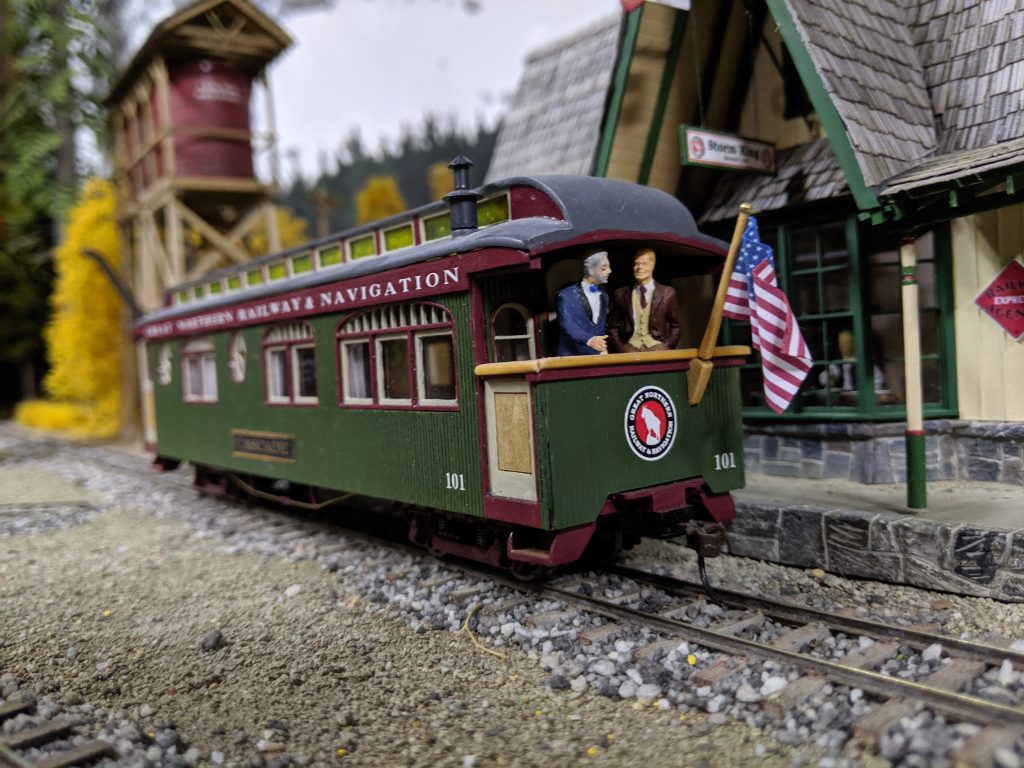
Mark Allen from Roche Harbor won two 2nd Place awards; one for his module Mystic Mine and one for his Parlor Car “Cascade”
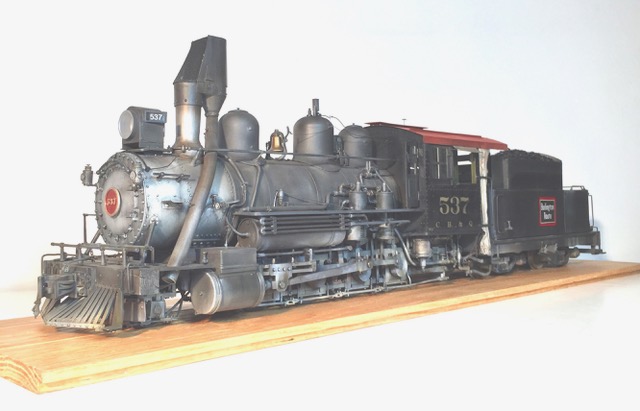
Don Rose of Gig Harbor won 1st Place Motive Power Rod Locomotive a CB&Q Consolidation
I saw several fine layouts
Jeff Reynolds – Mears Madness is a famous HOn3 layout which has been relocated to Nevada City, CA in the hill country northeast of Sacramento. It is in it’s own 30′ x 40′ building. It is one of the largest HOn3 layouts in California.
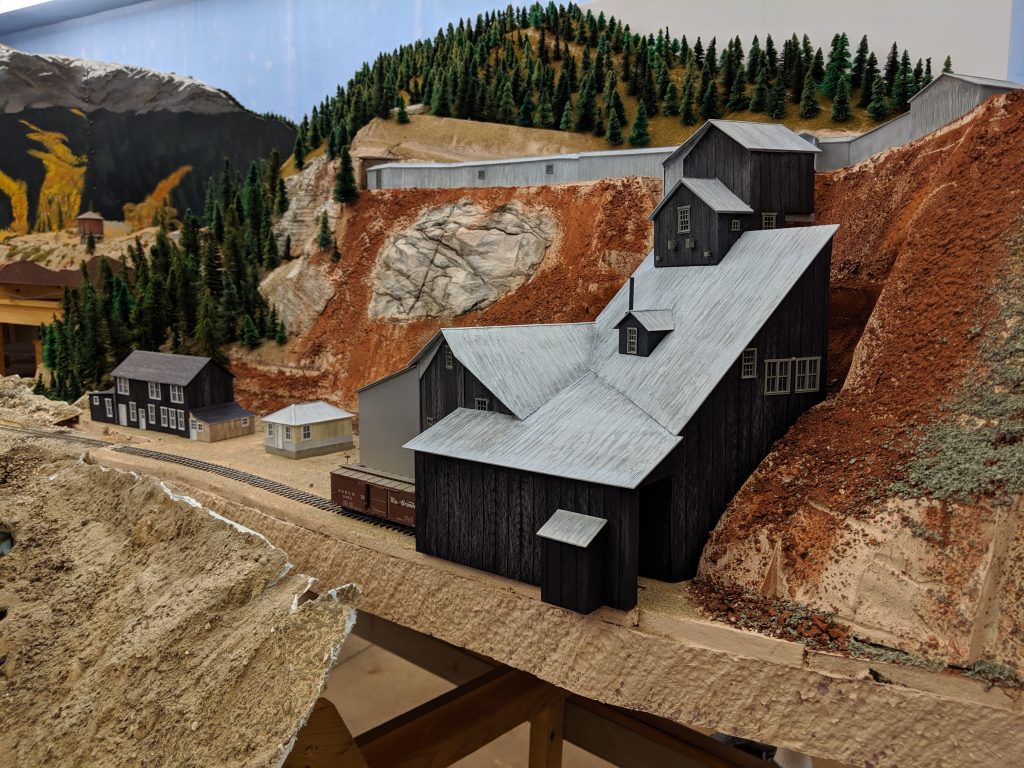
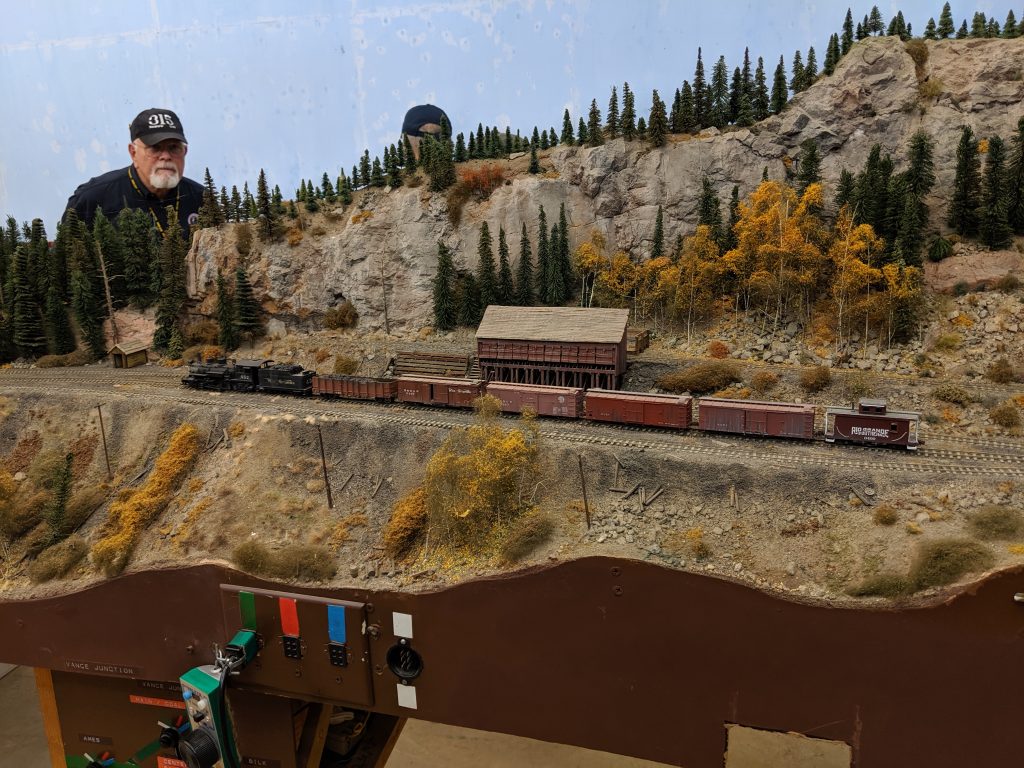
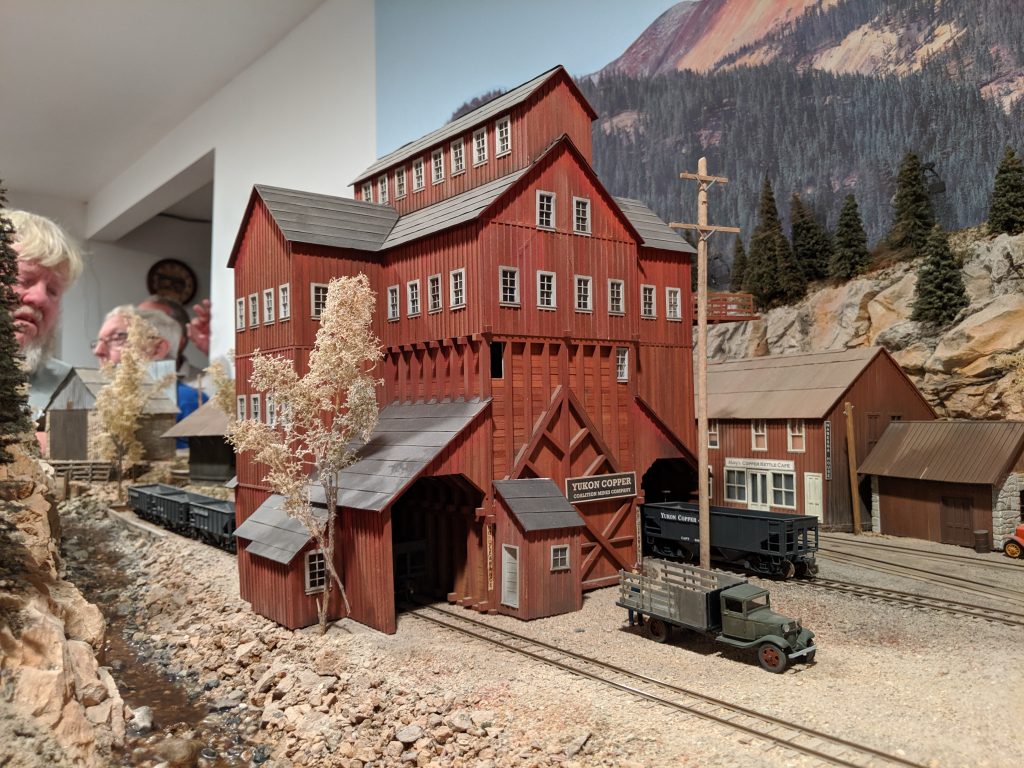
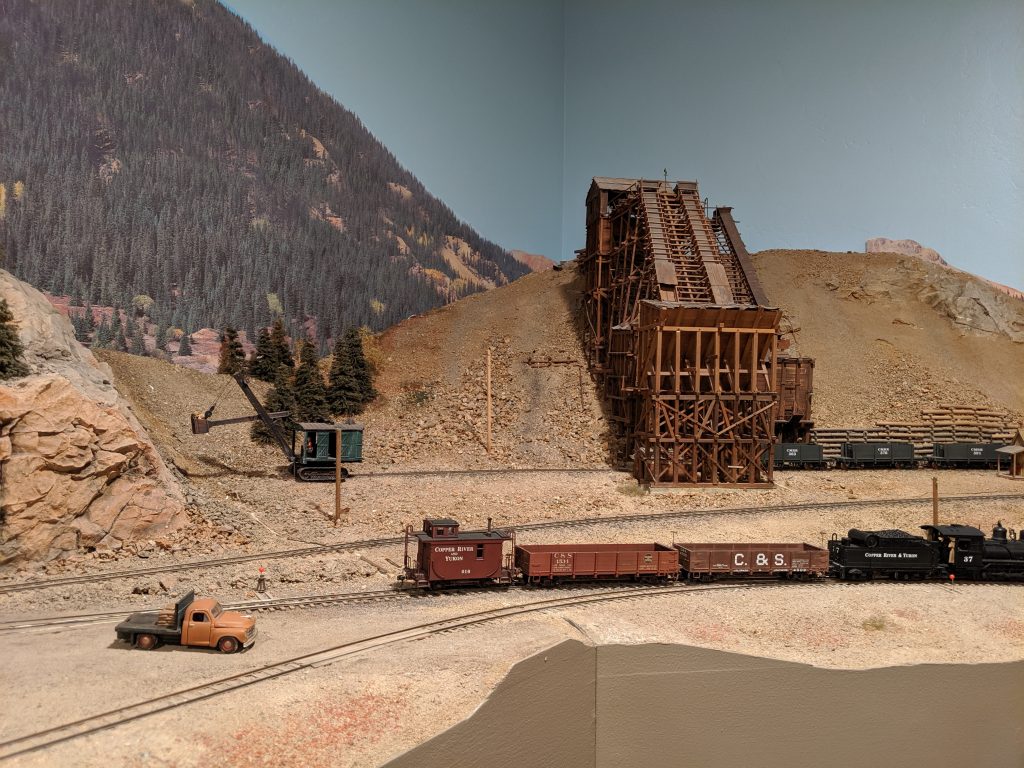
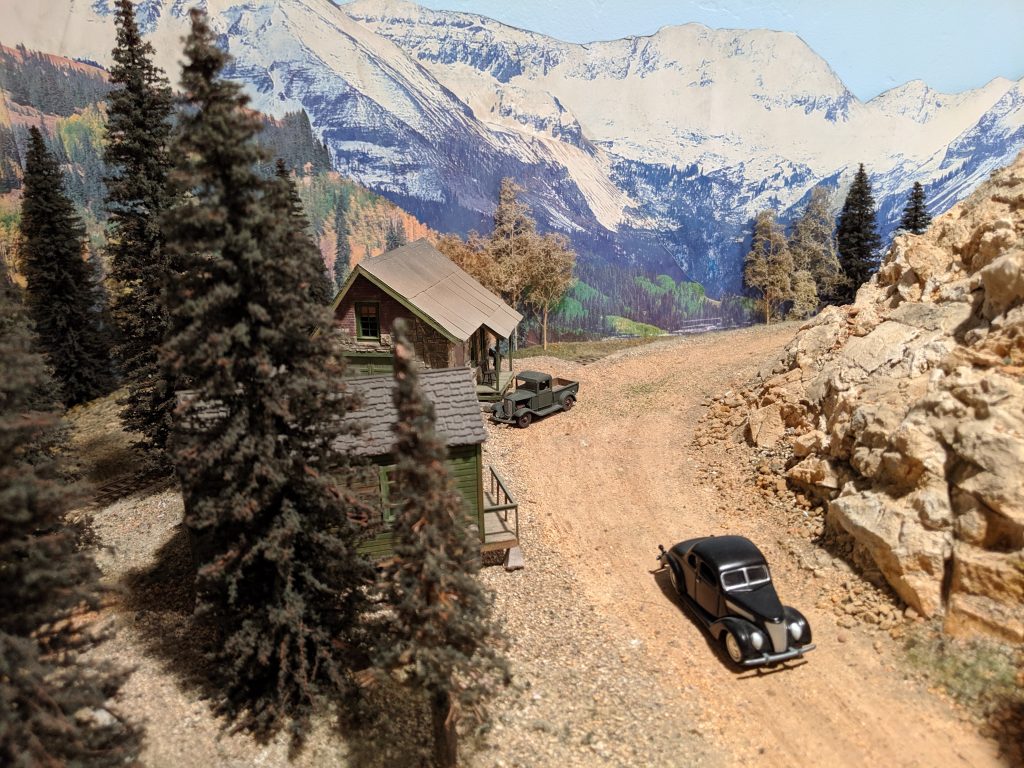
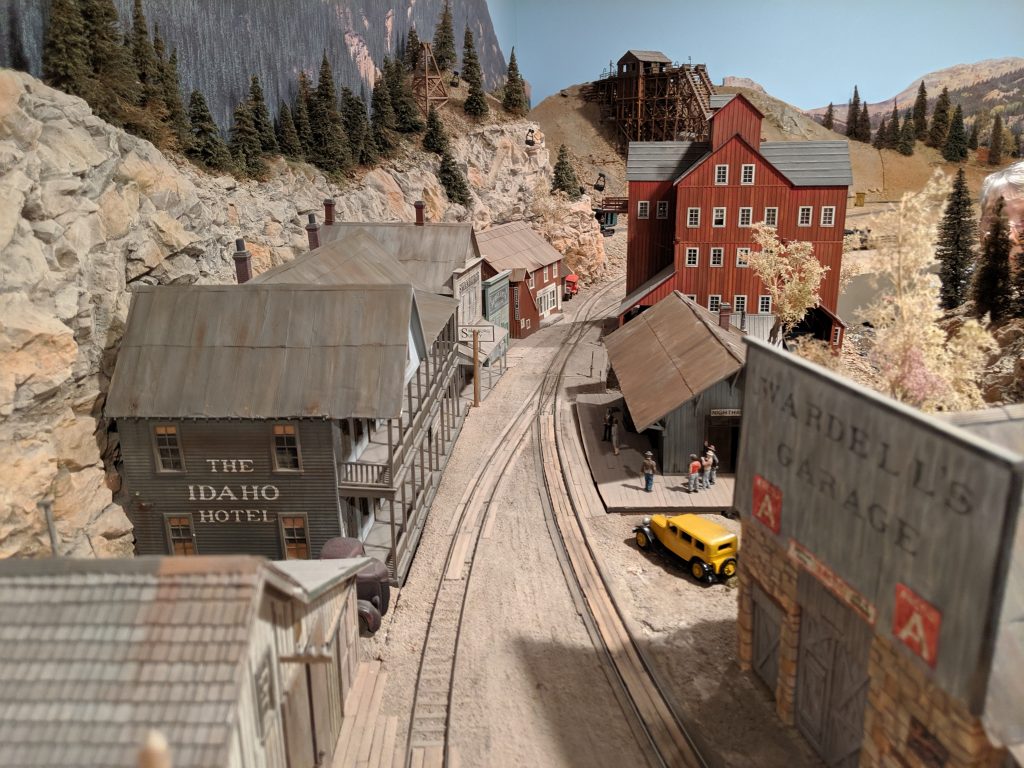
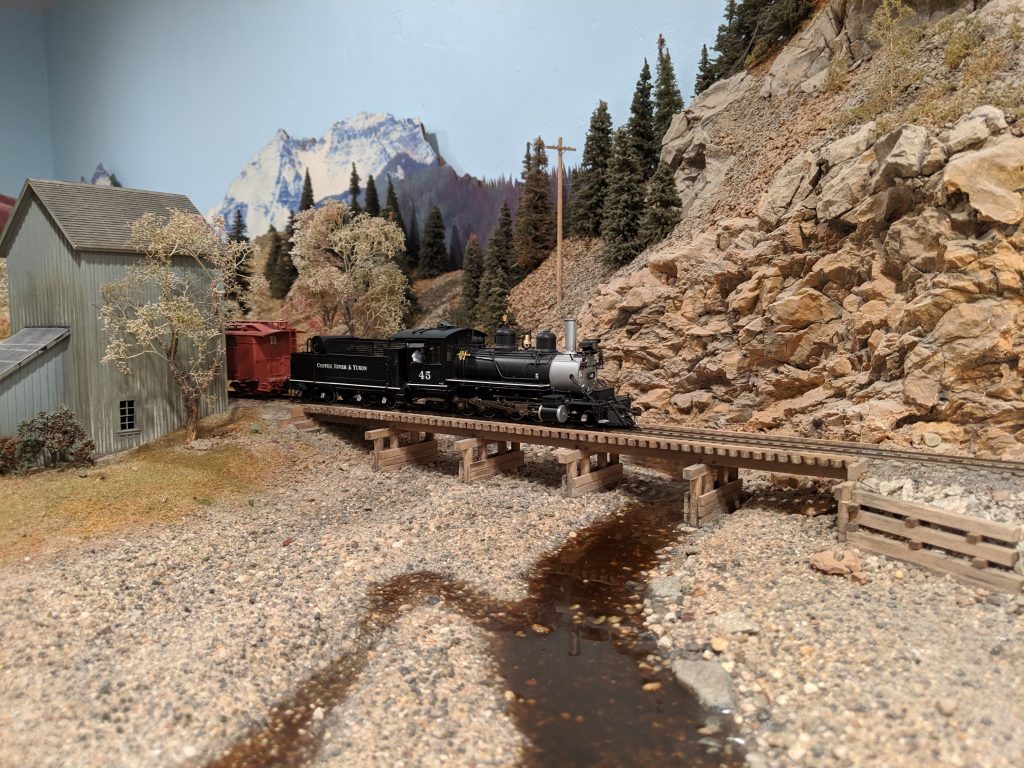
Aaron Splawn – Nighthawk Branch of the Copper River & Yukon Railroad
Aaron has restored the best parts of Brian Ellerby’s famous Copper River and Yukon Sn3 layout. When we had to dismantle Brian’s layout, we were able to keep the beautiful Nighthawk scenes intact. Jimmy Booth of PBL was able to truck it to California where it is now located. It is possible that this famous layout will ultimately move to the California Railway Museum in the new Model Railroad Section.
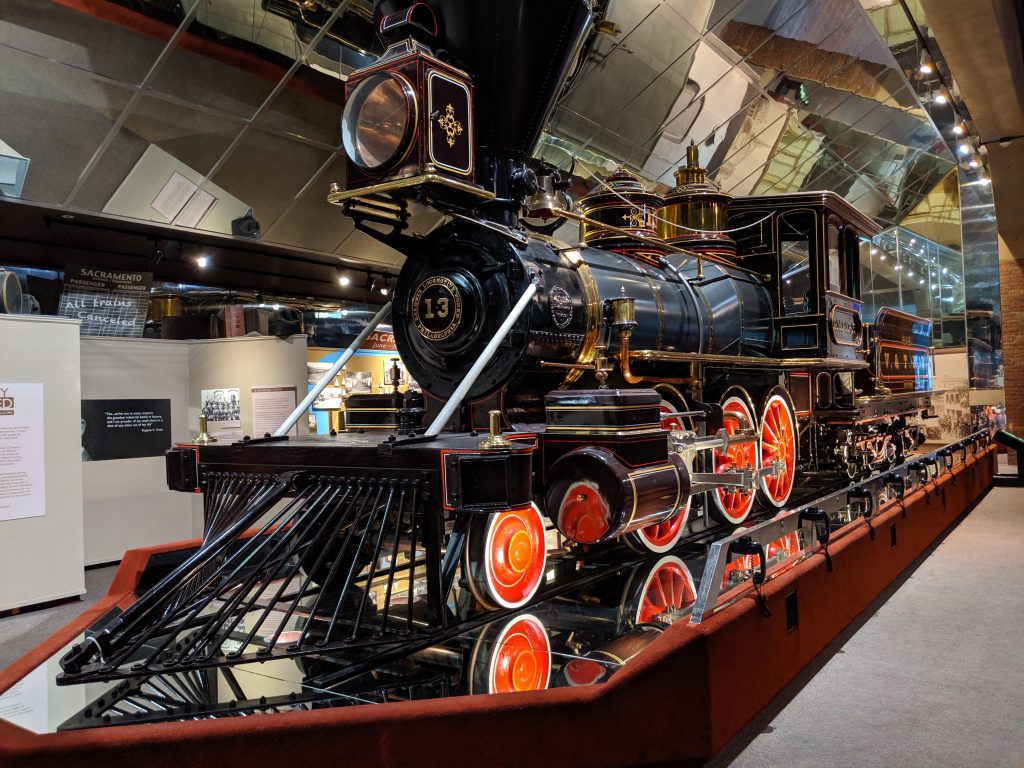
California Railway Museum
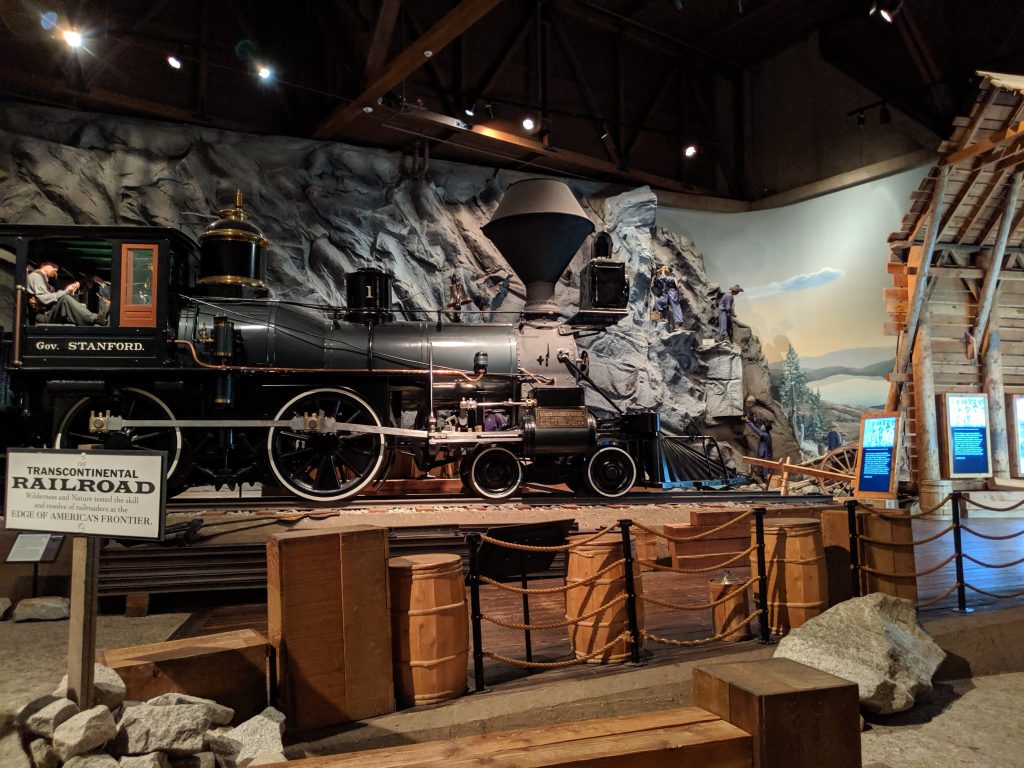
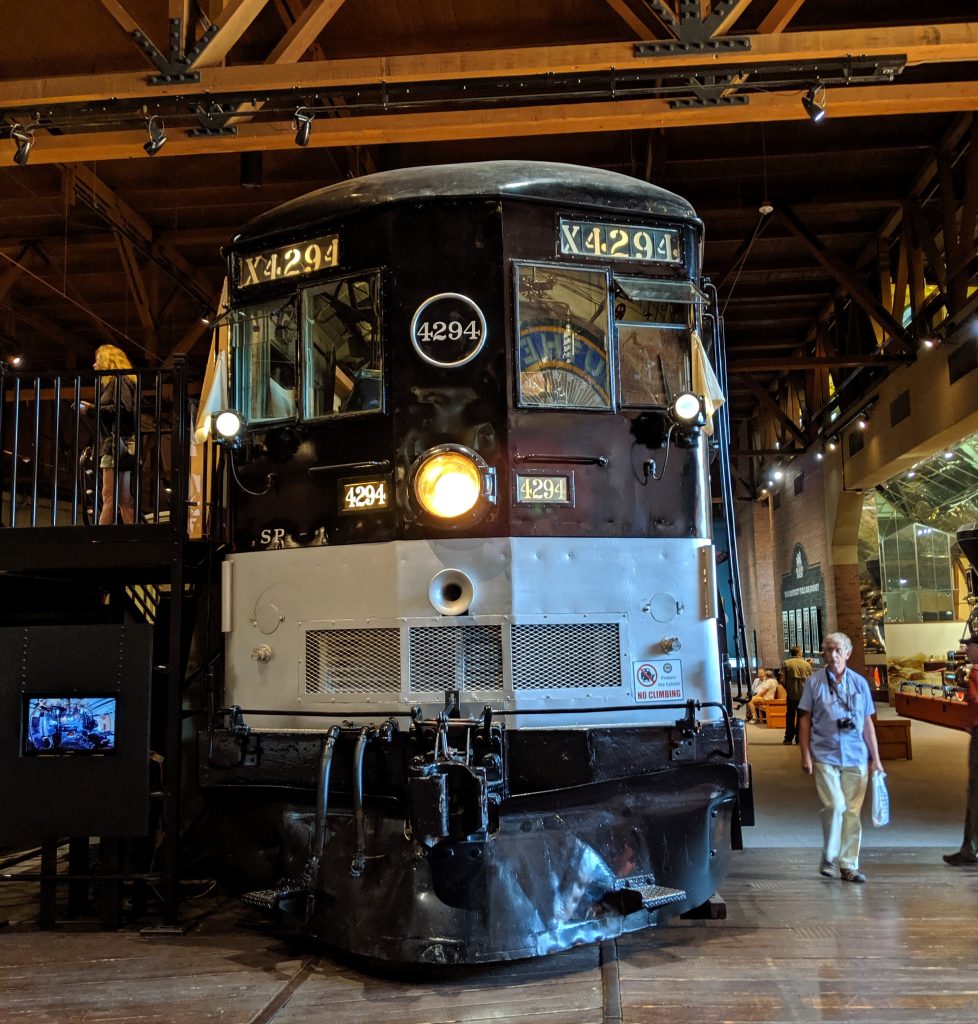
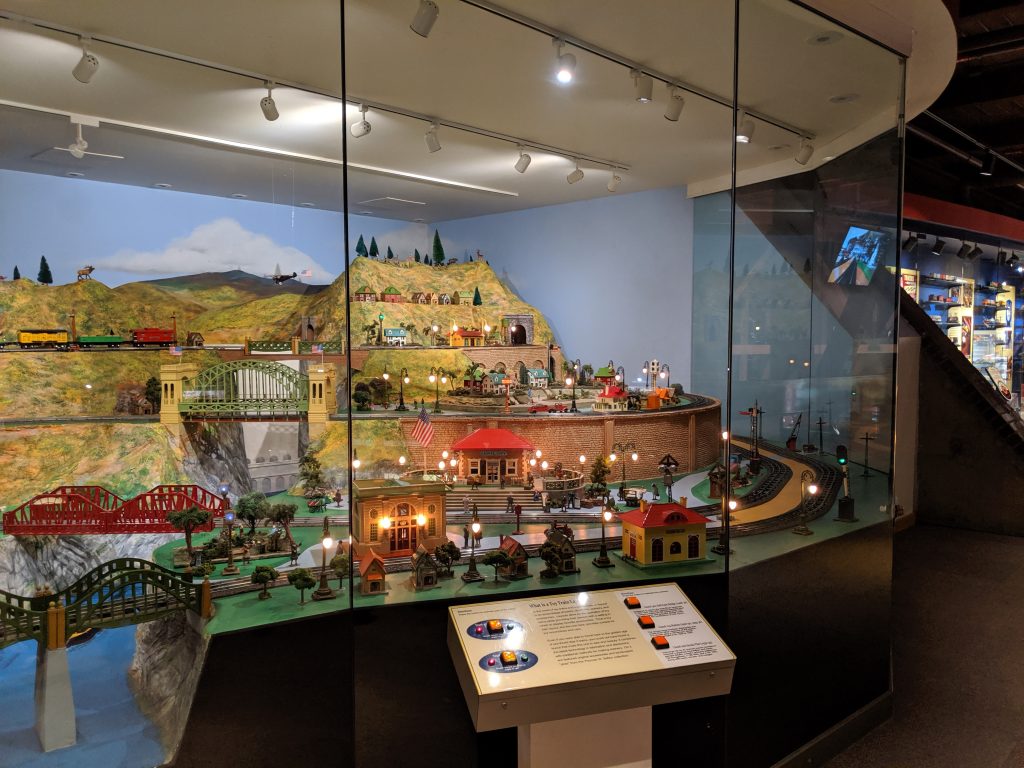
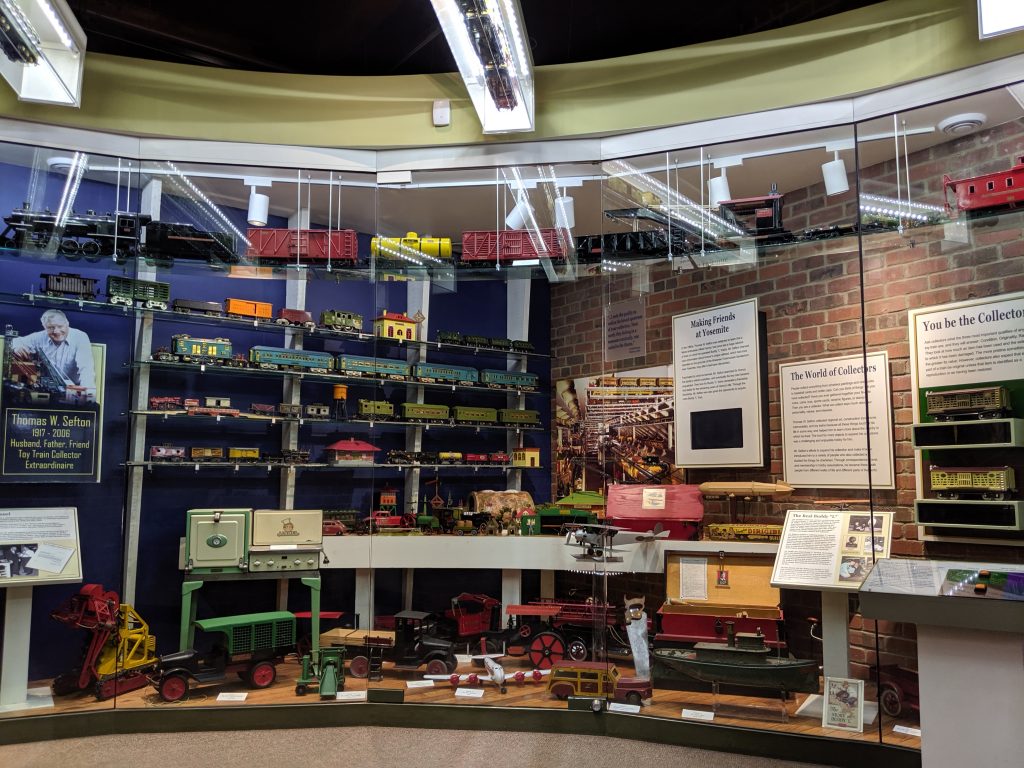
This is one of the finest railway museums in the world. A major portion is dedicated to the history of the rails through the Sierra’s. Beautiful 4-4-0’s are displayed alongside one of the Southern Pacific cab forwards.
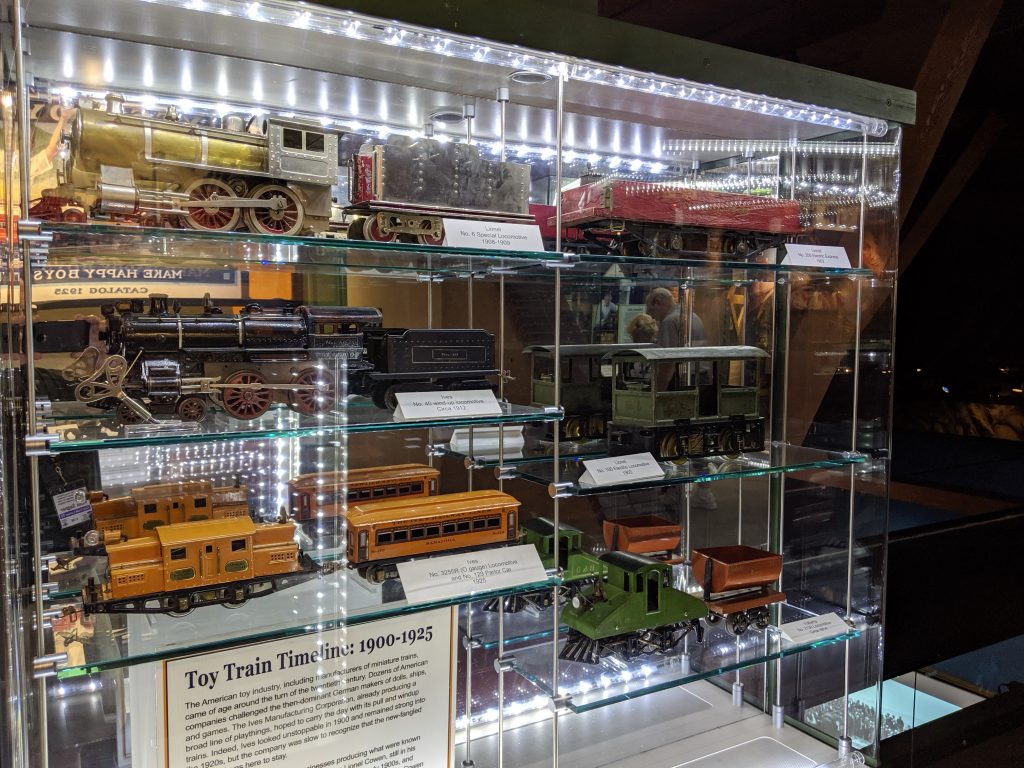
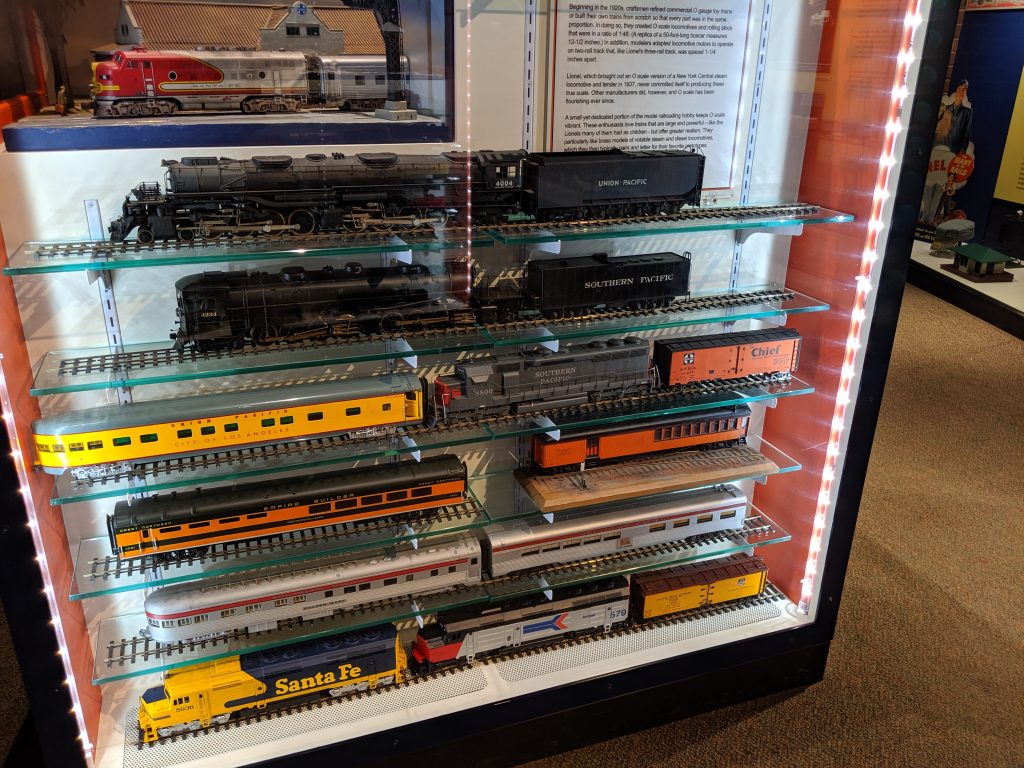
A new section on Model Railroading is open now in October. We got a preview.
I certainly hope many of you will get to Sacramento to visit this fine museum. Plan to spend the day viewing all the exhibits and the nearby historic Old Town.
Next year, the National Narrow Gauge Convention will be in St. Louis and the Convention will be in Seattle in 2022.