Al Babinsky
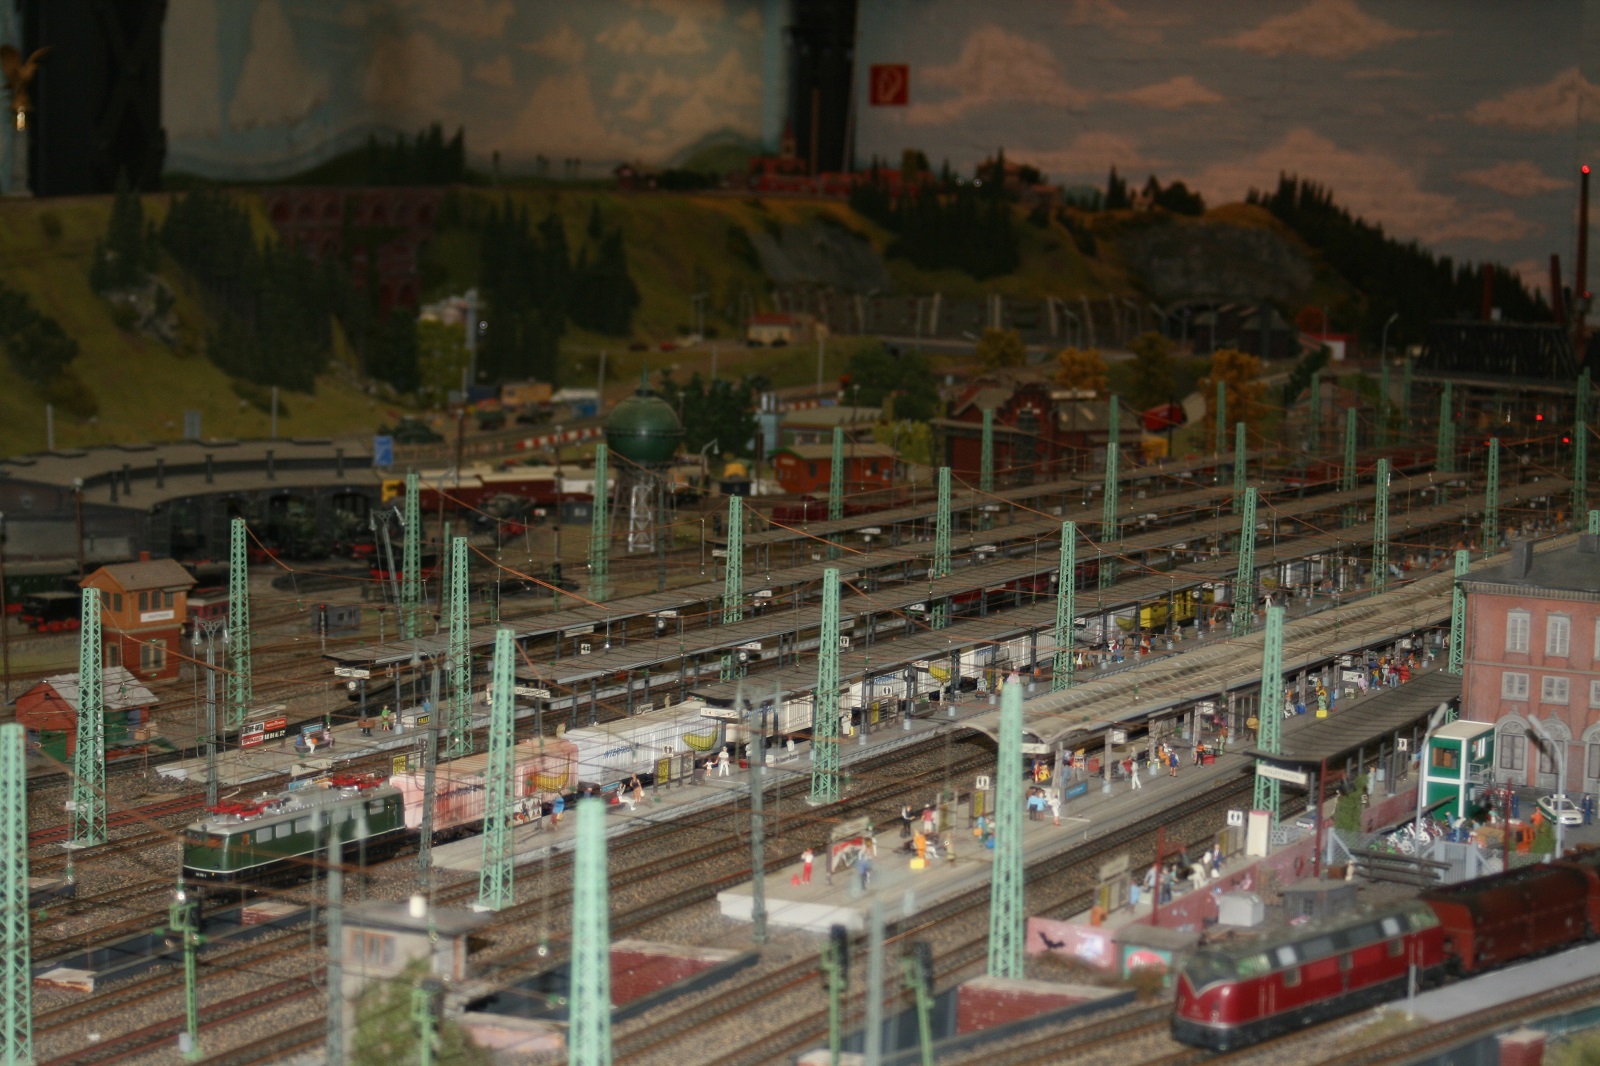
Miniature Wunderland Main Station
On my recent trip to Germany I spent a couple of extra days to stay in Hamburg to visit some of the sights, one of which was of course the Miniature Wunderland of You-Tube fame. The display is located in the Speicher district (Warehouse) of Hamburg, built at the end of the 19th century. It occupies the 3rd and 4th floor at one end and covers an area of 1150 square meters (app.10000 sq ft). At this time there are 7 theme areas with a total of 11 planned. The areas shown are Germany, Austria, Switzerland, Scandinavia and US, most of which is fantasy with some of the icons built as scale models and compressed to fit the space.
At this time there are 1,2000 m (7.5 miles) of track about 830 trains with 14,100 pieces of rolling stock. The longest train is 14.5 m (46 ft) long. There are 1,200 signals, 2,500 switches, 40 computers. About 300,000 lights, 200,000 figures, 215,000 trees and 5,500 vehicles. At the time I was there, the control room was manned by three persons who operated the layout. They operated the trains and vehicles which included emergency vehicles responding to fires. Scenes include a soccer stadium complete with 15,000 spectators and, of course, the two teams playing, an amphitheater complete with spectators, and a fair with its visitors.
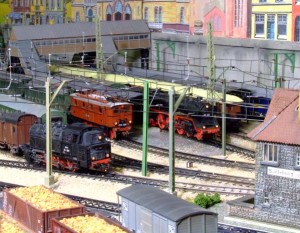
The Swiss area extends from the 3rd floor to the 4th floor. From the 4th floor you can look down on the town and the walk down the stairs to the 3rd floor. While descending, you have the ability to look at scenes such as a below-ground station as you can find in many European cities. From the 3rd floor you can look up to the top of the mountain which is supposed to be the Matterhorn complete with cable cars. The major city on the layout is Hamburg with its icons and the Hauptbahnhof (Main Station).

Miniature Wunderland Control Center
The two cities where you see the operating vehicles are Knuffingen and Hamburg as they travel on the roads and stop and start as traffic signals change. All vehicles have lights which operate they include signal lights and operating stoplights, the emergency vehicles have operating flashing blue lights, sirens, and do-da horns.
The Scandinavian section has a fjord with real water and several ships that remotely operated. It has a winter scene along with a mining operation, the underground portion of which can be viewed through glass panels. In the US area you can a see pueblo scene which changes into a high desert area around Las Vegas which represented by its casinos, a miniature Mt. Rushmore, Yosemite National Park with Half Dome, redwood trees, Cape Canaveral (Kennedy Space Center), Miami, and Key West with its overseas railway.
To my surprise there was a modern Puget Sound transportation item at the station, the commuter train called Sounder. I believe the longest train which operates on the layout is in the US section, a freight double-headed by Big Boys. The section under construction is the airport with most of the scenery, runway, taxi ways and terminal ramps finished. Some lights are installed a couple of buildings are there, no aircraft yet. All in all, a very well-built layout with all the tricks that are available to make it seem real. The lighting used fluorescent lights, white, blue, and red to simulate the 24-hour cycle from night to dawn, day and dusk back to night. I was there on Saturday, which was probably not the best day; I had to wait about 45 minutes to get in. The occupancy is limited to 600, which makes it very crowded and hard to take photos.
If Gene Swanson still has the June clinic spot open I would like to do a PowerPoint presentation of Miniature Wunderland. I have about 80 photos that I took and I also bought a DVD of the layout which is about 2 hours long, too long for the clinic so a presentation will have to do.
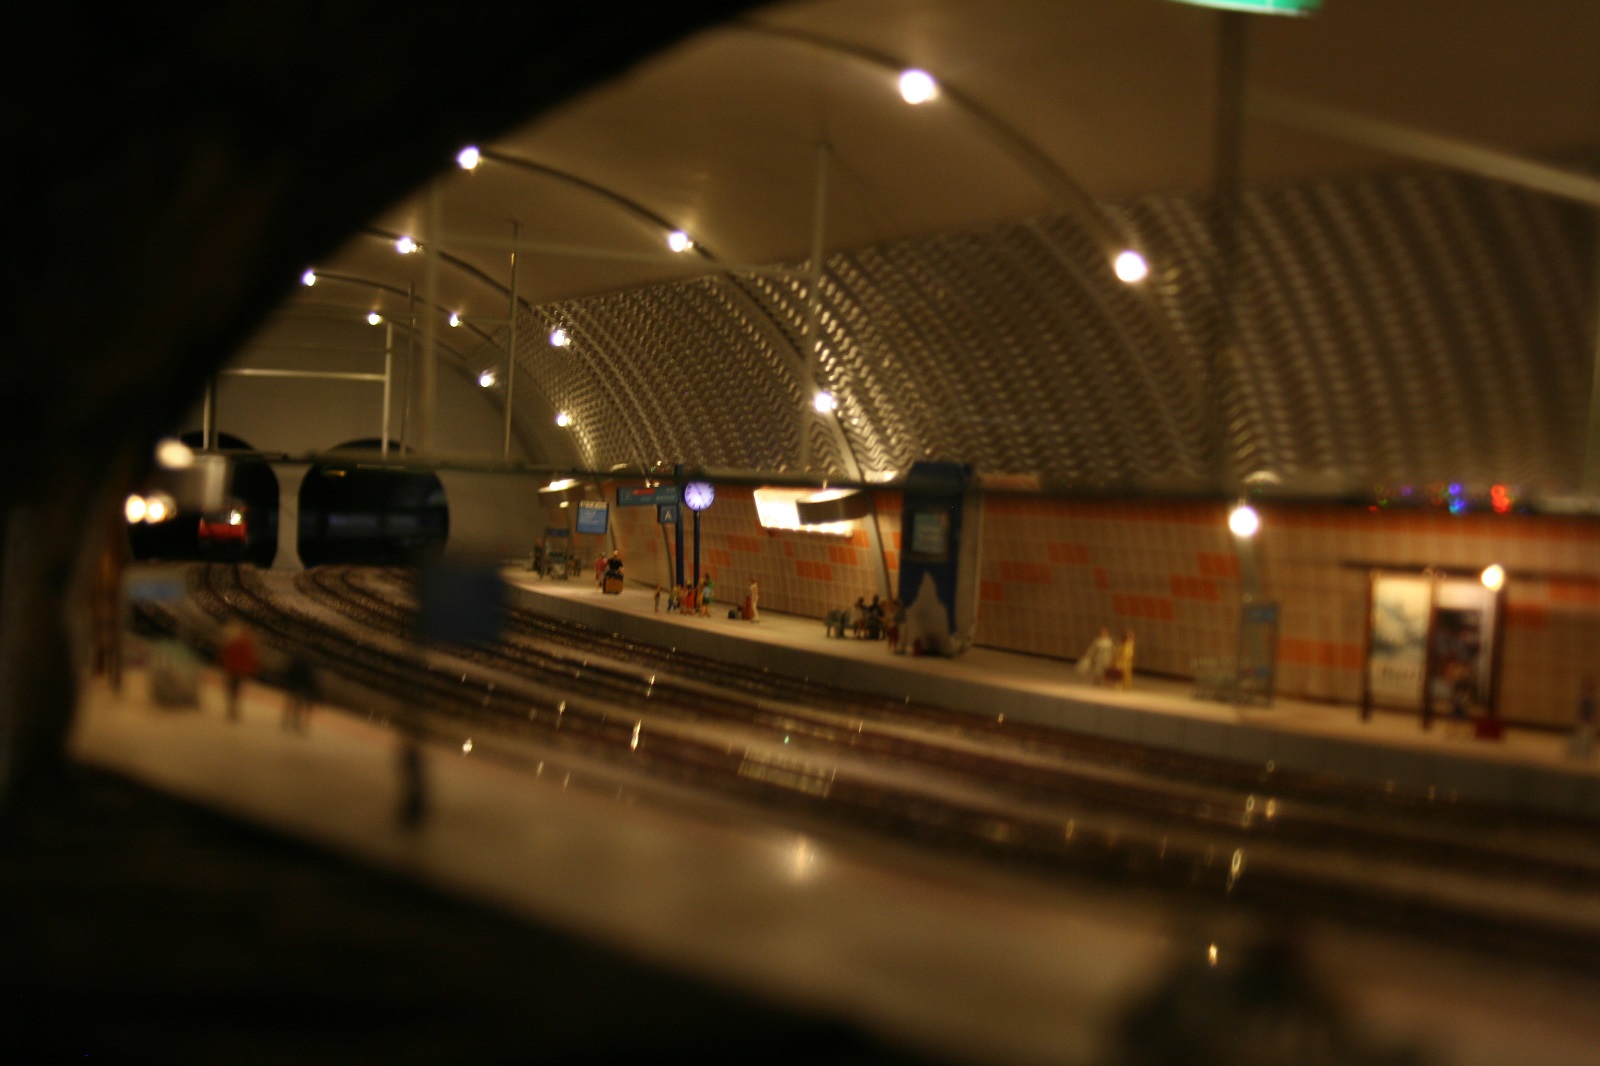
Miniature Wunderland Underground Station
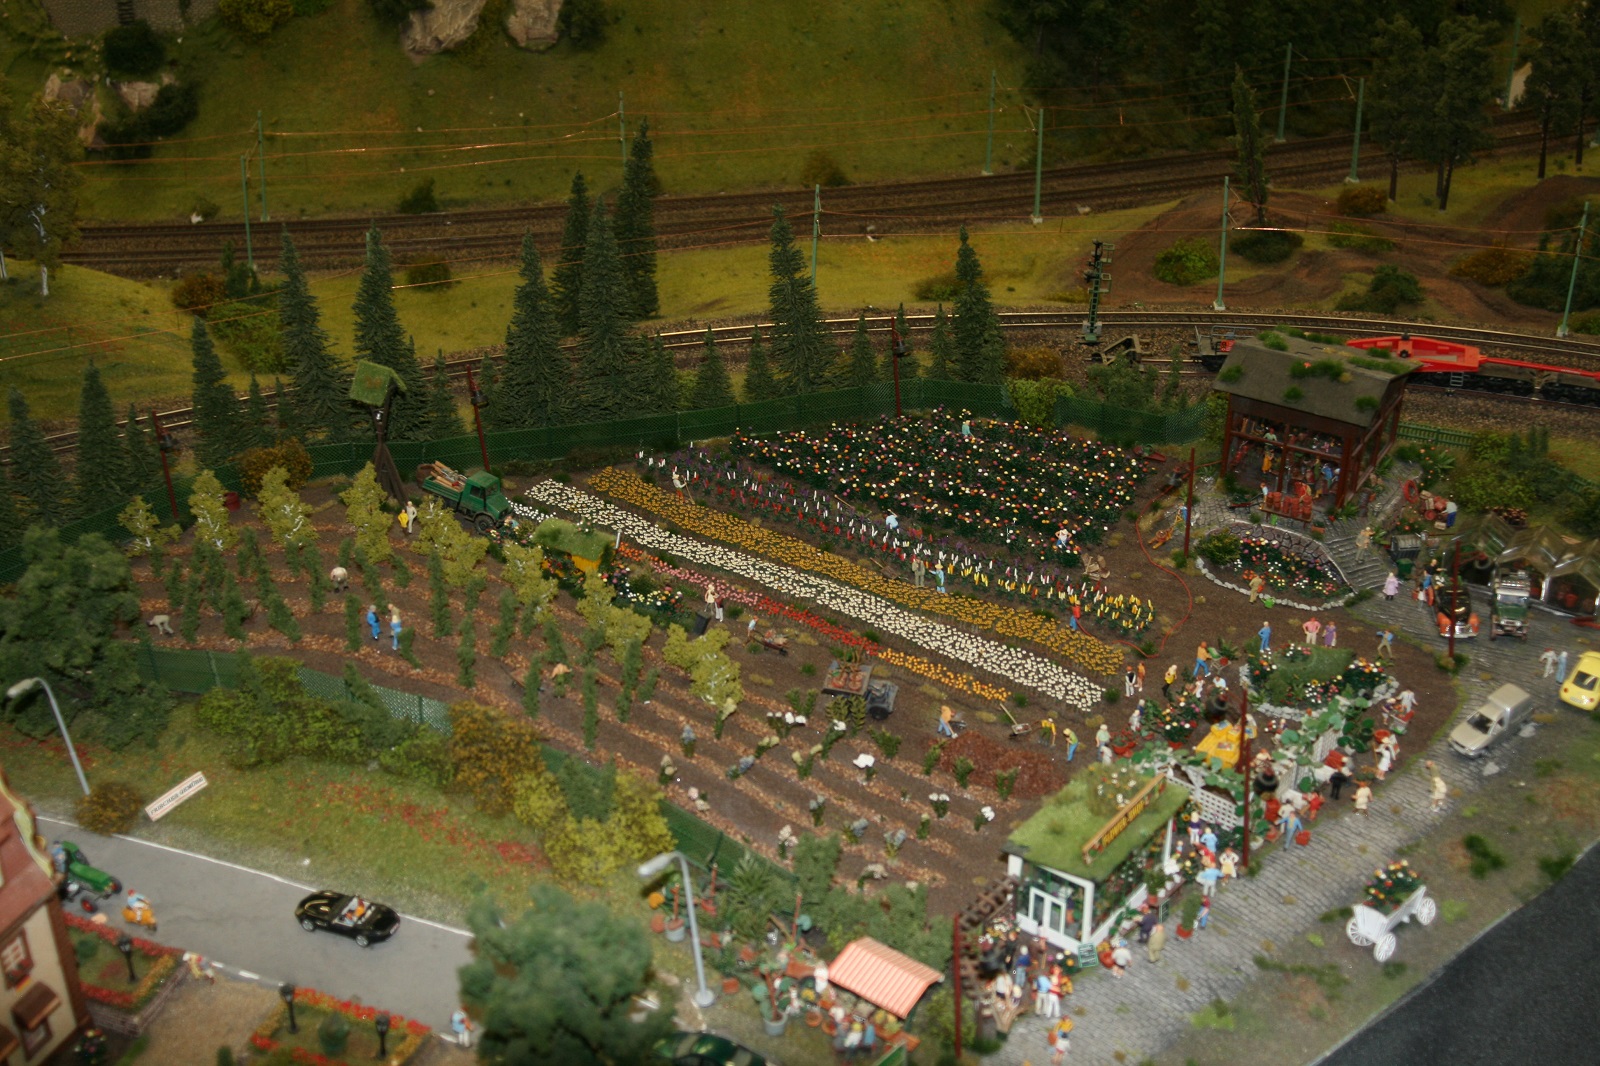
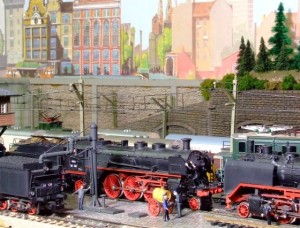
Miniature Wunderland Nursery Scene
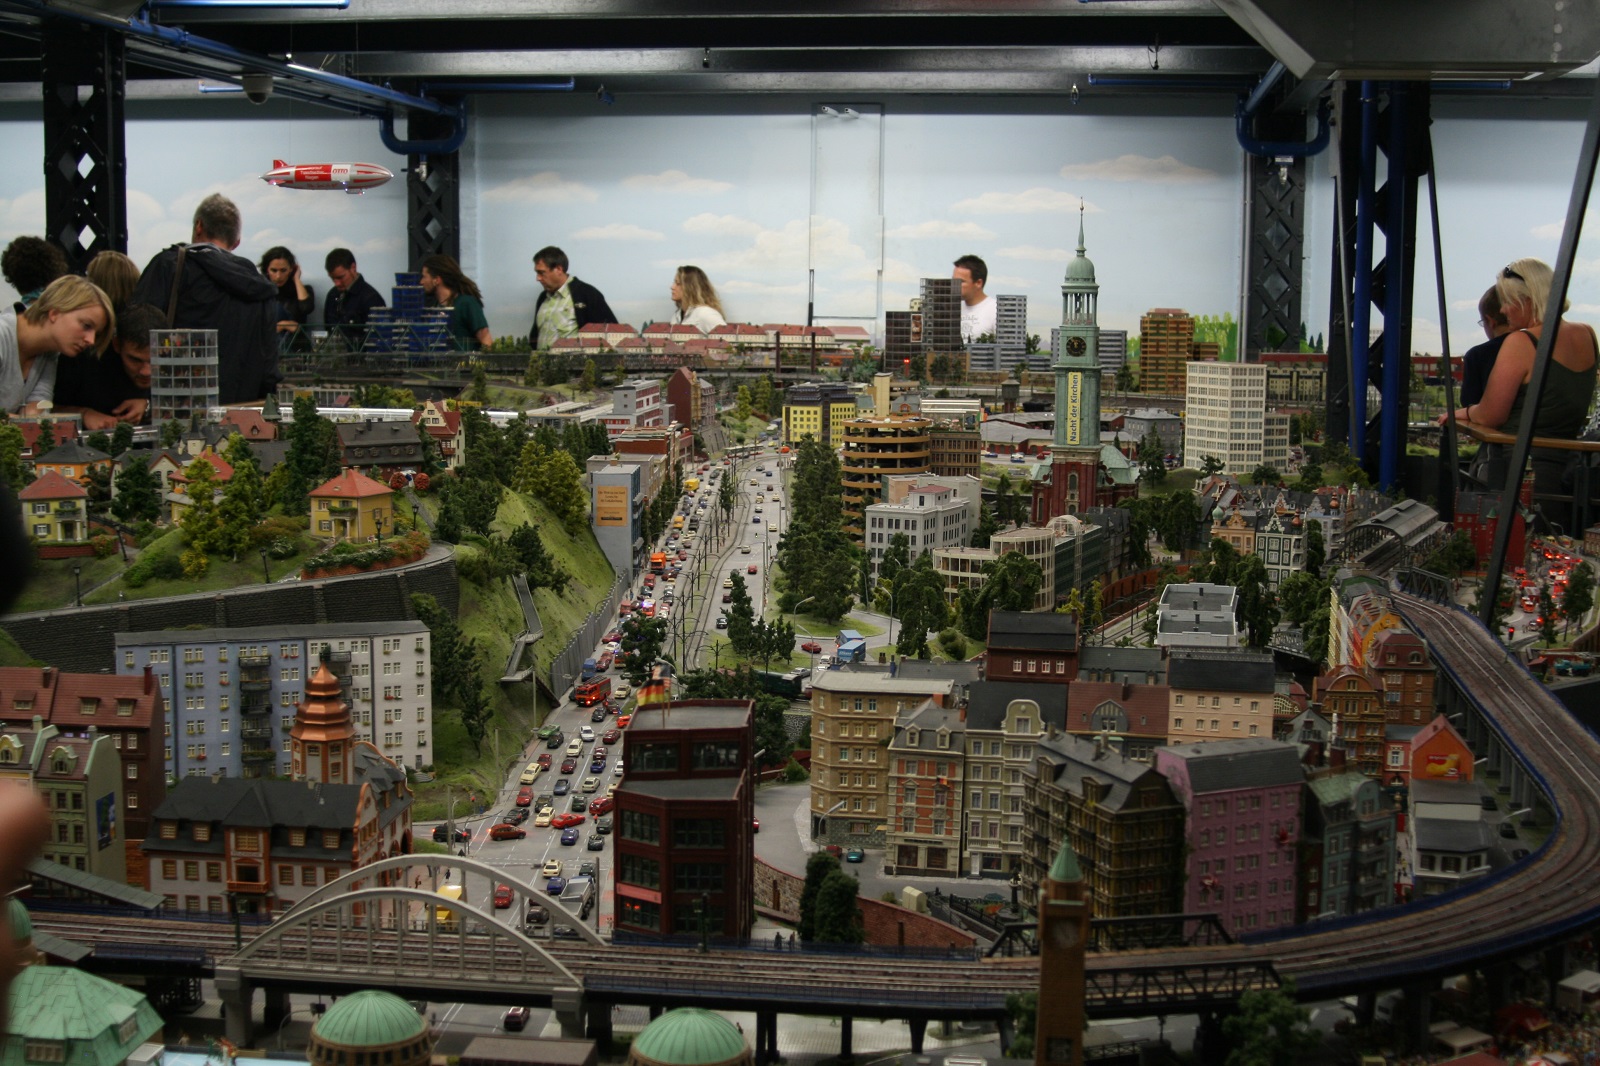
Miniature Wunderland City Scene