Our last clinic before the summer break will be on June 9th at 7:00pm on Zoom.
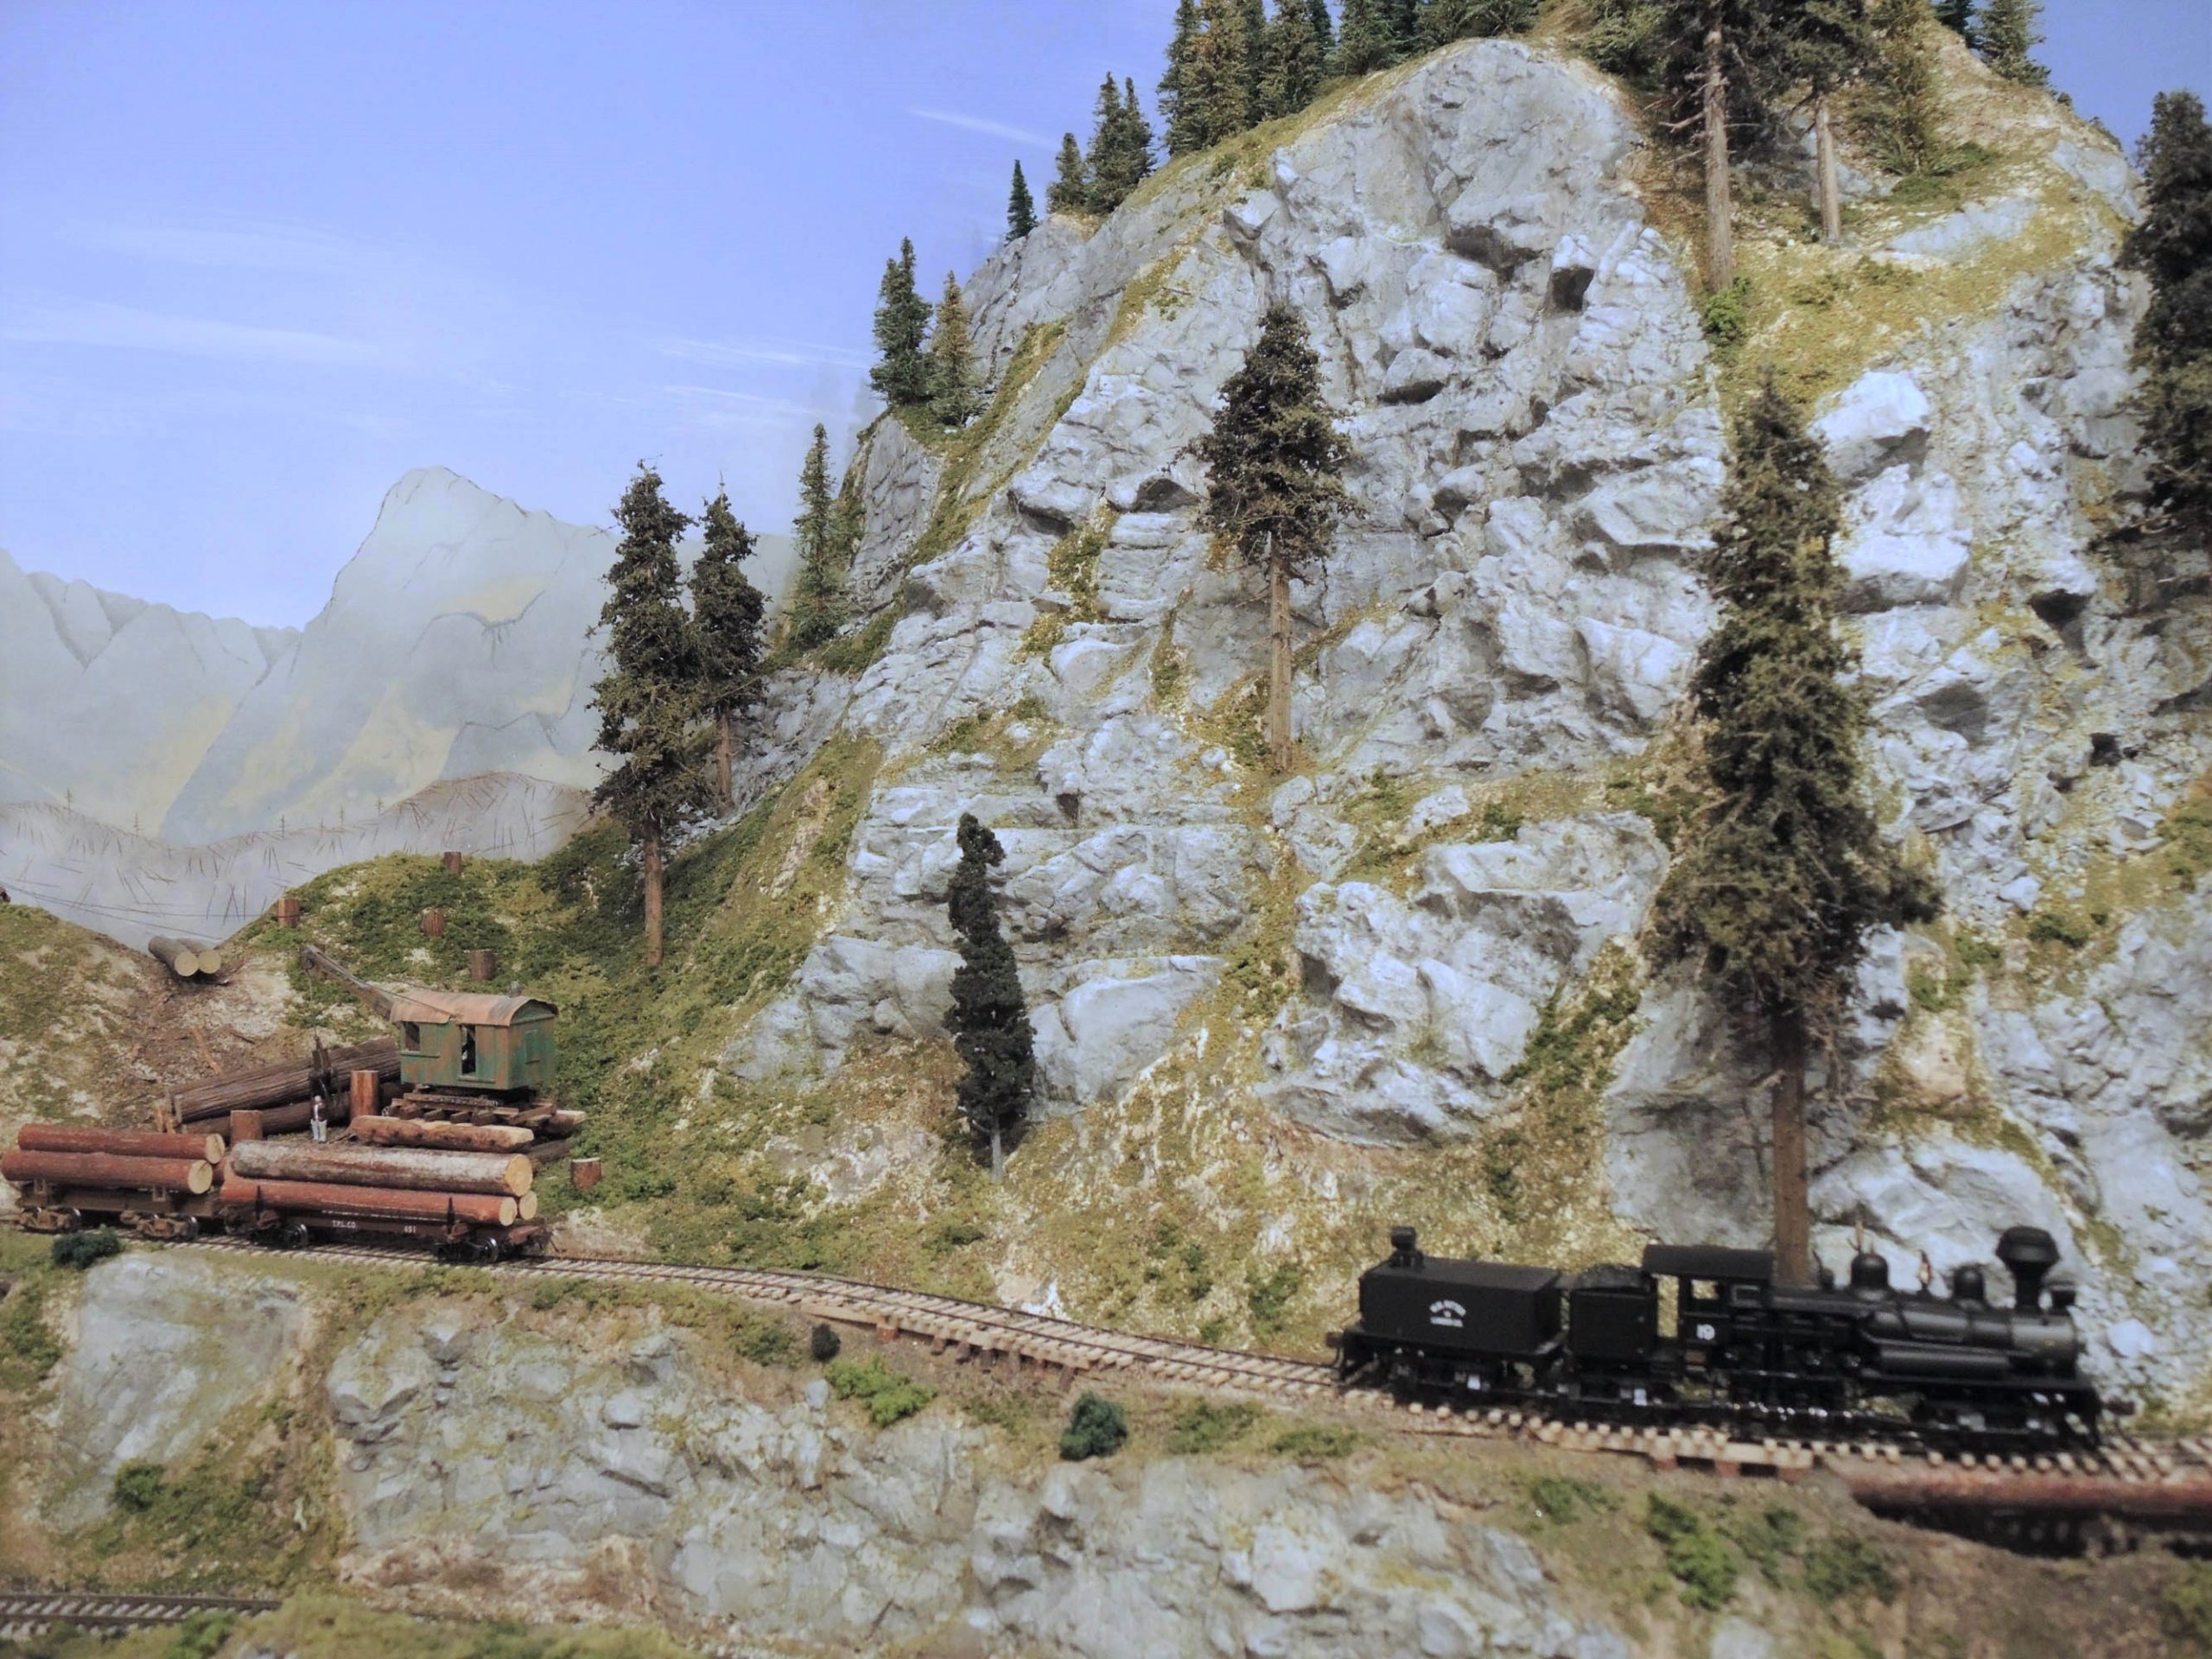
Our topic – and volunteers needed – is on the last car of the train – THE CABOOSE.
We want to see your crummies. What do you have, what have you done, lets see those train tushies!!!!
I will kick off the clinic with some examples of my own work in O scale (On30). We also have a couple other volunteers lined up but a few more 5-10 minute segments are needed.
Would like to see models of any scale that have been weathered, kitbashed and/or super detailed or scratchbuilt. NMRA AP Merit award models are certainly of interest.
This is a great opportunity to show off your train’s back side!!!
All you need to be able to do to share your work is participate in zoom with a web cam or share pictures from your computer with screen share. You could simply hold up your project and talk about your work. Alternatively, if you have an external webcam or phone/tablet you could show off your model on your layout or workbench. Whatever the case, we need volunteers to make this work so please RSVP via email and I will put you on the crew list for this clinic.
RSVP to : slugsmasher@oakharbor.net
LINK TO ZOOM BELOW:
4dpnrOrganizer SkagitValleyWhidbey is inviting you to a scheduled Zoom meeting.
Topic: SVW June Clinic
Time: Jun 9, 2021 07:00 PM Pacific Time (US and Canada)
Join Zoom Meeting
https://zoom.us/j/92342184361?pwd=eUtkQ2p3d2ZLZGRjTEp2dEUxN1RwUT09
Meeting ID: 923 4218 4361
Passcode: 576499
Dial by your location
+1 253 215 8782 US (Tacoma)
Meeting ID: 923 4218 4361
Passcode: 576499