Tom Buckingham / Photos by Al Frasch
Clinic Chairperson Rich Blake called the May 2014 meeting to order with 39 members in attendance.
Rich announced that there would be no meeting in June. He was scheduled to run the clinic but has become unable to due to recent commitments. The group talked about the idea of canceling the June meetings altogether as it consistently has the lightest attendance. After some discussion it was agreed not to hold meetings in June.
Once again Rich appealed to the audience for someone to step up and take over the job as snack coordinator. Rich also shared the preliminary clinic topics for next season (September 2014 – May 2015). One important date on the horizon is the annual picnic at John Marshall’s home on August 9th . Rich also mentioned that the 2015 NMRA convention will be held in Portland August 23-29th. It’s not too early to make plans to attend.
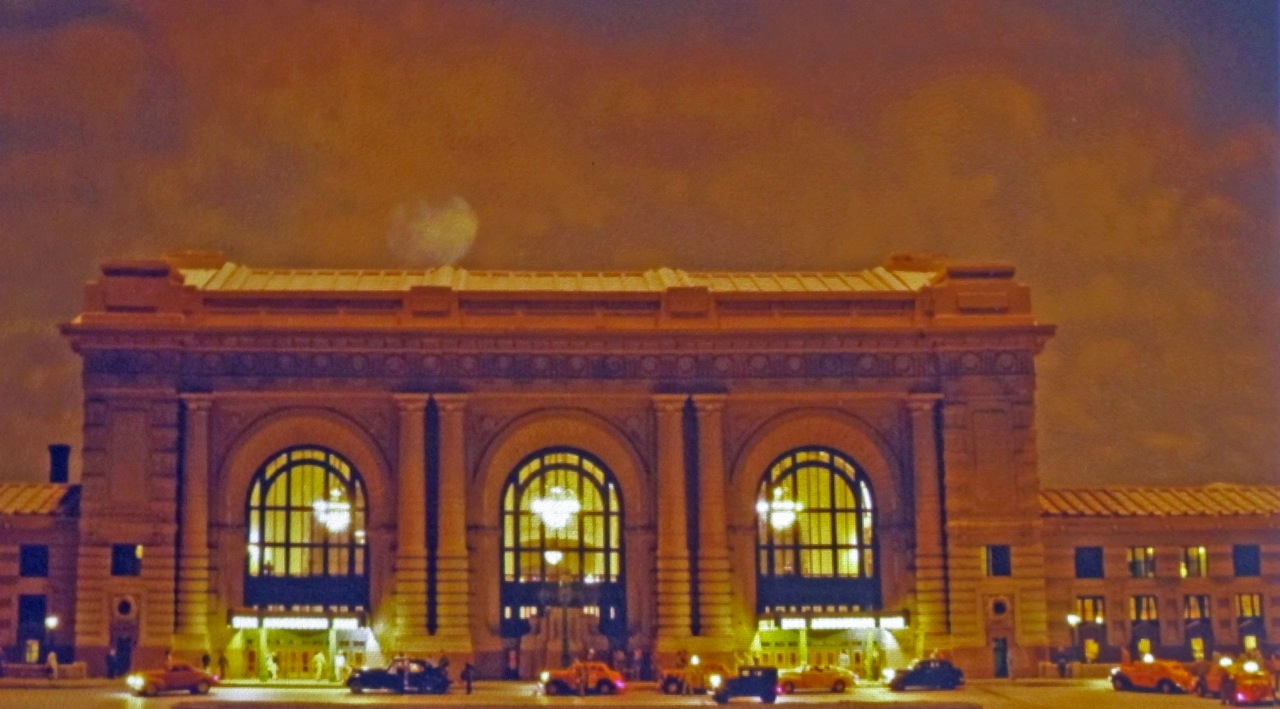
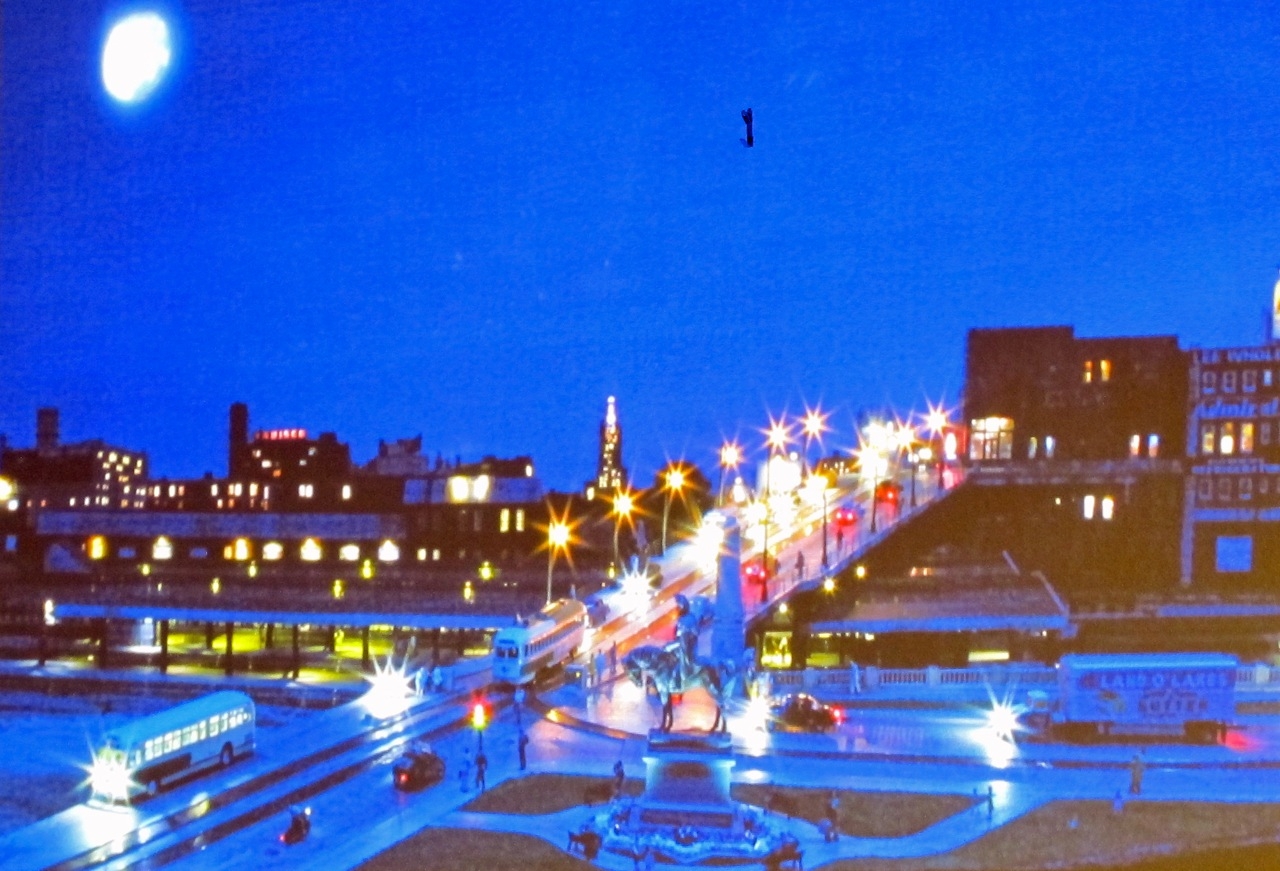
Our clinic was run by Dr. Nick Muff showing us how he adds working headlights and taillights to his fleet of HO vehicles. Nick shared an interesting pictorial history of his various layouts from the time he was 10 and how lit vehicles ever got into his layout plans in the first place. He insists he never planned to light vehicles. However, by the time he got ready to do the scenery on his current layout, he decided to start on the right end of his layout and fine tune his skills as he got to the Kansas City Union Station. In the process he reached his first road. In the background was a small town and he added a couple of lights to buildings in the village. The next logical step was to add lights to a couple of vehicles on the road and the rest, as they say, is history.
 The first step is to select the vehicles. You must consider the purpose of the road—general thoroughfare or industrial with primarily trucks; time of year—convertibles don’t work well in the winter; your era—but don’t have all cars from the same year. Once those decisions are made select the actual vehicles. The more detailed cars should go toward the front and the less detailed, less expensive cars towards the back.
Good sources for cars are Greg’s Garage in Saginaw, Michigan, Woodland Scenics, Jordan kits, MiniMetals and others.
When assembling the vehicles, some will be ready-to-run while others will require a good bit of work. When using cast resin vehicles he first paints the window areas with Micro Mark “Mask-It” liquid masking film. Next goes a coat of primer before the paint. Then the details go on. Nick feels figures are one of the most overlooked details in vehicles—especially convertibles (Al Carter would agree.). He had a wonderful photo of a convertible with four occupants just for Al who was unfortunately out tooting his horn at another event in Oak Harbor.. All of his vehicles have license plates—another excellent detail. Some vehicles get white wall tires. He prefers using commercial stickers instead of hand painting them.
Some of his vehicles have open doors and trunks. His preferred method to accomplish that is to make repeated scribes around the door or trunk with a scalpel with a #11 blade until the job is finished.
His taxis all have the “available” sign on the top. Some are lit. To accomplish that he positions a tiny LED below the sign and holds it in place with Canopy Cement. Canopy Cement, dries clear, holds well, but remains slightly “gummy” which allows you to reposition the light later if necessary.
Now the vehicles are ready for the lighting. Drilling the holes takes patience, but is not difficult (metal being the exception). Once the holes for the wires have been drilled, Nick uses a slightly larger drill to hollow out some recess for the actual LED. Nick uses Golden White and Red surface mount LED’s from Richmond Electronics. The LEDs can be ordered with or without the leads attached. He strongly recommends getting them with the leads attached. Once the headlight LED’s are in position he puts a small drop of Canopy Glue, which acts somewhat like a lens, consequently it is hard to actually tell that the lights are square and not round. Canopy Glue is also used to hold the tail lights in place.
For Taxi’s he uses the Golden White LED glued under the roof top sign, the light that “leaks” through looks perfect as an interior dome light. However if you wanted the dome light “off” he uses a small dab of Pactra Racing Finish TESRS 50”Outlaw Black”. It is quite thick and very black and will cover the leak with one coat.
As to the LED’s themselves he had several pieces of advice, the most important being to test the LED’s before installing them and be sure to use the appropriate dropping resistor when connecting an LED to power, otherwise your LED is gone. As he is fond of saying “once you let the smoke out they don’t work any more”.
When Nick is done with all the above steps he weathers the cars. His favorite medium is Bragdon Weathering Chalks. Bragdon Chalks are mixed with a powdered adhesive that is activated by the heat generated by brushing it on. Another weathering technique he favors is a light wash of dilute black paint over the grill areas. It make the detail stand out and makes it look more realistic.
It was a wonderful clinic filled with many great ideas on vehicles. Thank you Nick!
For those of you who missed the clinic, Dr. Muff has authored a booklet titled “Lighting Vehicles Using LEDs” offered through BHI Publications. Their website is : http://www.bhipubs.com/
Remember, no meeting in June.
No Comments Yet