Tom Buckingham / Photos by Al Frasch
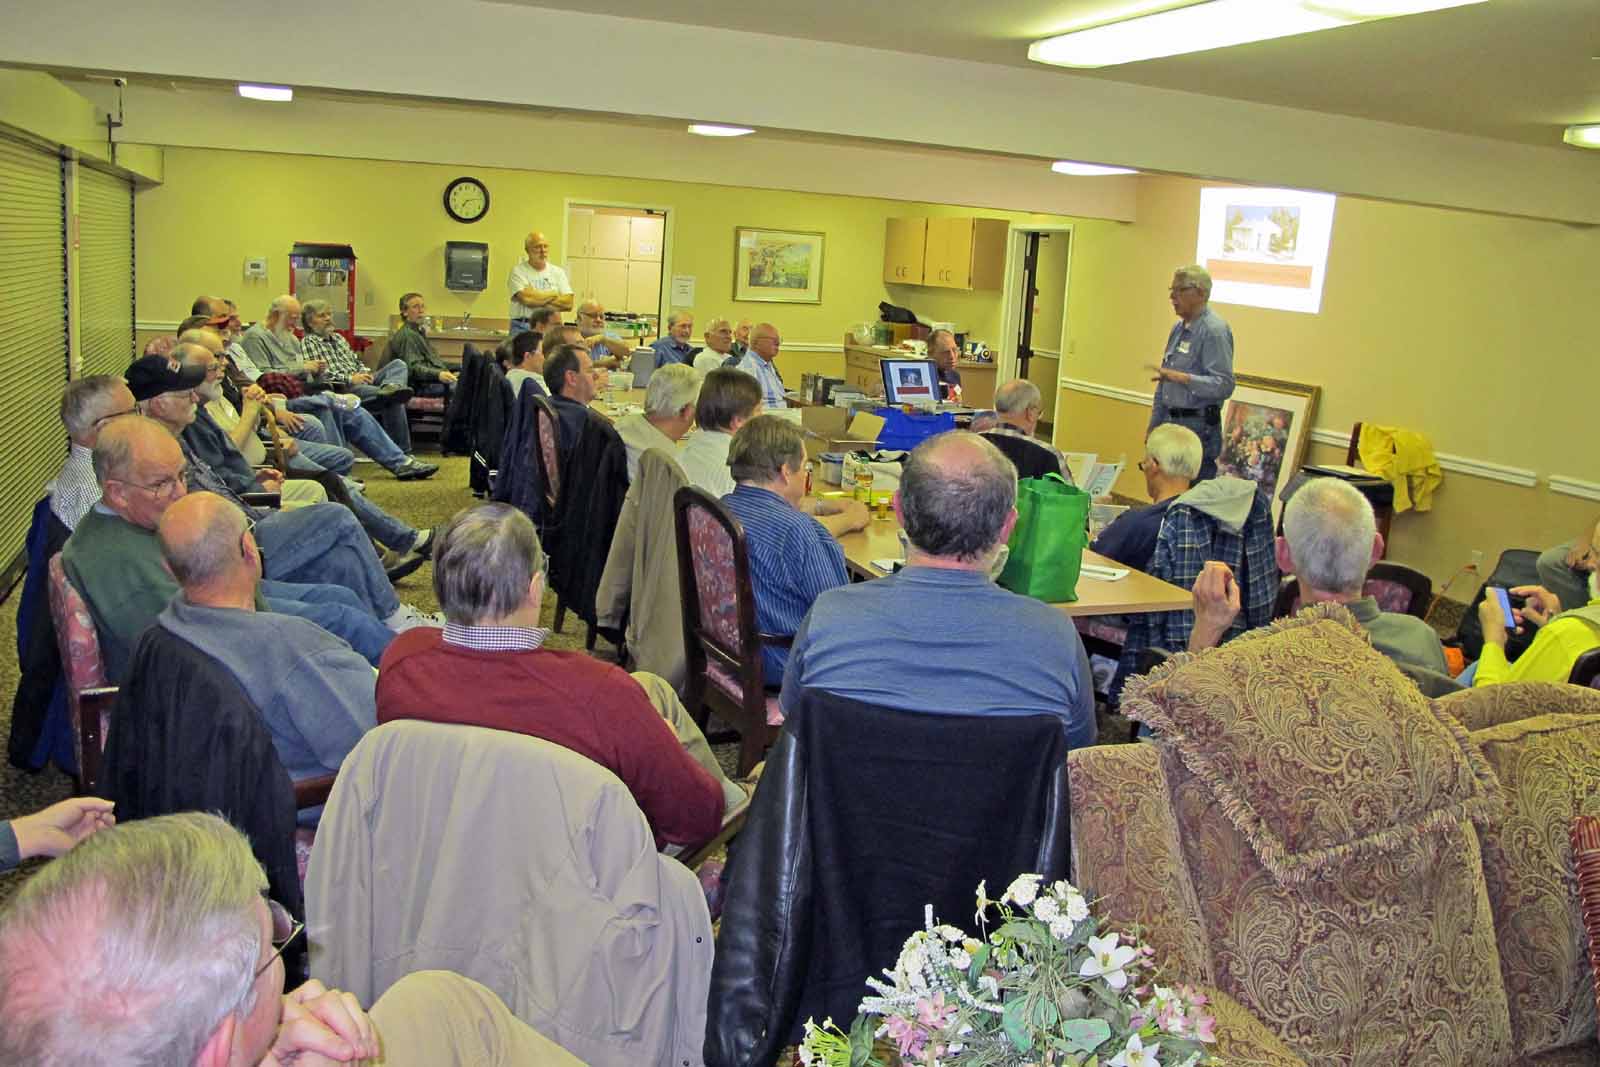
Rich Blake started the meeting to a new record in attendance—43. This month’s feature Clinic was by Al Carter. Al had just returned from a Seattle to Australia repositioning cruise with his wife Nona. His comment: “hot, humid and fabulous!”
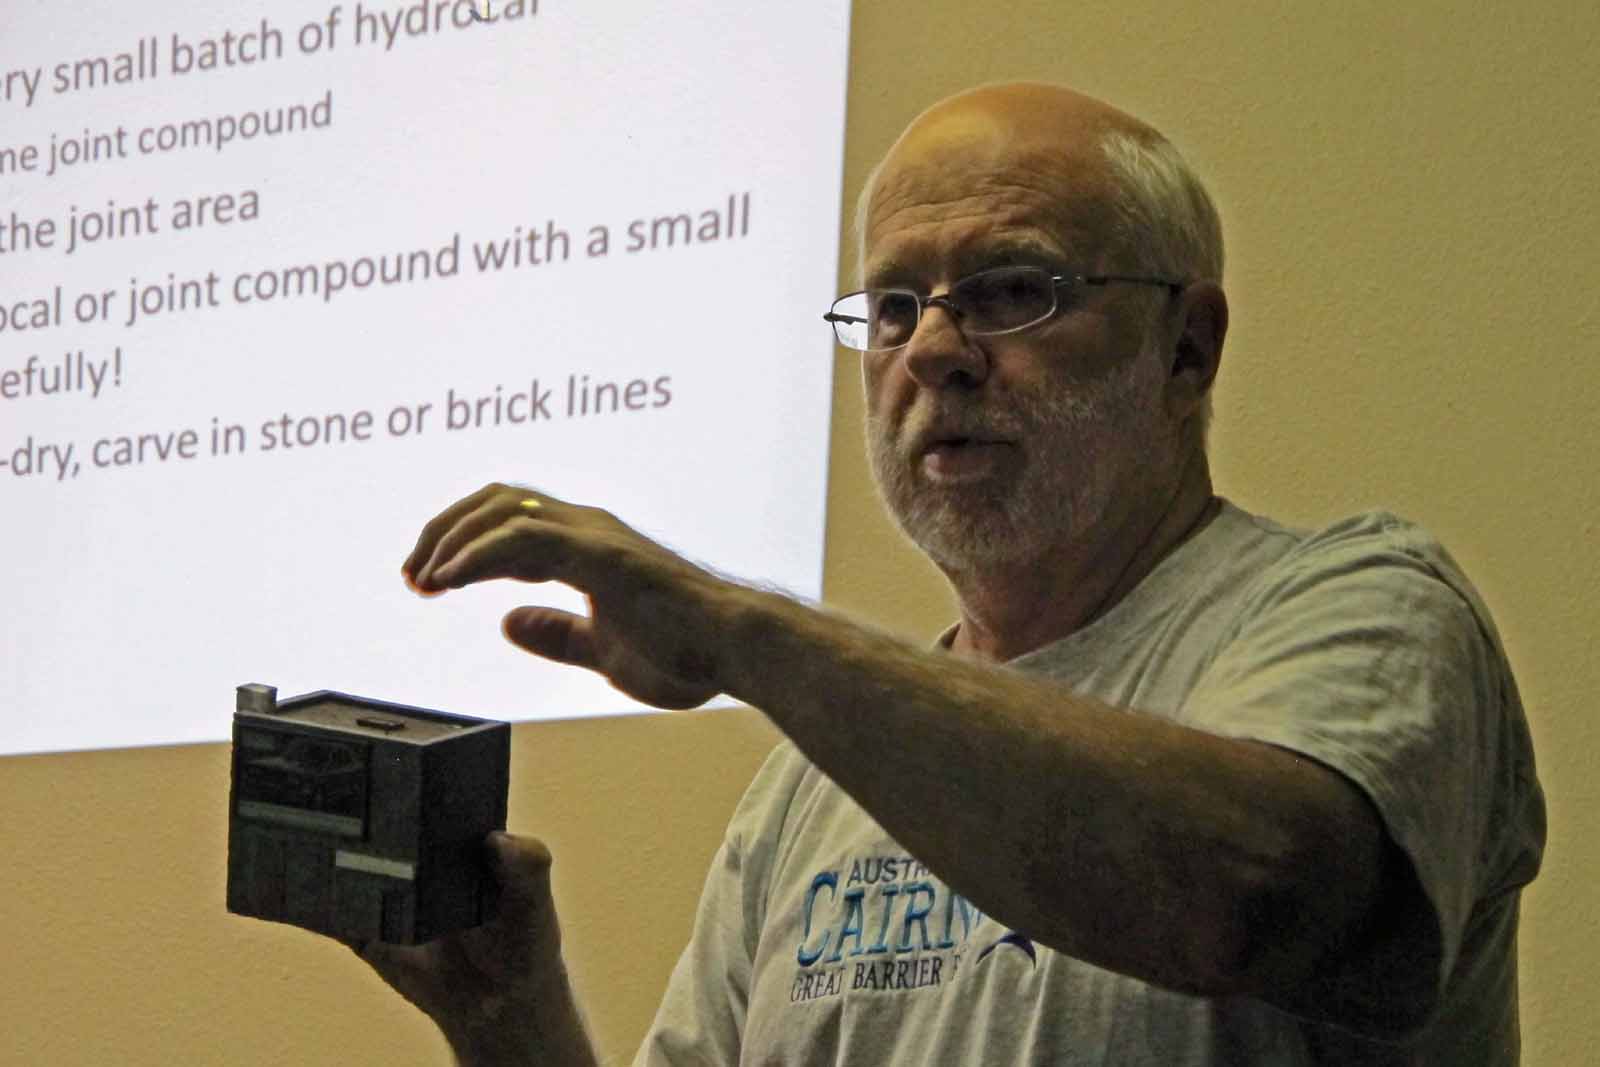
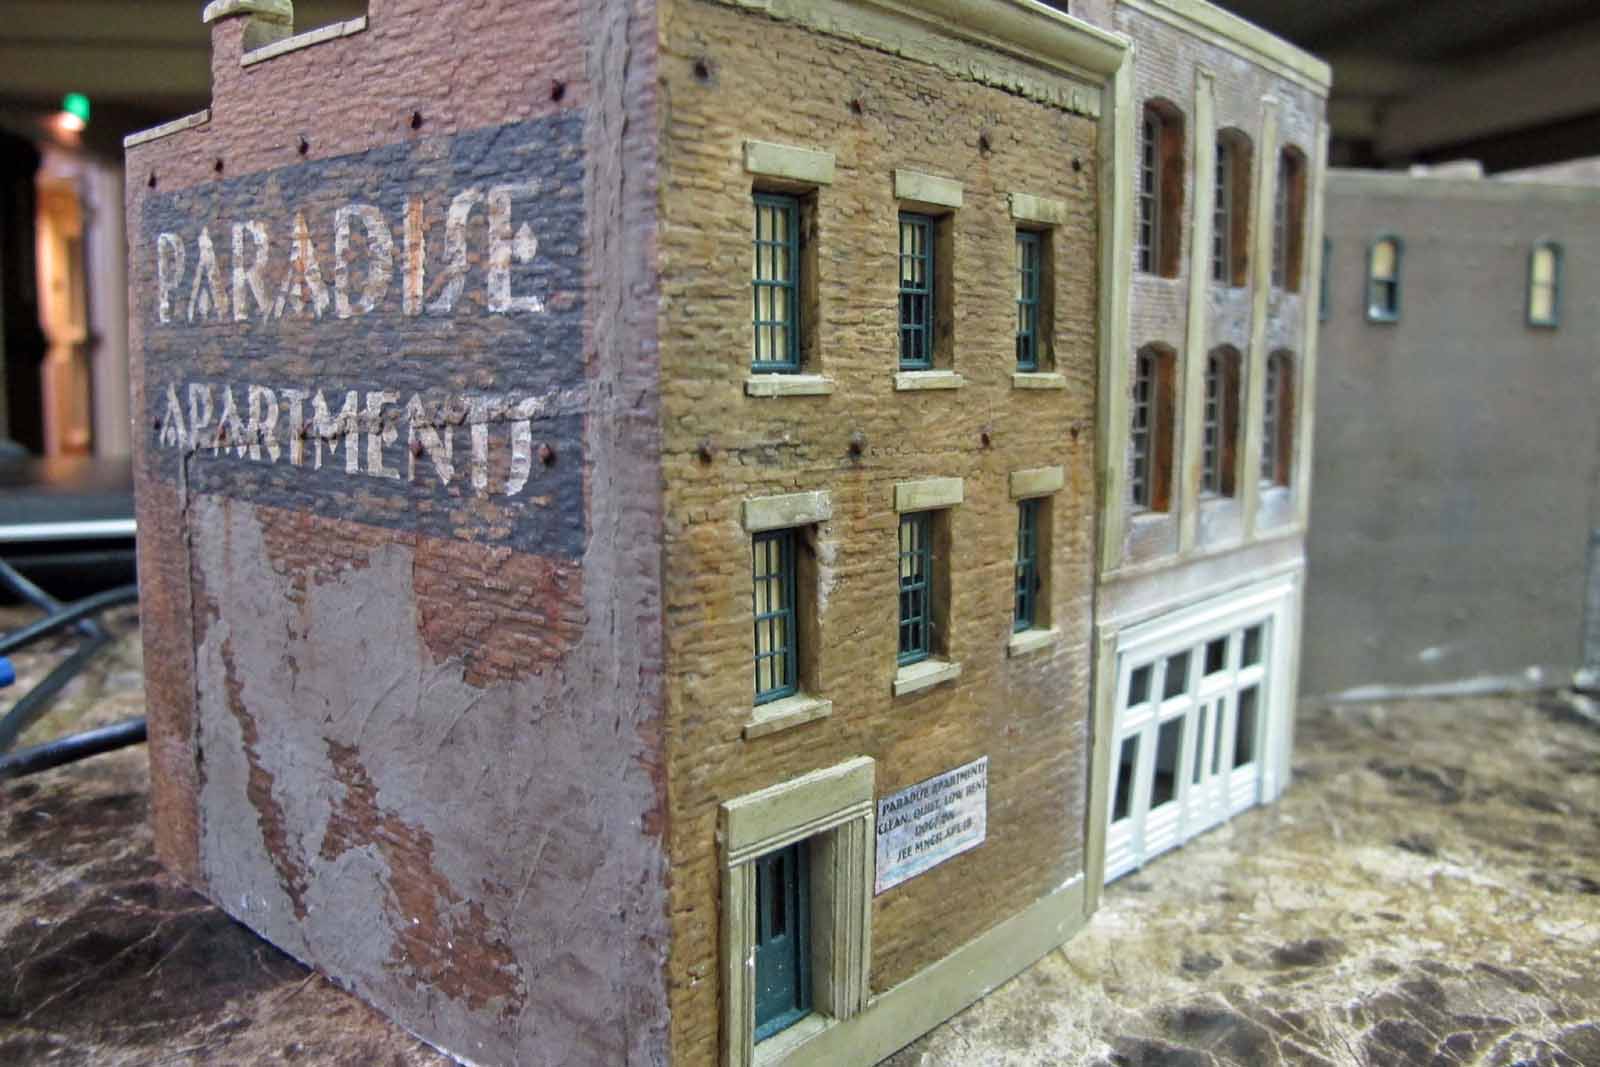
Al’s clinic was on building hydrocal structures. Al feels that there is a stigma about hydrocal structures that is not deserved. There are any number of sources for excellent hydrocal structures and in Al’s opinion the finished kit is oftentimes more realistic that it’s wood or plastic counterpart, especially stone and brickwork. It is easy to get good sharp details. Hydrocal is also easily kitbashed. On the negative side hydrocal is more easily breakable and does have significant weight—particularly if you are intending to use one or several in a module! (Plaster, like plaster of Paris, is much like hydrocal but is softer.)
The tools one needs to work with hydrocal are 220 grit sandpaper and a flat surface to mount it on; flat files, sanding sticks and emery boards; a scribing tool and/or a dull hobby knife; bar clamps; weights; a small square, steel straight edges—both 6- and 12-inch lengths; yellow carpenter’s glue or epoxy; 1/4″ square stripwood for corner bracing, spray primer; and spackle.
When beginning construction dry fit the pieces first. It will most likely be necessary to remove “flashing”; use your flat files to make the edges straight and flat. Cut corner braces or gussets and test fit one more time before beginning the gluing process. Have your bar clamps ready, glue one corner together and add strip wood for strength. Next, add the other walls and strip wood. Finally use your bar clamps to hold it firmly together, making sure the structure is square.
Once the structure is complete you will need to fix the joints. Mix a small amount of hydrocal or use joint compound. Mist the joint carefully. Apply the mixture with a small spatula. When the mixture is semi-dry, carve in the stone or brick lines at the corners.
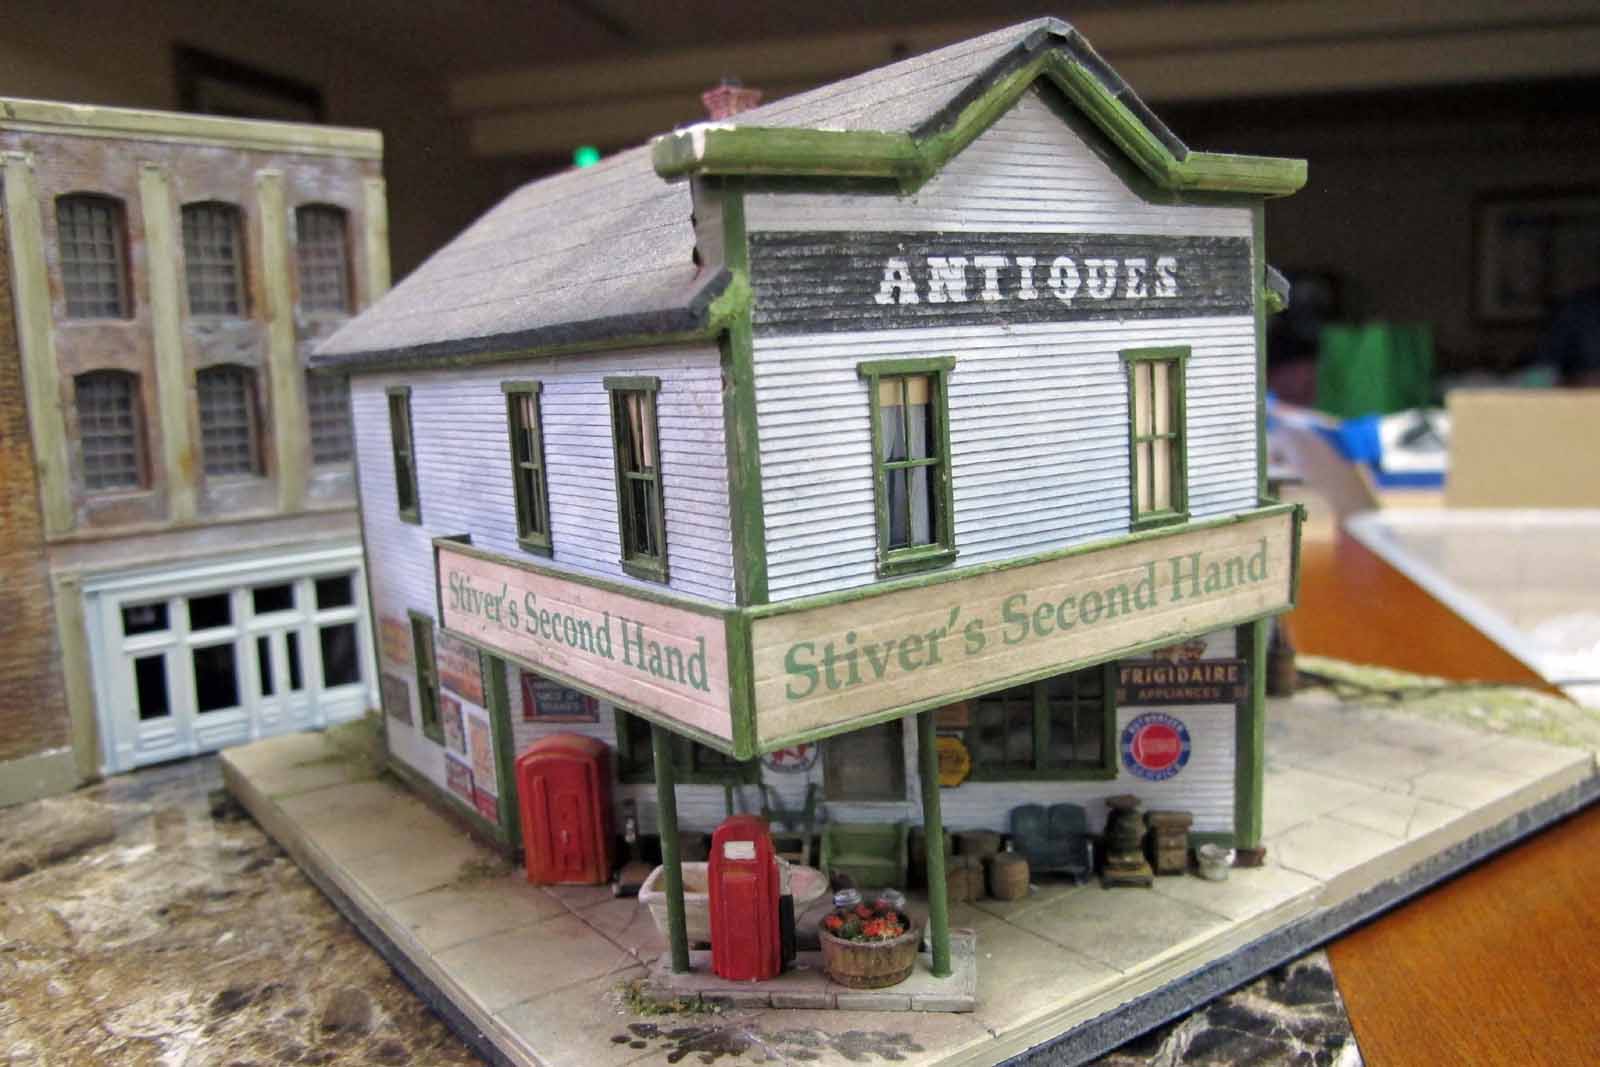
Next, add the mortar. Several methods work—use a light grey paint, use slightly diluted joint compound or use your underlying primer color as the mortar color. Finally drybrush on the color of the bricks.
If by chance you break a piece, don’t pull your hair out (not an option I have). First check with the manufacturer. Many replace parts at no charge. If that is not an option use yellow glue sparingly and brace the back side thoroughly.
There are different schools of thought on priming before painting. CC Crow and Downtown Deco recommend priming first, while others do not. Al showed two test pieces that he had done. On each he had primed half of the piece and left the other half unprimed. It was difficult to see any difference in the two. If you do prime, Al suggested using Wal-Mart’s “Color Place” primer. It is about $.96 per can.
There are several sources of hydrocal kits and many of the sources have online help and tutorials:
Downtown Deco http://www.downtowndeco.com/
C.C. Crow http://www.cccrow.com/
Guts, Gravel & Glory
Morse Productions http://morseproductionsproducts.blogspot.com/;
Thomas Yorke http://trevorcreek.tripod.com/
Cibolo Crossing; Motrak Models https://www.facebook.com/pages/Motrak-Models/134023453307135
Railroad Kits (Ed Fulasz) http://www.railroadkits.com/
South River Model Works http://www.southrivermodelworks.com/
Other sources include: Mike McNamara http://mainecentral.blogspot.com/2011/03/hydrocal-structure-kits.html
and Dioramas Plus http://www.dioramasplus.com/site/
A very informative clinic by Al and one that will encourage me to dig out some as yet unbuilt Ed Fulasz hydrocal kits!
Finally, Bob Farley had a couple of interesting items to share. First he showed us a Proto 87 turnout that he had constructed and automated. And then he showed us his HO scale locomotive that runs on an RC battery. He says he gets about 30-45 minutes out of each battery. The best part is there are no reverse loops or shorts. And it is all run by his wireless Digitrax system. He was even willing to run the train across the floor for us! Thanks, Bob.
No Comments Yet