Article & Photos By David Yadock
Dry Gulch & Western, A Photo Series Part 9
I know every model railroader that has constructed a layout has had issues with their layout. Mine is no exception. Some history of my layout, this time I will explain some of the pitfalls that I have experienced while constructing my layout. As some of you know, my layout was originally designed to be an analog DC system. Yes, I created a huge number of control blocks on the layout. Then, along came DCC during the early construction phase and its operating possibilities intrigued me. I continued with my DC construction but sort of waited to see which DCC system would suit my railroad. At the time there were two main systems available Lenz and Digitrax. They both had their good points and bad points. After a year or so of sitting on the fence I decided on Digitrax since it was based in the USA and had a very good service department.
I purchased a Digitrax system and began to install it. Unfortunately, all the turnouts that I had already mounted on the layout were not DCC compatible. For the next 6 months I painstakingly made all the turnouts DCC compatible while they were in place on the layout. Oh well, live and learn! In my unbridled haste with layout construction (a lot of folks do this) I was very sloppy with my wiring especially in my main control panels. I learned the hard way. Over the next 4-5 months I re-wired all the control panels and got rid of the “rats nest” of wire. Not a fun job, I should have done it right the first time! Oh well, live and learn, again!!
The next problem that I encountered was with my Tortoise switch machines. Several of them developed an internal short. These shorts would send my DCC system into a fit. Digitrax likes to beep at you when something is wrong, and it really beeped at me! After several days of trying to determine where the short was coming from I finally located the bad switch machine. It took a while since I have around 100 switch machines on my layout. I was able to find some flaking on the internal PC board which I fixed and put the machine back into service. Well, a few weeks later I had another short. Yes, I found another bad machine. After the 5th switch machine short I decided to resolve the problem and I made an external switch for all the Tortoise machines. They do not look pretty but they have completely solved the problem. Of course, I spent another several months modifying all of my switch machines. They were modified in place on the layout. Yes, you guessed it, live and learn!
The next major issue I had was actually caused by me. We replaced our living room carpet and kitchen ceramic tile. I saved the carpet and salvaged the tile. I decided to put the tile and carpet in the train room. Well, that was an experience. The problem I encountered was that I had to jack up the layout in sections to get the tile or carpet underneath the layout supports. Yes, you could hear creaking and popping as it was lifted upward. Amazing how much damage can be done when lifting a layout an inch or two one section at a time. Yes, several months had to be devoted to grade re-alignment and track repair. At the time I didn’t have very much scenery in place so that was fortunate. I guess the good thing is I now know what will happen to my track work if an earthquake hits this area.
The last problem really wasn’t a problem but more of a convenience factor for layout operators. I delved into this in my last posting on the Grab Iron. I wanted operators to have an easier time during operating sessions, so I migrated both of my main yards closer to the front of the layout. I rerouted my branch line trackage to make the run more visible to the operator and also increase the runs workload. I created some more sidings on the layout to give operators more things to do. The shipping basin trackage at Newport was enlarged to allow for freight car storage by the car ferry. This construction process was done over a year long period, but I think it has created a much better layout.
So, I consider a layout a work in progress even if some of the track or scenery is already in place. There is nothing wrong with making changes that will enhance the appearance or increase the operational capabilities of the layout. Now on with more of the tour.
Photo 41 gives a better view of the small town called Tallyn Pass. It is high in the snow-covered mountain country. Note the two snow sheds. One is a level fall snow shed to the left of the town while the other is a glance snow shed protecting the mainline to the right.
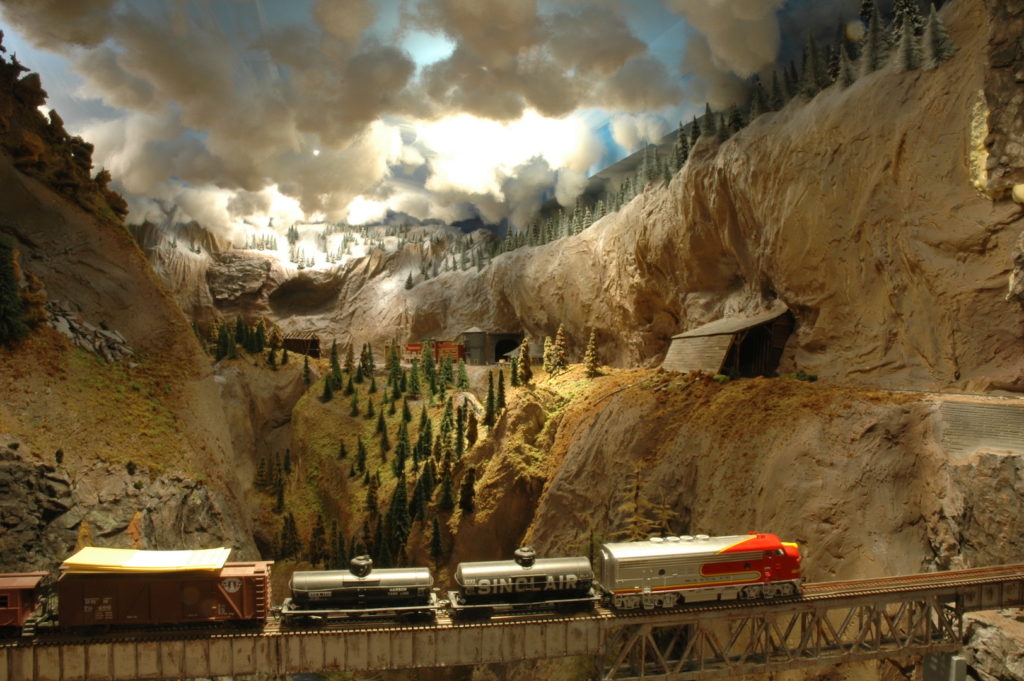
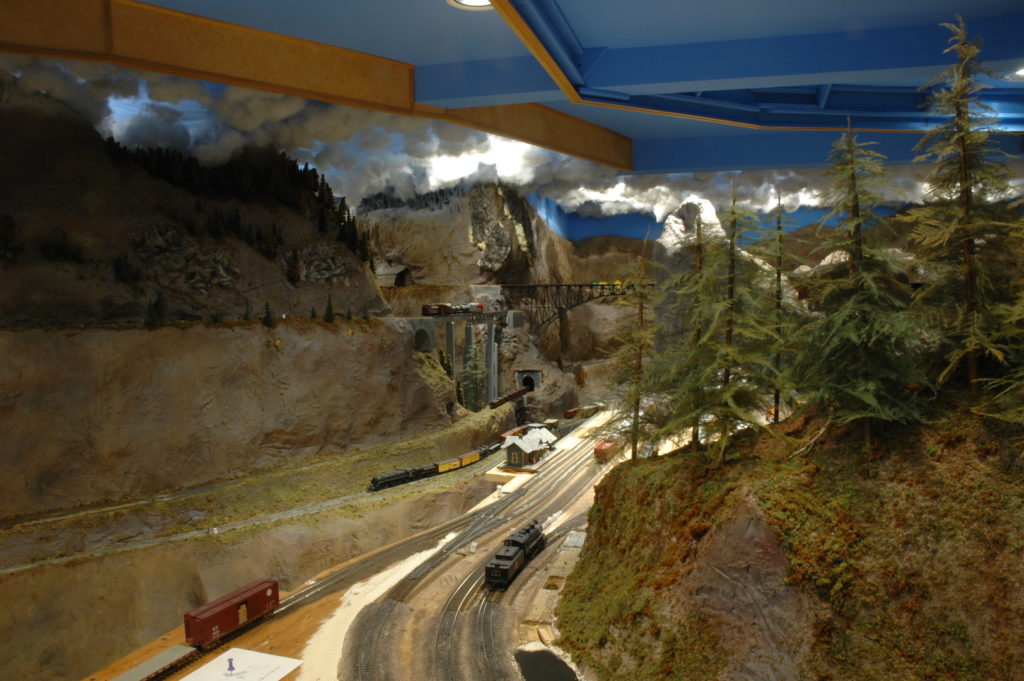
Photo 42 shows you how deep the valley is and how high my bridges can get. The waterfall in the center of the photo is about 8-9 feet away from the camera. To have access to this area there is a large access hatch and the river can be used as a walkway.
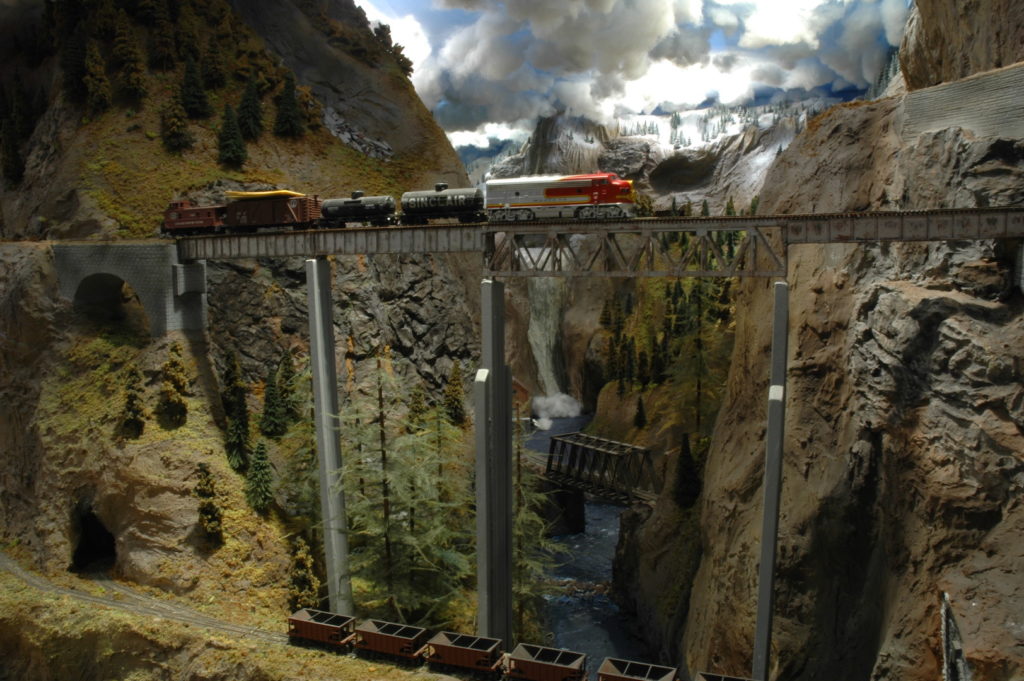
Photo 43 shows the view as the camera is turned towards the aisle. This view shows my large mountain that hides two large support posts. I use this mountain as a strategic view block for the turnback curves on the mainline and a way of hiding the town of Allentown from this wilderness scene.
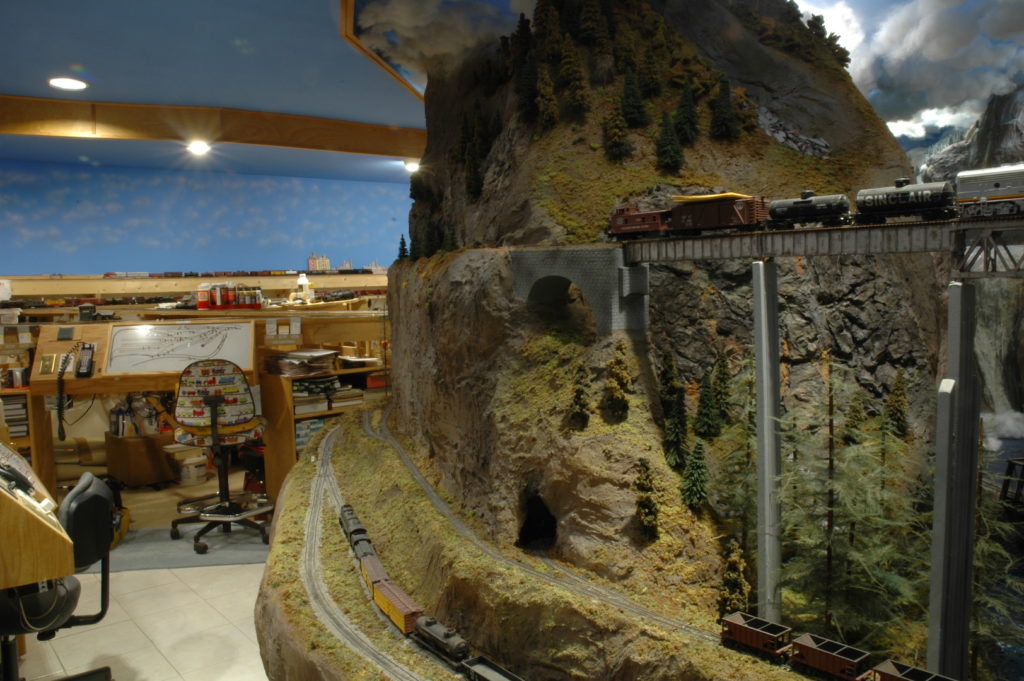
Photo 44 gives you an overall view of the mountain. The C&O 2-6-6-2 parked at the base of the mountain on the extreme right gives you an idea of the size. Yes, I can easily stand up inside of this mountain. Almost all of the track can be maintained from the aisle or from inside of the mountain. There is one carefully placed access located by the green bridge just behind the silver curved bottom chord bridge. Yes, the silver bridge was modeled after one that was on John Allen’s Gorre & Daphetid RR. The green bridge behind it is from a Central Valley kit. The kit is a 4-panel bridge but this bridge on the layout is a 3-panel. Yes, it was difficult to make this bridge from that kit. The other feature of that green bridge is that it is “free floating”. It must be since it is the only link between two sections of the layout framework. It allows for expansion and contraction of those two sections.
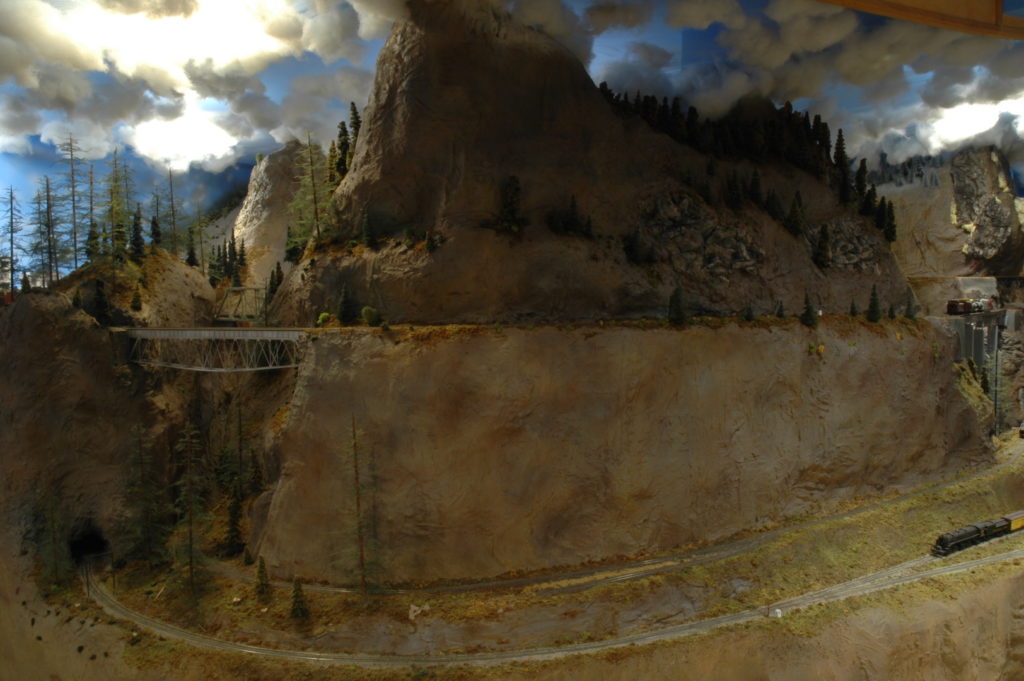
Photo 45 gives a view of the layout and mountain while standing in front of Gornitzka Crossing on the opposite side of the main aisle. Dry Gulch station is almost in the middle of this photo. Notice how the aisle that leads down my main valley to all the large bridges in this picture has disappeared. This allows for some great scenery shots with lots of depth. This photo also gives you an idea of just how long my mainline is and how much elevation my trains need to climb. For a train to traverse the entire mainline it takes about 45 minutes to an hour at freight speed.
That is it for this installment, next time we will travel even closer to Allentown. I hope everyone in the 4D and beyond had a safe and blessed Thanksgiving.
David
Fun and a challenge to operate. Keep on modeling, David 😀
Absolutely fascinating, David!