by John O’Connell, Photos by Ted Becker and John O’Connell
Ted Becker opened the Clinic with seventeen in attendance including guests David and Paulette Sitzenstock of Ferndale and Mark and Chris Malmkar from Oak Harbor. During the announcements, Ted asked how many in attendance joined the NMRA due to their participation in the Mt Vernon Clinic. The answer: Six!
Upcoming Programs and Events
December 8 – Mini-Clinics, a virtual dim sum of railroad and modeling topics in bite size doses, including Al Carter, “Yet Another Way to Make Streets and Roads;” John O’Connell, “Catenary Poles.” There is still room on the agenda so let Ted know if you have a 10-15 minute topic.
January 12 – Nick Muff, “It’s All in the Details,” a clinic on how to add those important final touches to your model scene that take realism to the next level.
February 9 – Bob Stafford, Retired BNSF Trainmaster will speak on Operations on the Bellingham Sub.
Tool Time
Ted shared two things he has found useful. First, an inexpensive device to corral those pesky, small airbrush parts during the cleaning process: a tea infuser. It’s inexpensive and holds small parts securely.

Next: Consider this problem: you want to cut sub-roadbed from a piece of plywood but you’ll end up with several sections of sub-roadbed to achieve the length of curve you require. How do you align the pieces to get a smooth curve? Ted has the answer. Go to the Appendix at the end of this report for details.
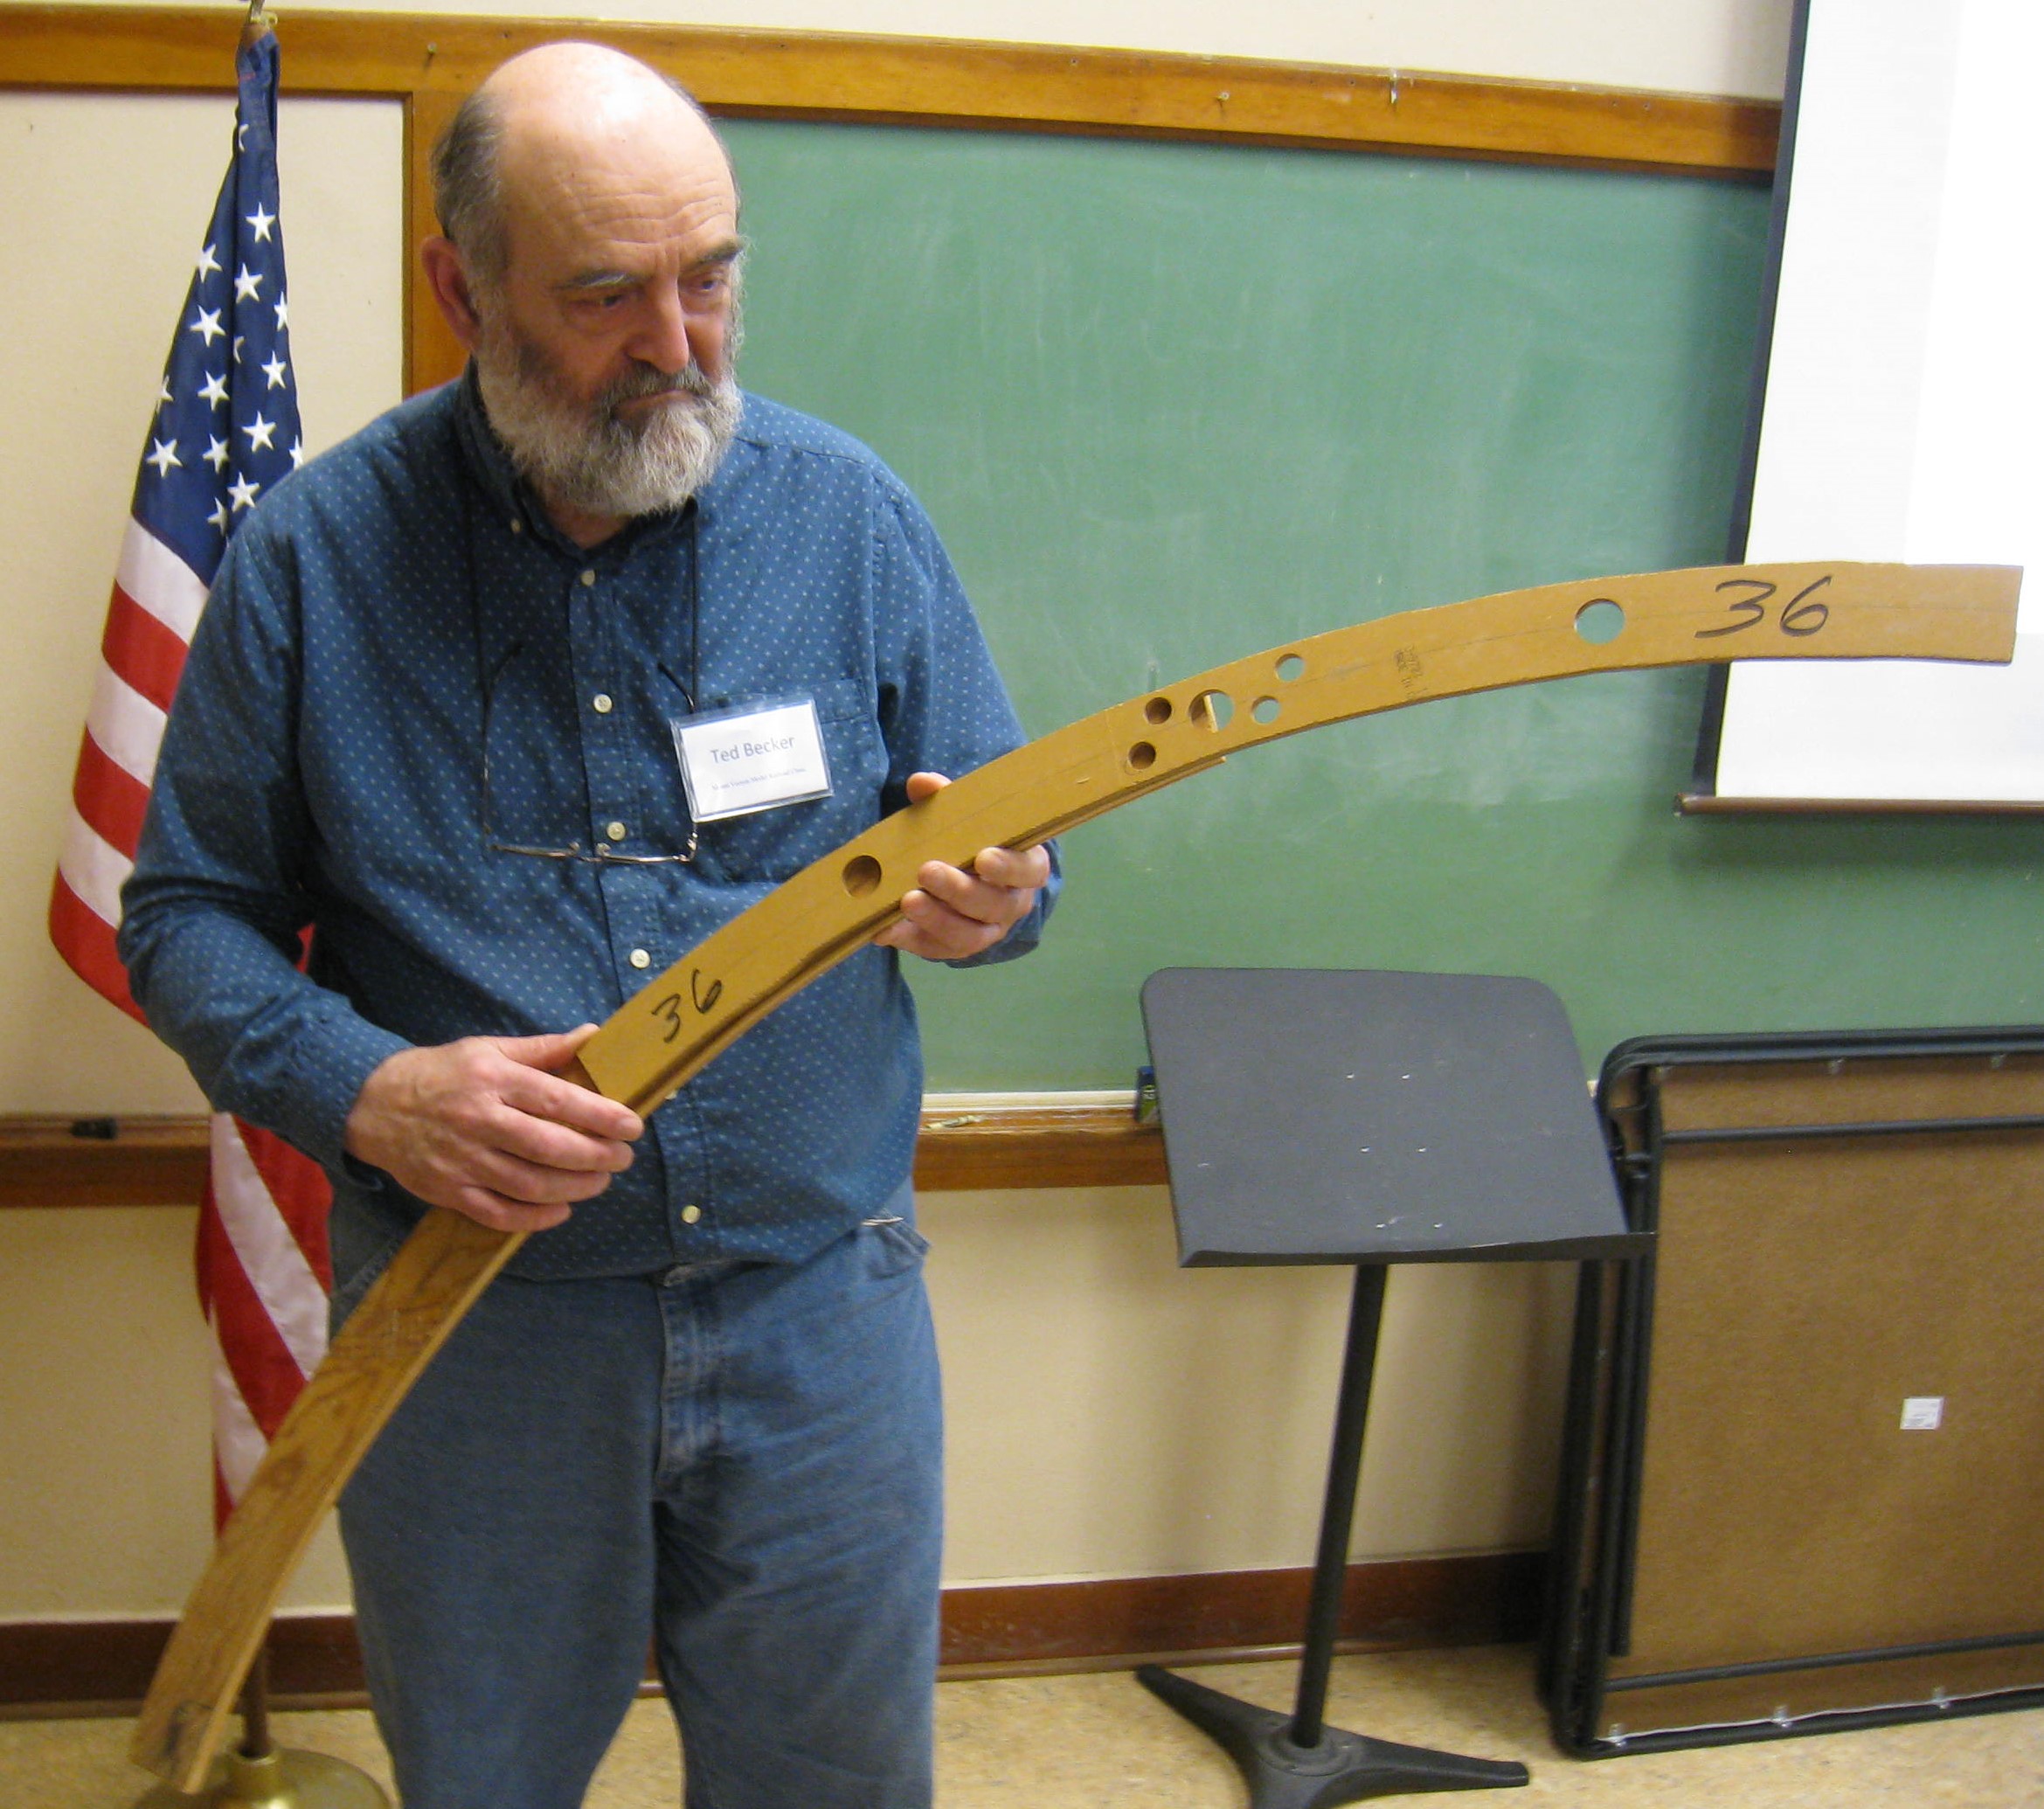
Ted holding his 36” jig over a piece of sub-roadbed. Note the observation and screw holes in the jig.
Al Carter shared a couple of simple solutions to plaguing problems: spilled bottles of paint and toothpick with gobs of cement on the tip. First, spilled paint: take a substantial piece of scrap wood and drill suitably sized holes using a speed bores or Forstner bits. Because of the variation in diameters of various paints and cements, the actual effort to match a bottle with right hole looked like a spatial relationship test administered by NASA.
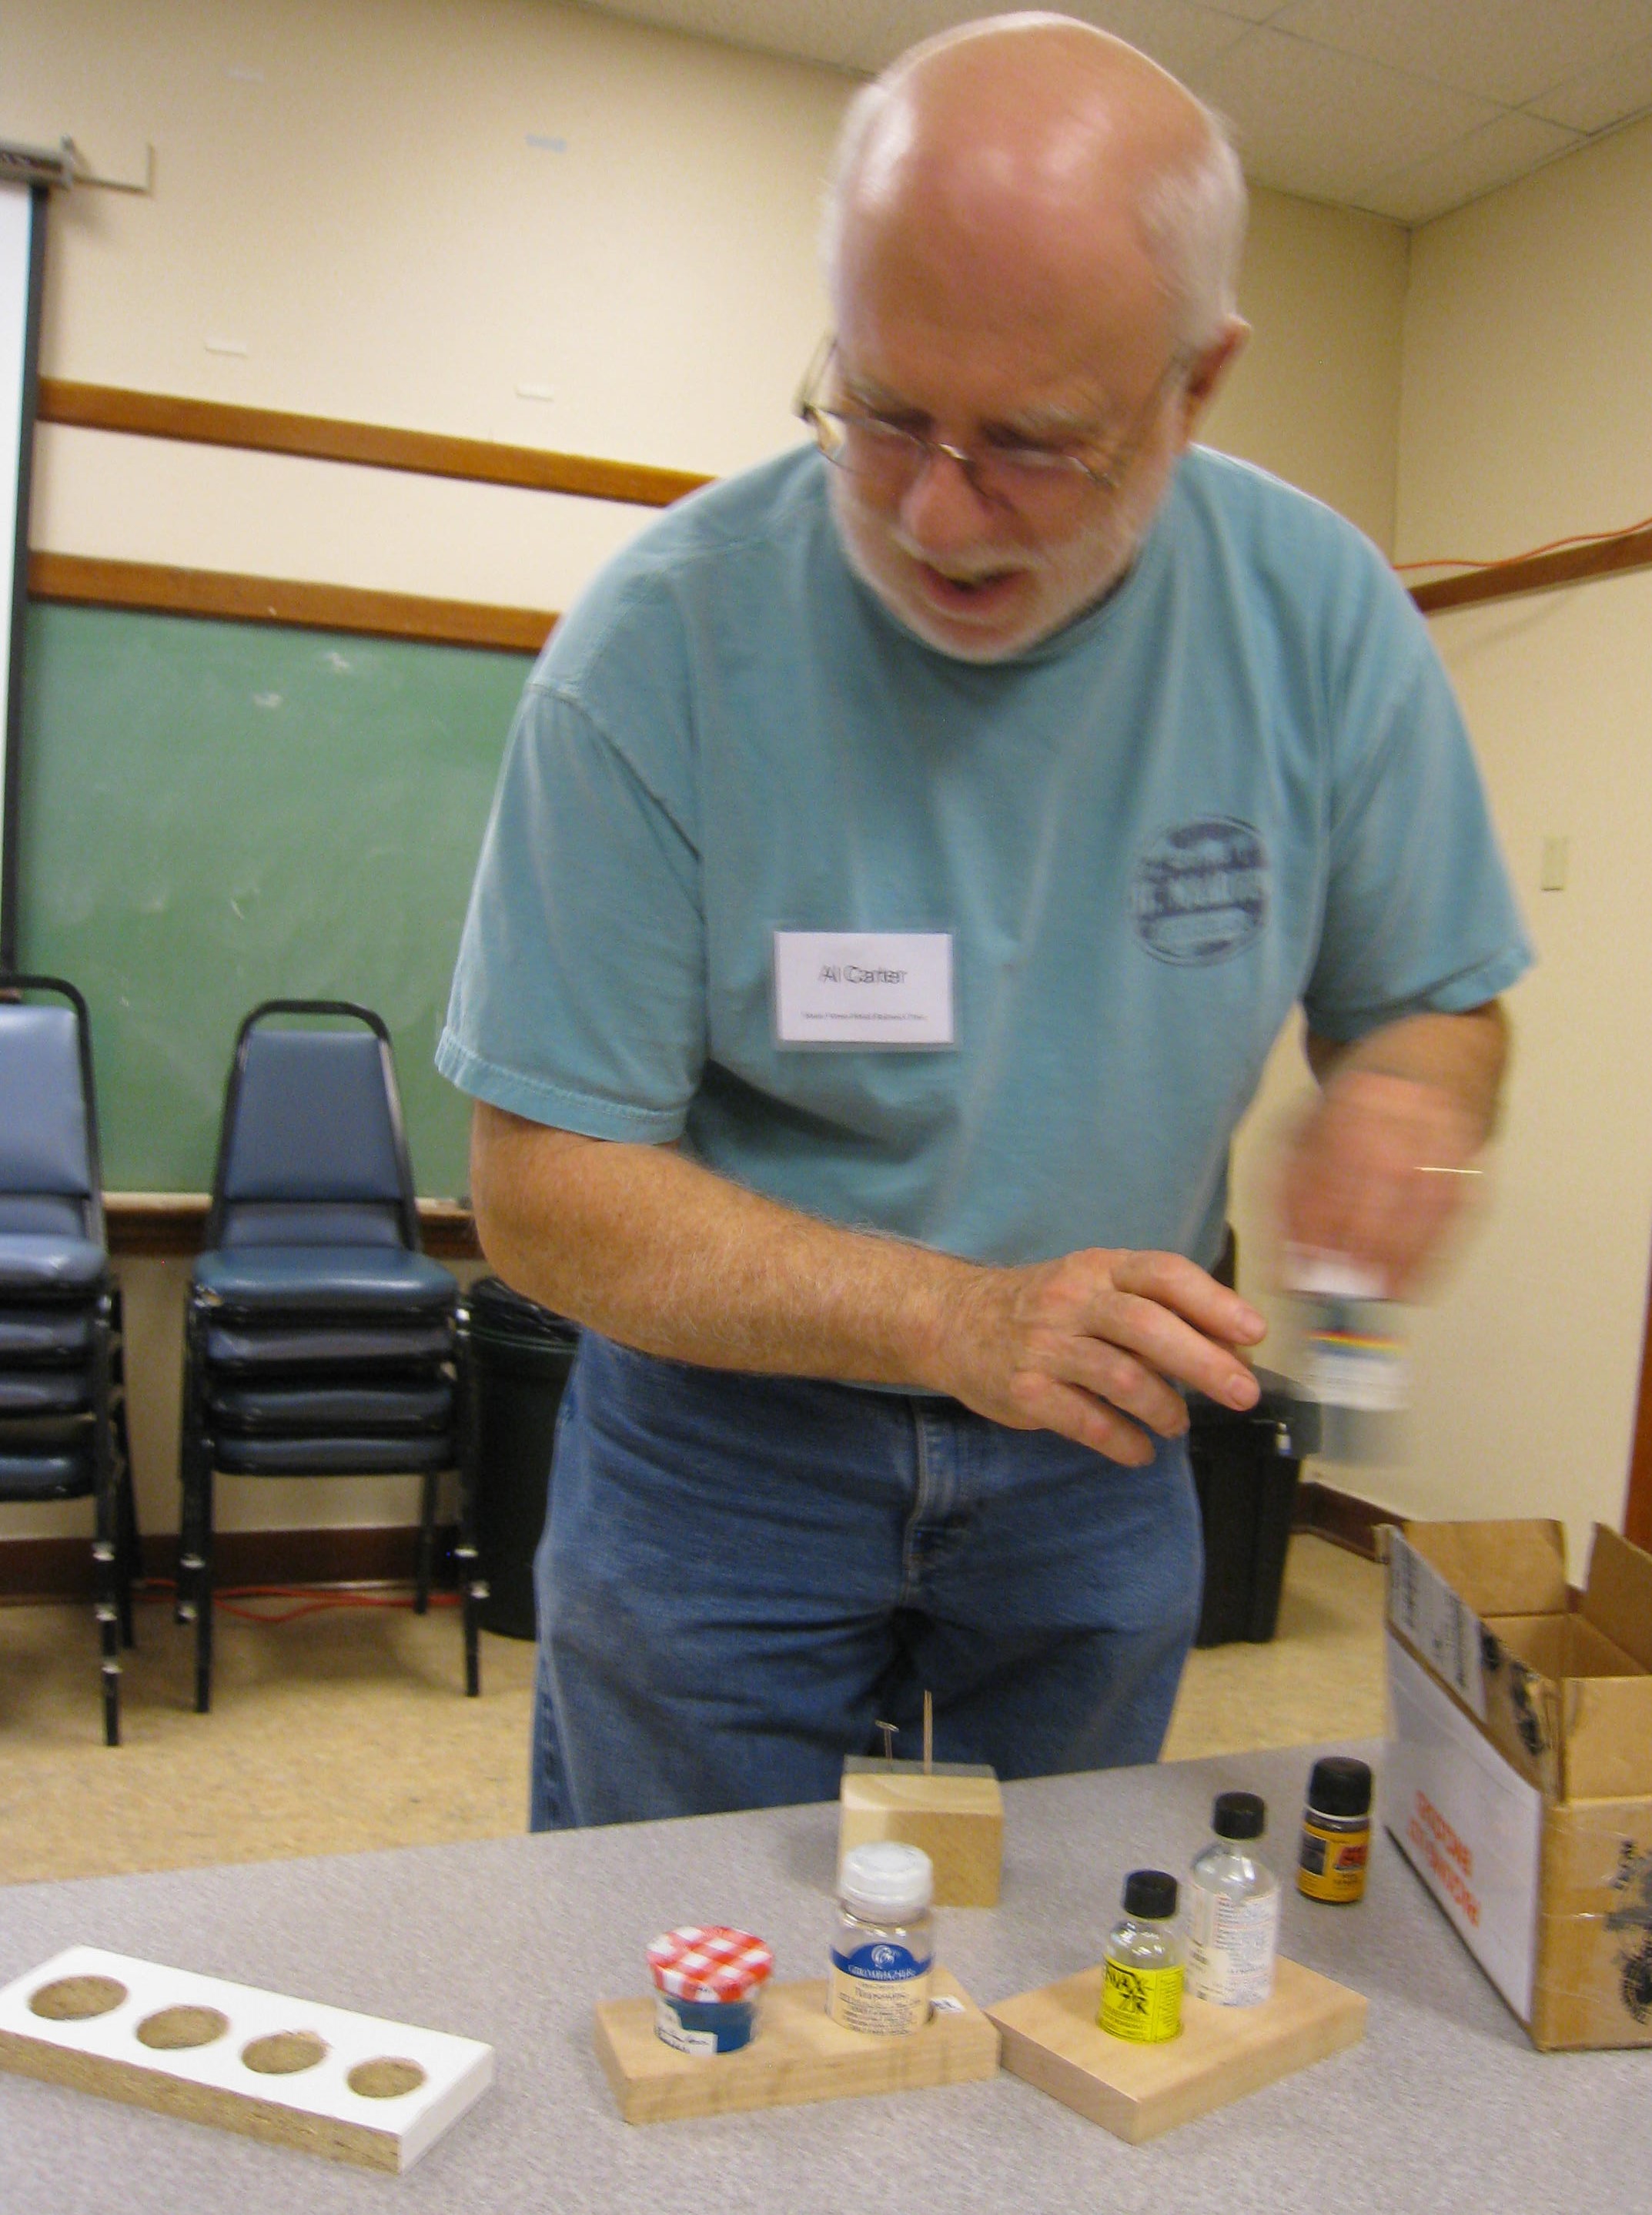
Al’s paint and cement spill prevention aid.
Al shared a simple solution to the problem of what do you do with a toothpick with a gob of cement on the end and no one around to ask, “would you hold this for a second?” A piece of foam glued to a block of wood is the perfect third hand to hold toothpicks, pins, or other lightweight items.
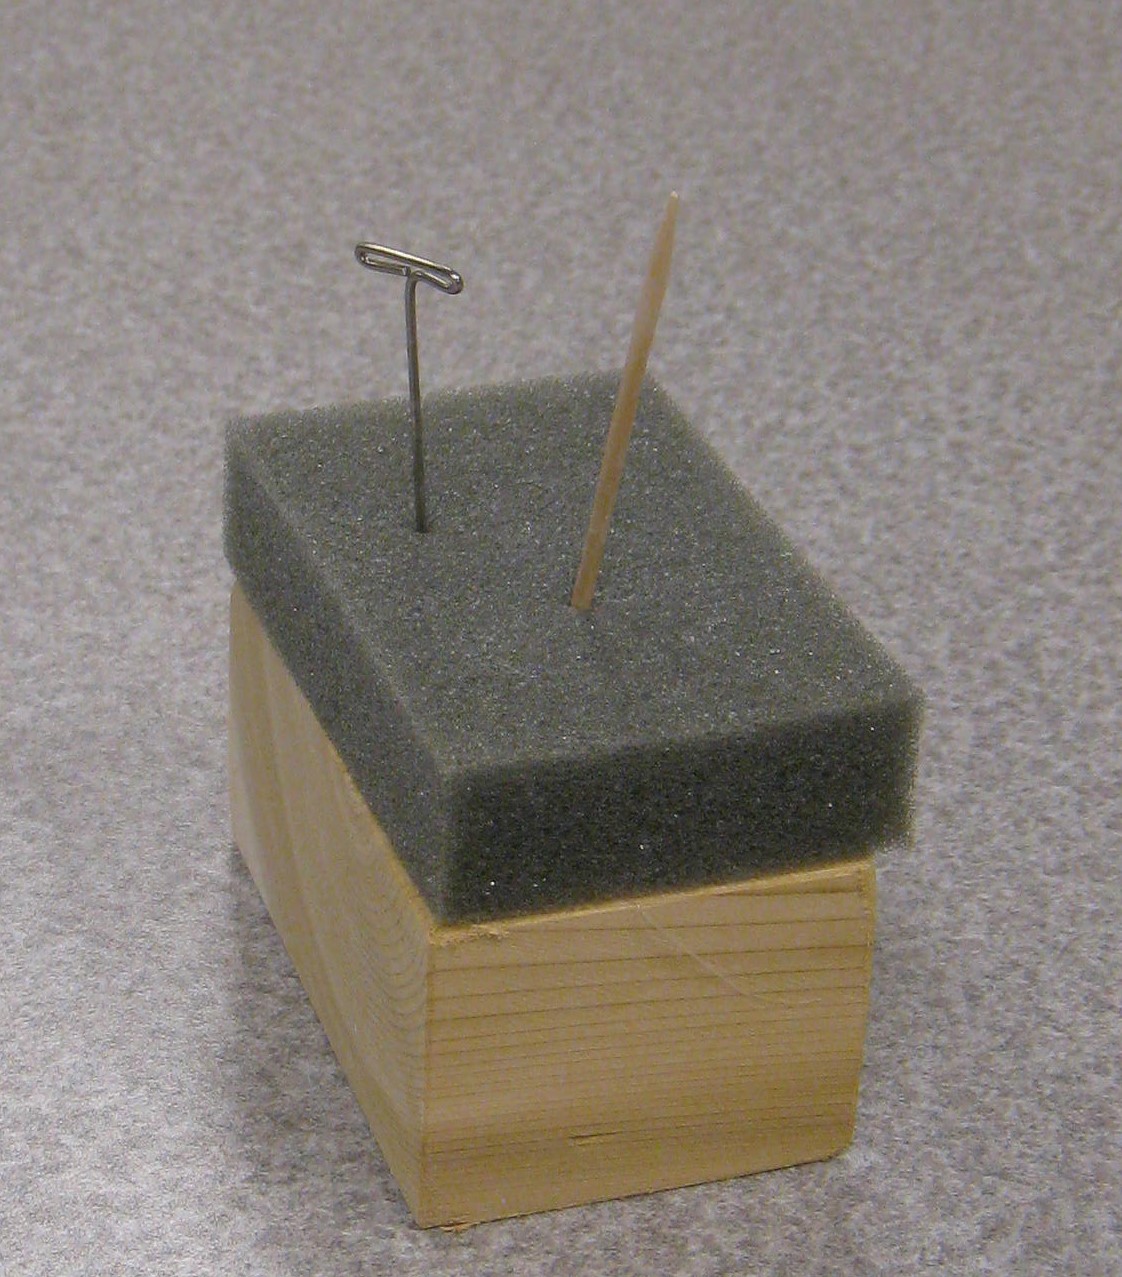
Foam glued on a wood base is a perfect third hand.
Kit Build
Mike O’Brien wasn’t with us as he had important field work to do ( … at Disneyland?) So Al Carter stepped into the breech. The first question: “How many have actually started their models?” Not surprising, only a few hands went up. That’s OK, plenty of time, but Al encouraged everyone to bring their works in progress to the next Clinic and share their discoveries and questions.
As an experienced modeler, Al shared that his great love in modeling isn’t all about the trains, it’s about the buildings and how to make a plastic, lifeless kit come alive and look lived in. He shared a number of tips and insights for building Design Preservation Models and other similar styrene structures:
– Prime the structures first with a white or light gray primer. This gives some “tooth” for the finish color and provides a uniform base.
– For mortar on brick structures, try using baking powder rubbed on with a finger, then sealed with a clear matte finish such as Rust Oleum or Krylon.
– For window glazing, use microscope slide covers for foreground structures that have detailed interiors (nothing replicates glass better than real glass); for other structures, or those without detailed interiors, use clear styrene (not acetate).
– Secure window glazing with Gallery Glass, Sobo Glue, or Canopy Cement, or even Elmer’s white glue. All of these dry clear. Do not use styrene cement or ACC, as this will cloud or fog the styrene.
– Add window shades by using tan or light yellow paper or masking tape.
– Window curtains can be made easily by cutting gift-wrap tissue paper into thin strips for each side of the window.
– To prevent seeing through a building, use black construction paper on the backside of a glazed, curtained window.
– Paint the tops of chimneys black and fade the black down the sides of the chimneys.
– For easy rolled roofing paper, use 1/2″ wide masking tape, painted a dark or medium gray (not black), to indicate the roofing has faded in sunlight.
– Other options for easy rolled roofing paper include green floral tape, and newsprint, cut appropriately, and adhered with Elmer’s glue or rubber cement.
– For “tar” on roofs, use Plaid brand black glass paint. Use this around the edges and seams, and around chimneys and other roof openings.
The best tip of all, Al adds, is to use your favorite search engine and look at examples. For example, in Google, type in “HO DPM structures” (or N or O scale). You will find many examples of these structures, some stock, and some modified, and these images will provide great inspiration for your project.
My Workspace
Ted led off a new segment in our clinics named “My Workspace”. This is a brief presentation each month by a clinic participant sharing their modeling area with us.
Ted’s workspace began with an Alvin drafting table called the Mini Master. The top is 24” by 36” and can be adjusted to a range of heights in 1” increments. He also chose this model as it has 4 legs and casters. Available in three finished and matching top, Ted chose white. The cost was about $125. Suppliers:
http://www.tigersupplies.com/Products/Alvin-MiniMaster-Drafting-Table__ALV-MM36-5.aspx
http://www.hayneedle.com/product/alvinminimastertable.cfm
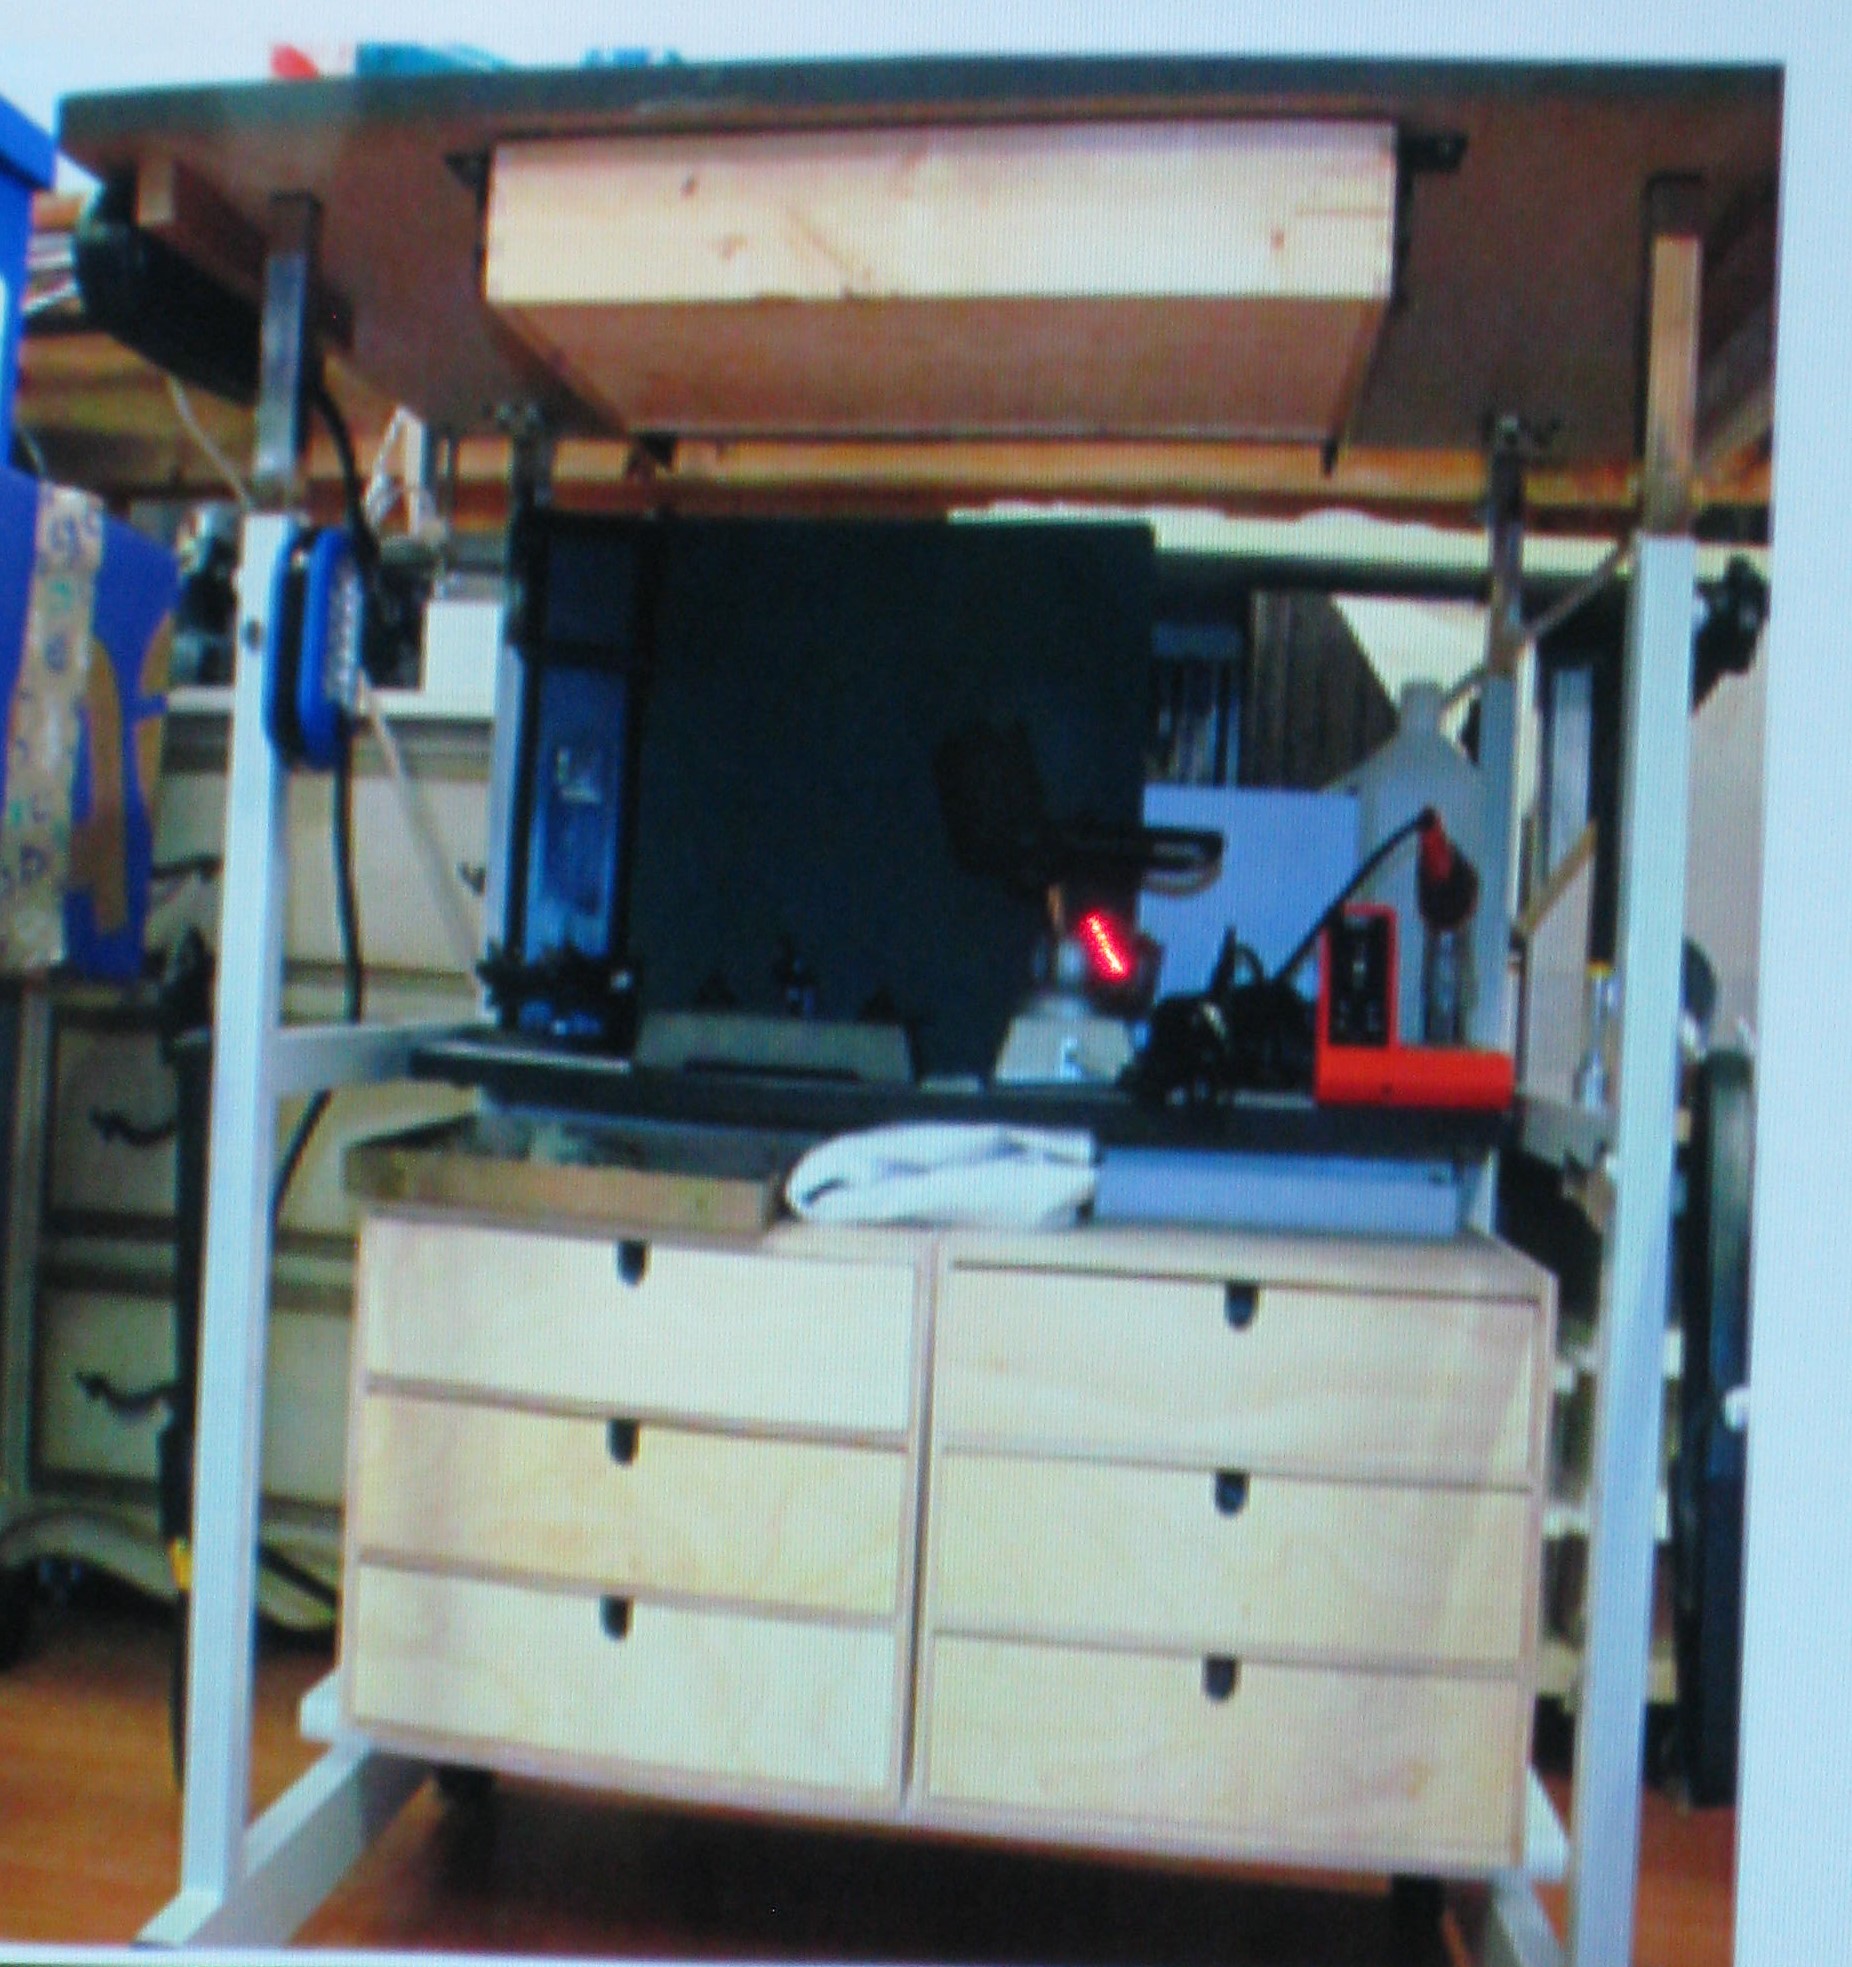
Ted added a pencil drawer, storage drawers and power strips on either side.
To view more details of Ted’s workspace, click here (alternatively “ctrl-click” to open in new browser tab or download the PDF by right clicking and “save link as”).
The Program
Ted was the Clinic Main Program presenter tonight. His topic was Sticky Stuff, a review of adhesives, glues, cements and tape. He covered plastic cement, wood glue, Alpha-Cyrano-Acrylate, contact cement, other adhesives and tape. He was kind enough to share his presentation which is far more detailed than I could ever report. Click here to view his adhesive clinic presentation as a PDF file (as before, “ctrl-click” to open in new browser tab or download the PDF by right clicking and “save link as”).
Appendix
Here is how to construct and use Ted’s curve jig:
- Cut as many sections of sub-roadbed as you need for your curve, in this example he is using a 36” radius. Insure the curve centerline is drawn darkly enough to see clearly.
- Cut the jig to the chosen radius (in this example, Ted brought his 36” jig) after drawing the curve centerline in pencil or ink down the middle of the jig, leaving one inch of material on each side of the centerline.
- On the jig, drill three 1” observation holes, one at the mid-point and centered on the curve centerline (“joint observation hole”), and two 1” holes, each 12” from the “joint observation hole,” also centered on the curve centerline. These holes, we’ll call “sub-roadbed observation holes.”
- On the jig, measure 1” and 3” on each side of the joint observation hole and drill four 1/2” holes, through which, screws can temporarily secure a splice plate to two sections of sub-roadbed. See the photo for guidance on offsetting these holes from the curve centerline on the jig.
- Apply wood glue to a splice plate and both pieces of sub-roadbed. Set the splice plate under the two sub-roadbed pieces as closely aligned with the joint as possible. Support the ends.
- Set the jig over the two pieces of sub-roadbed such that the joint is under the “joint observation hole.”
- Adjust the two pieces until the curve centerline drawn on the two sub-roadbed pieces are aligned with the curve centerline drawn on the jig using the three observation holes.
- Secure the splice plate to hold the two sections of sub-roadbed with four screws. The screws can be removed after the glue is dry.
Voila, your sub-roadbed is aligned in a smooth, continuous curve.
![]()
No Comments Yet