by John O’Connell, Photos by Rich Blake, John O’Connell
Thursday, October 13, Mt Vernon Senior Center
Despite the weather, we had a full house for this much anticipated Clinic. Ted Becker kicked off the evening with introductions: first time guest John Filippone and returnees Tim Silva and Jim Tartas.
Kit Build
Mike O’Brien reported that 25 had signed up for the Kit Build and he is ready to distribute the kits to the clinic members. It’s not too late if you haven’t signed up and chosen a kit. Let Mike at sales@xtrainsmodeltrains.com know and he can help you find the right kit. Plan to bring your in-progress project each month for Show and Tell.
Al Carter shared an important tip for first time builders: due to the molding process, building corners are not always square so it’s vital to “square” the edges on a flat surface, e.g. plate glass with adhesive-backed sand paper. Roger Johnson put together a compendium of helpful tips that he sent out to the distribution list. It is included in the Appendix at the end of this report. Roger also shared a YouTube video on building DPM kits. Find that by clicking here.
The Program
Rich Blake, Chair of the Skagit Valley and Whidbey Clinic and a member of the Pacific Northwest On30 Modular Group, delivered a very thorough primer on airbrushing. Rich has been airbrushing for over 35 years on a wide range of modeling interests: model railroading, automobiles, aircraft, and R/C cars.
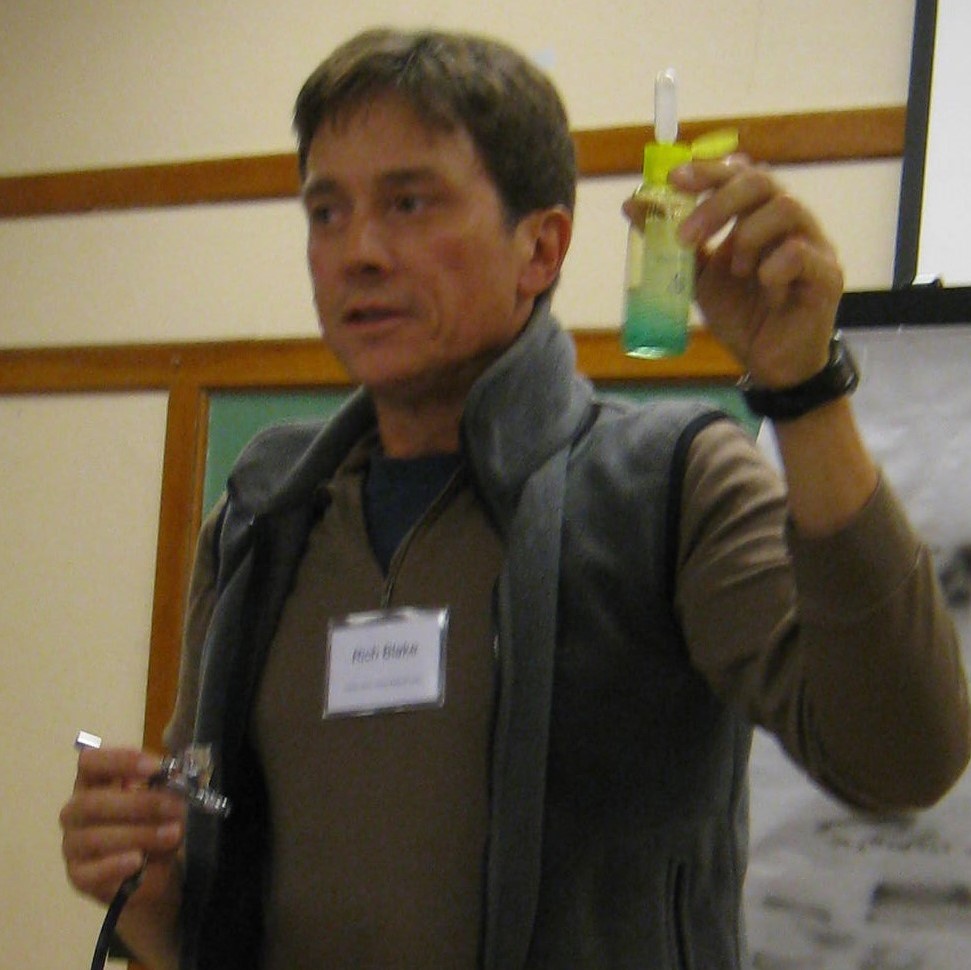
Rich Blake shares airbrushing tools and tips
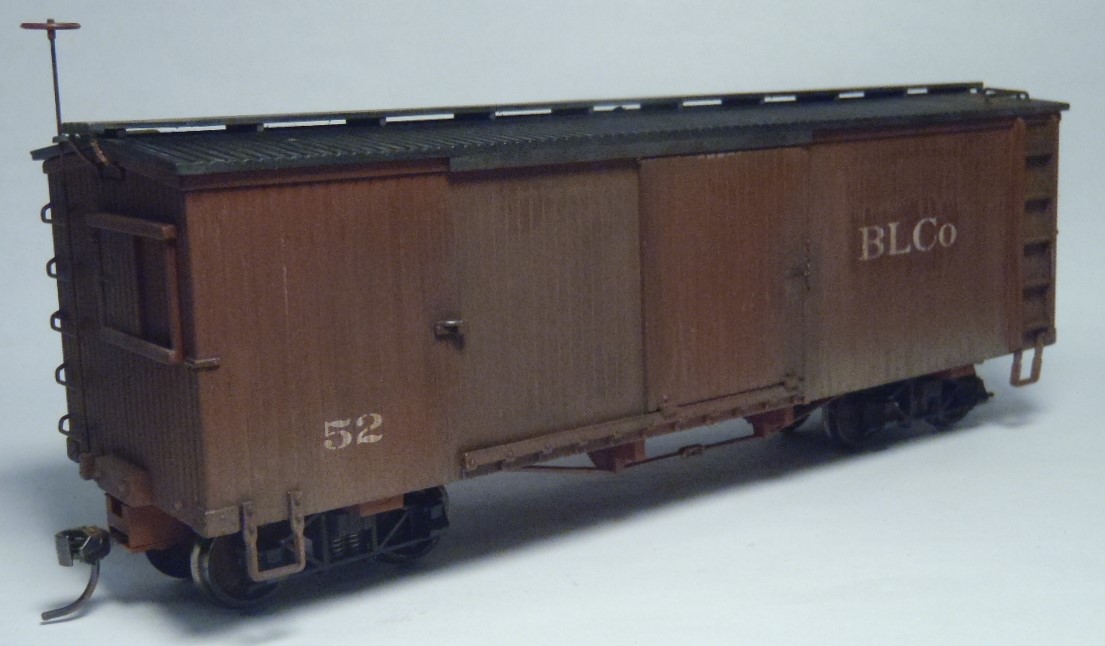
Repainted and weathered Bachmann On30 boxcar
Rich covered a lot of ground and emphasized two points: Clean your airbrush thoroughly after use and wear a respirator, even with acrylics.
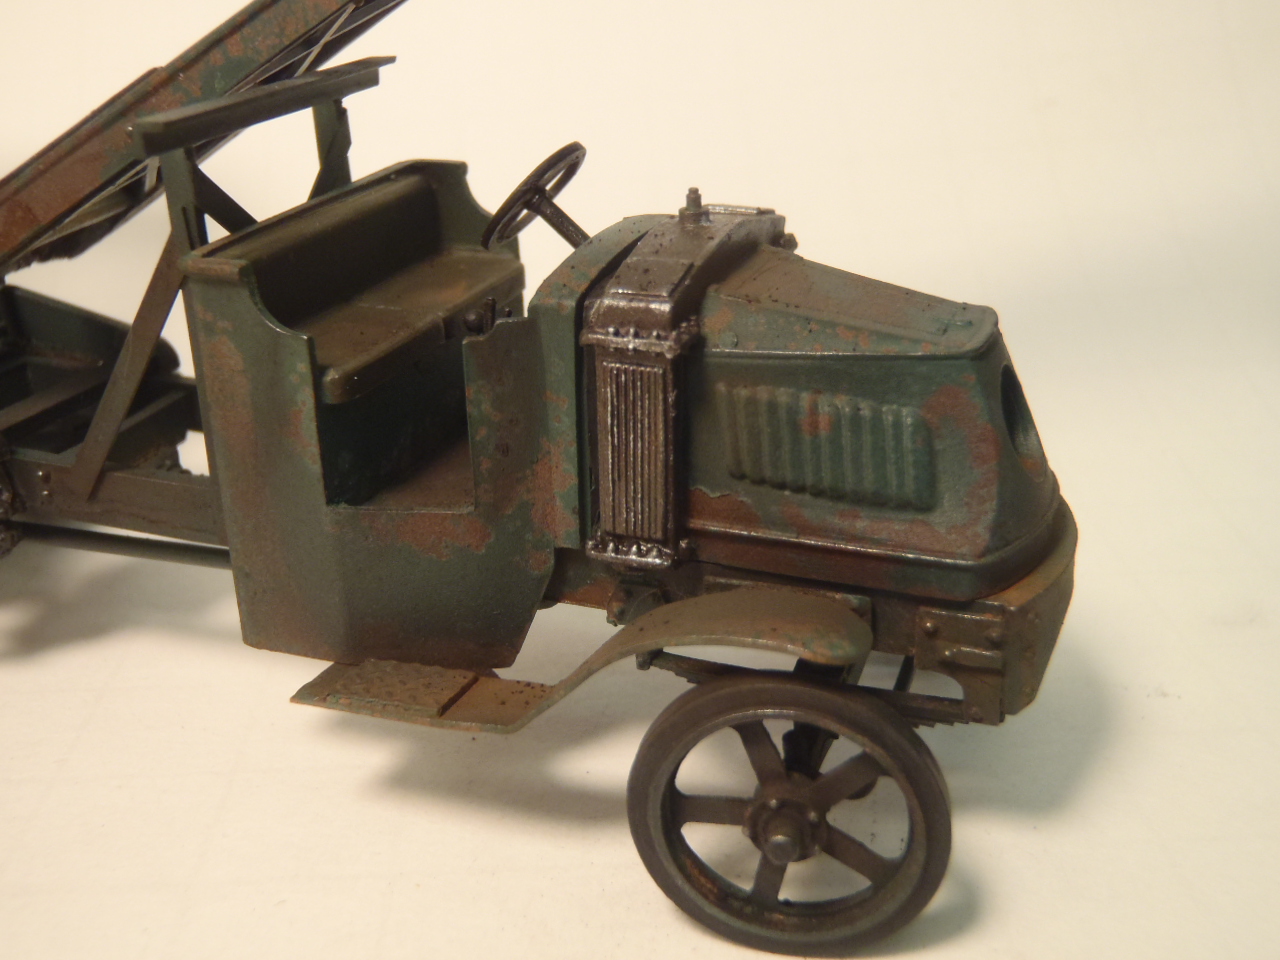
Backwoods Miniatures O-scale Mack Truck finished by airbrushing
Rich shared his insights with respect to safety, spray booths, types of airbrushes, air supplies, tools to hold work pieces, paints, thinning, lighting, cleanup, and problem solving. Rich used an article at http://www.model-railroad-infoguy.com/Airbrush-painting.html as the basis for his talk.
He also passes along these links: an article by Mike Wyatt at http://www.mcr5.org/articals/Airbrushing%20for%20Model%20RR.pdf and an article by Paul Budzik at http://paulbudzik.com/tools-techniques/Airbrushing/airbrushing_for_modelers_pg2.html.
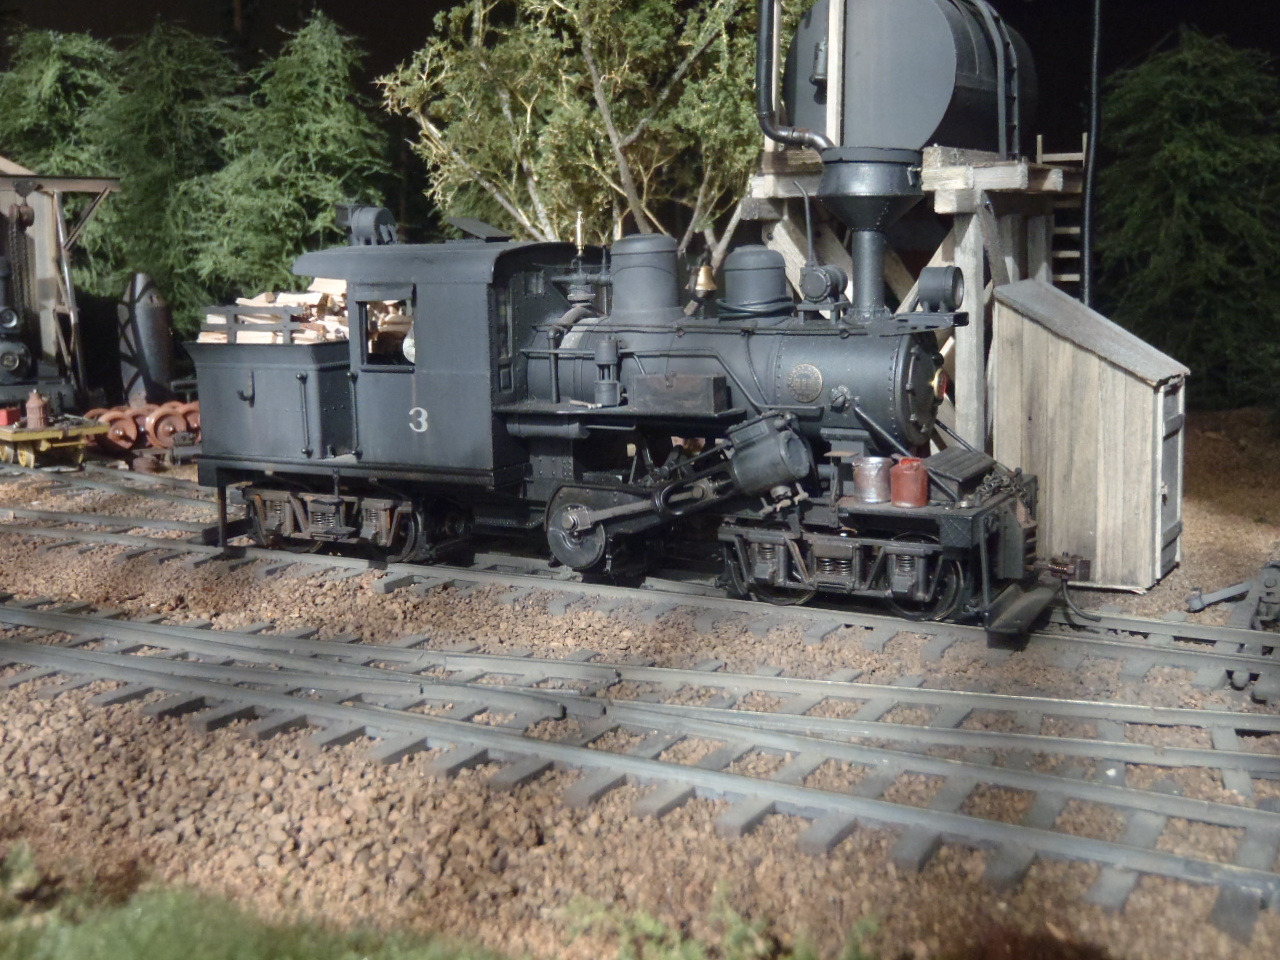
Locomotive, Track and Water Tower: all finished with Rich’s airbrush
And, now, the fun! HANDS ON! Many thanks to Tom Buckingham, Al Carter and Ted Becker for bringing their spray booths, each vented to the outside! Paul Koren brought his greyhound of an airbrush and compressor. And, a special thank you to the NMRA and the 4th Division for providing the 50 foot boxcar shells we practiced on. Rich circulated and gave us newbies tips and pointers and I have to say, the next day, that shell looked pretty darn good.
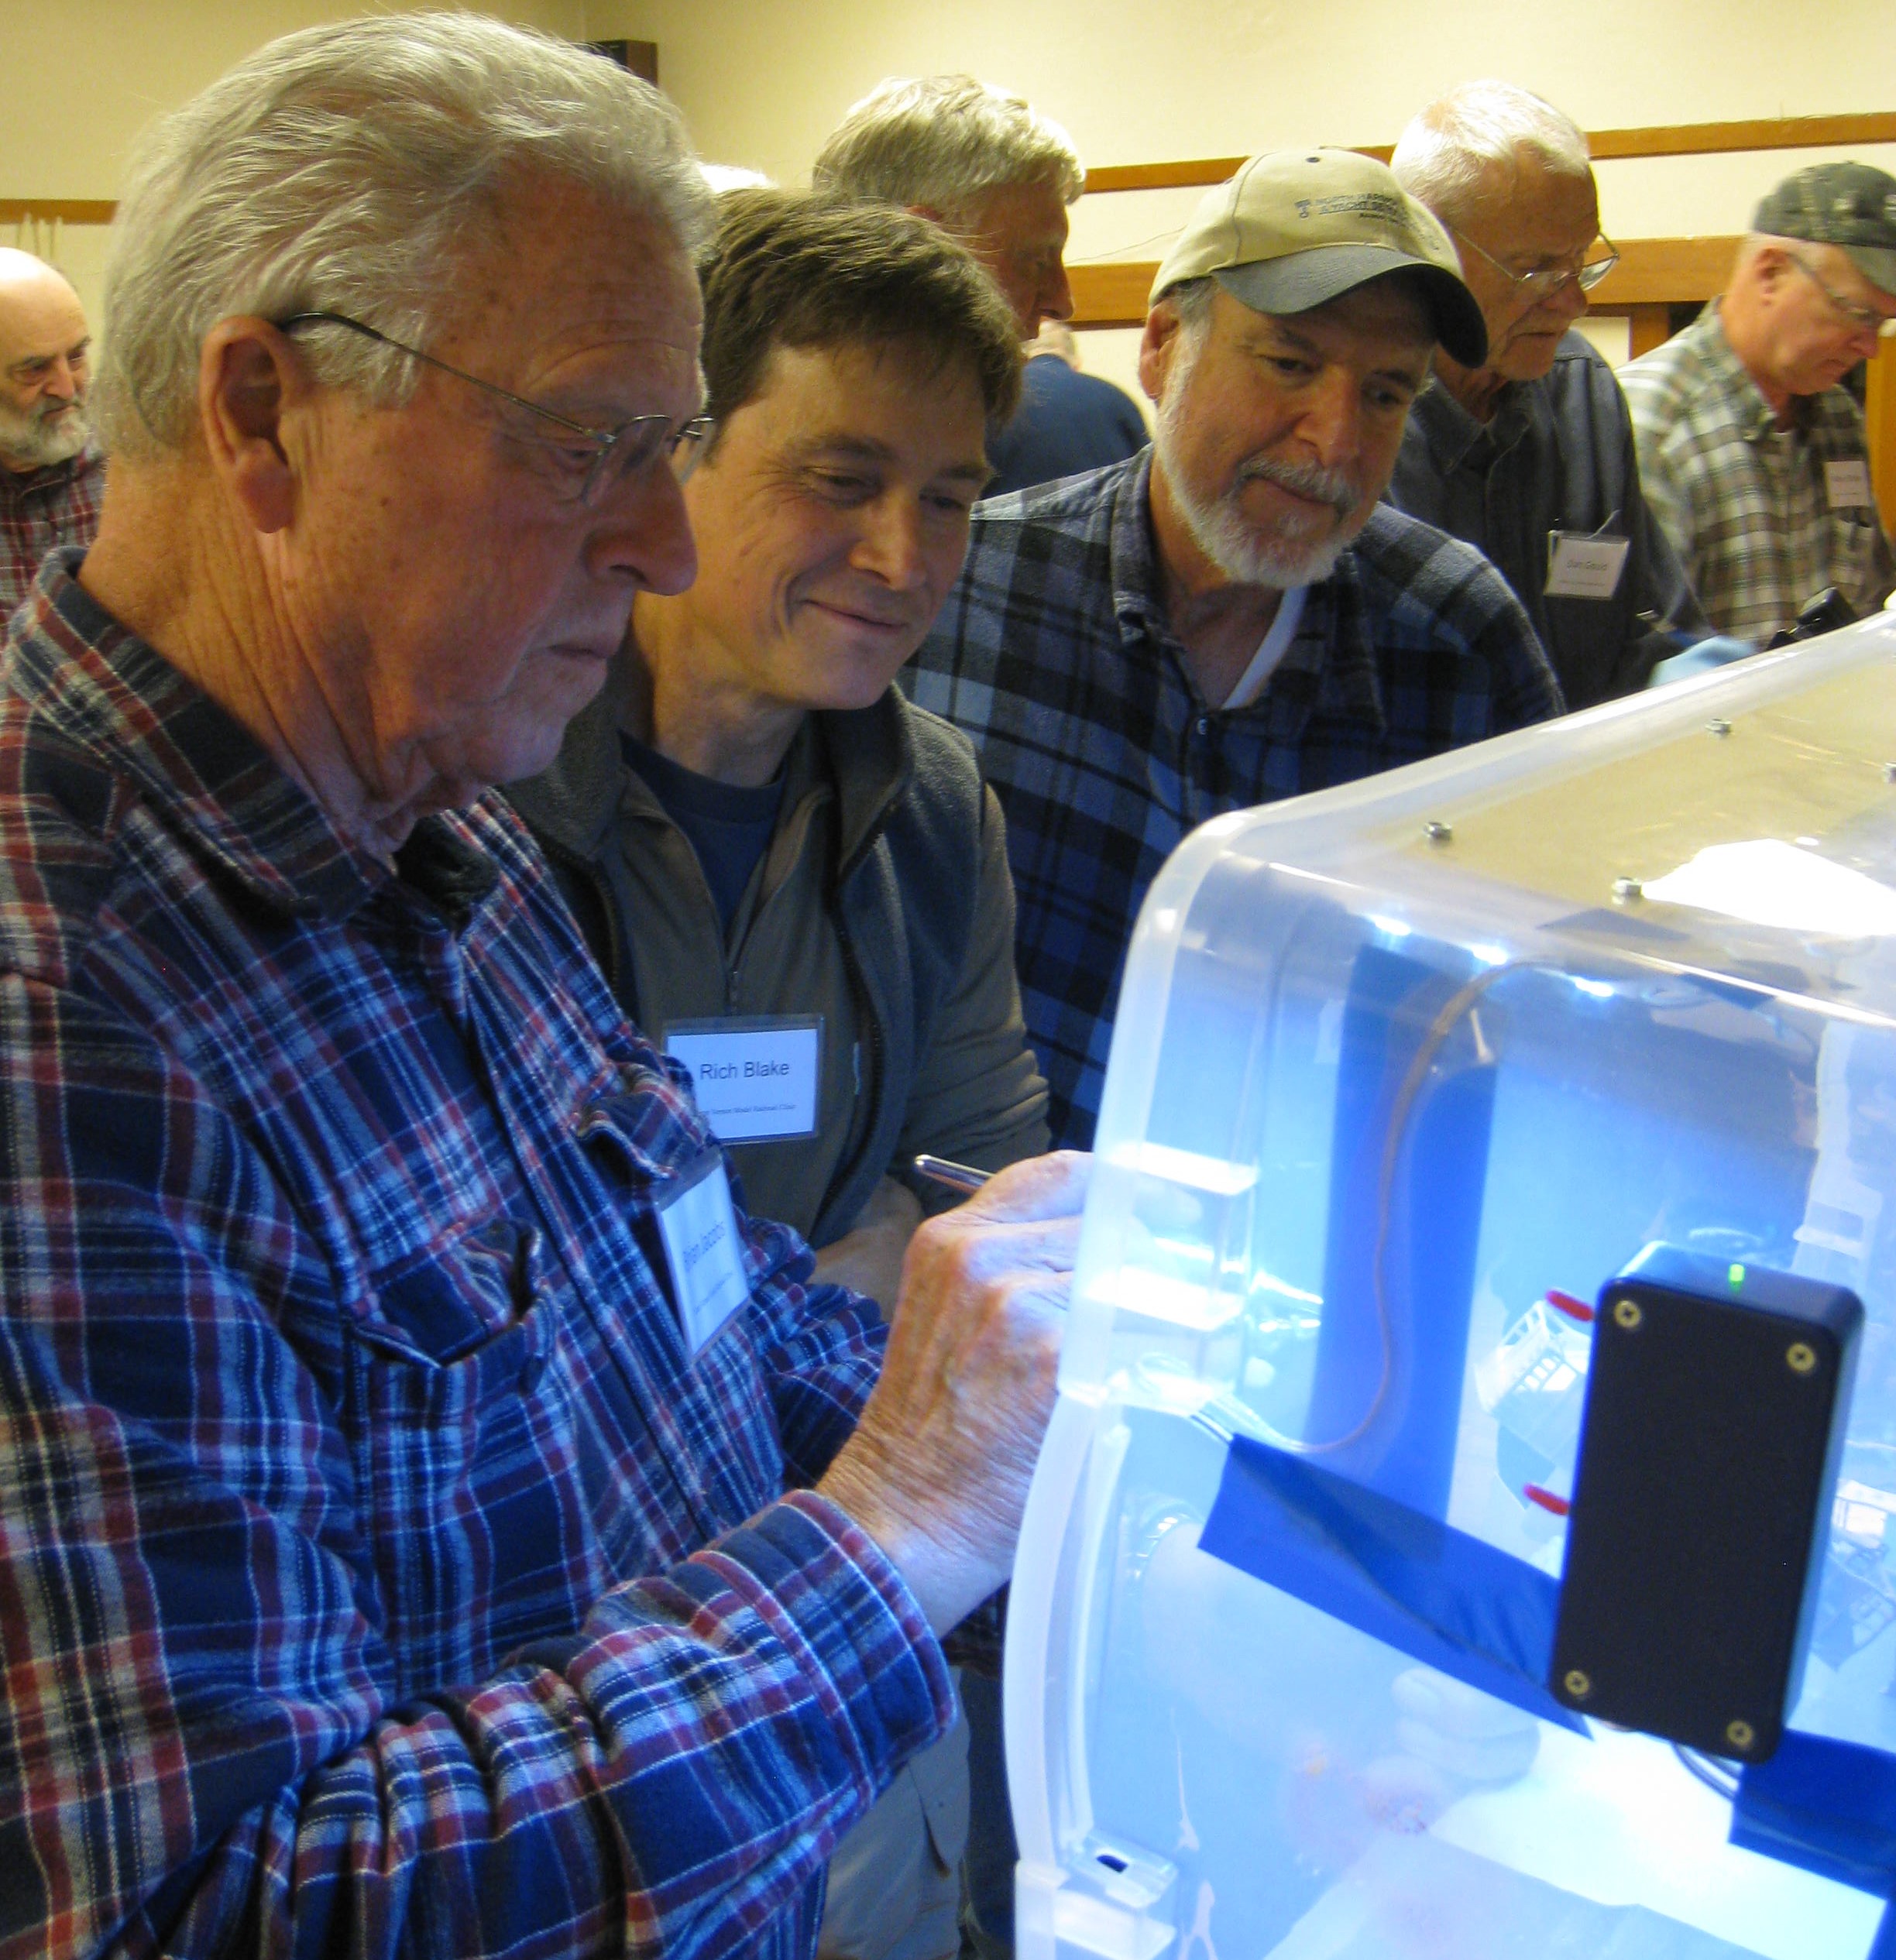
Clinic participants get plenty of hands-on time. Rich, center, makes suggestions regarding technique.
Here’s What’s Coming around the Curve
November 10: Ted Becker will cover “Sticky Stuff”, a clinic on glues and tape. We’ll also kick off a recurring segment on “My Workspace” wherein a clinic attendees are invited to describe in words, pictures and, possibly, examples where they model.
December 8: Mini-Clinics. Advise Ted if you would like to present.
January 12: Nick Muff, MMR, “It’s All in the Details”. How to add those important final touches to your model scene that take realism to the next level.
February 9: Bob Stafford, Retired BNSF Trainmaster will speak on Operations in Bellingham.
For other NMRA events in the area please refer to the 4th Division Grab Iron, online at https://4dpnr.com. If you would like to subscribe to the Grab Iron, go to https://4dpnr.com/grab-iron-overview/.
Appendix
DPM Assembly Tips, Compiled by Roger Johnson
- Clean off flash (excess plastic that escaped the mold cavities).
- Sand edges that will butt against other parts to 90 degrees using medium grit sand paper on a flat surface. Do not sand edges that have brick or other detail. Generally speaking, the front wall will have detail on both side edges, the side walls will have detail on the rear edges and the rear wall will not have detail on either edge, but look carefully before sanding.
- If you are going to include shades, curtains, etc. on the windows, trace the wall patterns on a piece of paper before. This will ease the positioning of these details on the acetate or other “glass” material prior to its installation.
- Sand the interior wall surfaces smooth other than any pins intended to align walls or support roofs.
- Use liquid solvent based plastic cement to glue parts together.
- Allow joints to set 1 to 2 minutes between construction steps.
- Take extra care to get corners square, using aids as necessary.
- Assemble basic shell and any other parts to be painted the same color as the shell.
- Level the building after assembly by sanding on a flat surface.
- Wash all parts prior to painting.
- For best results, spray paint the basic shell and other same color parts.
- Leave different color parts on sprues for painting, either by hand or spraying.
- Paint both sides of roofs to inhibit warping/sagging.
- Add support for roofs—styrene strips on the walls to support the edges, wood strips on underside to prevent sag.
- Highlight mortar lines by either (a) brush on small amounts of wash of light colored acrylic paint, or (b) rub baking powder or Robert’s Brick Mortar Formula into the mortar lines, then blot off excess until desired look is achieved. Follow with a gentle over spray of a clear matte finish (which may diminish the effect), followed by additional applications as necessary to get the desired look.
- Weather either with very light sprays (airbrush preferred) of dark gray/grimy black or with chalks/powders. Bragdon Powders have an adhesive mixed in the powder. Other powders and chalks will require a clear, flat over spray.
- After weathering, install clear material from the inside over window openings. Do not use super glue or styrene cement as they often cloud the window glass material. Canopy glue or any of the tacky glues work well as they dry clear.
- Add foundation, roof pipes/vents, down spouts, window coverings, etc. for finishing touches.
![]()
No Comments Yet