Article and Photos by Al Carter
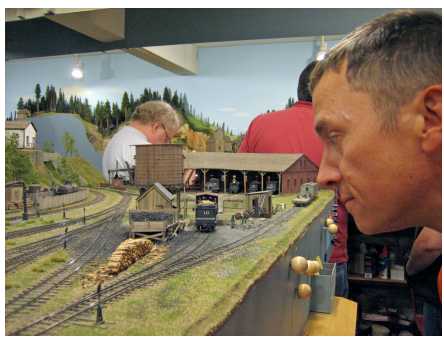
Clinic Chairperson Rich Blake called the April 2014 meeting to order shortly after 7:00 pm with 40 members in attendance. Three new visitors joined us: Roger Johnson (HO) from Sedro Woolley,Wes Wilson (HO) from Oak Harbor, and Scott Barney (HO) also from Oak Harbor. Welcome!
Rich appealed to the audience for someone to step up and take over the job as snack coordinator, as Phil and Susan Gonzales have provided us with goodies for 7 years now and have decided they need a break. Thanks, Phil and Susan! Rich also asked the group for ideas for clinic topics for next season (September 2014 – June 2015), and the idea of an alternate meeting place once or twice a year was discussed. Another note: we average about 29 people per clinic, which is up considerably from an average of 5 per clinic in the year 2000.
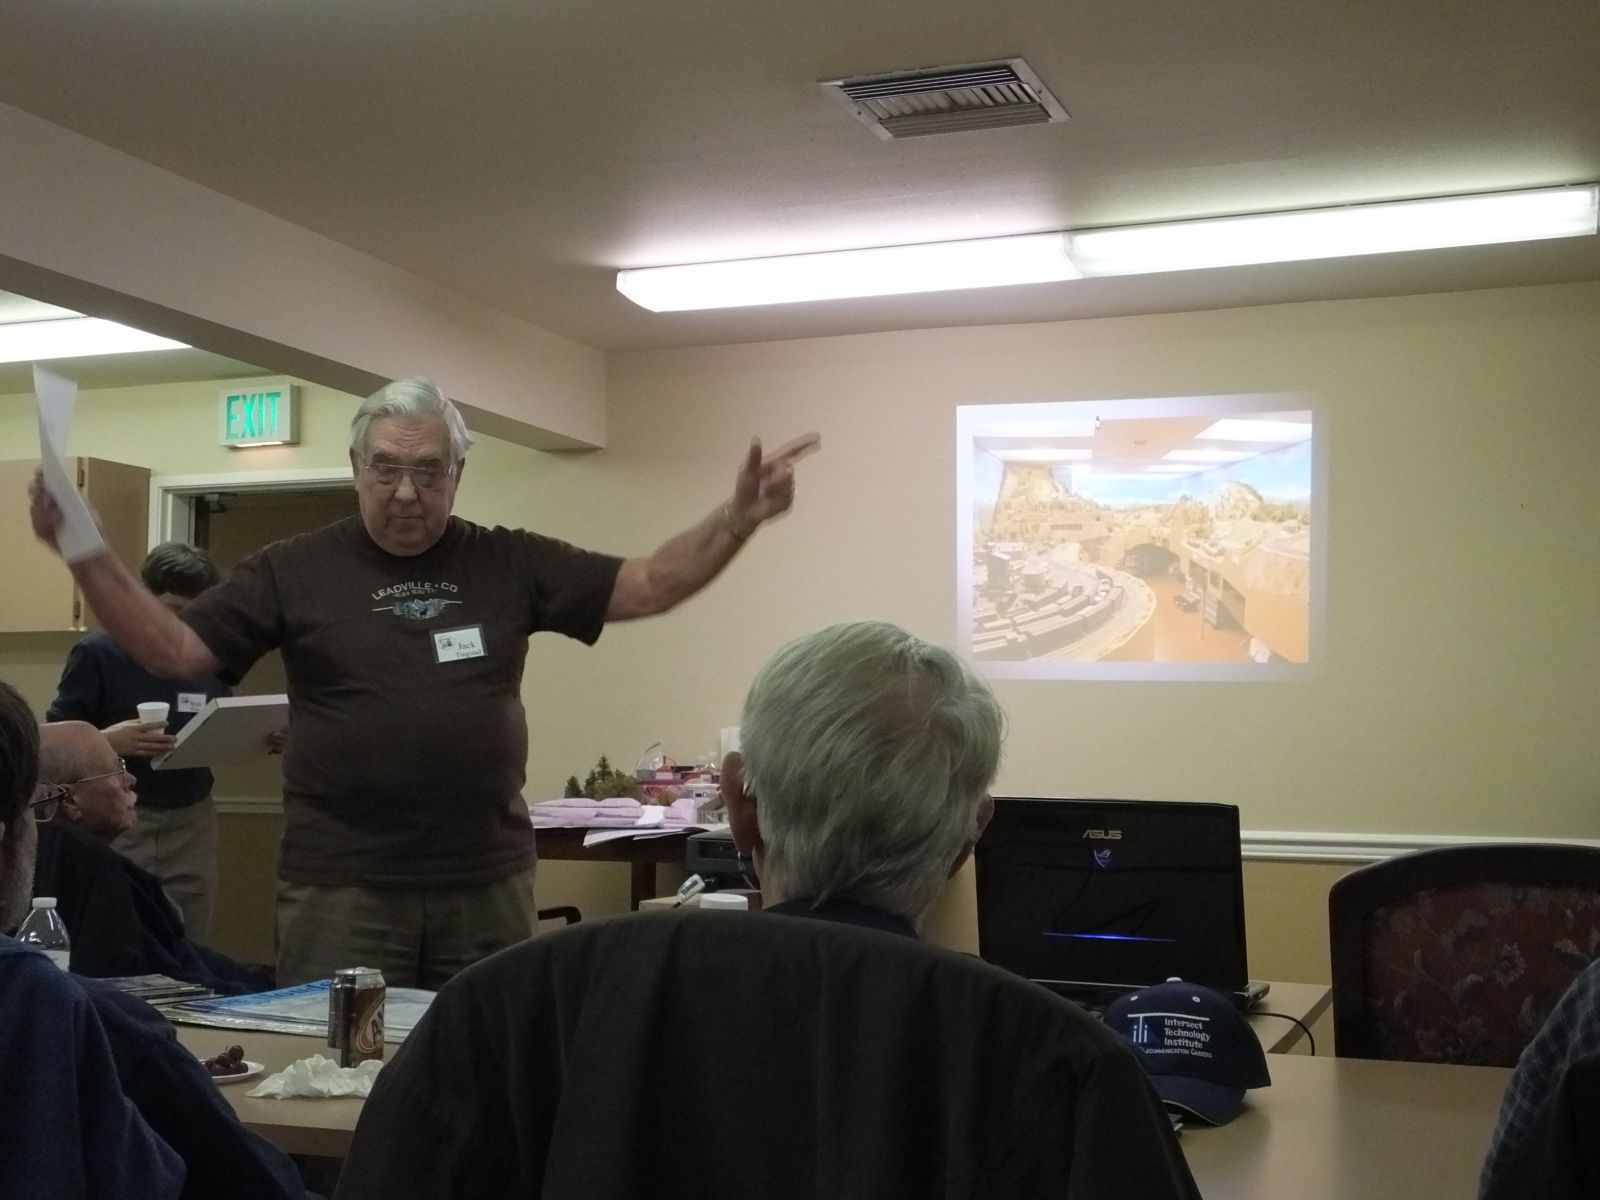
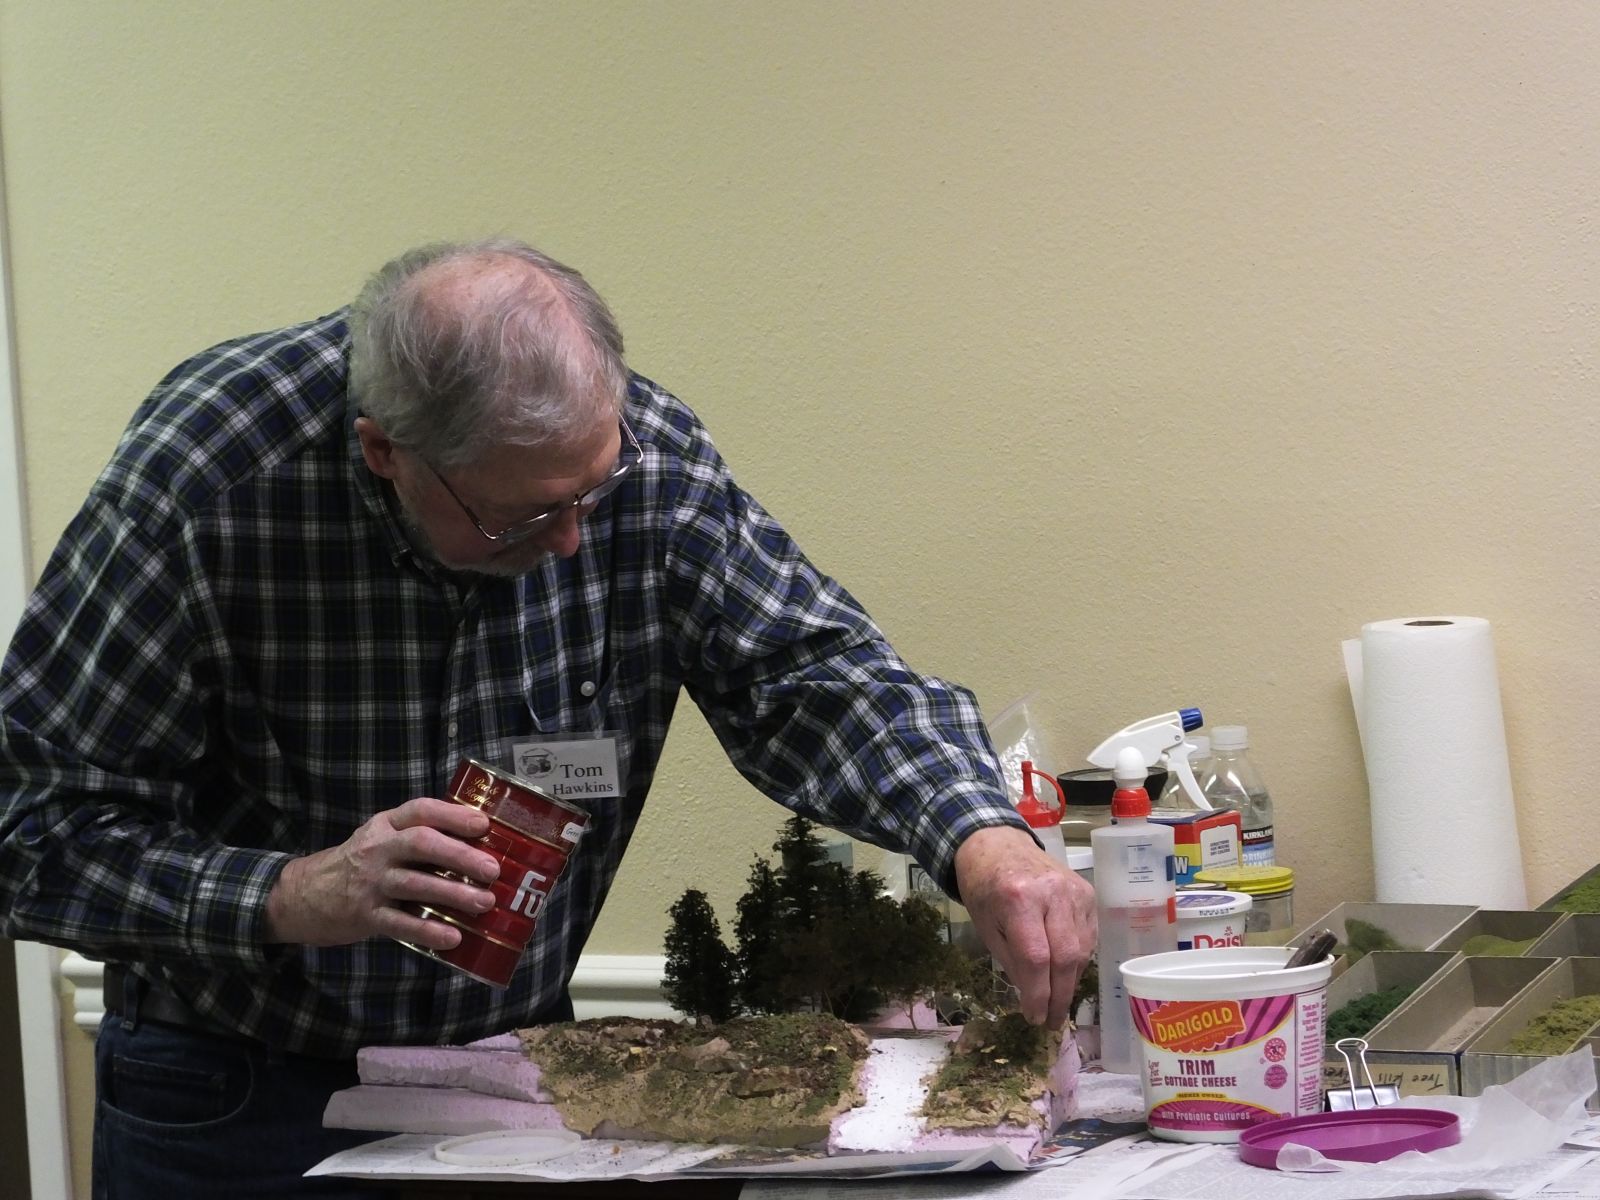
The evenings clinic was actually a “Two-Fer” – two clinics on the agenda. First off, Norm Myers showed us how he has made several removable tunnels from his layout. Norm had to design these for access to some hard to reach areas of his layout. He starts out by making a gridwork form for the tunnel, out of Gatorboard, which is like foamcore, but will not bend or warp. He cuts it up and hot-glues it to the basic shape he wants, then covers the formwork with plaster cloth and finishes it up with the usual scenery methods. The result is a very lightweight and very strong mountain/tunnel that can easily be lifted off the layout. Norm brought several of his creations; one was near 5 feet long!

Rich Blake and Norm Myers easily moving one of Norm’s removable mountains.
Norm makes tunnel liners out of ¼” hardware cloth, which bends easily to the shape of the tunnel interior. The interior, or underside, of the mountain/tunnel is painted black, so it looks like the tunnel might be quite long.
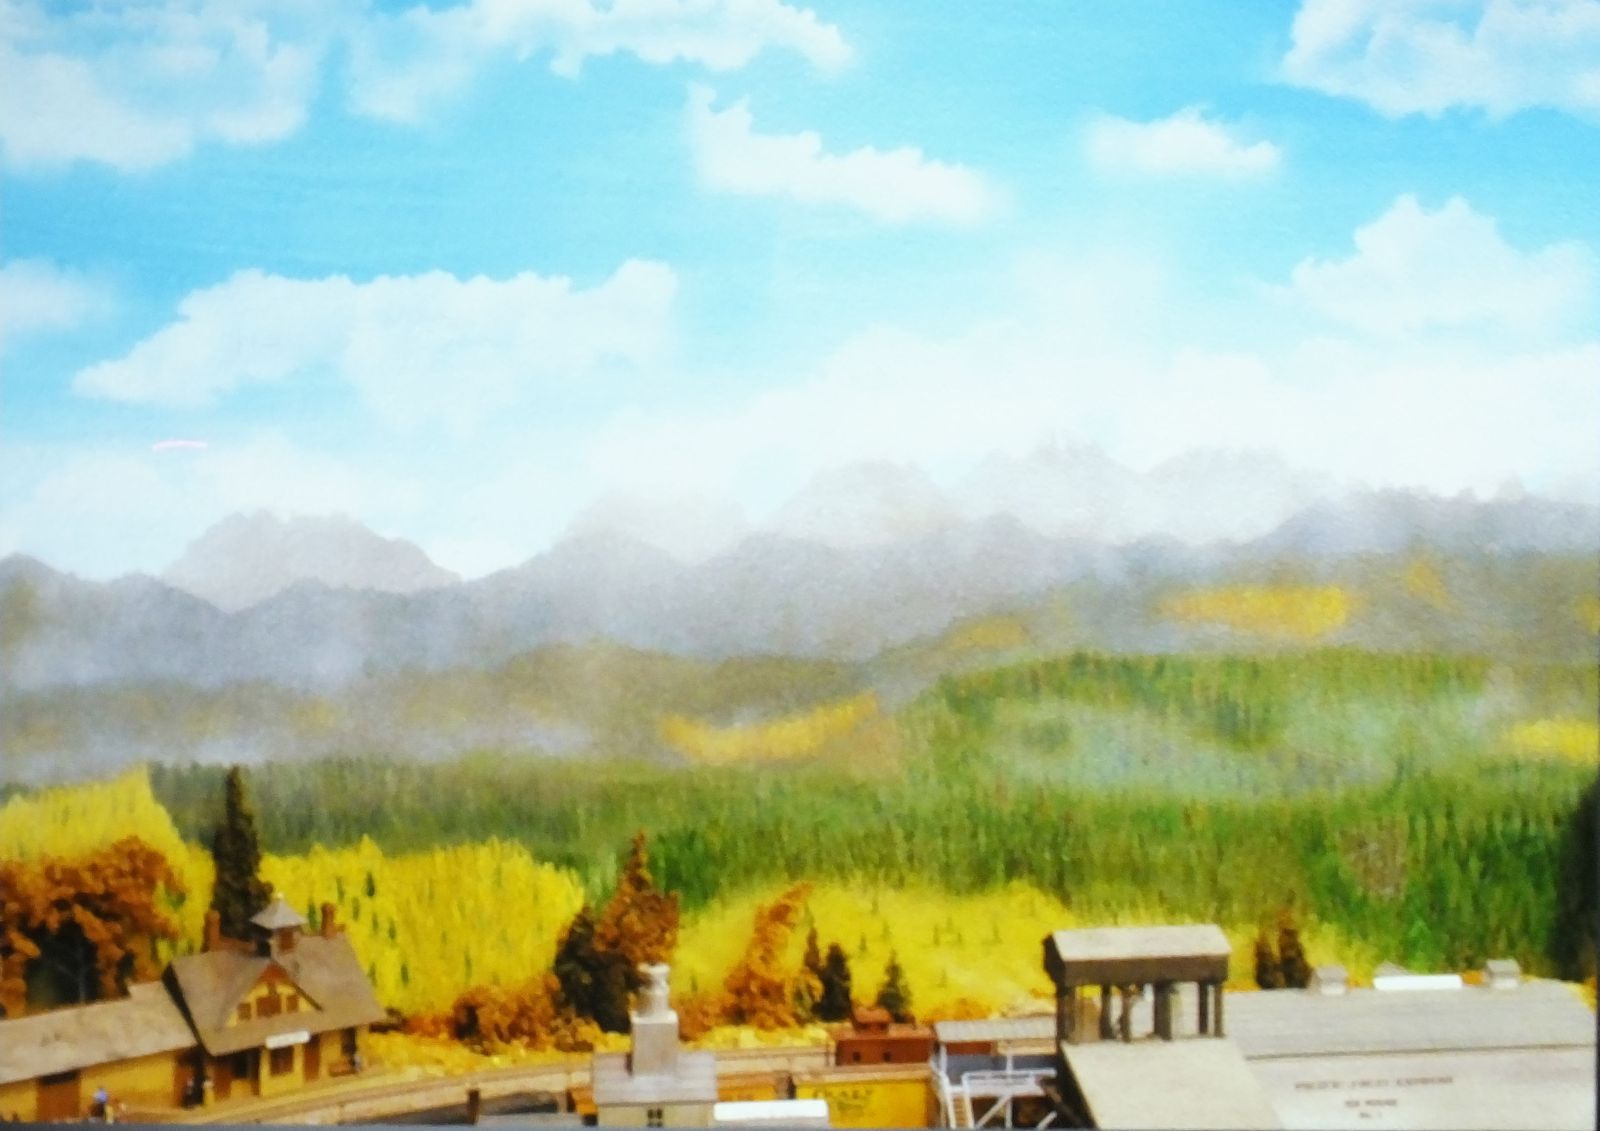
Norm also regaled us with a tour of his layout. Norm has built 2 viaduct arch bridges out of pink foam, which were gorgeous. He also showed photos of a lot of buildings he has kit-bashed into building flats. Hmmm… We’re seeing the possibility of another clinic or two here… Norm?
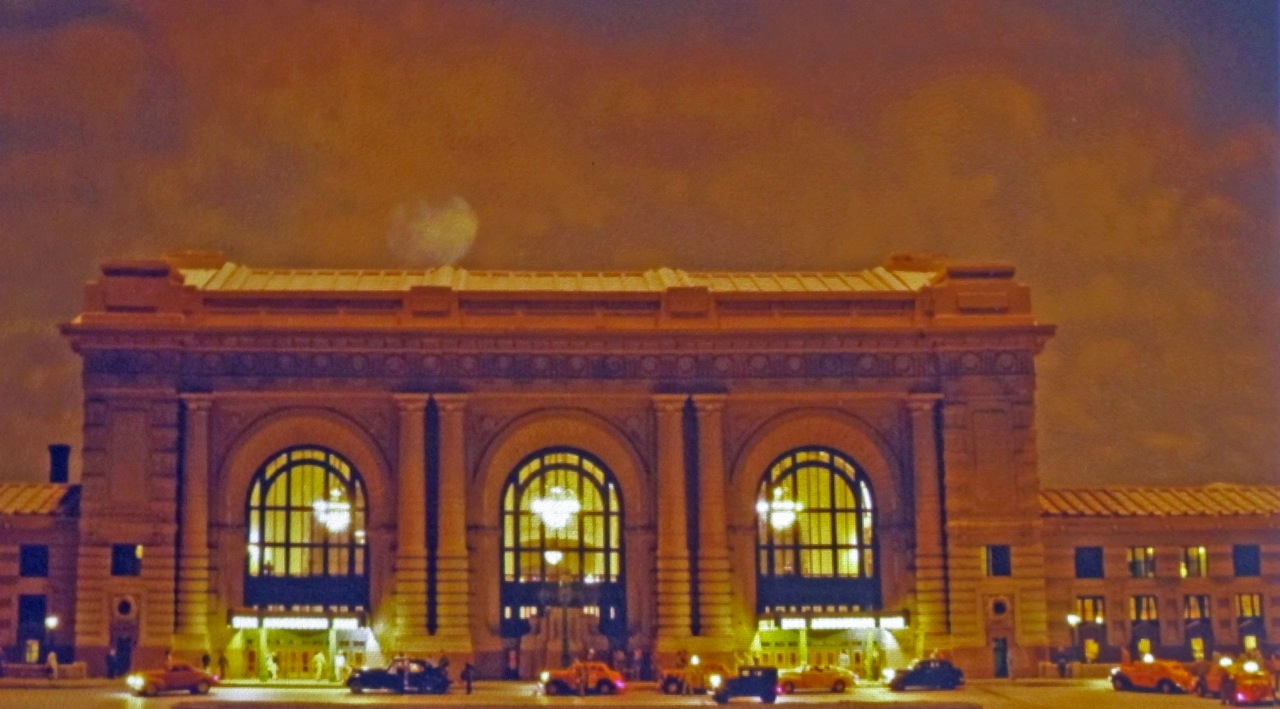
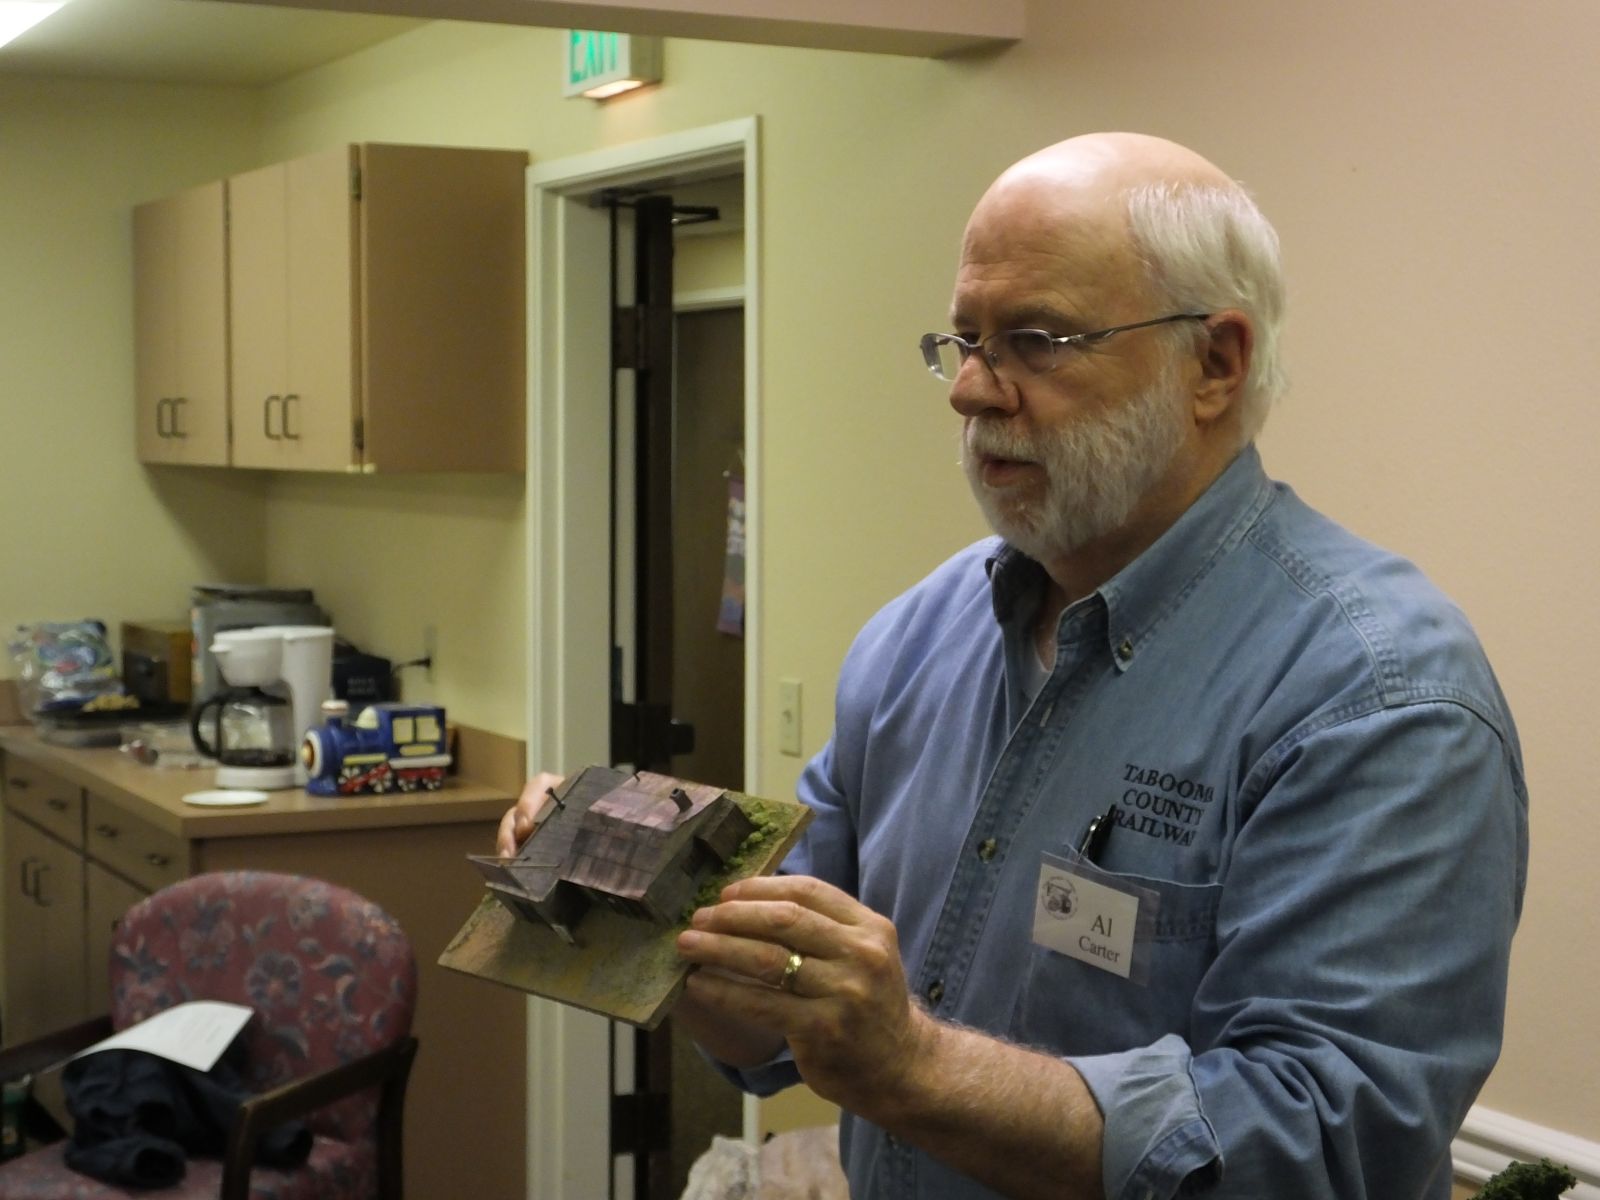
The second part of the “Two Fer” clinic was on roof top detail and materials by Al Carter. It was noted that although some layouts are made at eye level, most are lower and we therefore look down upon our layouts and our miniature structures. That brings the rooftop of the structure into more of a prominent view, and in many cases, these miniature roofs are quite neglected. It seems as if the default method of finishing a roof is to paint it black and stick a chimney on it.
Roofs are models, too. If we as modelers can spend a lot of time detailing the interior of a building (which is often hard to see even with interior lighting), we should be able to give a little more attention to our roofs. Besides chimneys, unless you are modeling in the “outhouse era”, your building probably should have some plumbing vents sticking up over the bathroom and kitchen areas. Very small tubing will work, or even just some brass or styrene rod painted black.
Air conditioners and HVAC systems are another detail that could/should be added, depending on the structure size and use. There are commercial castings available for this use, but also, one can make such details out of other items. For example, Walther’s 933-2120 Coke Containers sure look to me like they could be a rooftop HVAC unit. Same for Chooch Enterprises #7287 Tote Bins for Barium Oxide – perfect HVAC units. Of course, these need various piping and ductwork to make them look like they are in use, and a simple way to make ductwork is to save those styrene sprues from your model kits, file them to shape, and install. Also, not all rooftop “stuff” is painted silver. White, light green, blue, tan, and grays are also common colors, even back into the 1950’s.
Roofs are not always black! Maybe back in the 1950s and prior, roofs were black when new roofing was applied, but even that doesn’t stay black very long. Some simple weathering if you are modeling in those early years will do wonders to add some variety to a roof. From the 1960s onward, different colored roofing materials became common, both residential and commercial. This helps us add some variety to our towns by varying the color of the roofs.

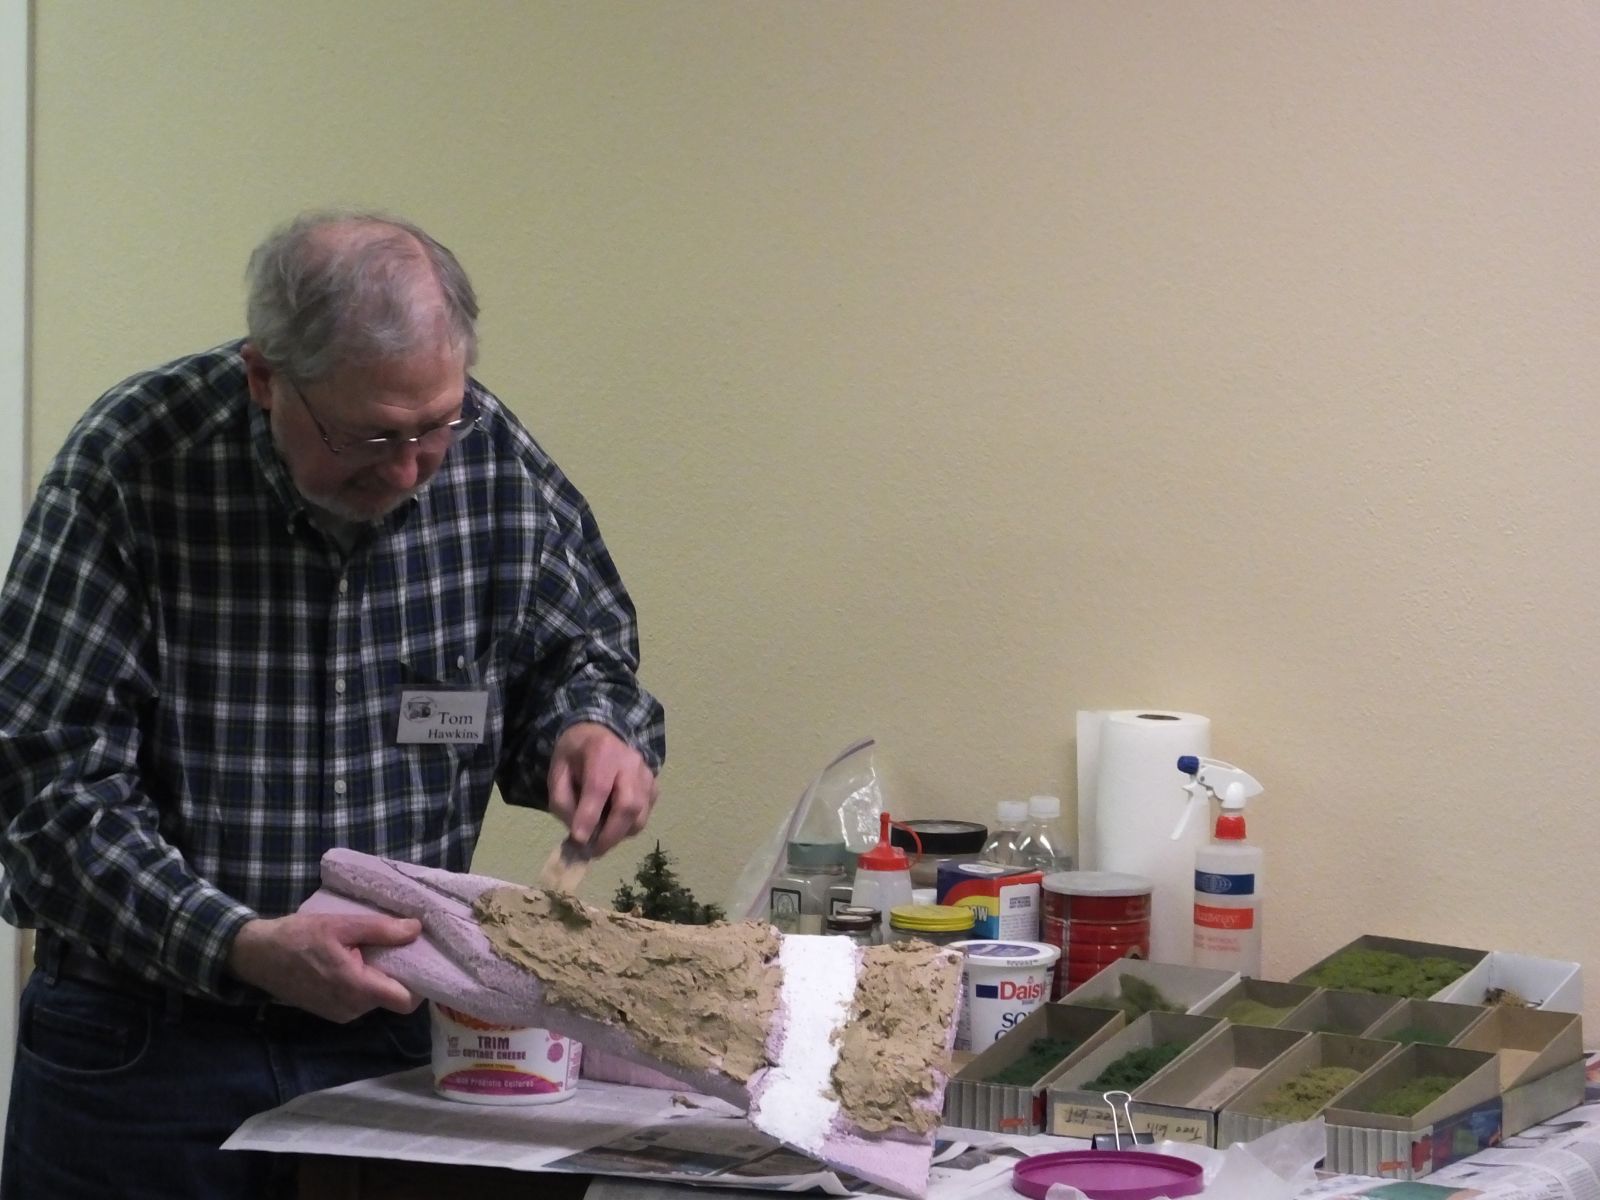
Al Carter showing a corrugated roof made from thin paper
There is a huge variety of roofing material available to us modelers these days, including products from Rusty Stumps, Builders In Scale, Wild West Models, to name but a few. However, one can easily make rolled roofing from common materials such as ½” masking tape, newsprint, floral tape, etc, painted appropriately (not black! Well, not all black…). My personal favorite method is to use toilet tissue (Cottonelle brand) cut into 3’ sized strips and laid over wet paint (gray, green), then finished with another light coat of paint, then weathered. It is important to note here to use toilet paper that does not have a pattern embossed in it. And for a “membrane” roof on a factory, try gift wrap tissue paper (the kind you find a new shirt wrapped in), glued down, then finished with a few applications of A&I (alcohol and India ink). Crumple the tissue paper first, then smooth it out before gluing down.
Finally, for those of you who use the internet, check out: CGTEXTURES.COM – this site has a huge variety of images of textures, including a bunch of roof textures. This site requires that you register (name and password; no credit card or any other stuff), and you can download any images you may want and save to your computer (there is a 15mb download limit per day). This goes beyond roofs, too, as they have images of concrete, roads, walls, metal, etc. This is a tremendous resource for us modelers.
These are but a few of the ways to improve our model roofs, and I’ve only scratched the surface on methods and products available. The important part is to break away from the “normal” and show some variety on your roofs. Experiment, and keep your eye open for other ideas for rooftop detail.
Next month’s clinic (May 14) features Dr. Nick Muff showing us how he adds working headlights and taillights to his fleet of HO vehicles, a clinic not to be missed!